¶ Installation ChromaPad
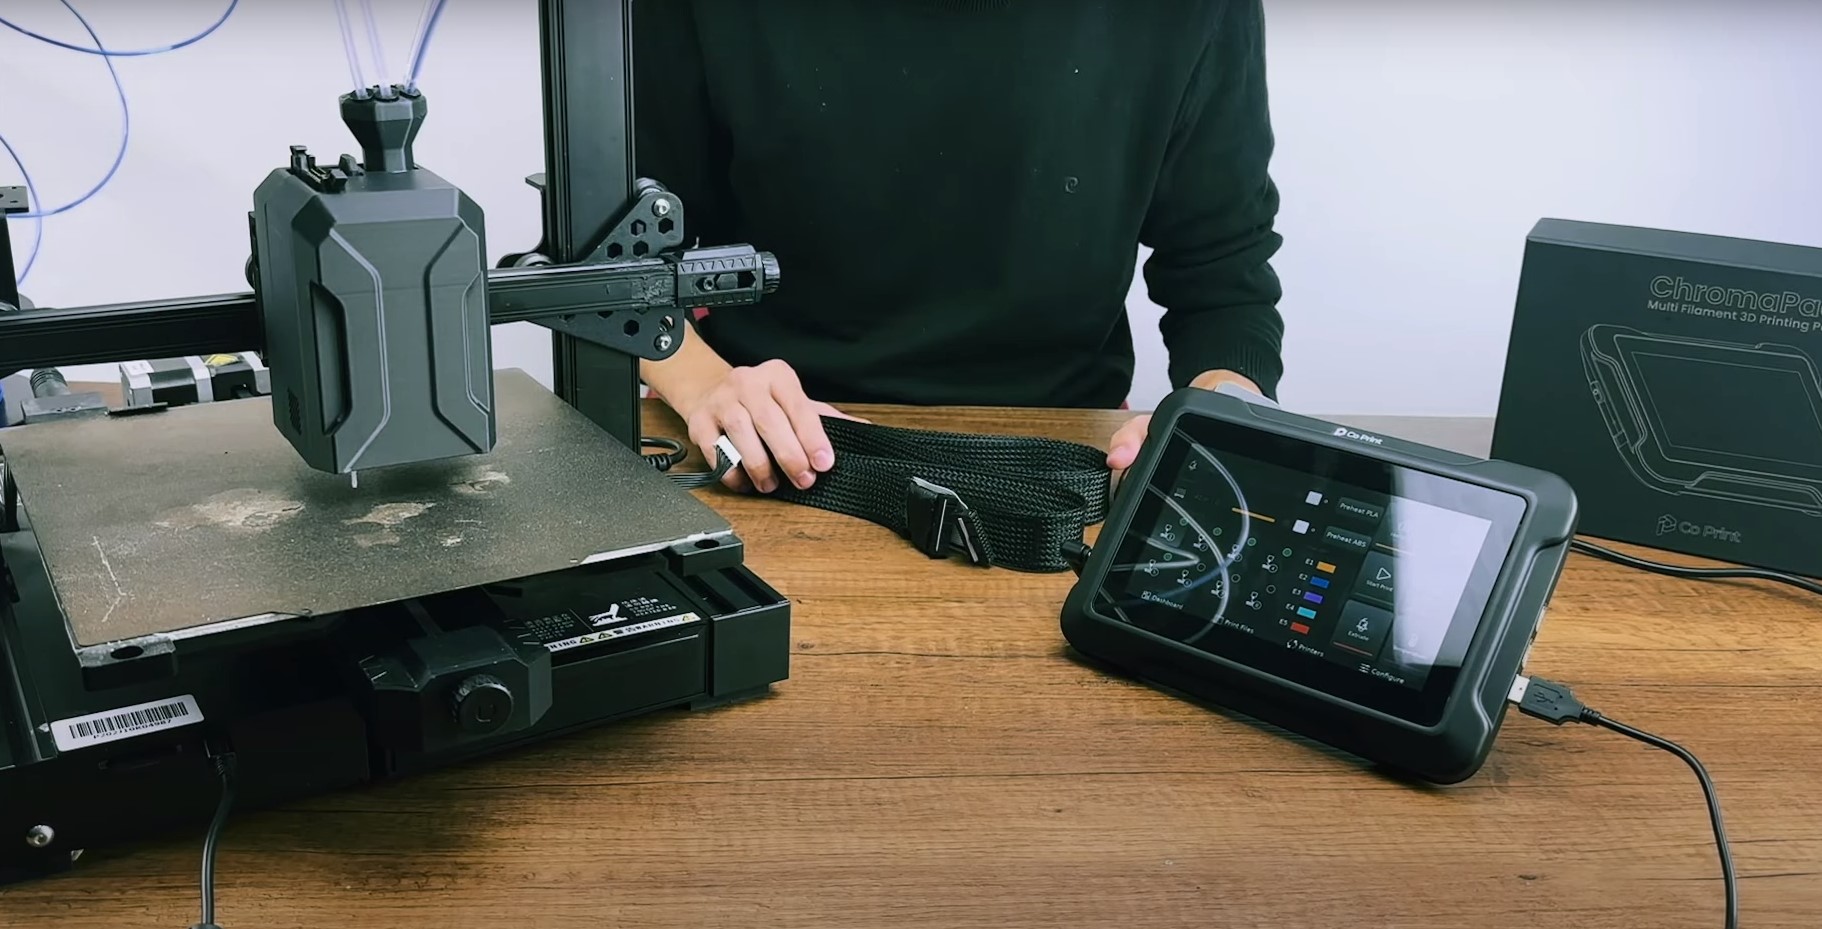
To set up ChromaPad on your 3D printer, all you need to do is connect your 3D printer and ChromaPad using a USB cable. The remaining steps can be completed through the Installation Wizard within ChromaPad.

First, we open the Installation Wizard within ChromaPad.
From the menu that appears, we select the information about the control board of the 3D printer we will be setting up. You can visit this page to learn more about the specifications of the control board for your 3D printer: https://github.com/Klipper3d/klipper/tree/master/config

The Wizard will prompt you to connect an SD Card to ChromaPad for uploading the file it will create for your 3D printer. Connect a USB drive and touch the "Continue" button.
Next, insert the SD Card into your 3D printer while the printer is powered off, and then power on your 3D printer.
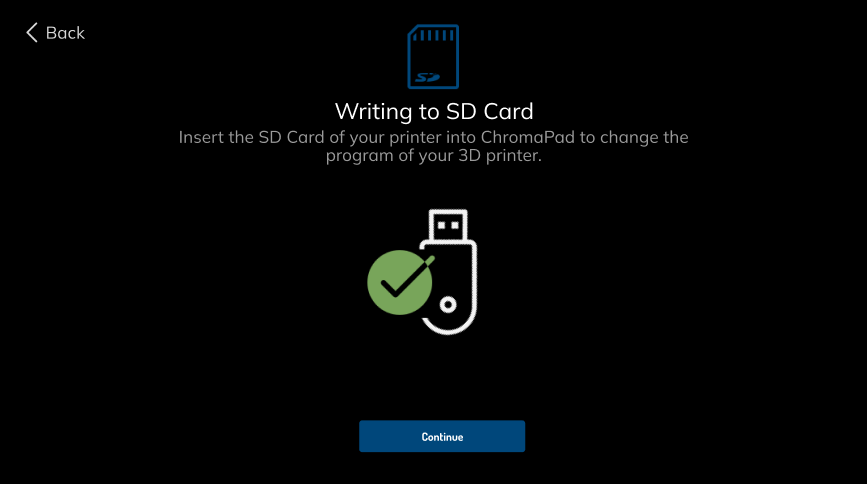
The file on the SD Card will enable your 3D printer to communicate with ChromaPad.
To complete the communication, connect your 3D printer to ChromaPad using a USB cable.
Select the connection path from the opened screen and touch the "Continue" button.
ChromaPad has now established a connection with your 3D printer and will need information about the pins on your control board, such as step motors and bed heater, to manage your 3D printer. To provide this information, select your 3D printer from the page that opens.

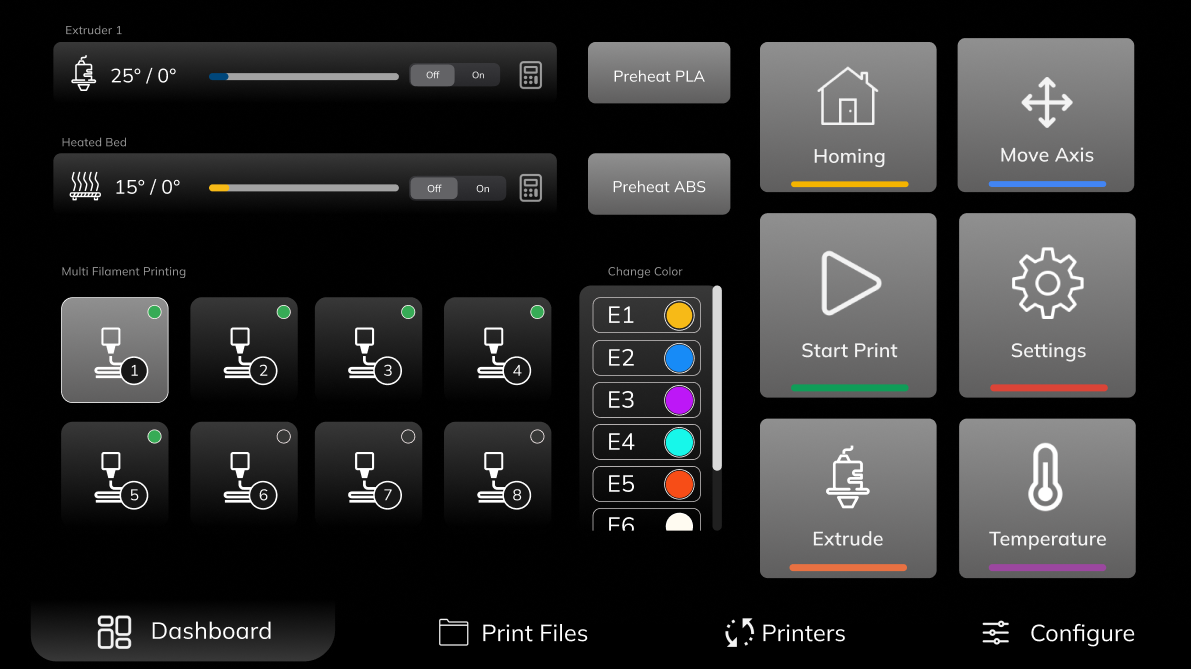
You are now ready to manage your 3D printer through ChromaPad.