¶ ChromaScreen Interface Review
This software is an open-source software. You can access all files by visiting its GitHub page.
Co Print ChromaScreen Github Page
¶ 1-Setup Wizard
The ChromaScreen software incorporates a Setup Wizard, which it refers to as a wizard, to facilitate the installation of Klipper.
Through the installation wizard, you can select from a list of ten pre-configured printers and perform the Klipper installation with just one click.
Setup Wizard Features:
¶ 1.1- Setting the System Language
You can control the language of the ChromaScreen interface within ChromaPad using this page. With 6 different language options, you can use ChromaScreen in Turkish, English, German, French, Italian, or Spanish.

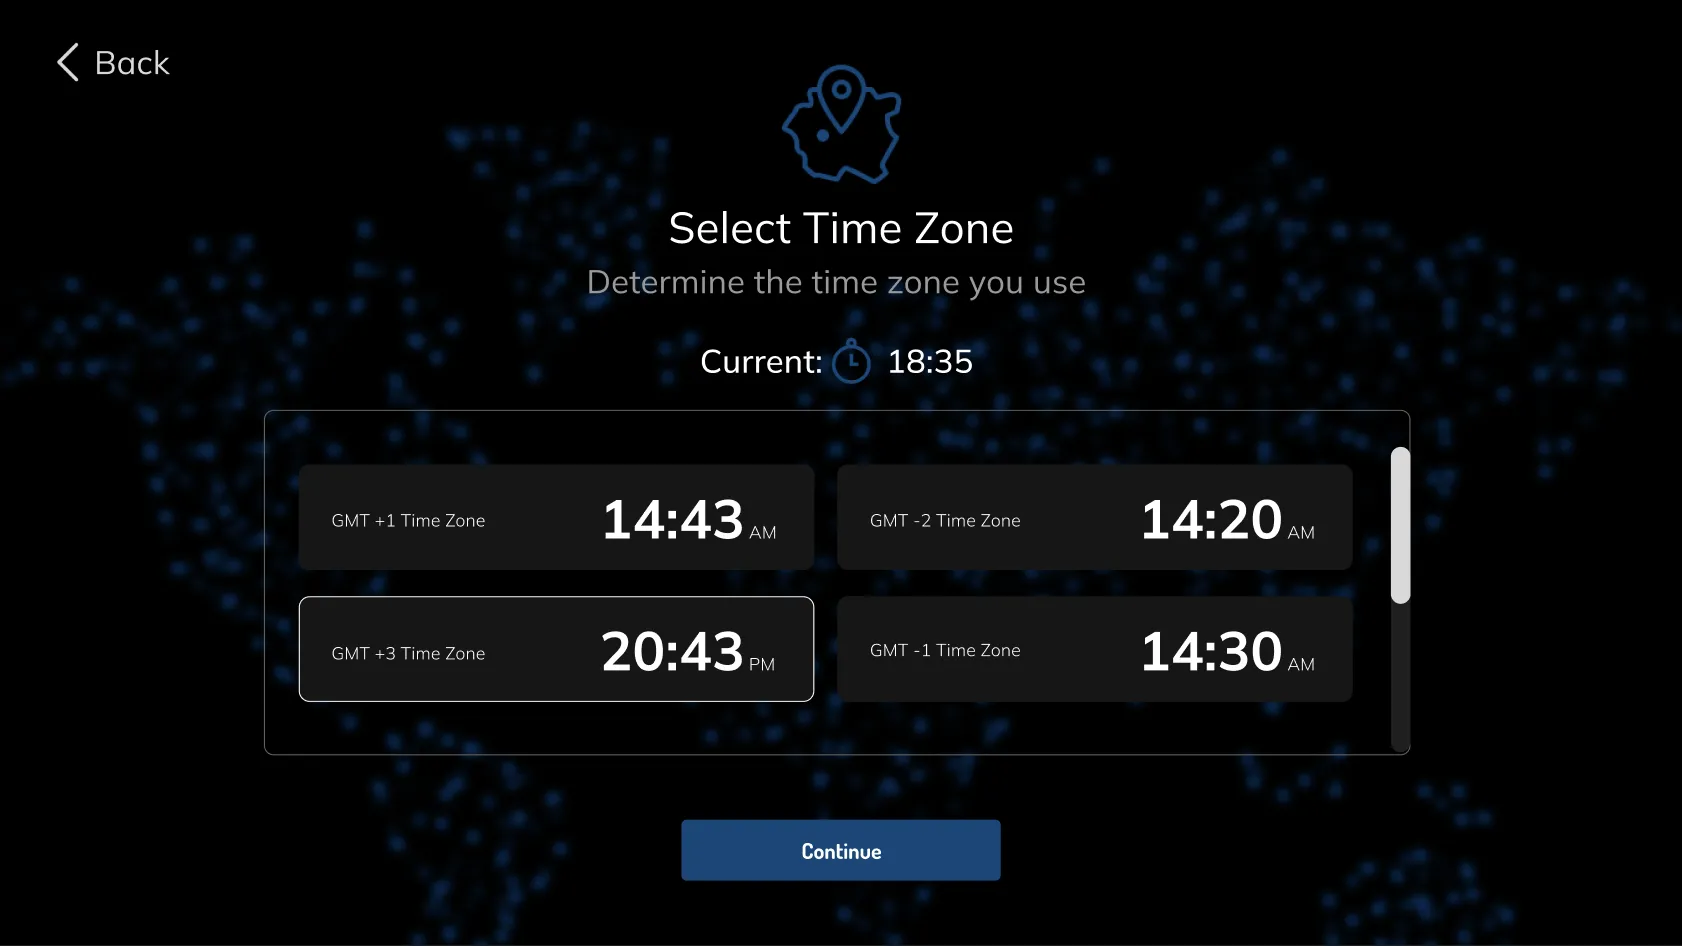
¶ 1.2- Sets the System Time
You can select the time zone of your region according to the GMT time system and localize data such as print timing and system time.
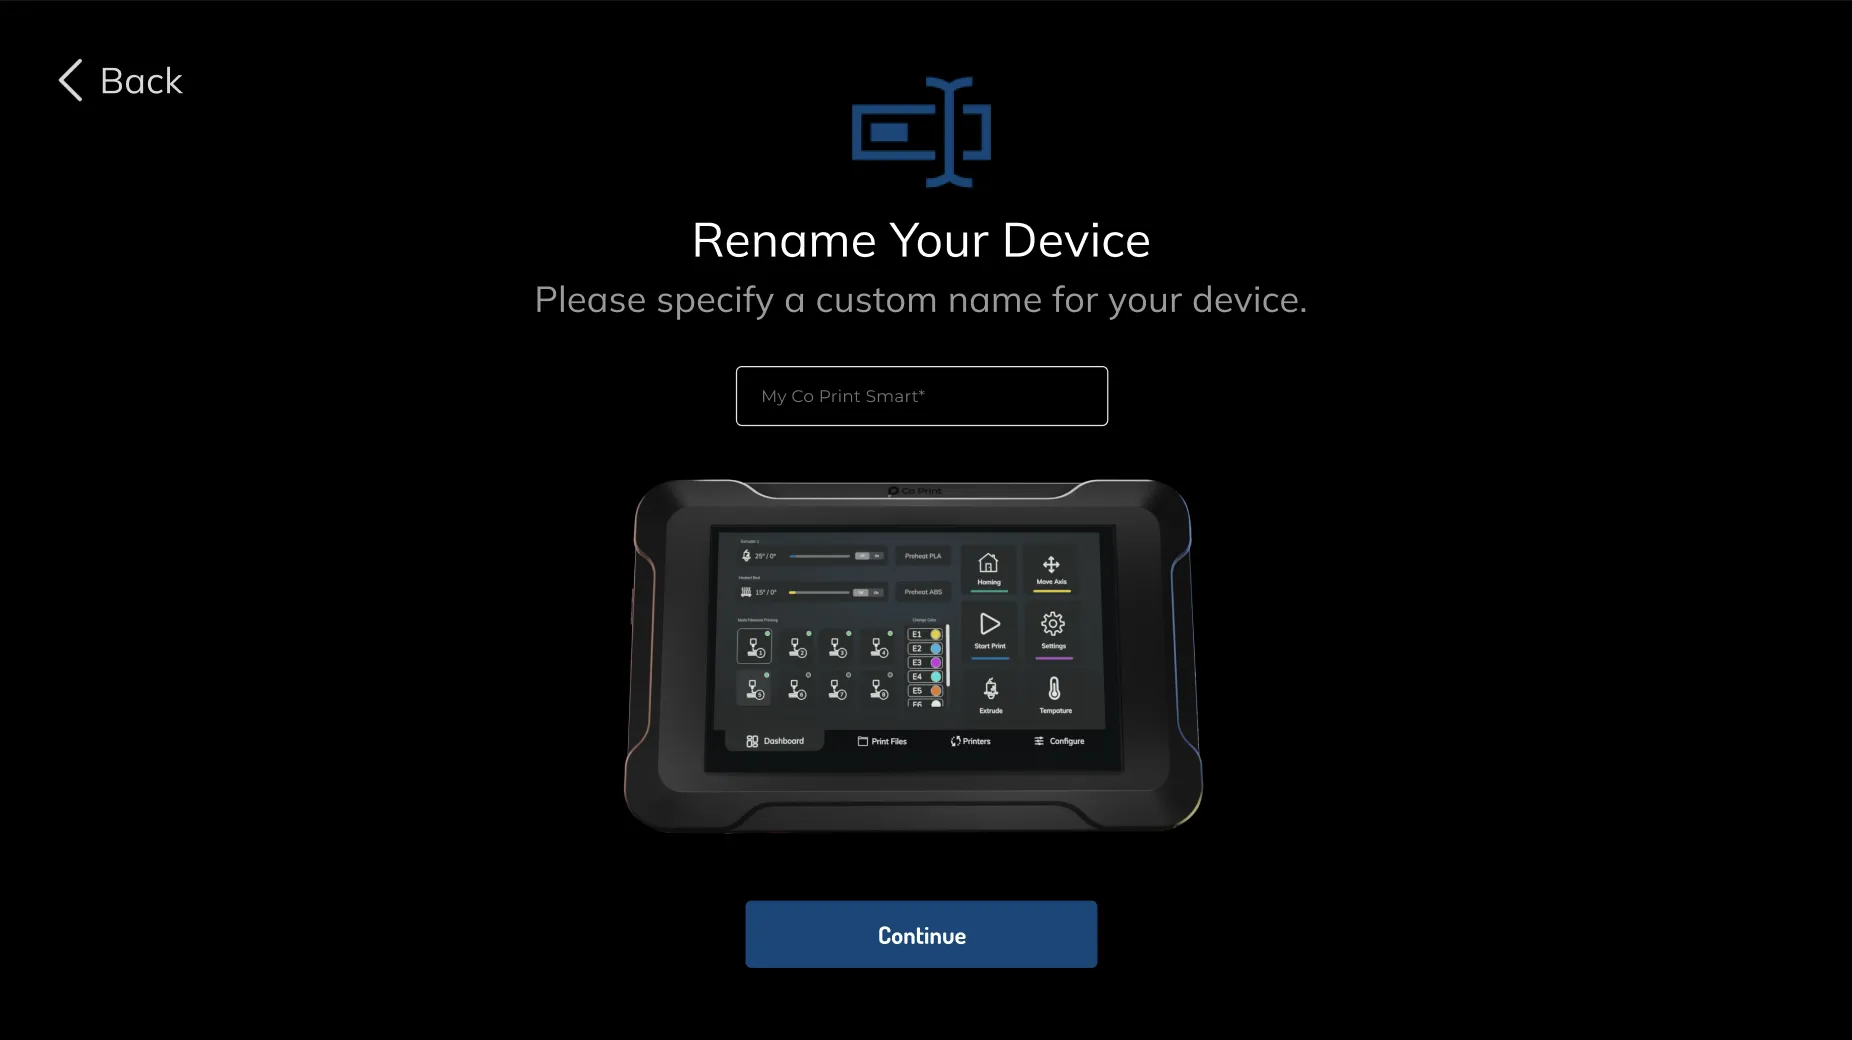
¶ 1.3-Rename The Device
By naming your ChromaPad, you can choose how it will appear on the network.
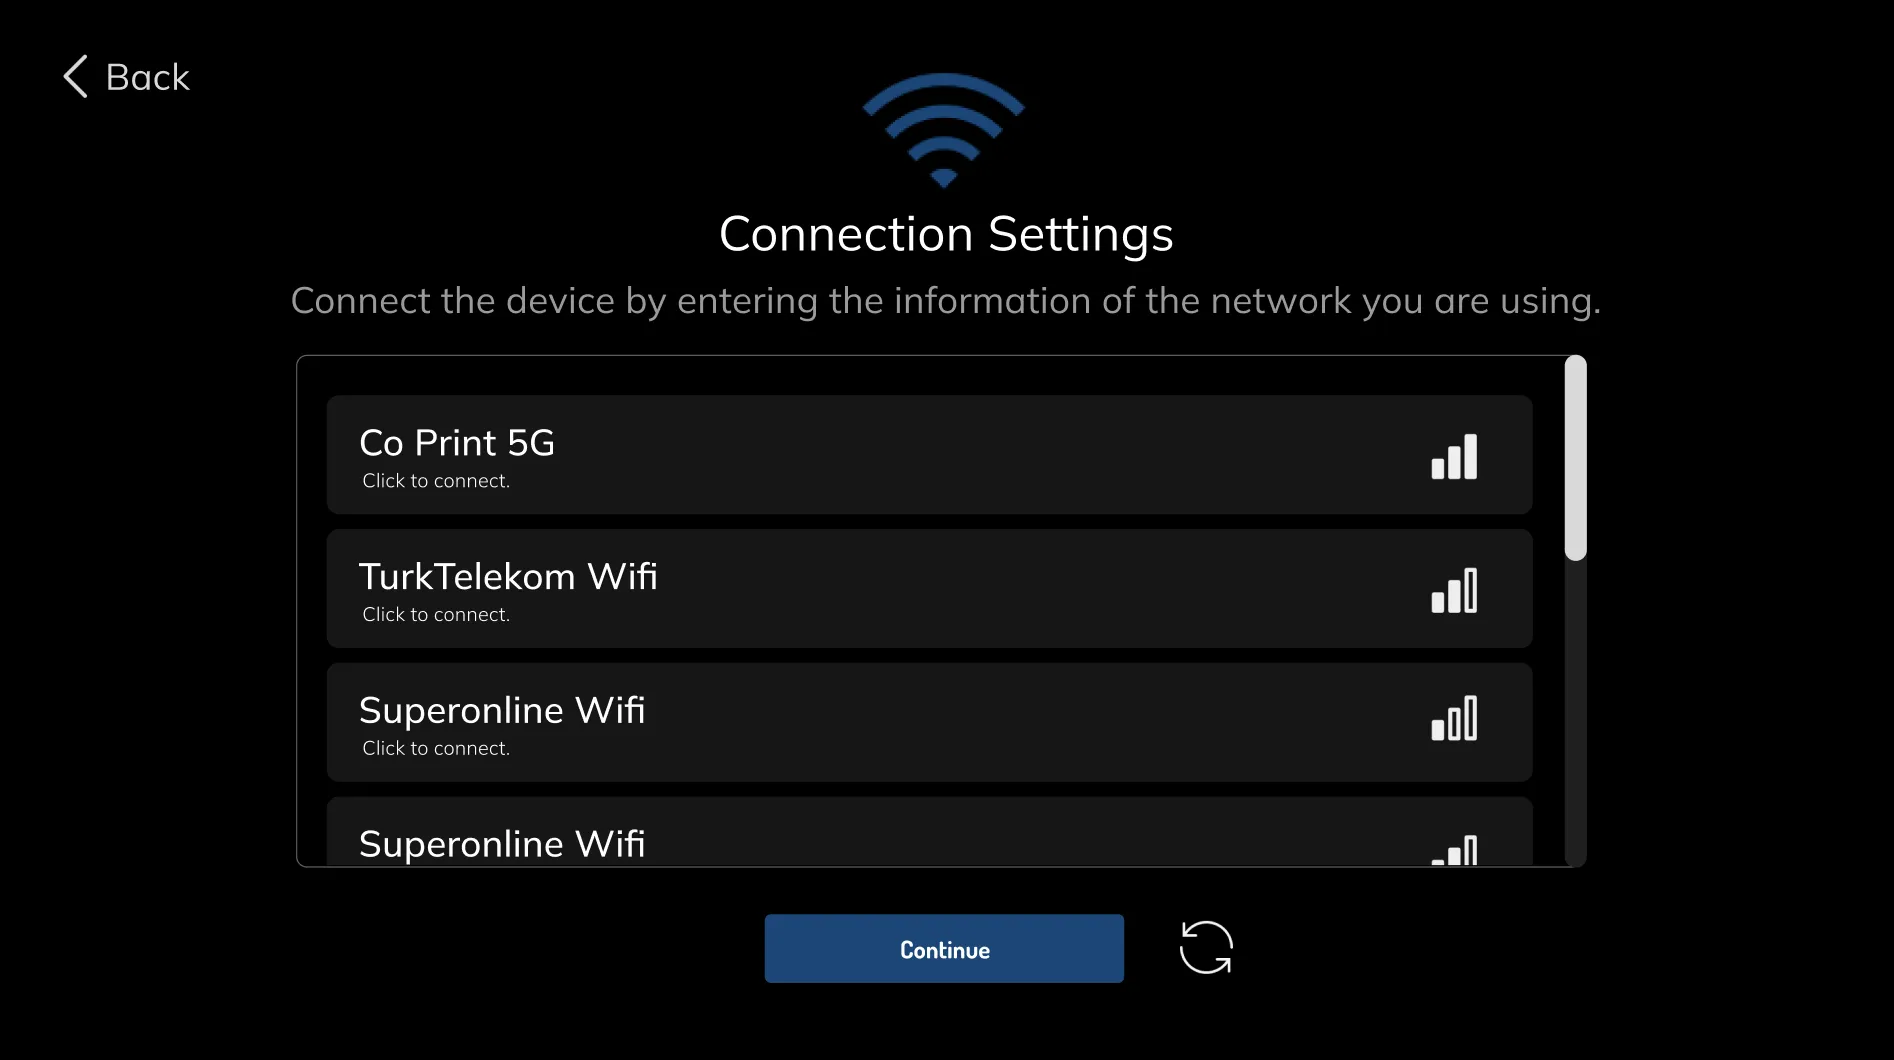
¶ 1.4- Network Connection Screen
You can use this interface to connect ChromaPad to a network. Click on the network you want to connect to and enter the password using the on-screen keyboard.
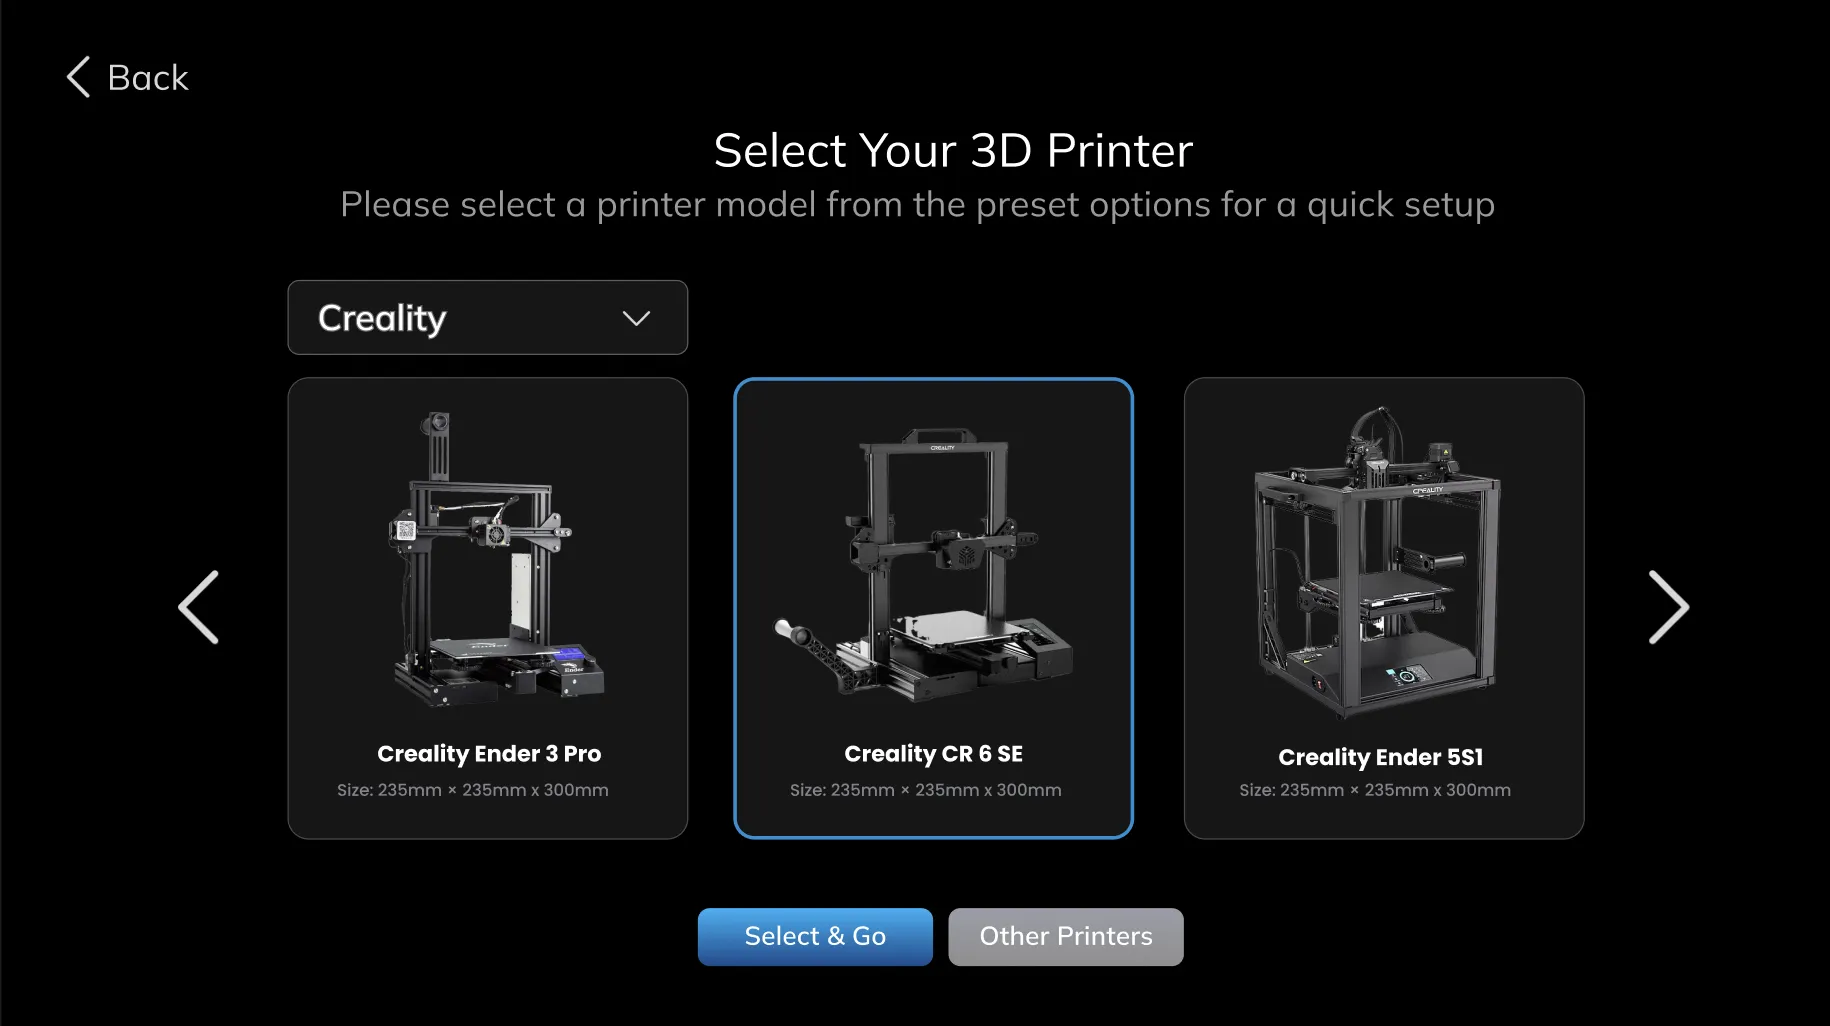
¶ 1.5- Select Printer
The "Printer Select" screen is designed for quick Klipper installation. It includes a filter where you can filter brands and compatible 3D printers. After selecting one of these printers and proceeding with the installation, a firmware file is automatically generated, and the relevant Klipper Config files are prepared to advance your setup.
If your 3D printer is not listed, you can use the "Other Printer" option to manually configure the settings and proceed with the Klipper installation.
¶ 1.6- Manuel Setup & Other Printers
On the "Manual Printer Setup" page, you need to manually select your printer's specifications to generate the required firmware file for Klipper. Parameters such as MCU Architecture and Processor Model can be determined for your specific printer by researching online. You can select these parameters from this interface to create a custom firmware file tailored to your printer.

¶ 1.7- Creating Bin File
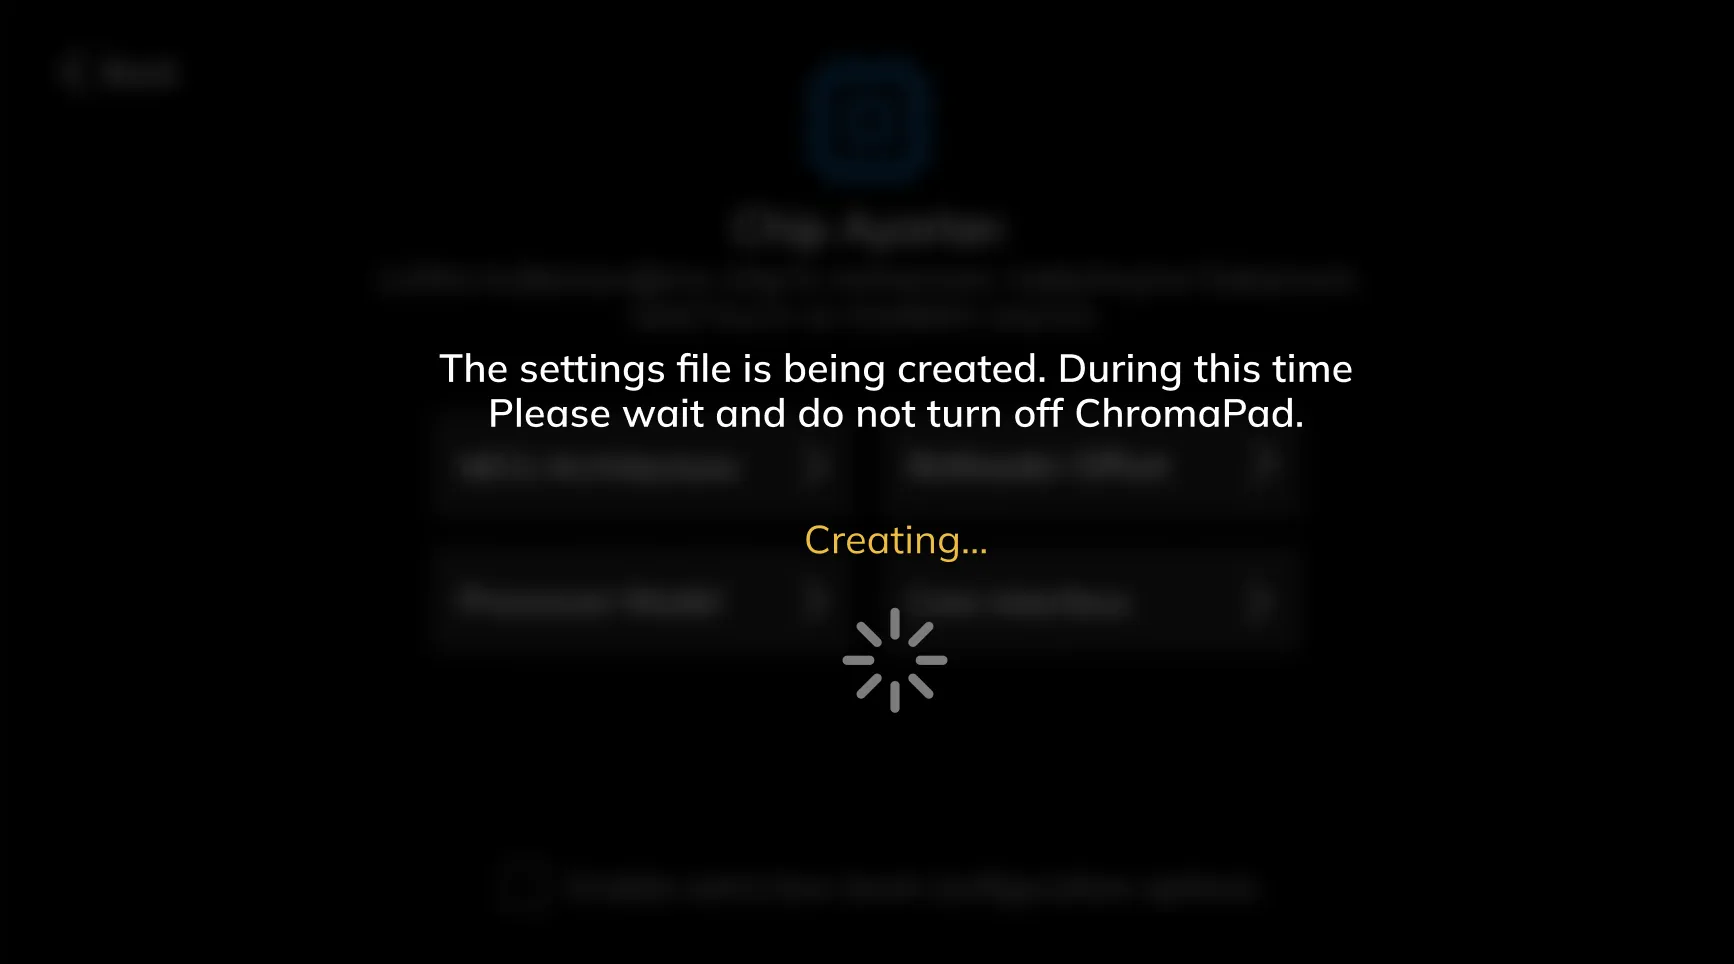
ChromaPad can compile the settings you've customized into firmware files. The conversion process takes place on this screen. Please do not turn off the tablet while the process is ongoing.
¶ 1.8- Writing Bin File to SD Card
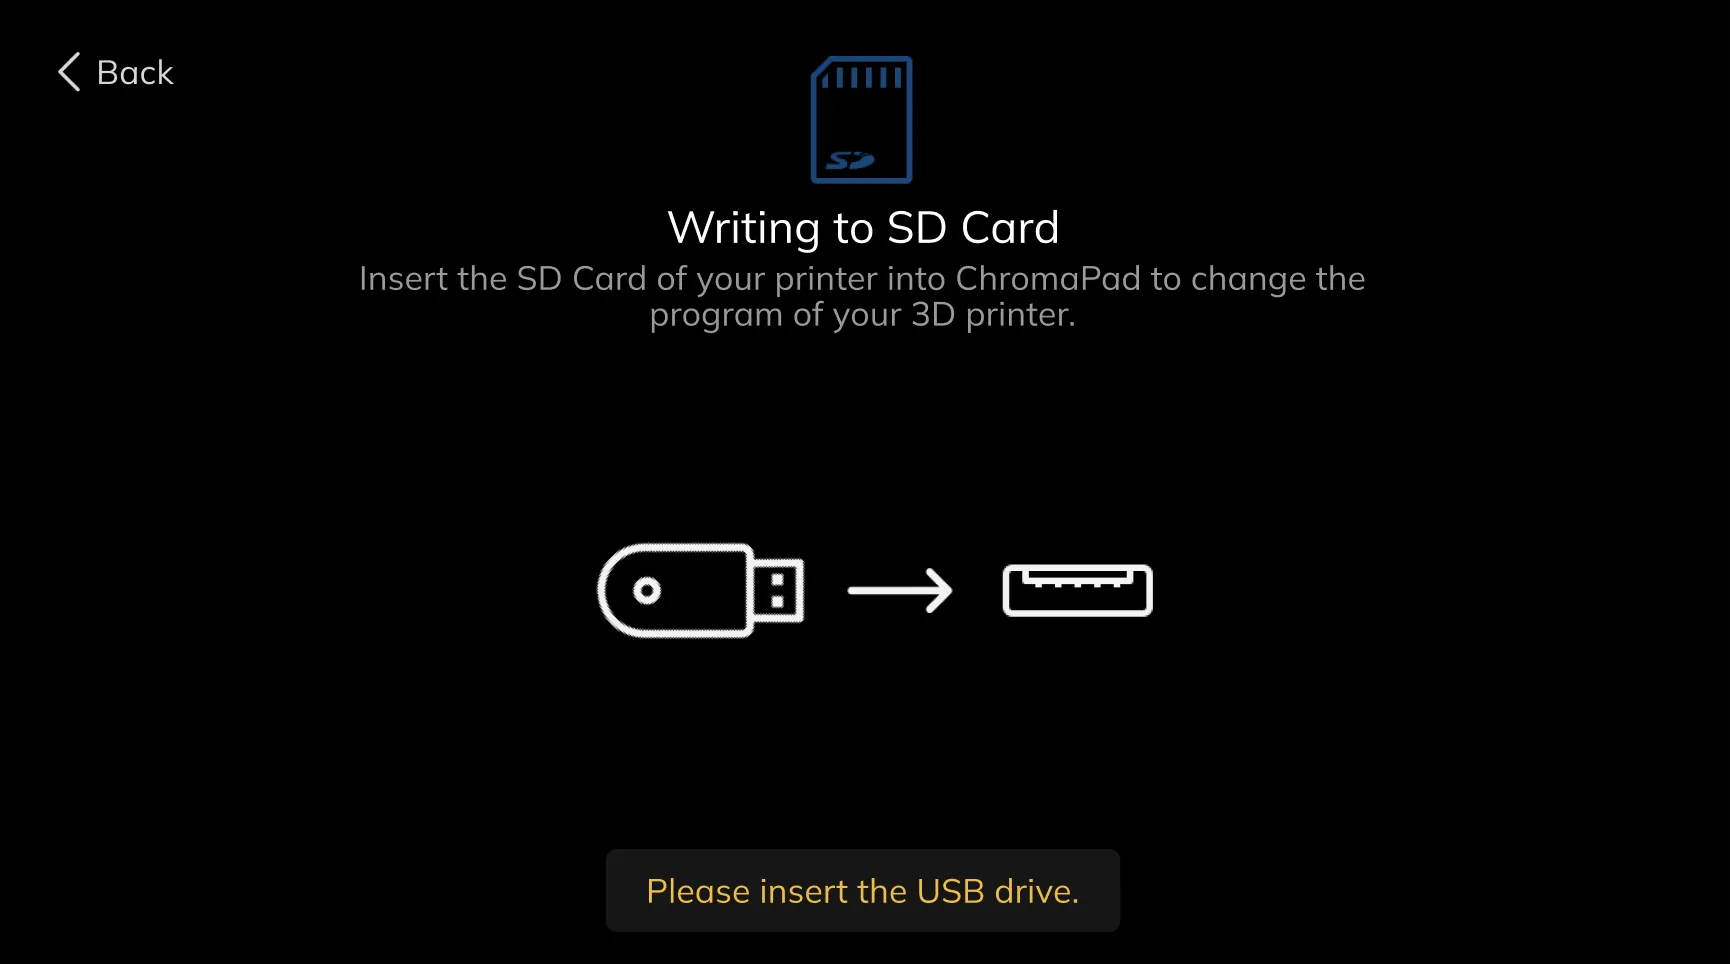
You can write the created firmware file to ChromaPad by connecting an SD card through the SD card reader.
¶ 1.9- Connect the 3D Printer to ChromaPad
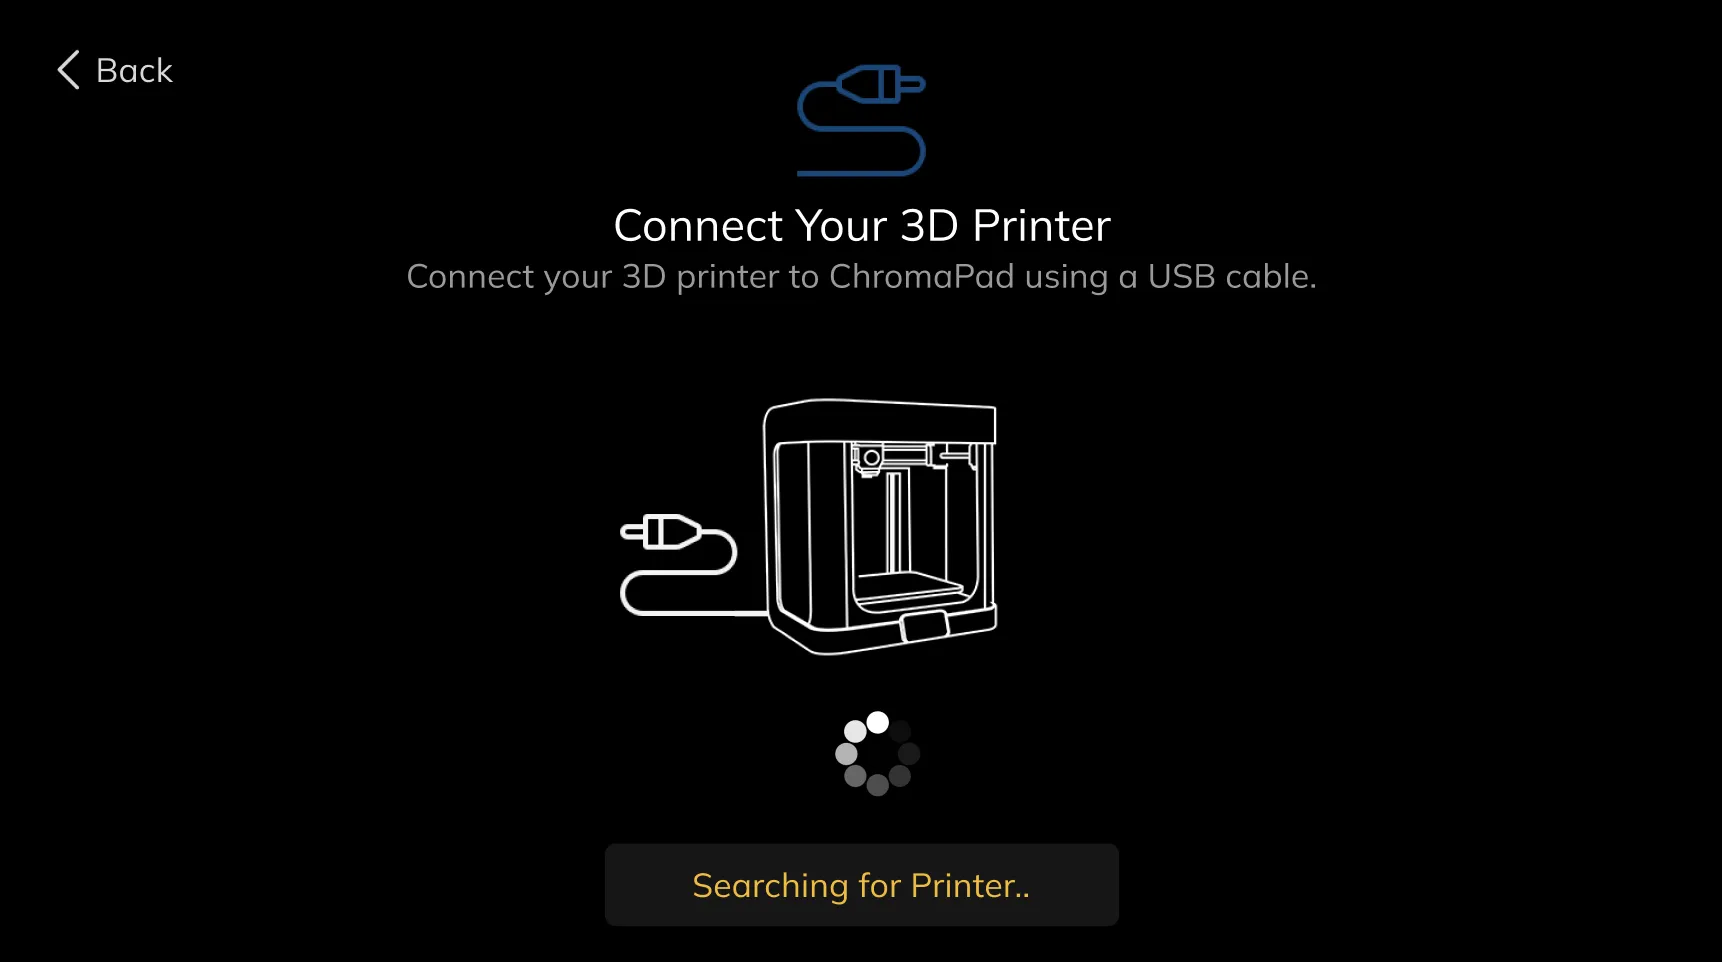
To connect and configure your 3D printer with ChromaPad, you can use the USB ports and this interface. Connect your 3D printer to the USB port, and ChromaScreen will automatically detect the connection. It will then prompt you to specify which USB port you connected your printer to.
¶ 1.10- Determining the COM Port of the Connected Printer
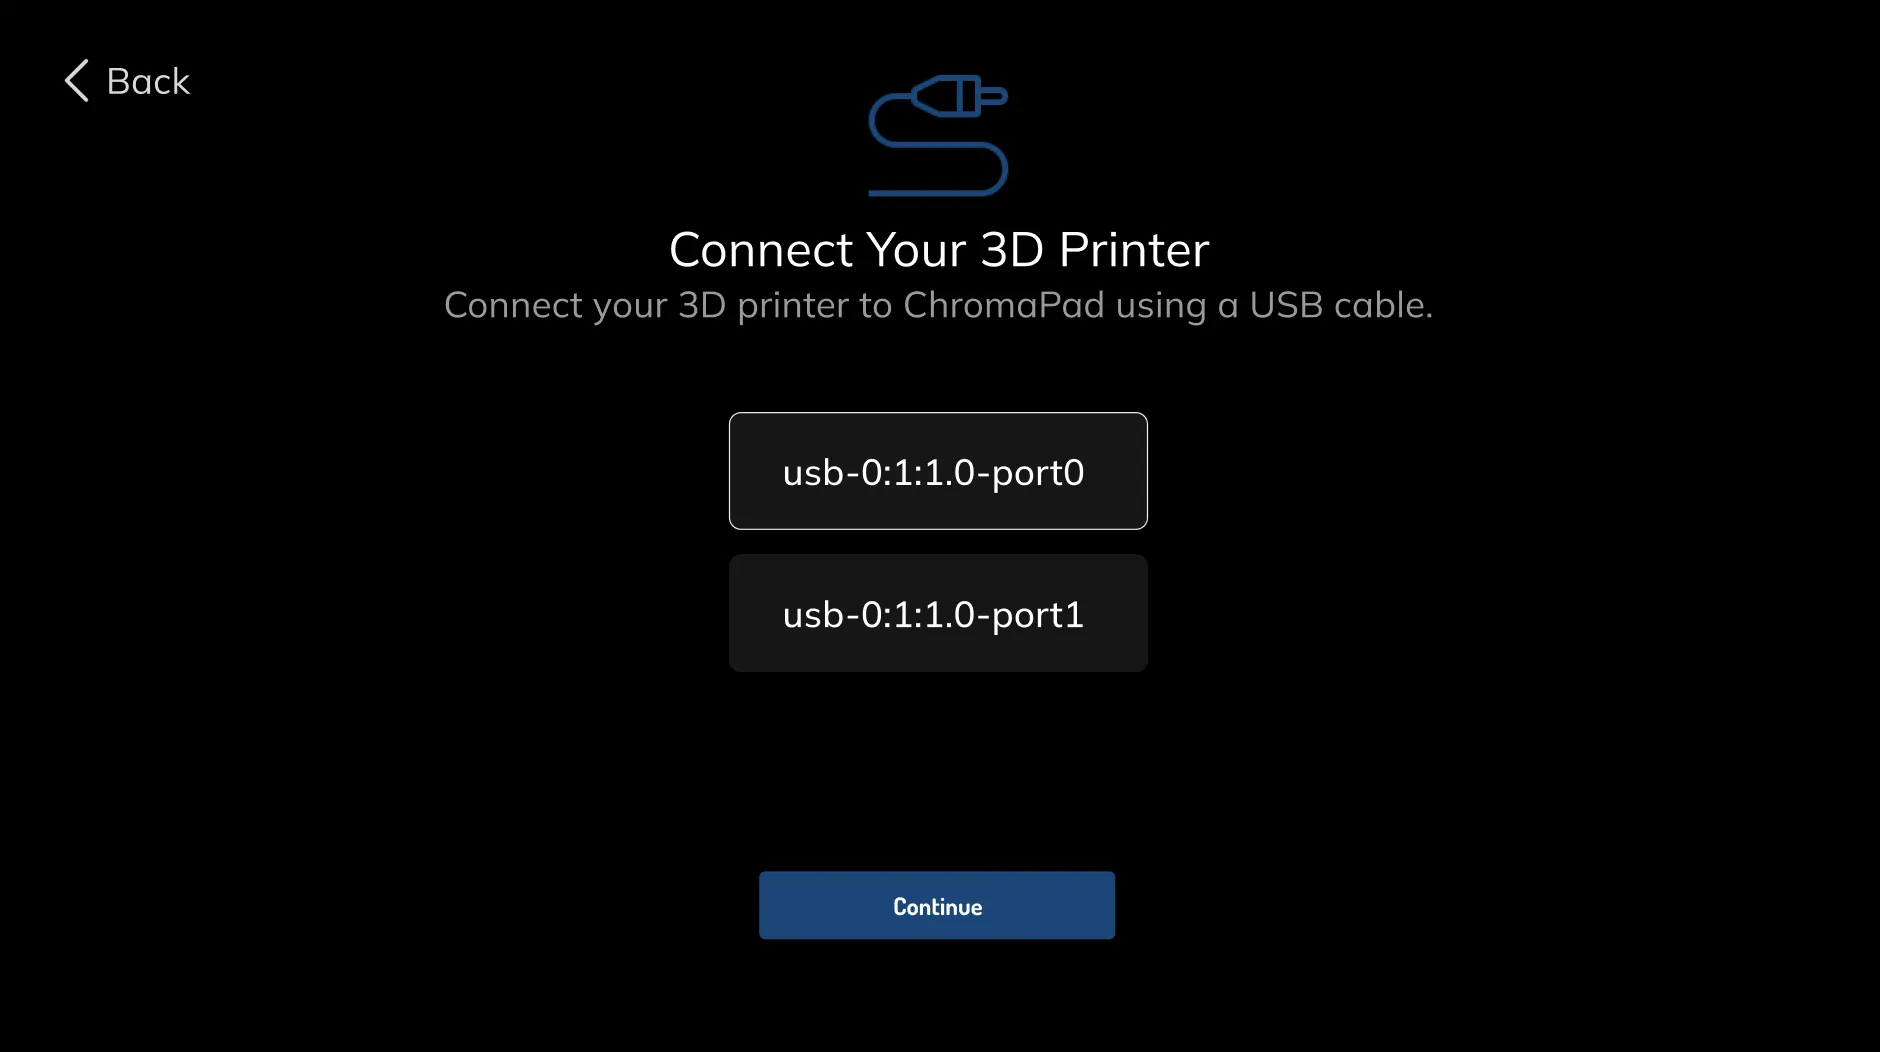
Select the USB port where you plugged in the printer, then click the continue button.
¶ 1.11- Setup Done Screen
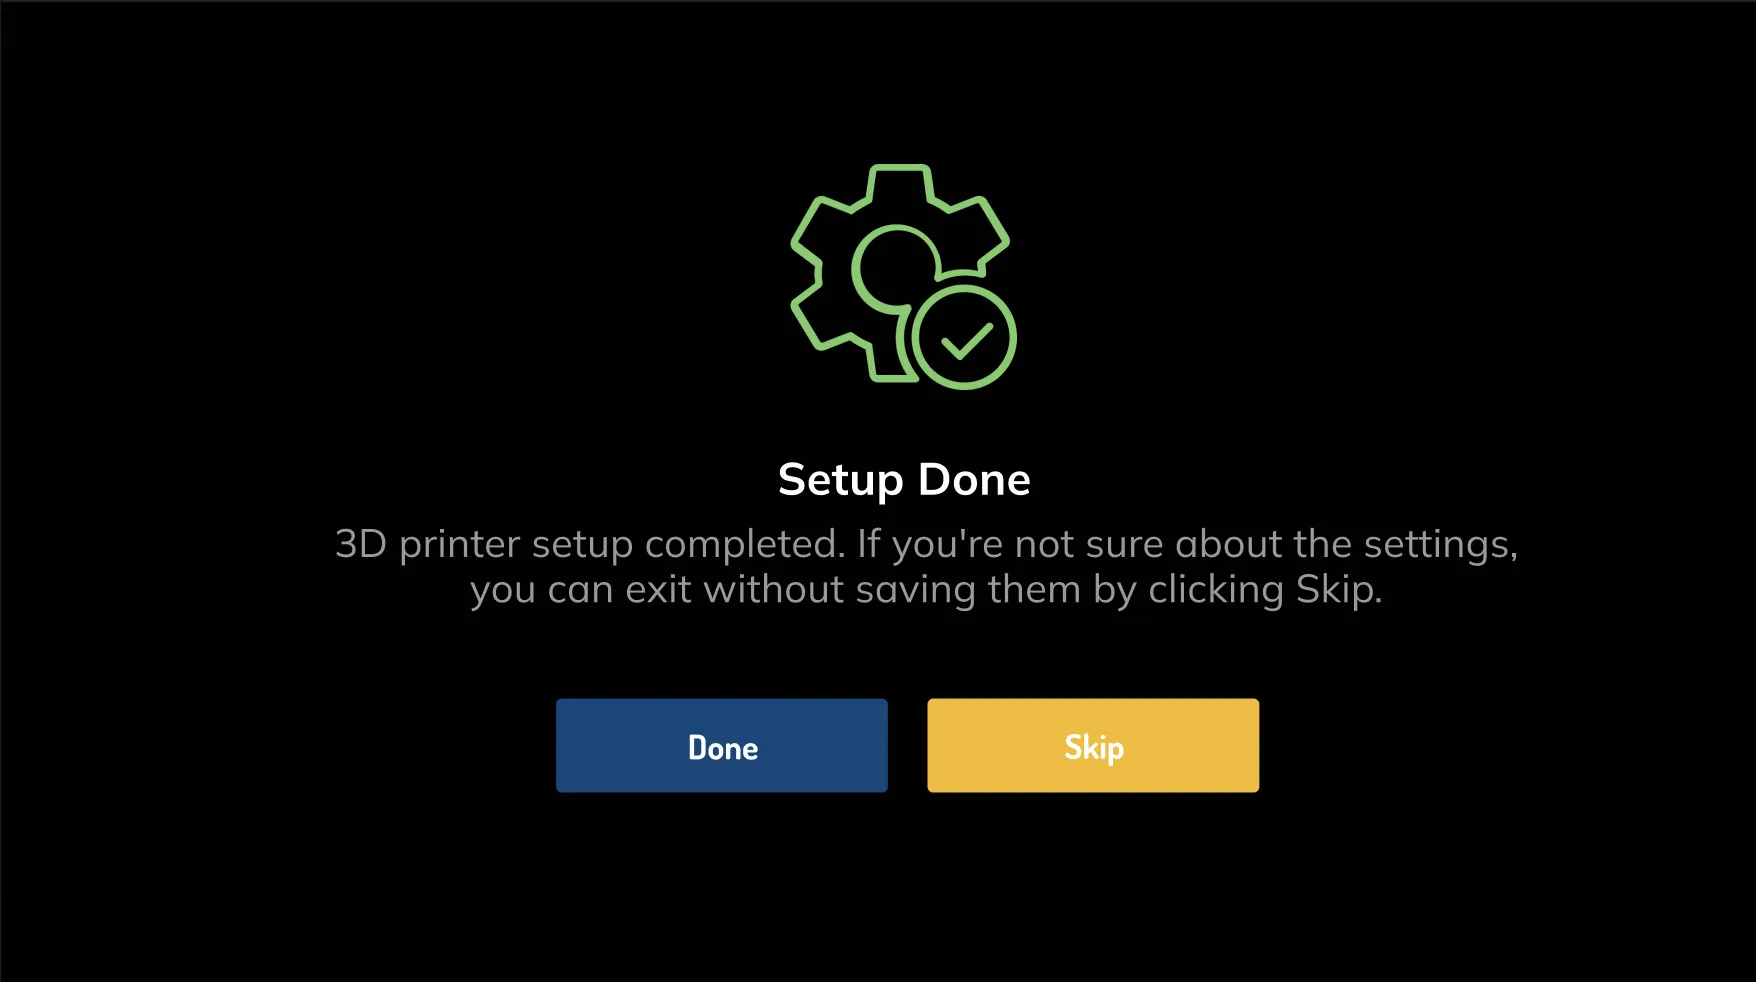
At this stage, the Setup Wizard is complete. You can proceed to the Dashboard by using the "Done" button. If you wish to edit the settings, you can return to the wizard by clicking "Skip" without saving the settings.
¶ 2- Dashboard
¶ 2.1- Home Page
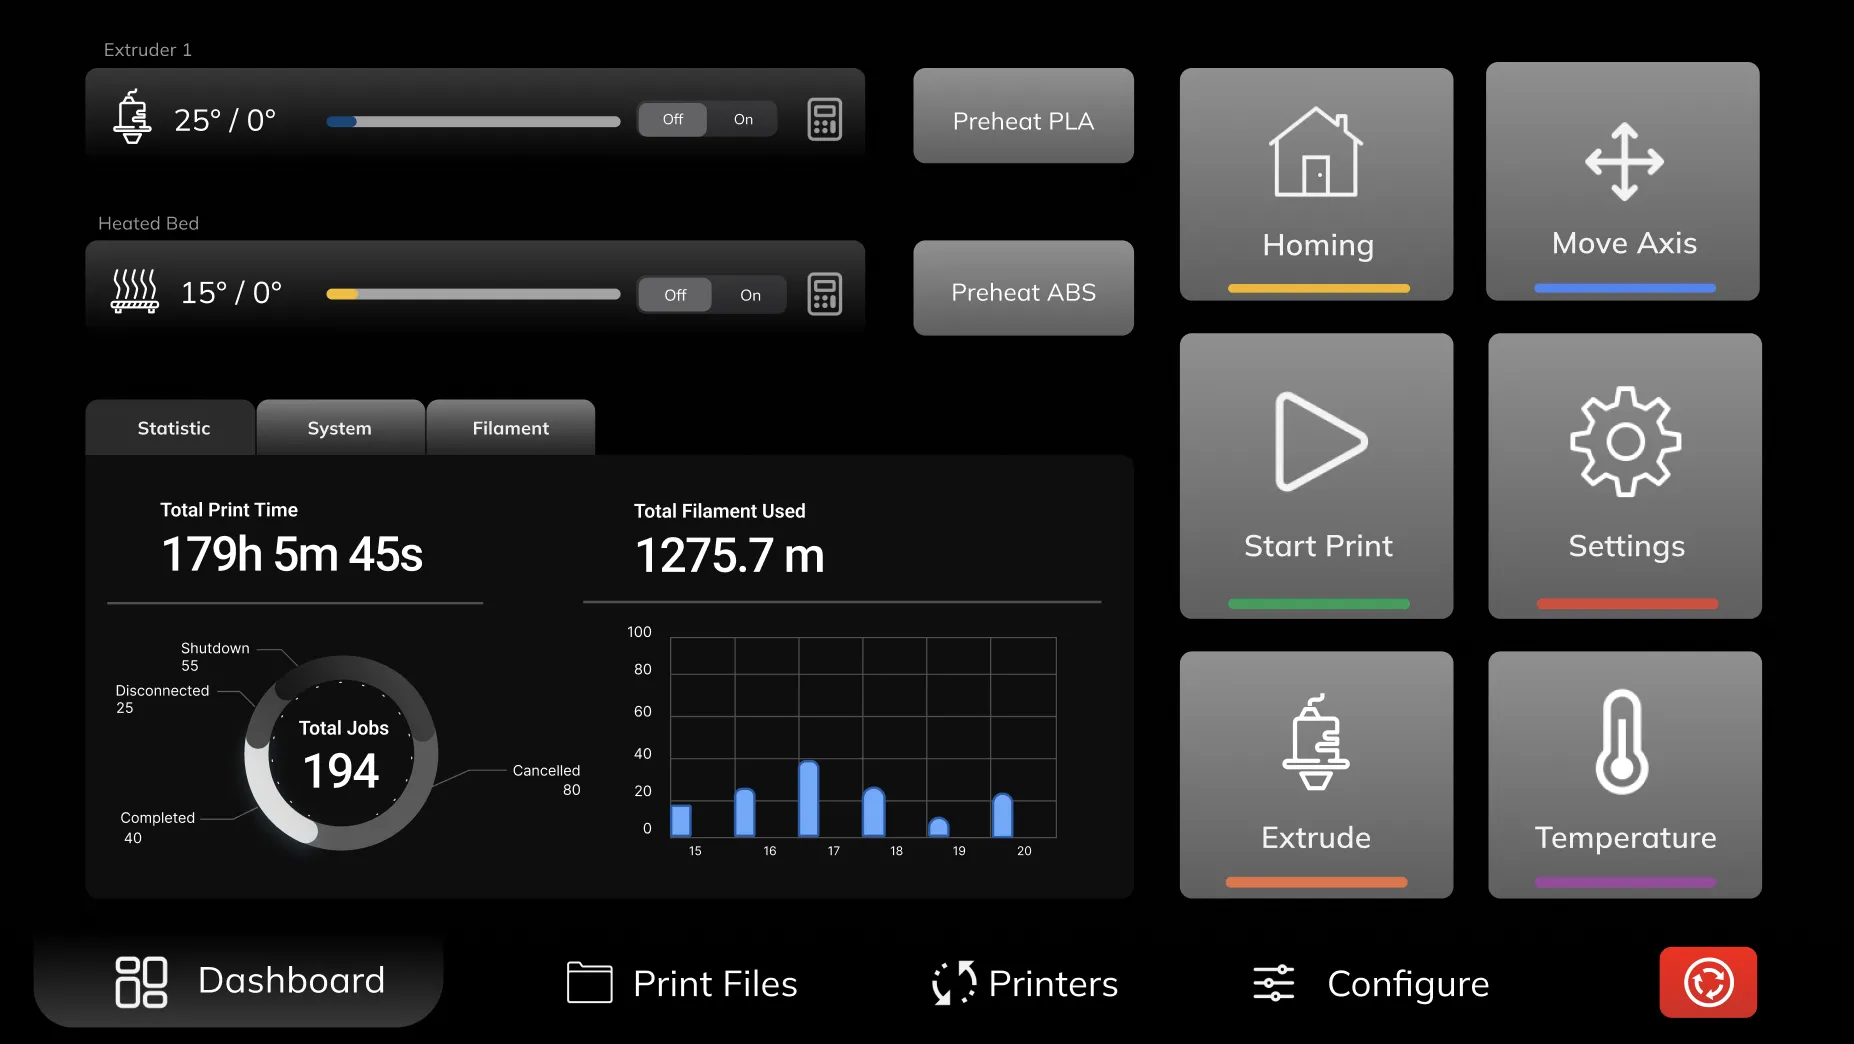
ChromaScreen's dashboard is designed to be user-friendly, allowing you to access many functions with minimal clicks.
You can click on the extruder and bed temperatures in the top left to enter custom values and adjust the temperatures. Additionally, you can quickly set temperatures to ABS and PLA values with a single button press. "PREHEAT PLA" sets the nozzle to 200 degrees Celsius and the bed to 60 degrees Celsius. "PREHEAT ABS" sets the nozzle to 240 degrees Celsius and the bed to 80 degrees Celsius.
To quickly turn off heating, you can use the ON/OFF buttons next to the respective temperatures. These buttons immediately cut off the heat, and when you turn them ON, they resume heating.
Below the temperature section, there is a tab structure that allows you to access various information without changing pages. This tab structure includes print statistics accumulated so far. In the "System" tab, you can view hardware usage percentages and temperatures. In the "Filament" tab, you can perform detailed filament loading and retraction. To elaborate on this tab structure further:
¶ 2.2- Tab Structure
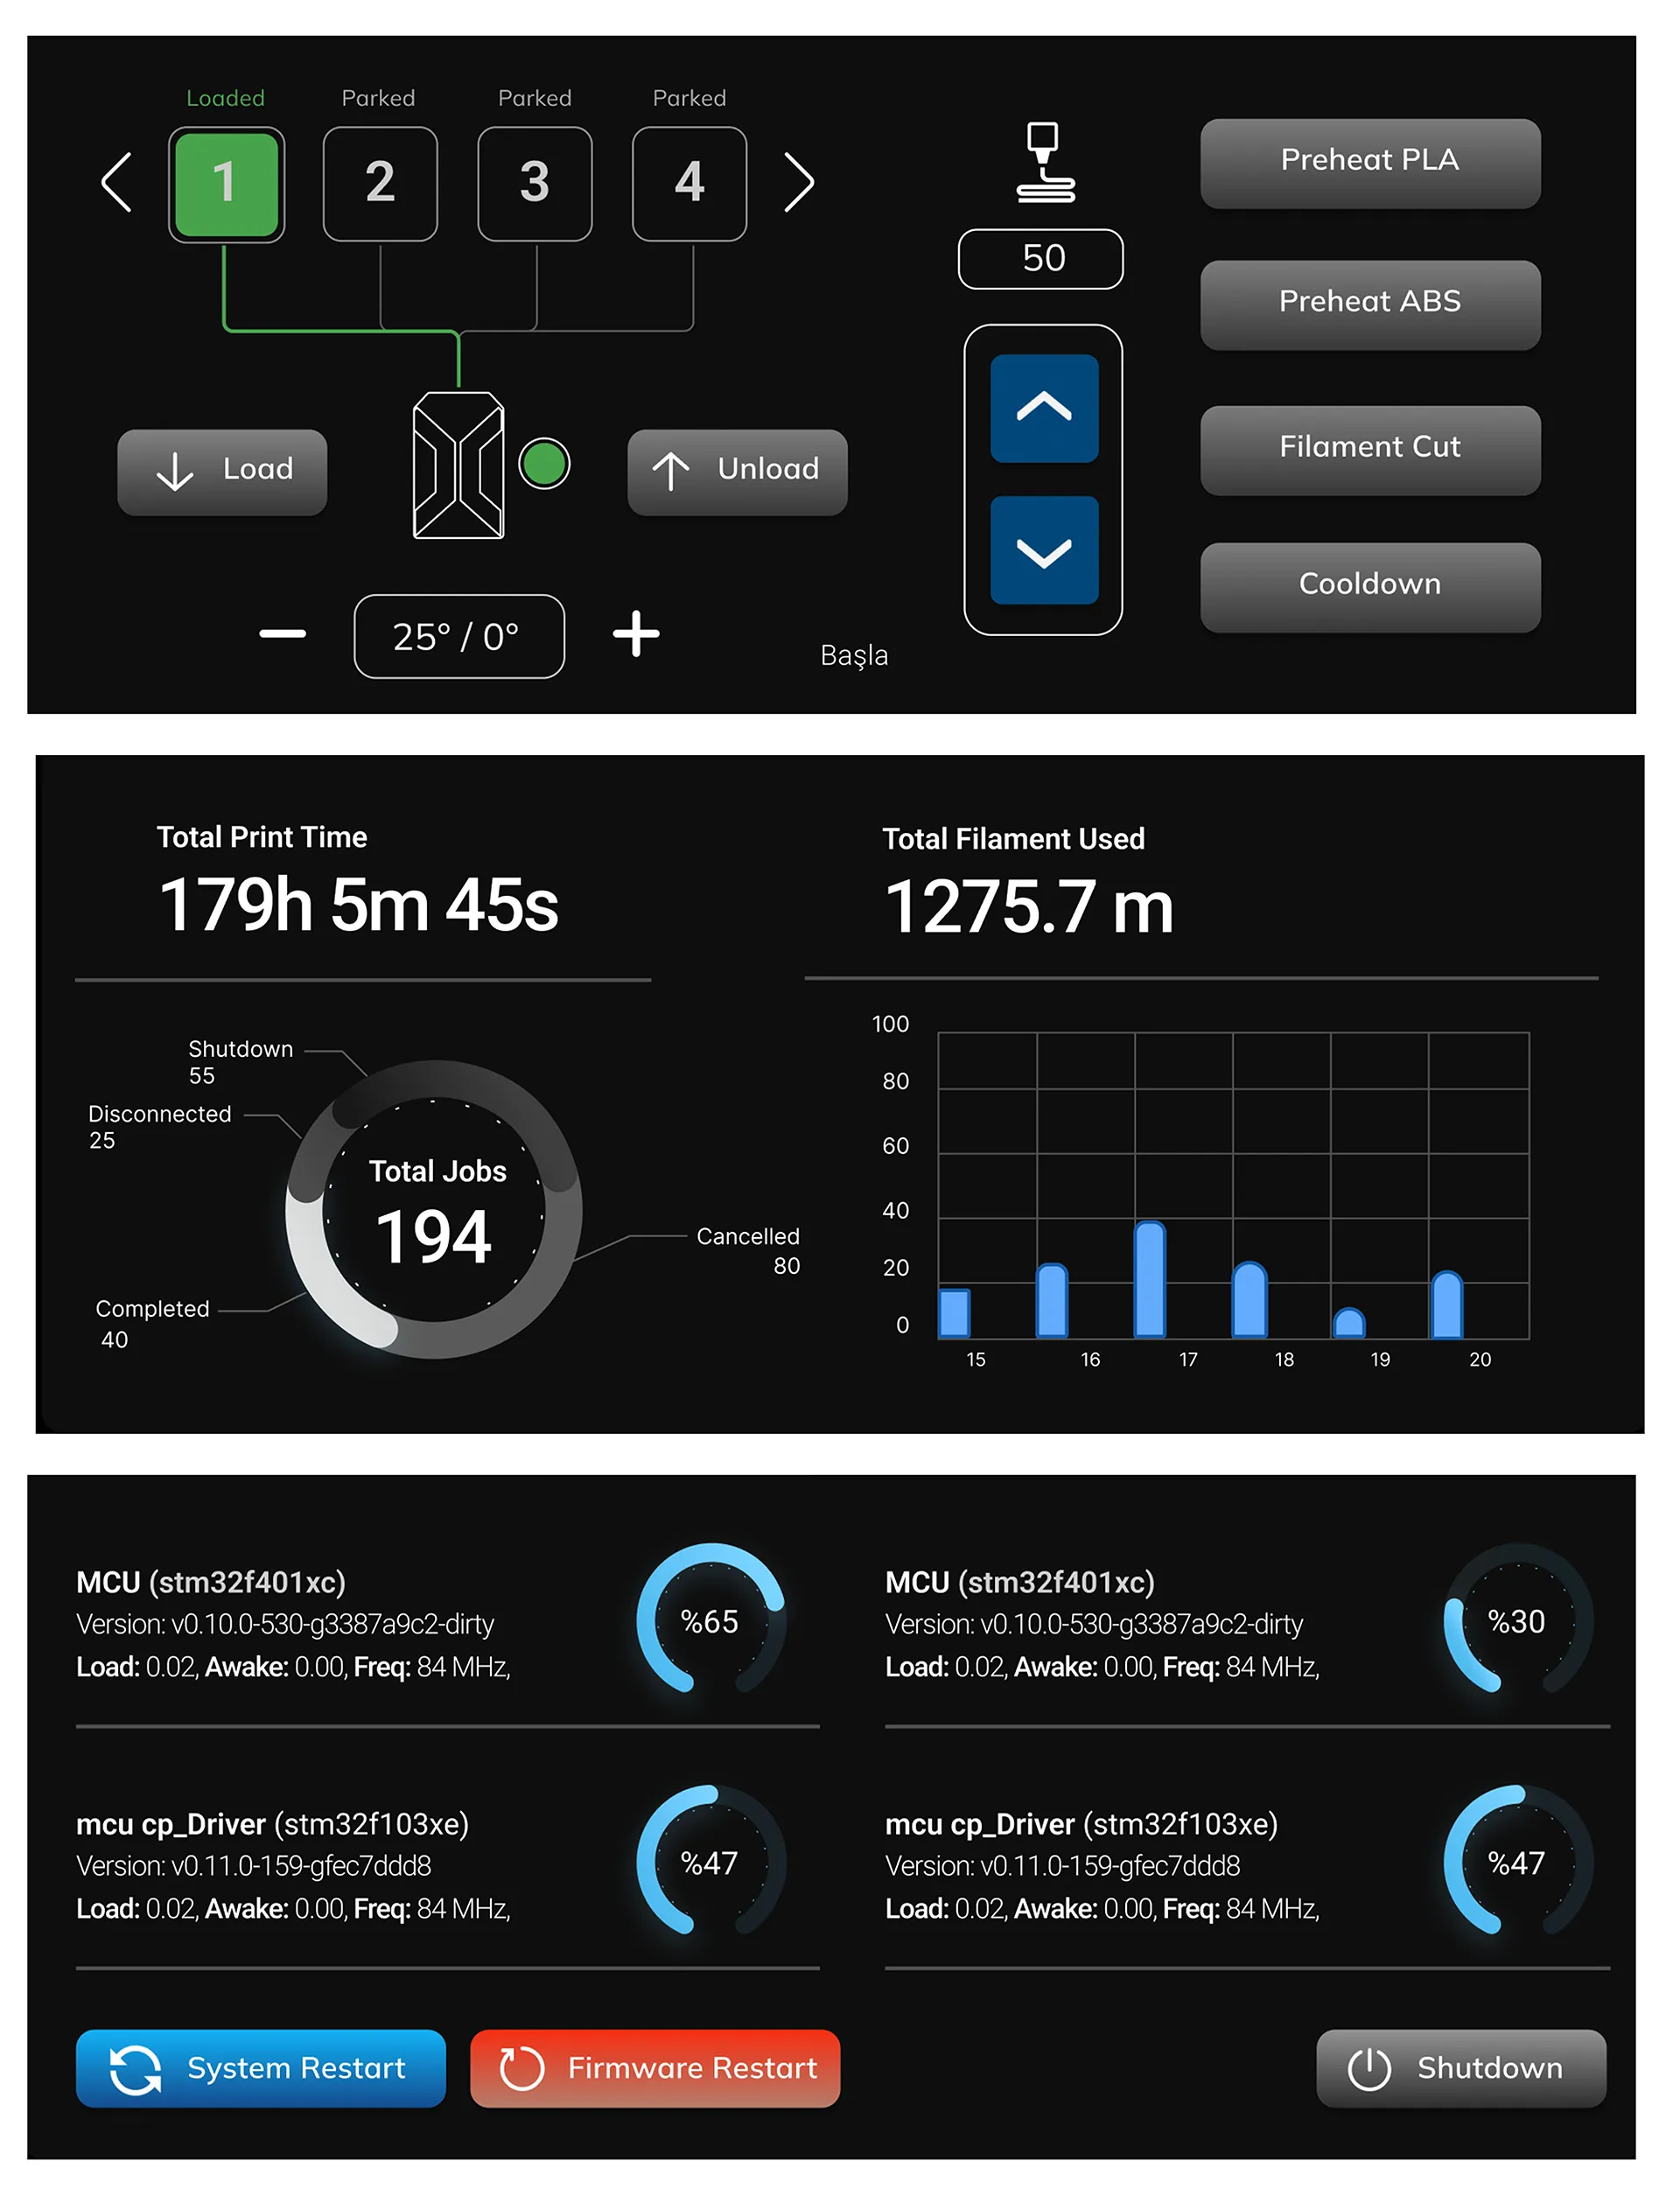
Tab structure aims to consolidate multiple pages into a single area for ease of use. The first tab is the "Statistics" tab.
The "Statistics" tab displays the total print time and the total length of filament used. Additionally, it presents a segmented circular graph showing various printer-related metrics, such as the number of times printers connected to ChromaPad were turned off during printing, the number of canceled prints, the number of connection losses, and the number of completed prints. Adjacent to it on the right is a table indicating the daily filament consumption in grams.
The second tab is the "System" tab. In this tab, you can view detailed information about the electronic hardware within ChromaPad and connected external 3D printers, additional KCMs, and electronic boards, including temperature, usage, and load values.
The third tab features the filament control interface. In this interface, you can control up to 20 connected extruders and load filament into the ChromaHead associated with the selected extruder. You can also use filament cutting macros.
¶ 2.2- Move Axis Page
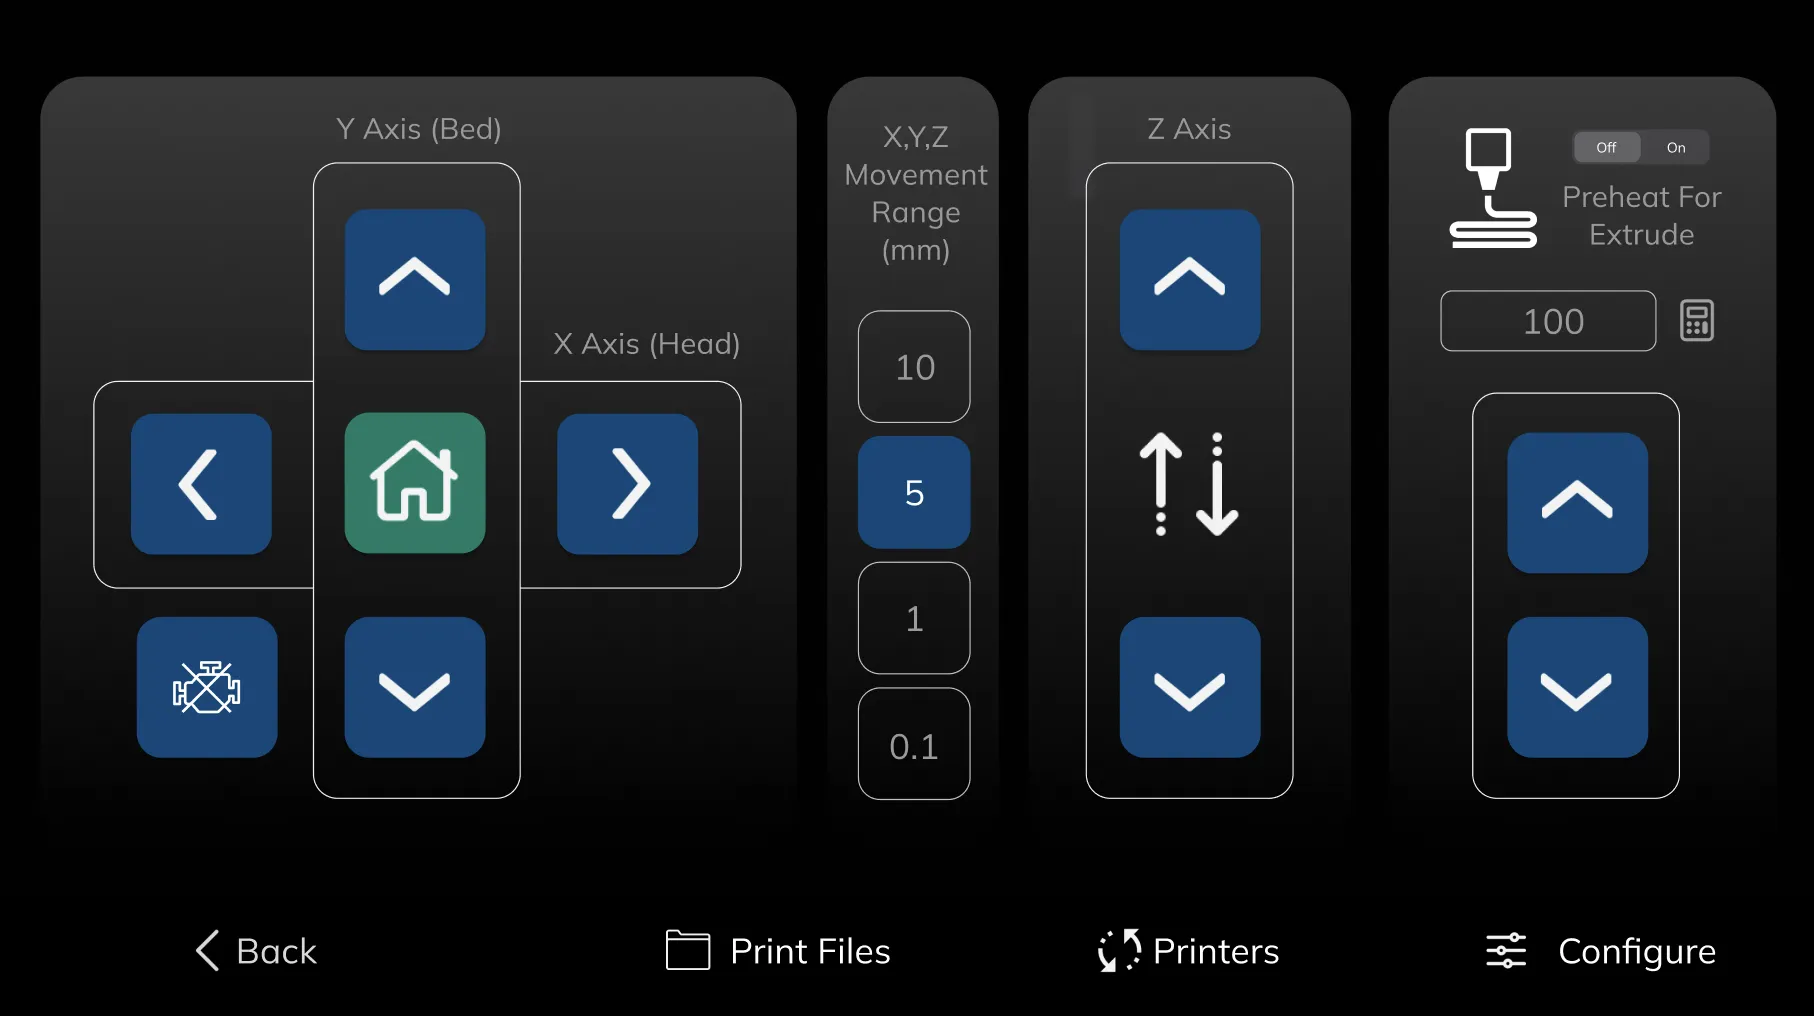
The "Move Axis" page allows you to control the axes of the 3D printer. For ease of use and to prevent confusion, the X and Y axes are positioned separately from the Z axis. Additionally, you can change the movement distance of the axis on this page. There are options for advancing by 10mm, 5mm, 1mm, and 0.1mm increments. Furthermore, there is also a filament feeding area available on this page, allowing you to control filament without leaving this interface.
¶ 2.3- Print Files Page
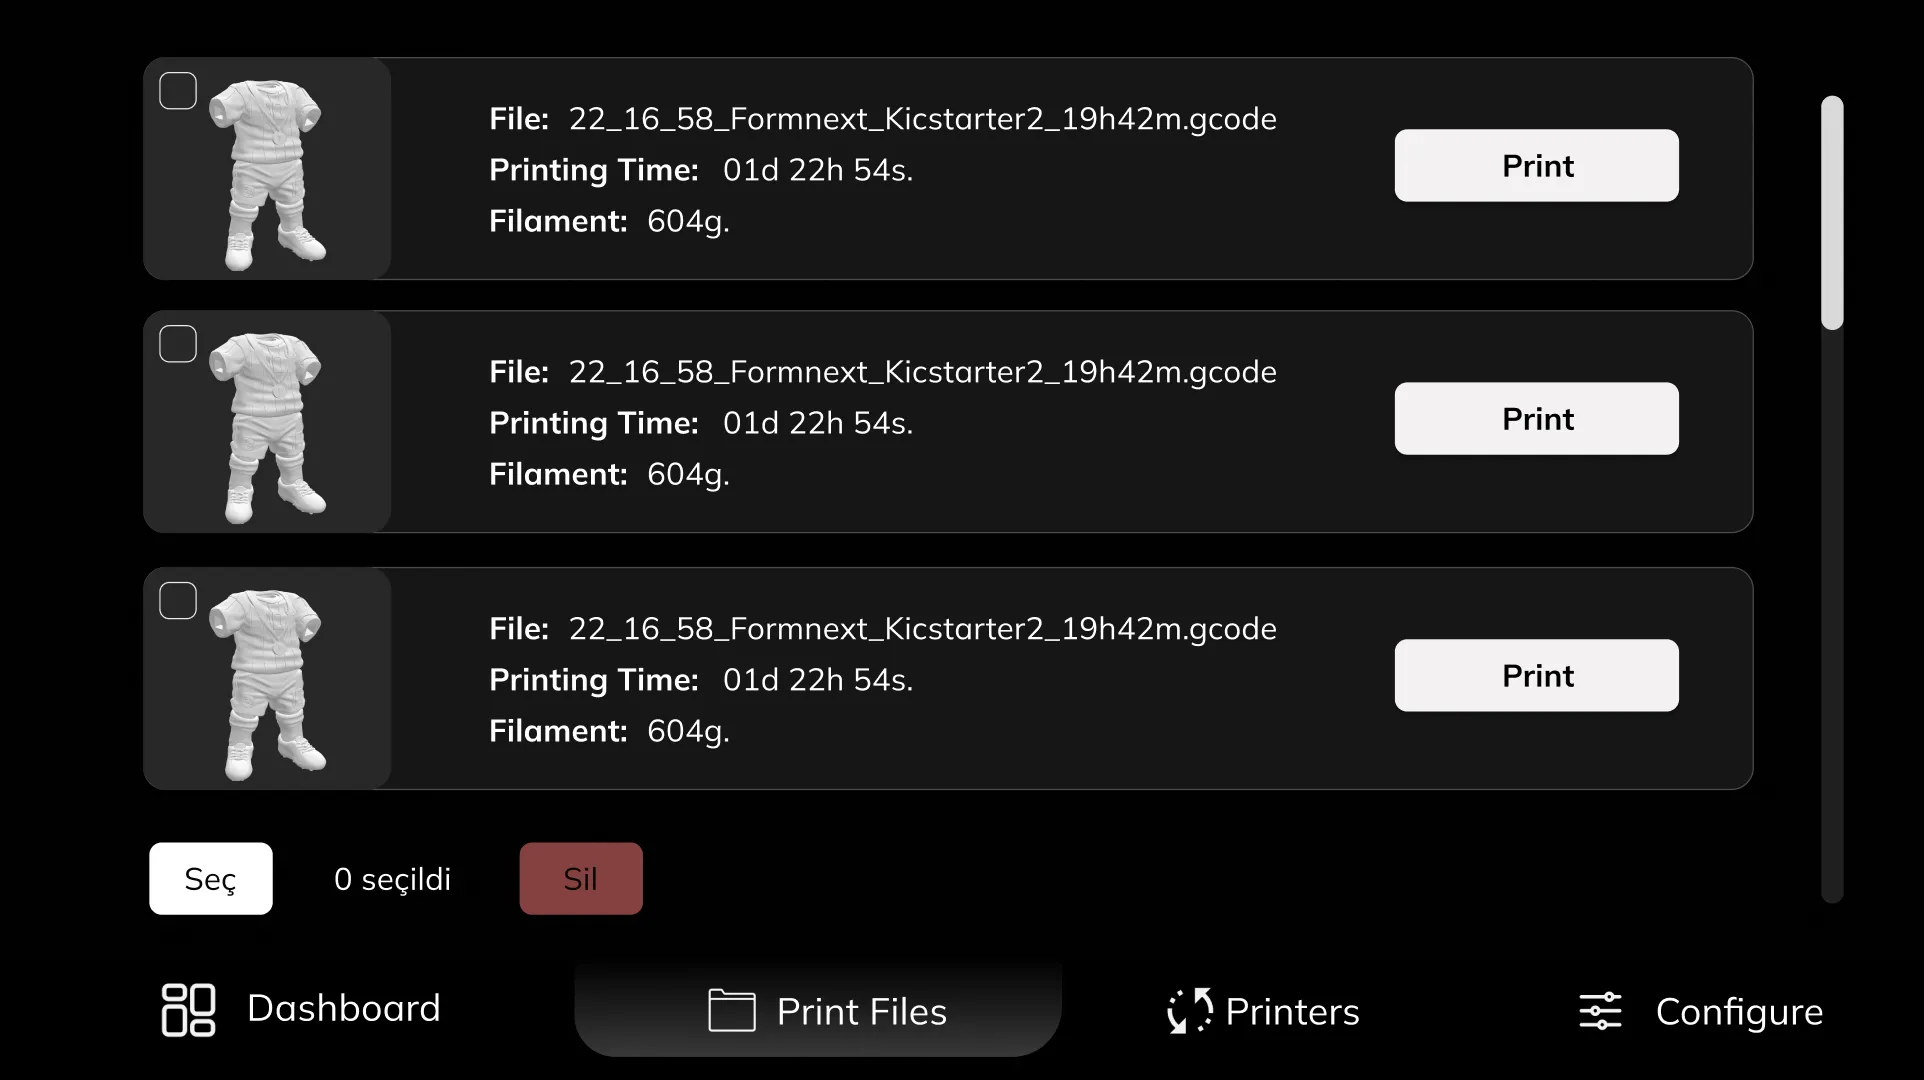
On the "Print Files" page, you can preview 3D models to be printed on the tablet along with their preview, and easily initiate printing for the selected model. By using the "Select" and "Delete" buttons, you can make batch selections and delete the selected models from ChromaPad. You can use the MainSail interface to load models onto ChromaPad. The model library in MainSail works synchronously with ChromaPad's "Print Files" page, so deleting models from one interface will also remove them from the other.
¶ 2.4- Extruder Control Page
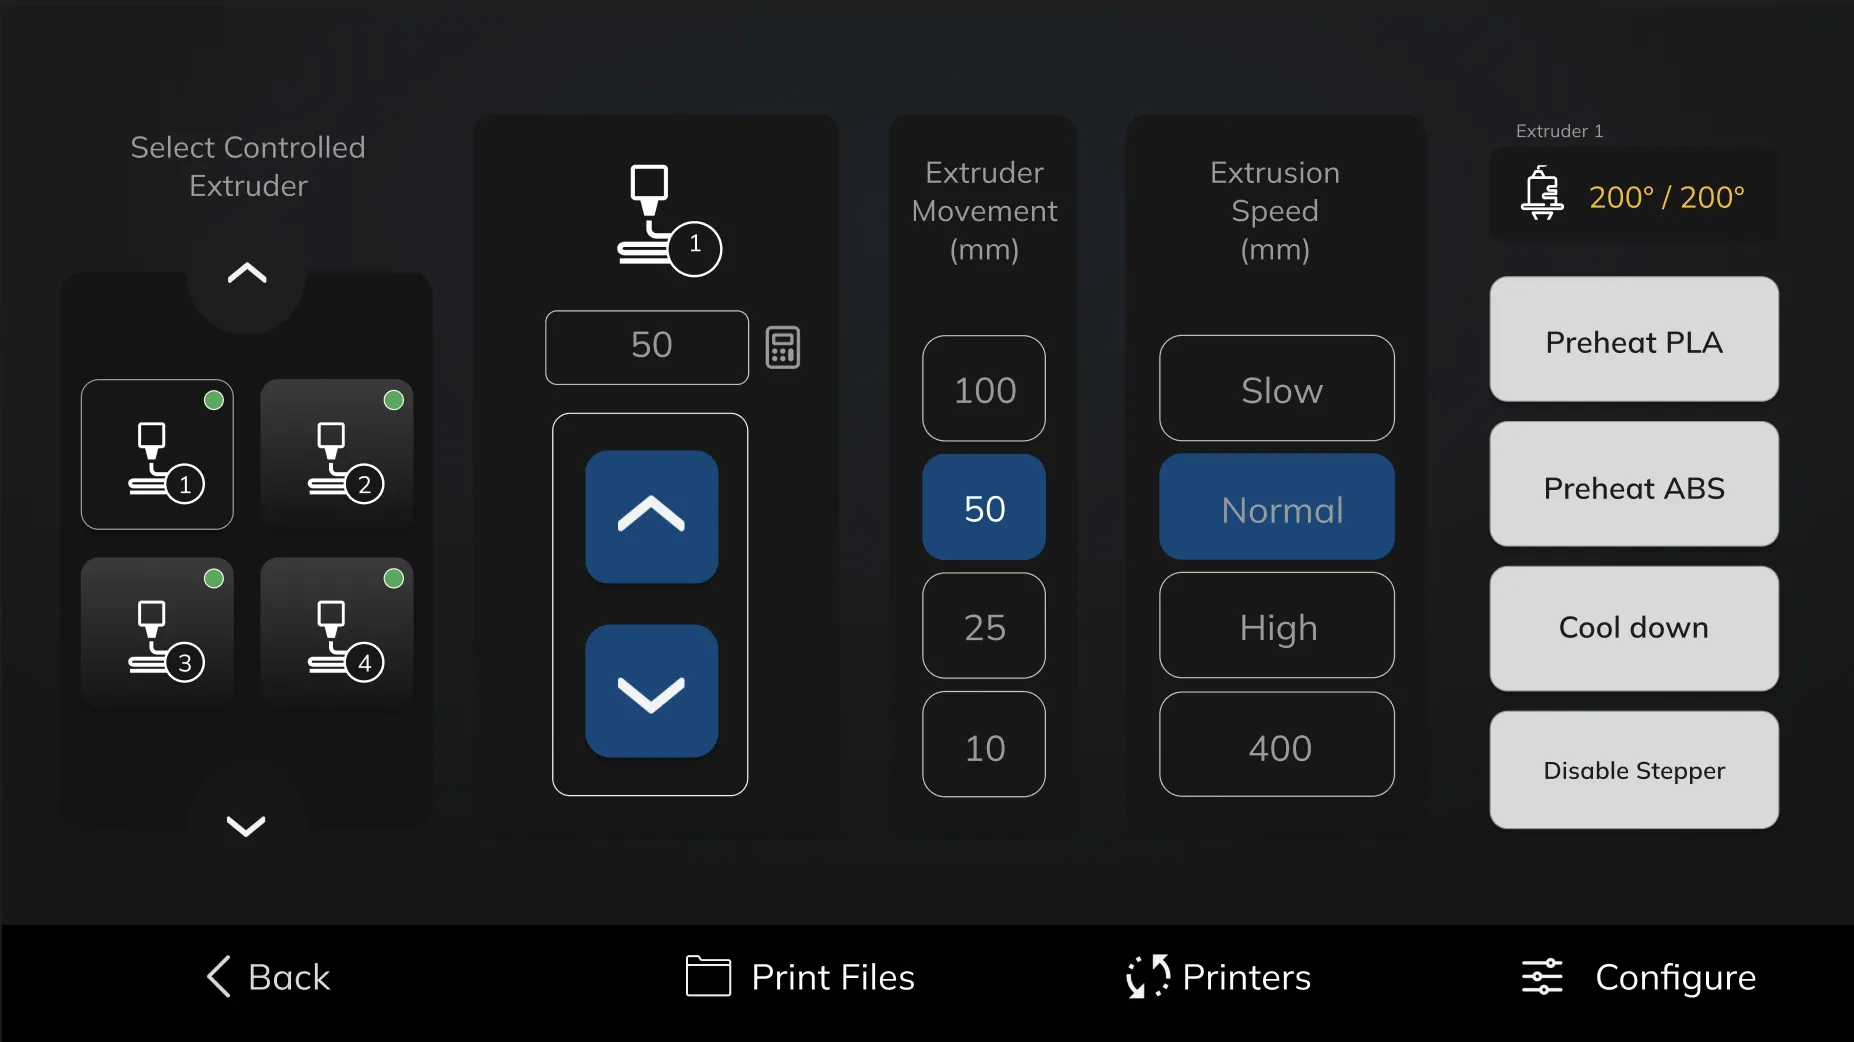
The Extruder Control Page, specially designed to control 20 extruders connected to ChromaPad, enables multi-extruder control. On the left side, the "Extruder Selector" lists 20 extruders; those with green lights indicate that the respective extruder is connected to the system and ready to operate. You can view other extruders by using the top and bottom buttons. Clicking on any extruder selects it, and all controls on the right side are valid only for the selected extruder. Through these controls, you can perform forward and backward extrusion operations and control the extruder's movement speed during this process. Additionally, you can determine how many millimeters of filament will be extruded from the Extruder Movement menu. On the far right menu, you can control the hotend temperature and activate preheating settings.
¶ 2.5- Temperature Page
Through the Temperature page, you can perform detailed temperature control. You can control the extruder and bed temperatures separately and enter custom values. You can increase or decrease the temperature using the + and - buttons, and you can also choose the degree of change for these buttons. Additionally, you can adjust the fan speed. You can use preset temperature settings or reset the temperature values if they are too high.

¶ 3- Multi Printer Control
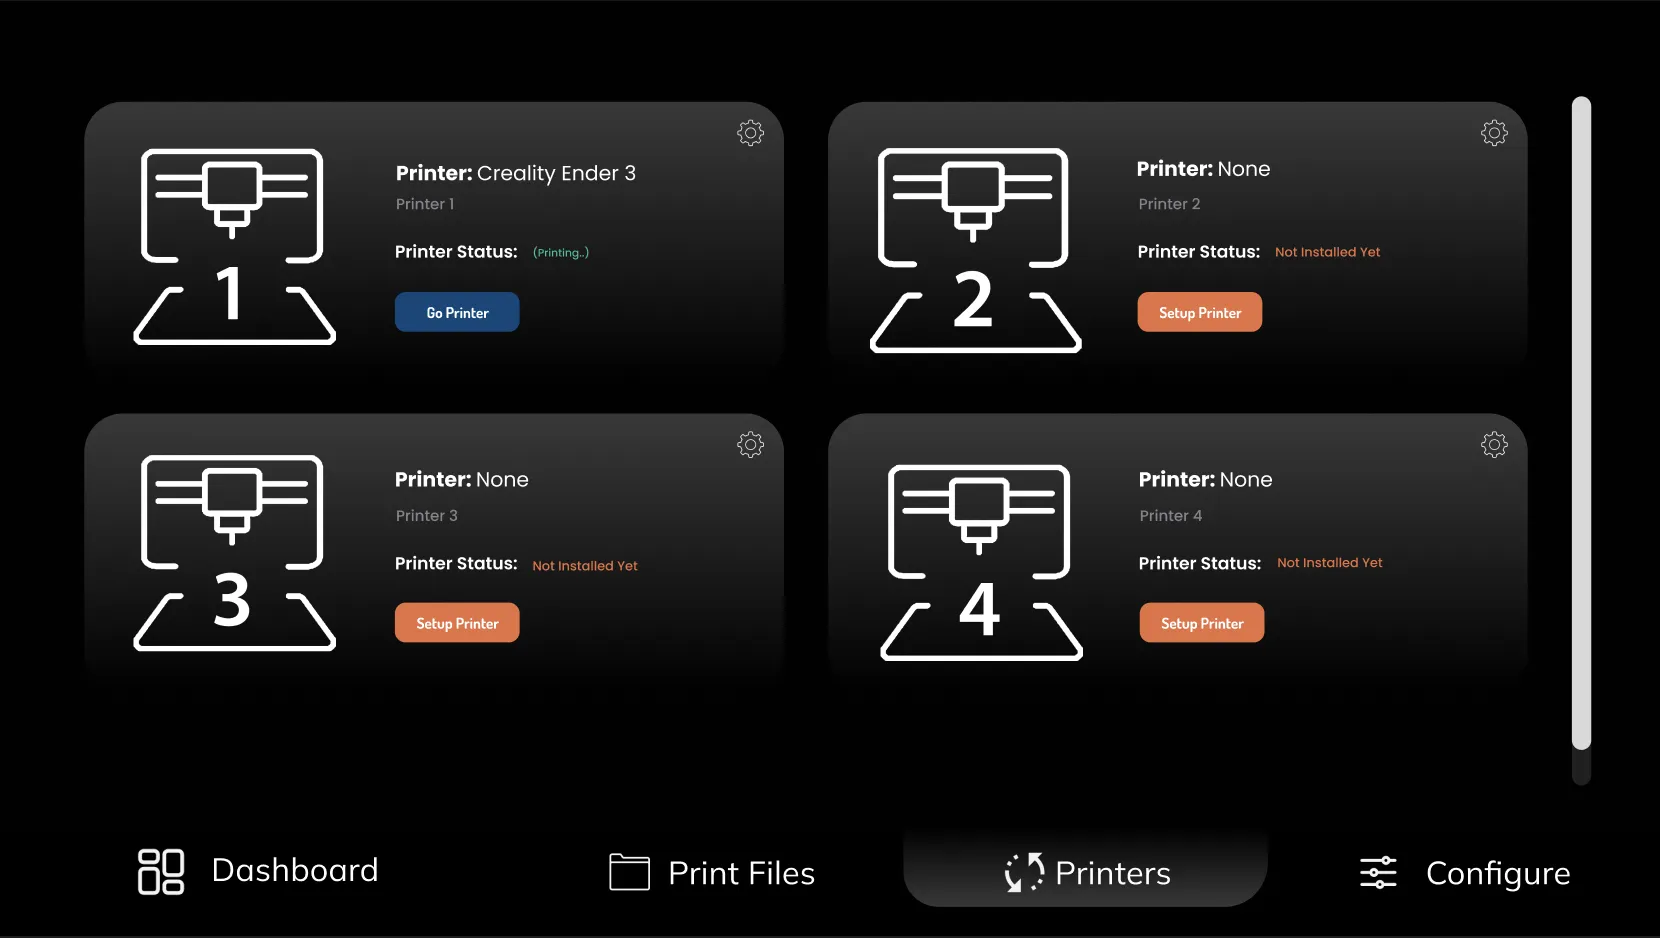
ChromaPad can simultaneously control up to 8 3D printers. You can view and select the 3D printers you have set up in this interface for control. To add a new printer, you can use the "Setup Printer" button in the empty slots. This button will take you to the setup wizard, allowing you to install a new printer in the respective slot.
¶ 4- Main Menu - Configure
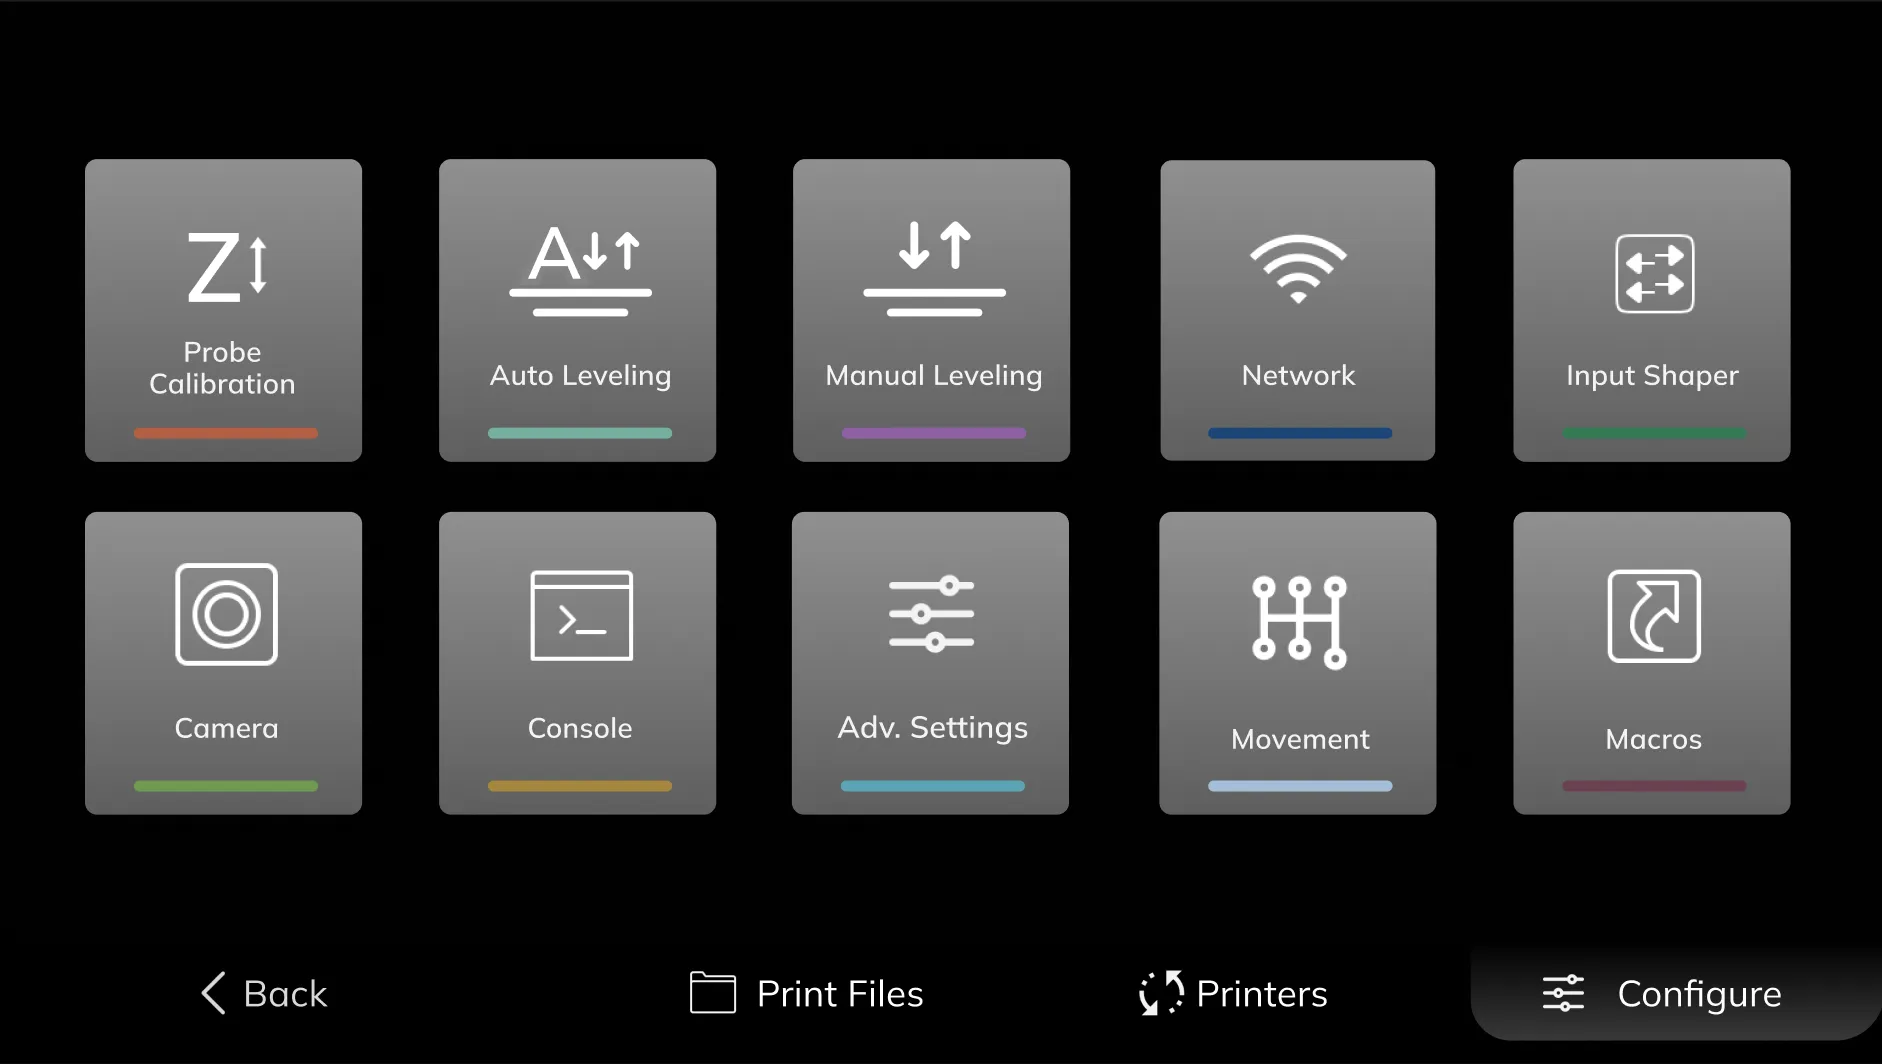
It's the main menu interface where you can access all the features offered by ChromaPad. Using this interface, you can access functions such as Probe Calibration, Auto Leveling, Manual Leveling, Network, Input Shaper, Camera, Console, Advanced Settings, Movement, and Macros.
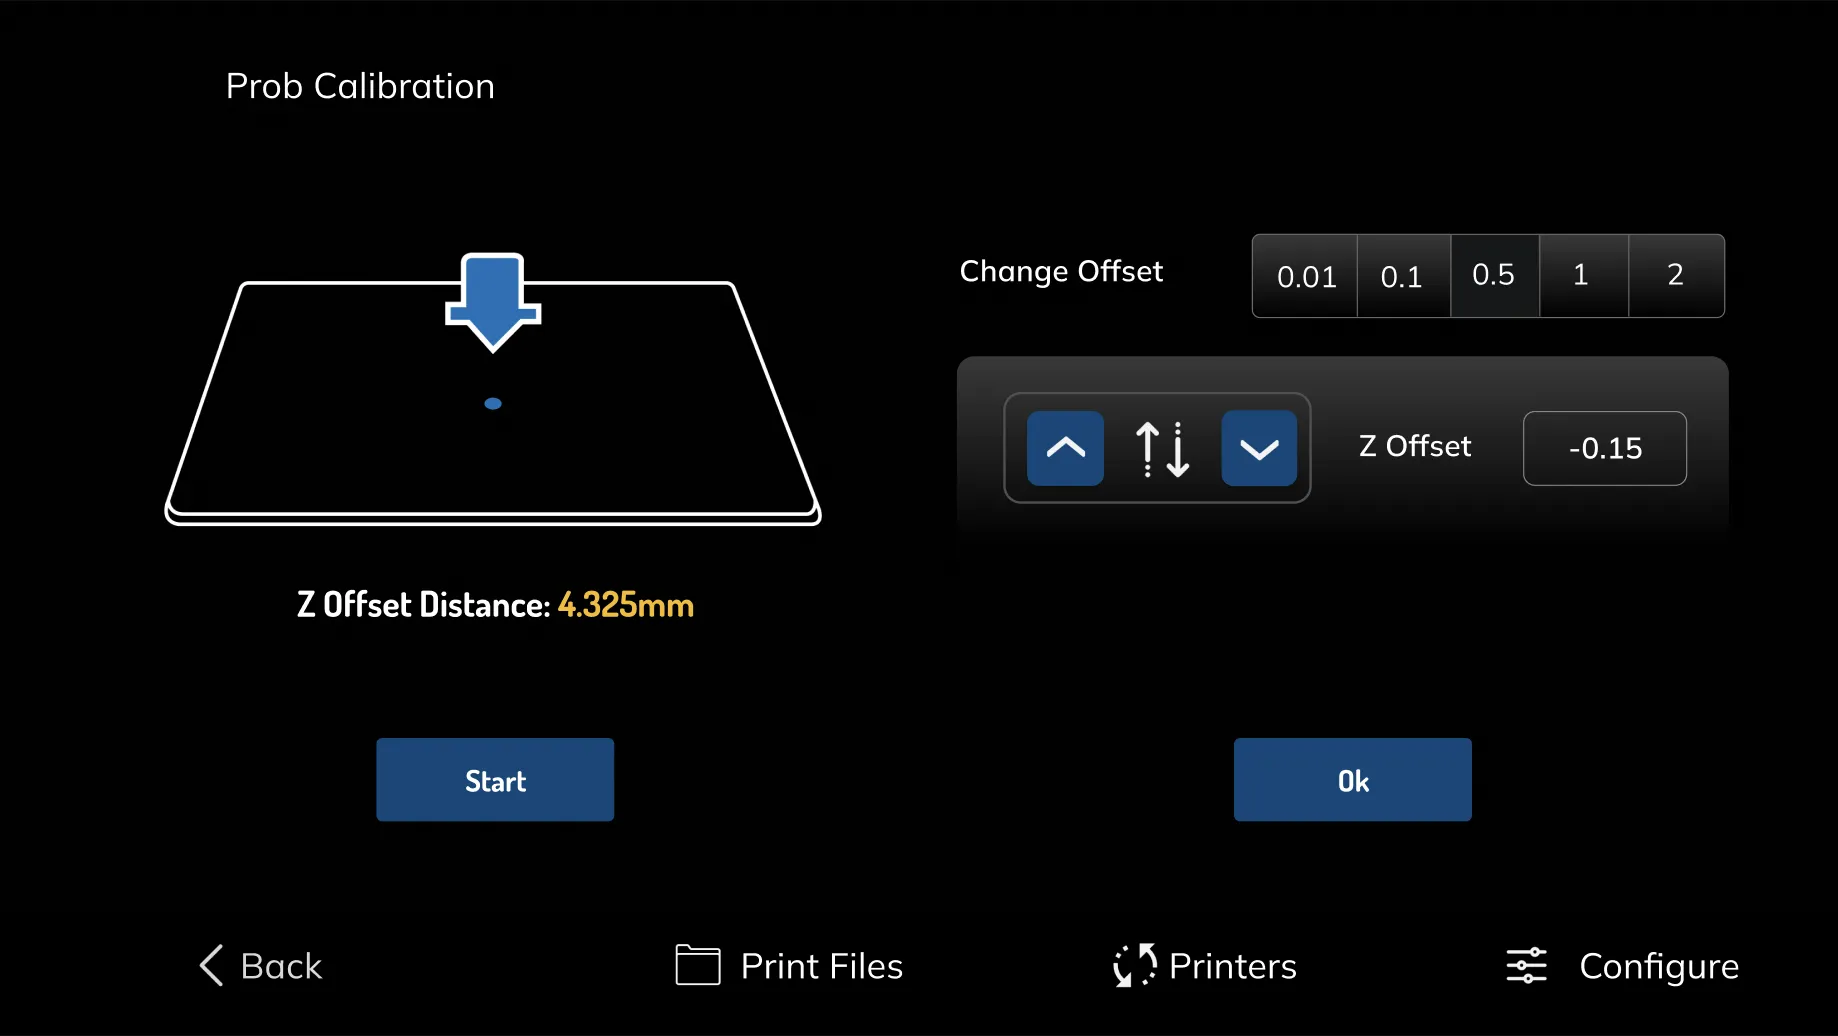
¶ 4.1- Z Probe Calibration Page
You can perform probe calibration from the Z Probe calibration interface.
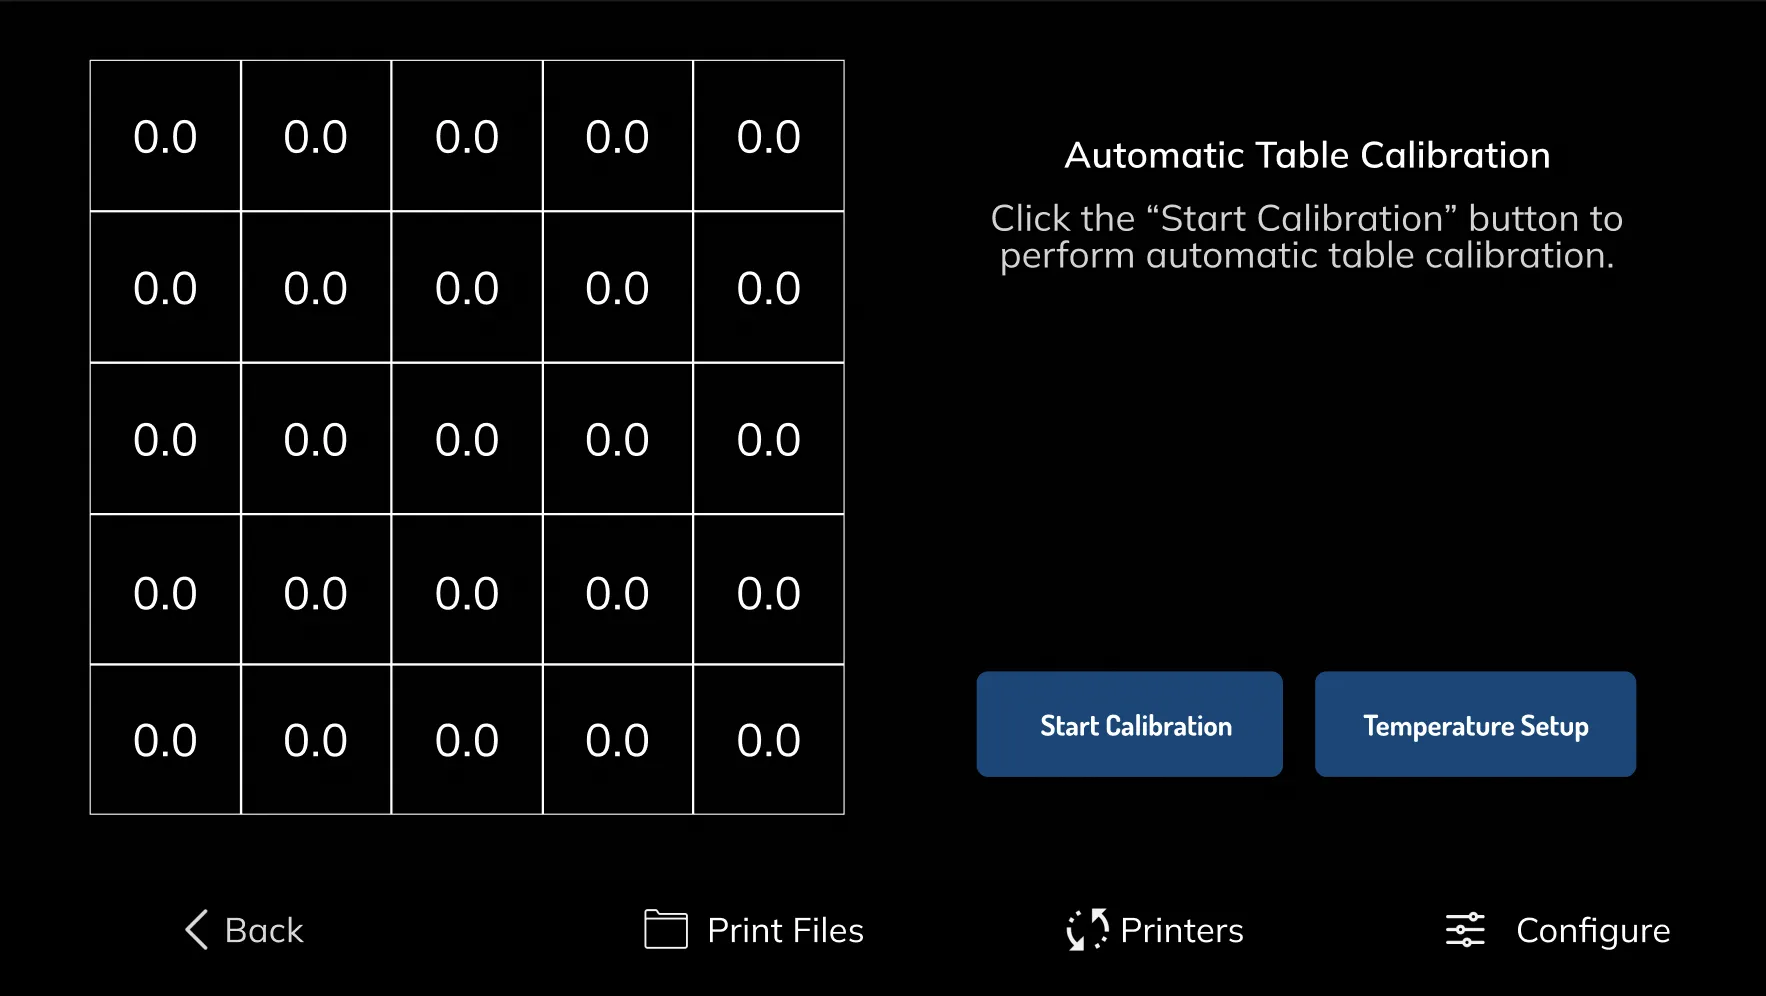
¶ 4.2- Auto Leveling Page
From the Auto Leveling page, you can initiate automatic bed calibration by using the "Start calibration" button. You can also access temperature settings from the "Temperature Setup" button.
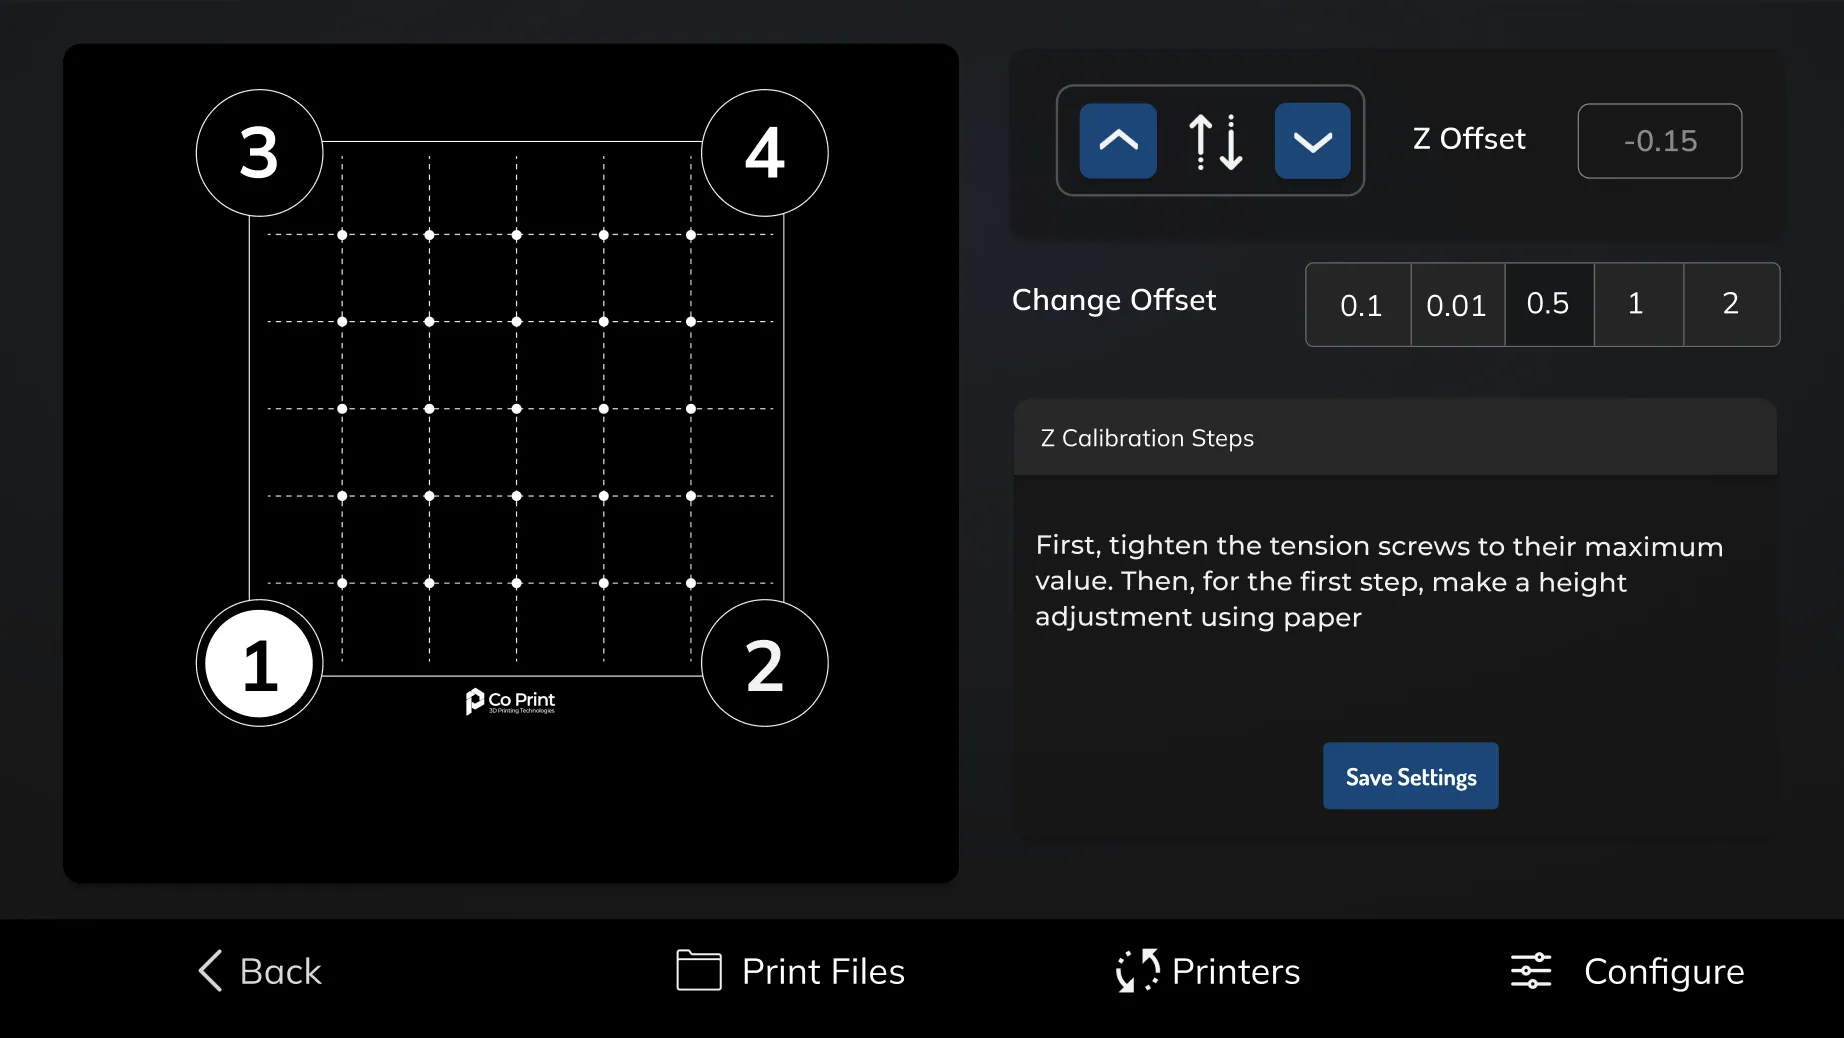
¶ 4.3- Manual Leveling Page
From the Manual Leveling page, you can manually perform bed calibration. Using the 1-2-3-4 buttons, you can move to the corners of the bed and adjust the springs or perform calibration via Z offset. You can save the Z offset value by clicking the "Save settings" button.
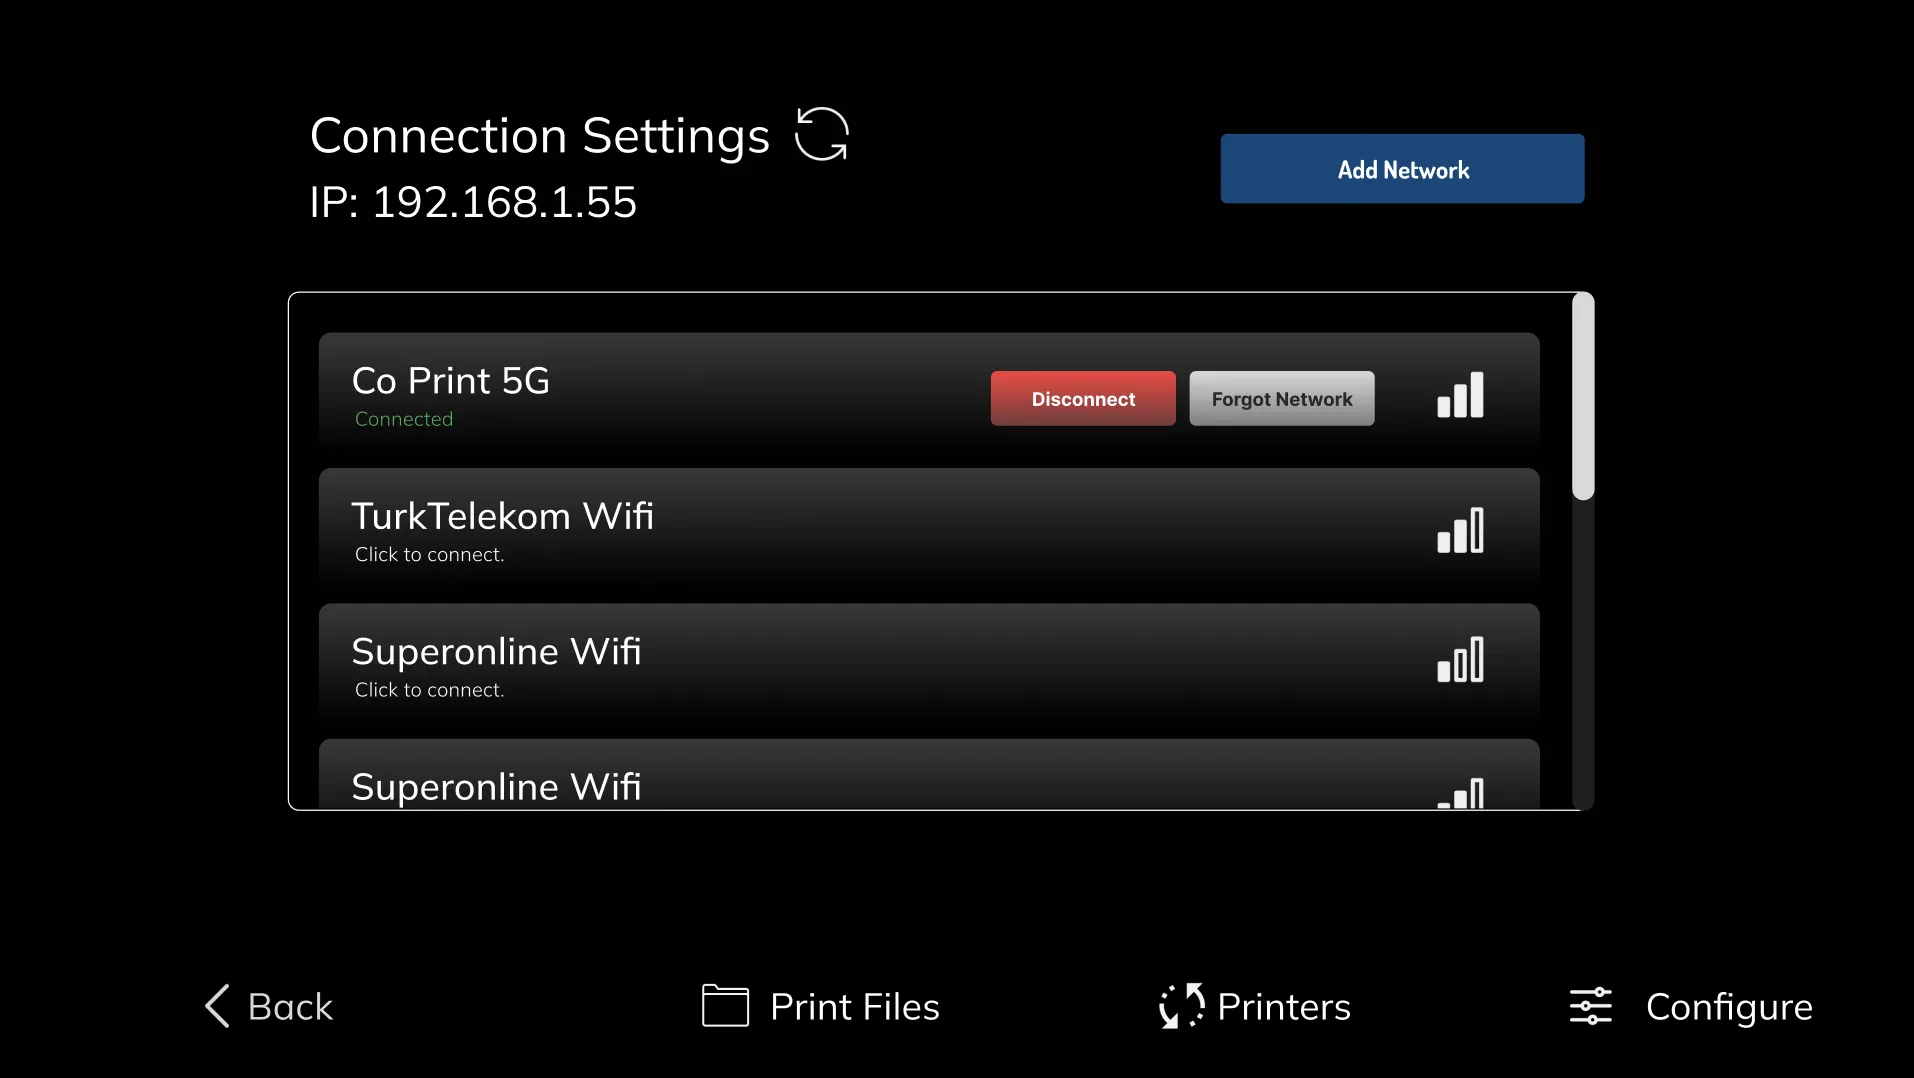
¶ 4.4- Network
You can manage internet connection settings from this interface. Additionally, you can view the device's IP address and access the MainSail interface using this address.
¶ 4.5- Input Shaping Page
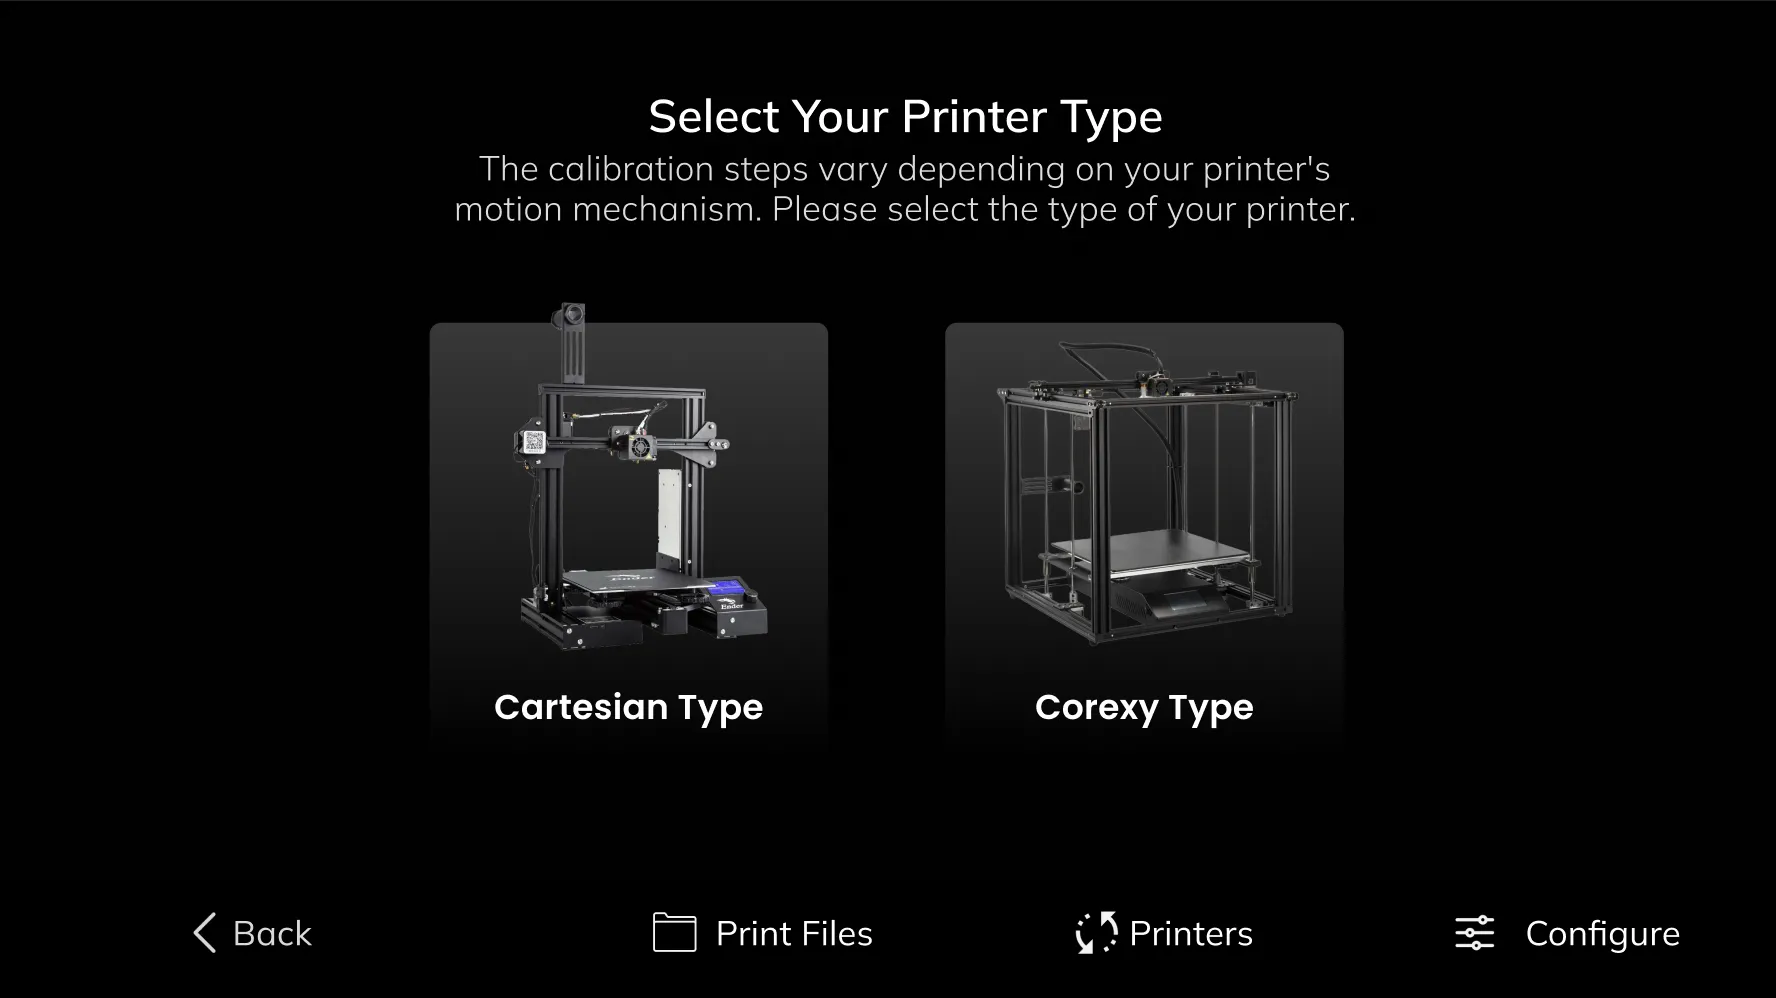
ChromaPad is a tablet that provides the input shaping feature. Within ChromaScreen, there is a wizard specifically for this feature. Using this wizard, you can perform input shaping calibration on all Cartesian and CoreXY type 3D printers. ChromaHead contains an embedded vibration sensor. You can use the calibration sensor that comes with the set by connecting it to ChromaPad via USB.
¶ 4.6- Camera Page
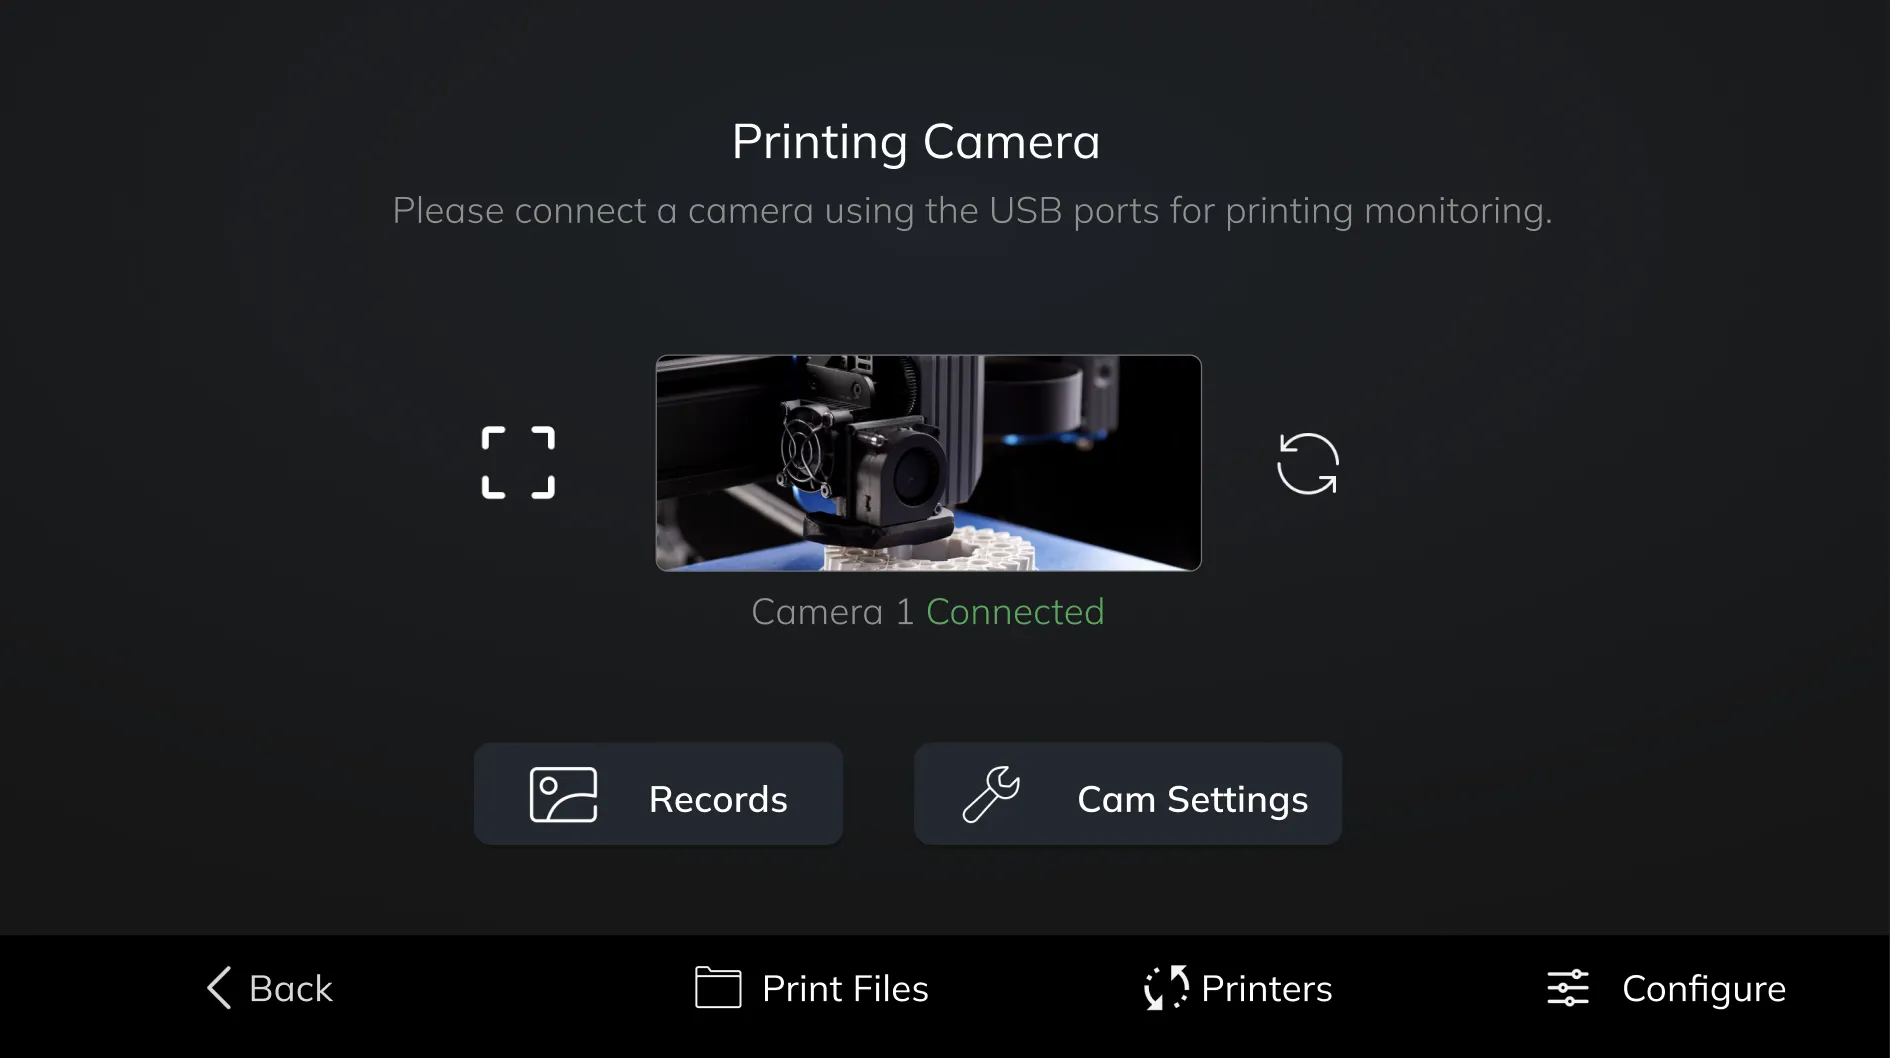
By connecting a camera to ChromaPad, you can remotely monitor your prints and capture timelapse videos. The connected camera can be viewed and managed in the Camera interface.
¶ 4.7- Console Page
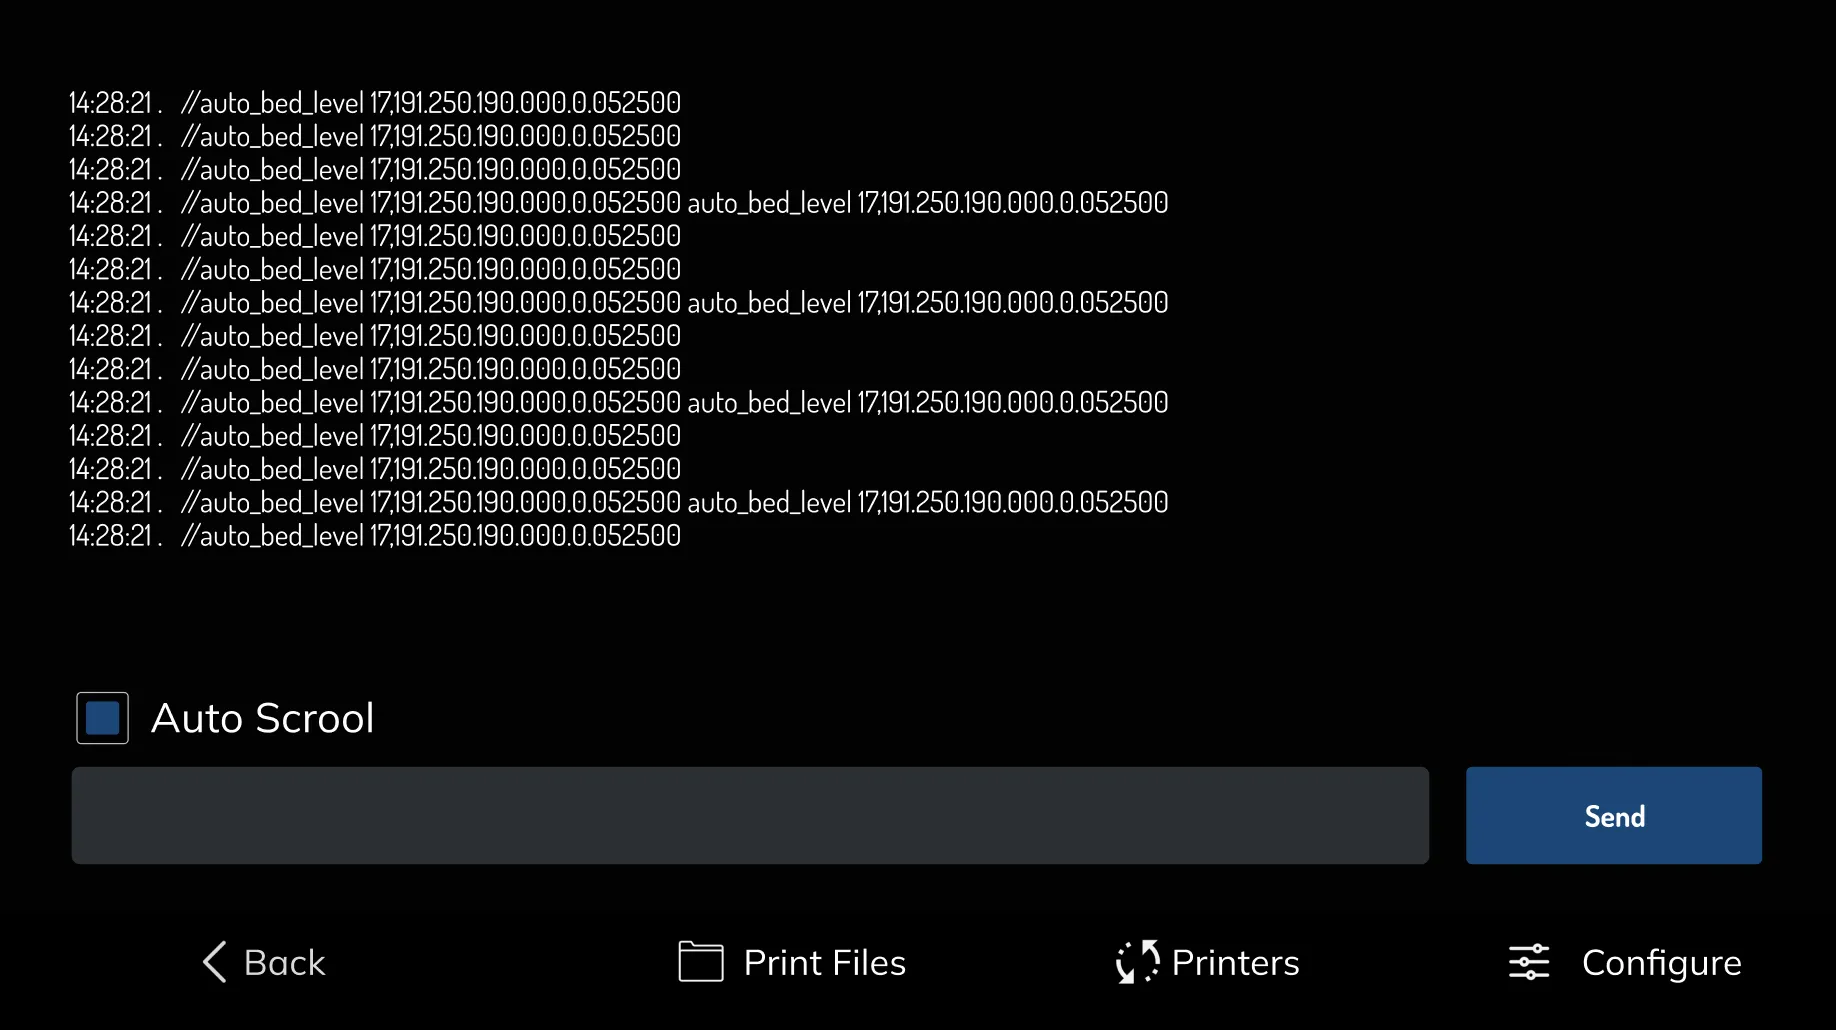
On the Console page, you can directly send commands to Klipper. It operates synchronously with the console in the MainSail interface.
¶ 4.8- Adanvce Settings Page
The "Adv. Settings" page contains various settings related to the interface.

¶ 4.9- Movement Settings
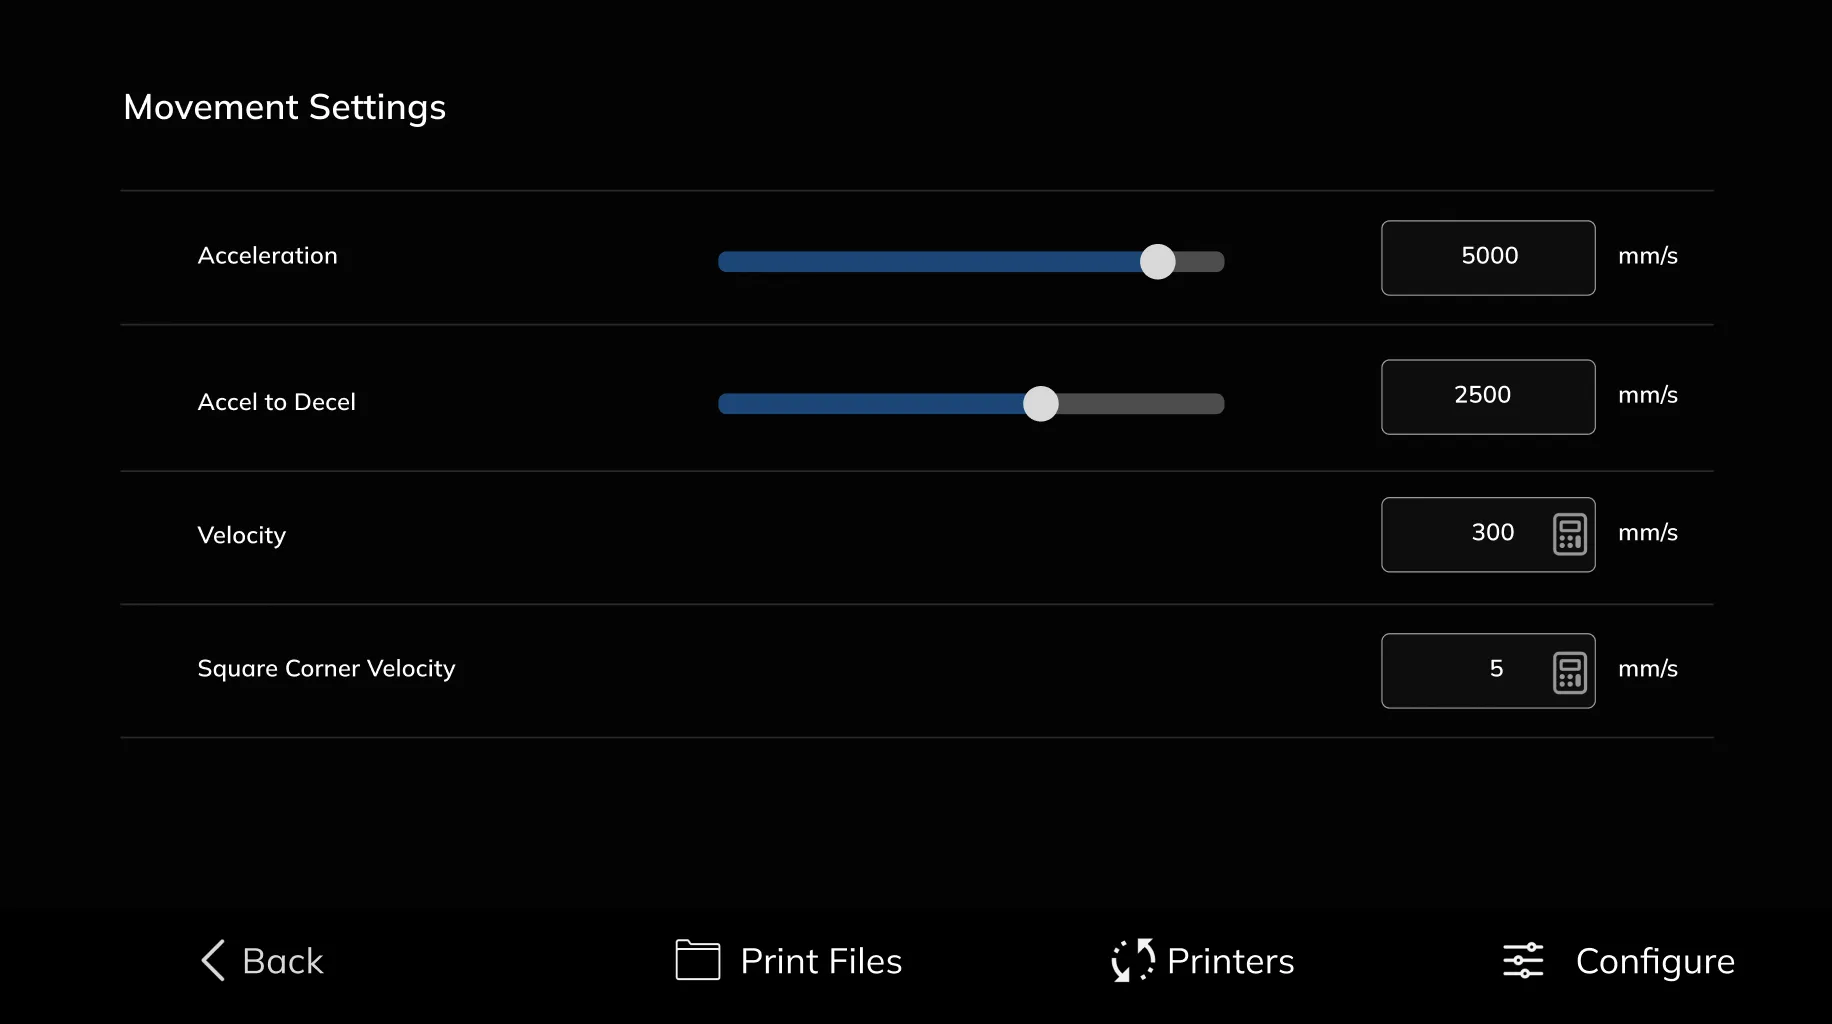
From the Movement page, you can control and adjust the printer's Acceleration, Accel to Decel, Velocity, and Square Corner Velocity settings.
¶ 4.10- Macro Page
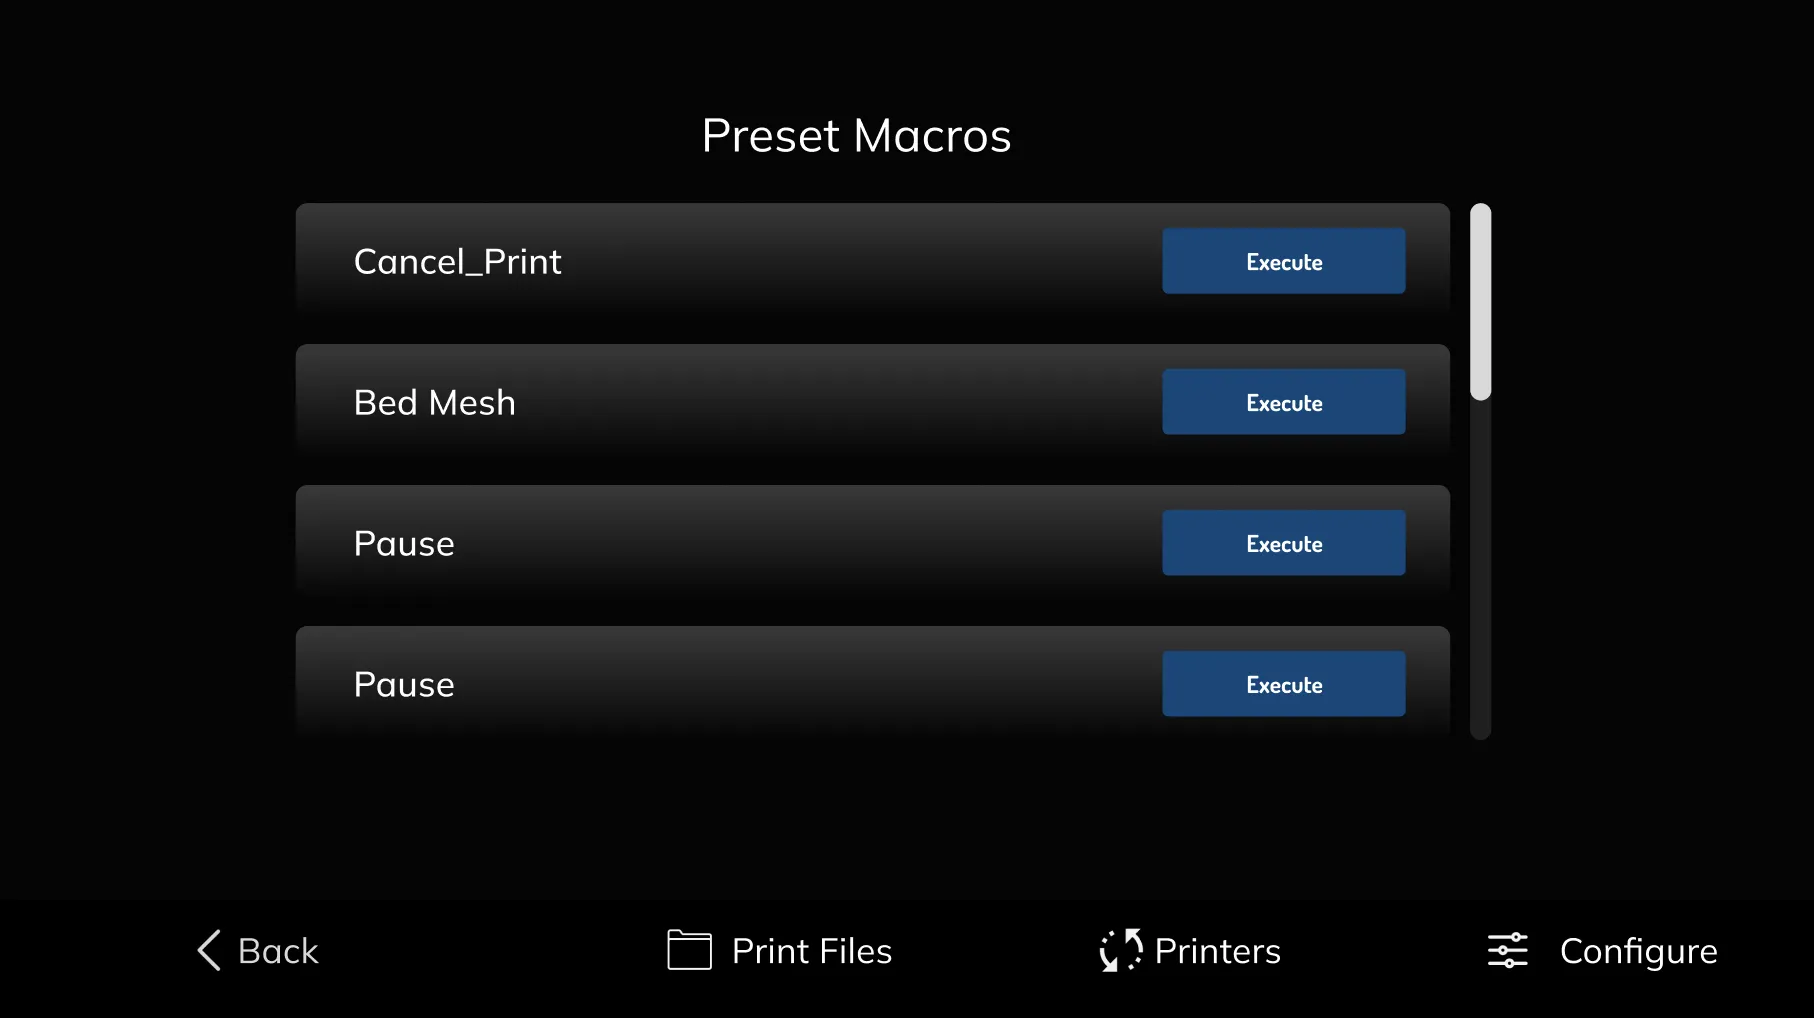
You can actively use the macros you've assigned from the MainSail interface on this Macros page.
¶ 5. Printing Screen
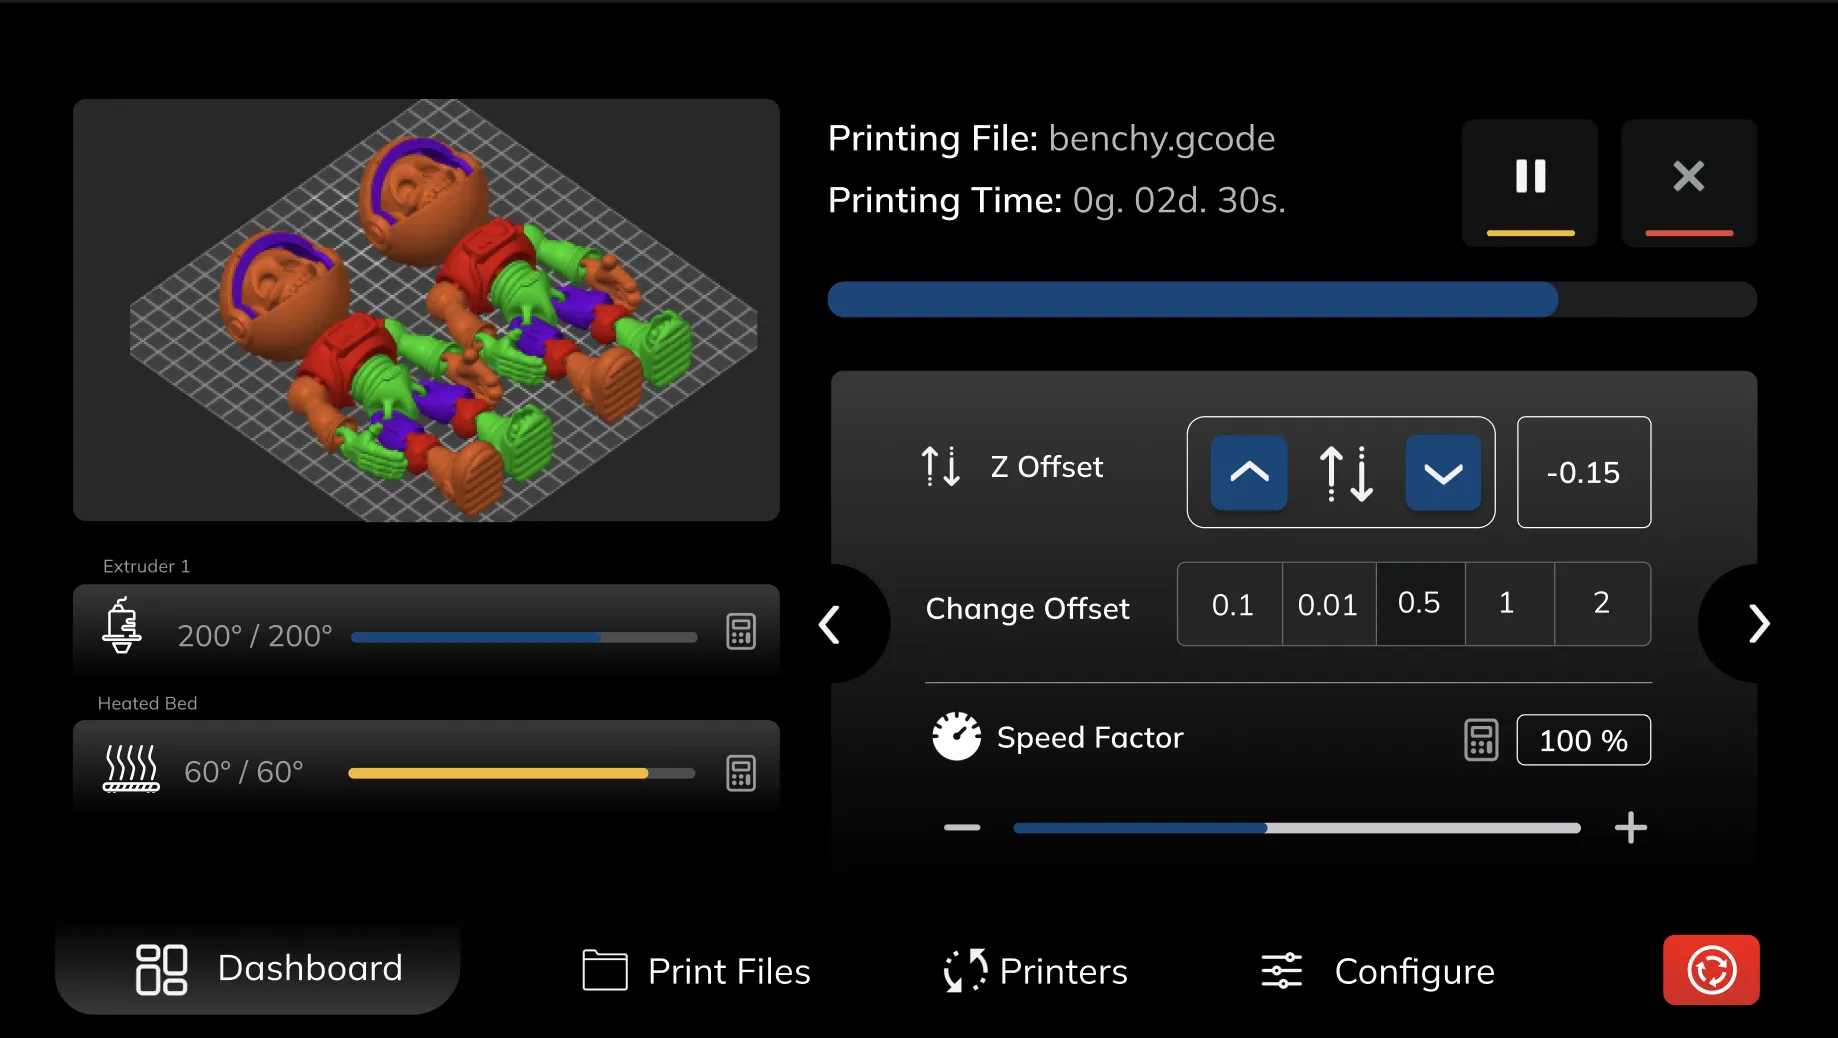
The Print Page contains many details related to the print initiated on the 3D printer.
In the preview area, you can see a preview of the printed model, displaying multi-color if the model is multi-filament and single-color if it's single-filament.
You can access metrics such as file name, print time, remaining time, etc.
You can view and adjust the extruder and print bed temperatures.
Through the side-scrollable feature menu, you can access Z Offset settings without the need to change pages and adjust the Z offset value during printing.
Under the Speed Factor setting, you can change the print speed during printing.
Under the Extrusion Factor setting, you can increase or decrease the extrusion rate.
Under the Fan Speed setting, you can control the fan speed and turn off the fan if desired.
Under the Machine settings, you can adjust the Velocity, Square Corner, Acceleration, and Max Accel to Decel settings of the machine during printing.
Printing Pages Fonctions
