¶ Atmega Proccessor Setup
- This page explains how to create a .hex file for printers with Atmega processors and flash your printer.
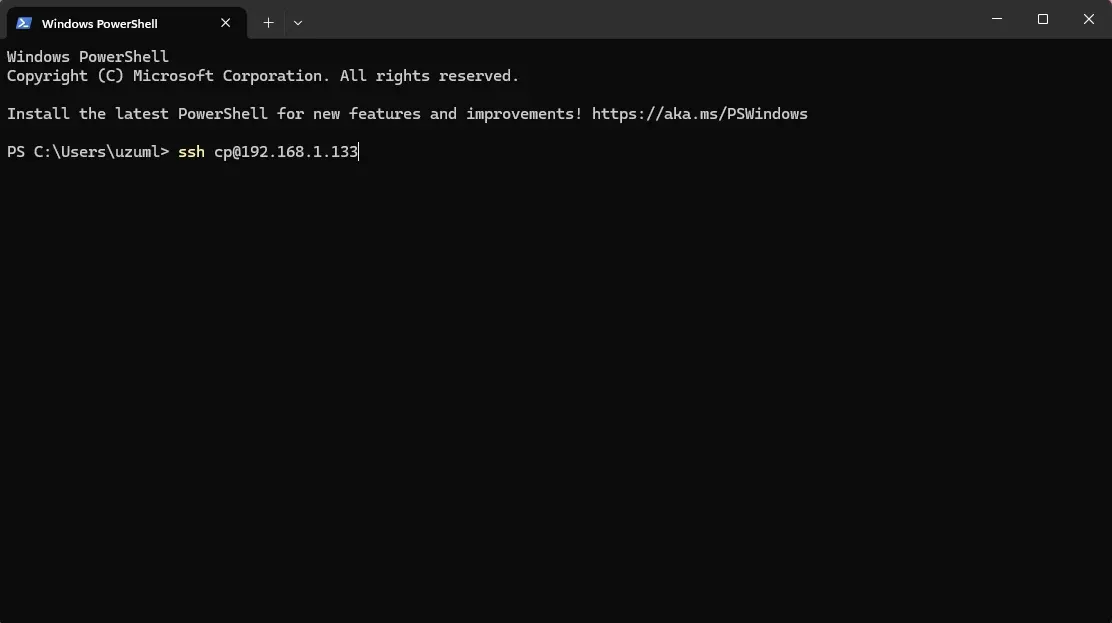
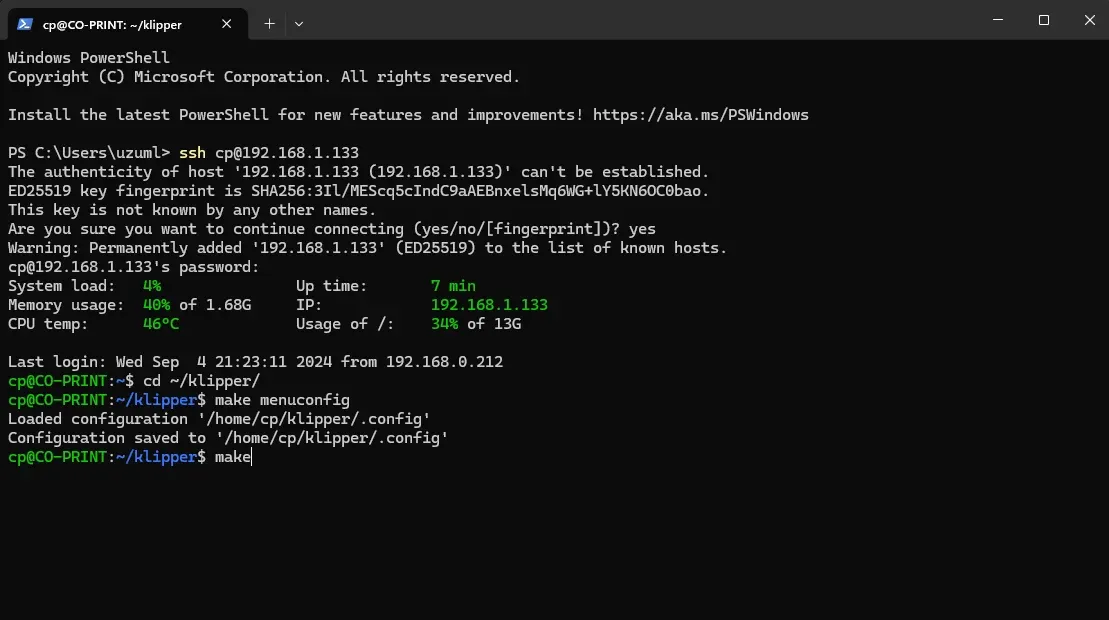
- Connect to the tablet via ssh via Windows PowerShell.
- ssh cp@<ip_address> write and enter.
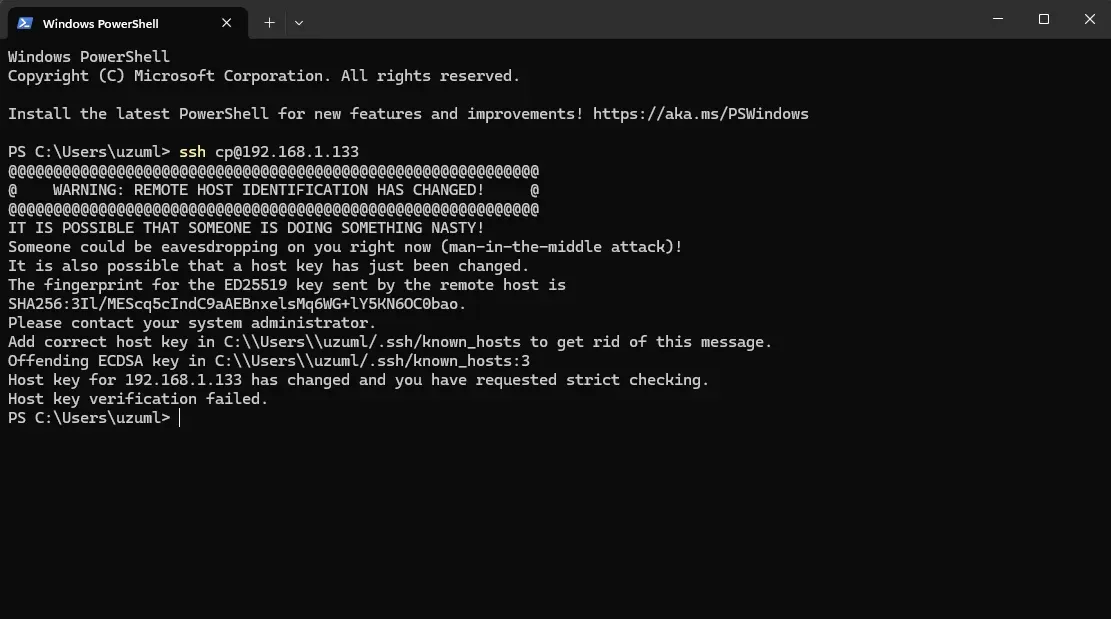
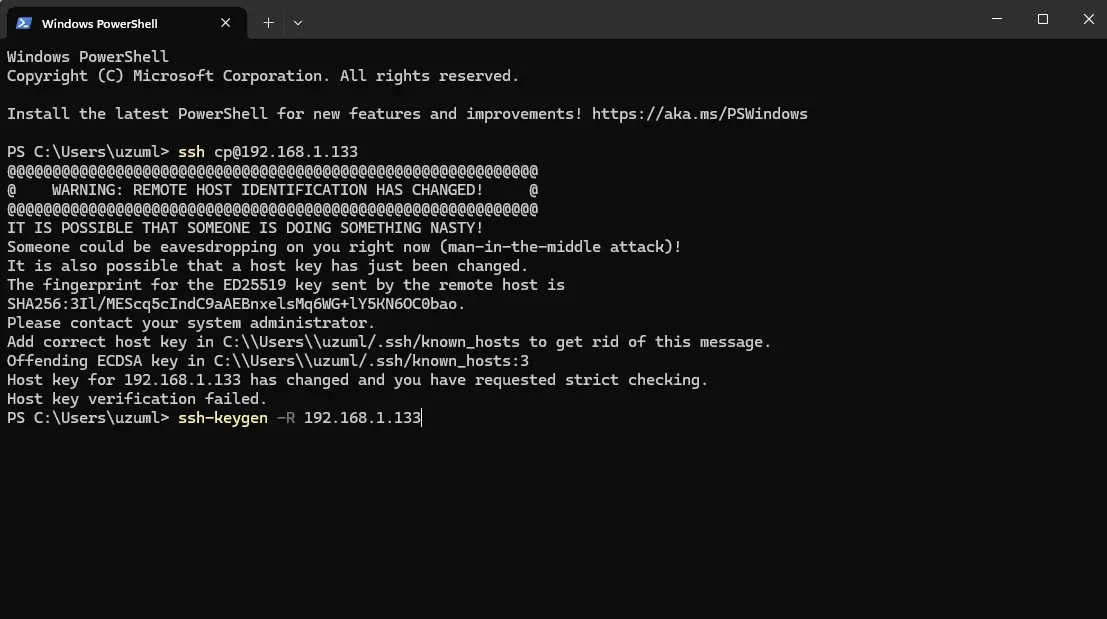
Note:“WARNING: REMOTE HOST IDENTIFICATION HAS CHANGED!” If you get the error ;
ssh-keygen -R <host_ip_address> You can solve it by typing the command and trying again.
-
- Type “yes” to continue.
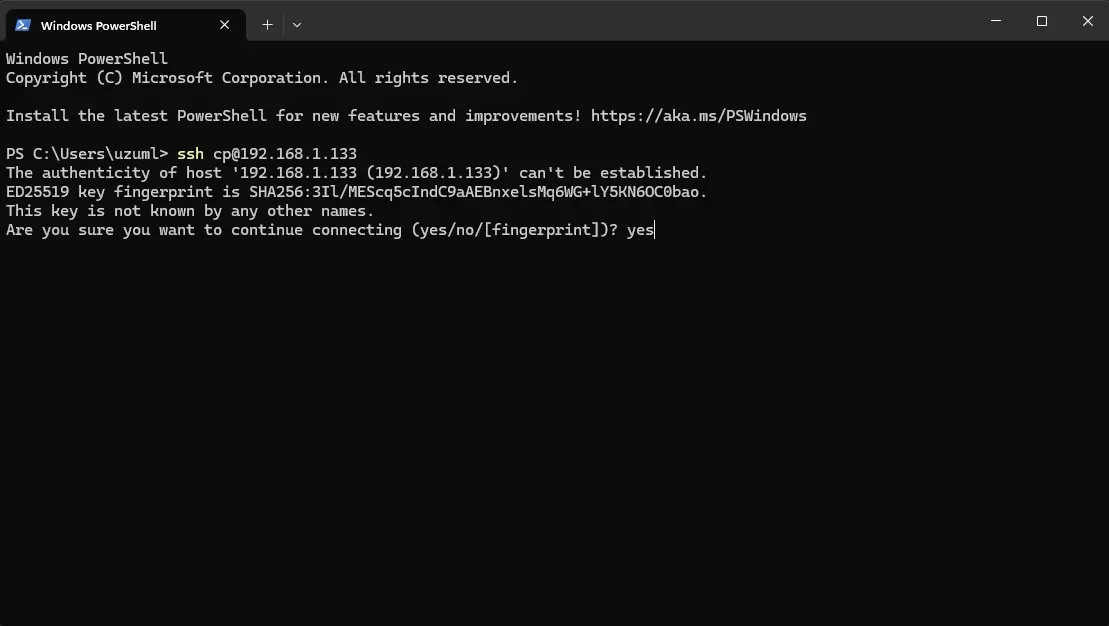
- Type “yes” to continue.
- Write coprint in the Password section.
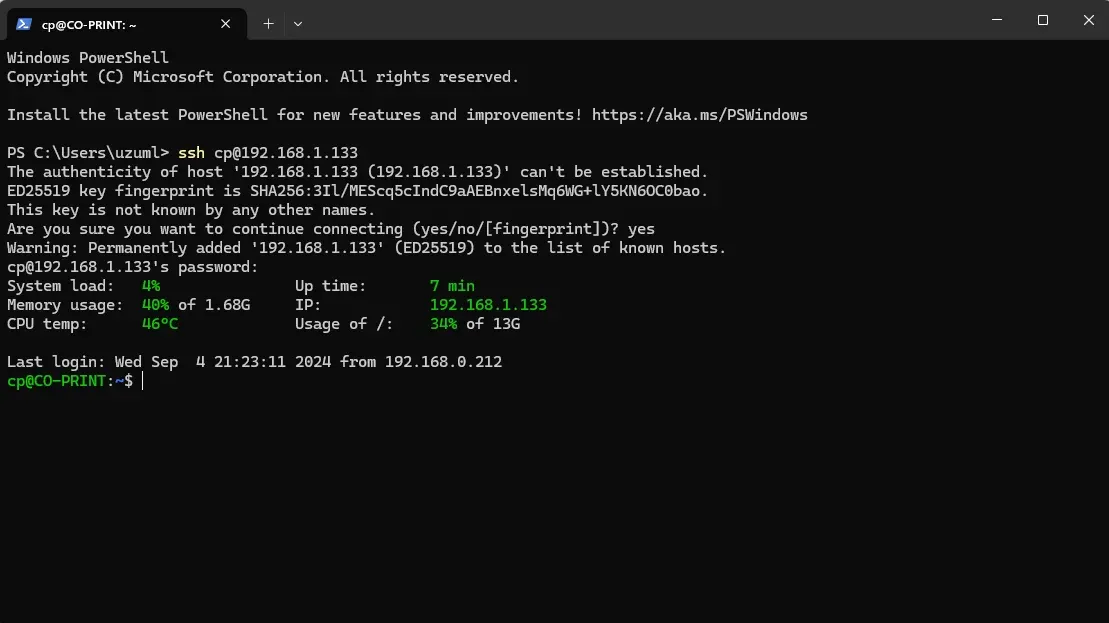
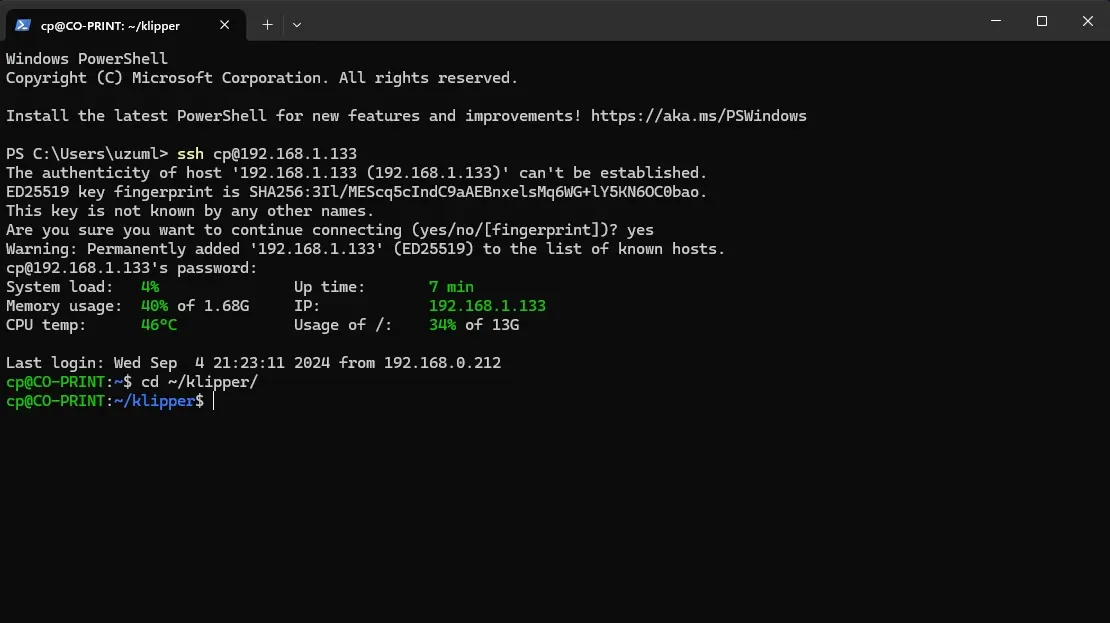
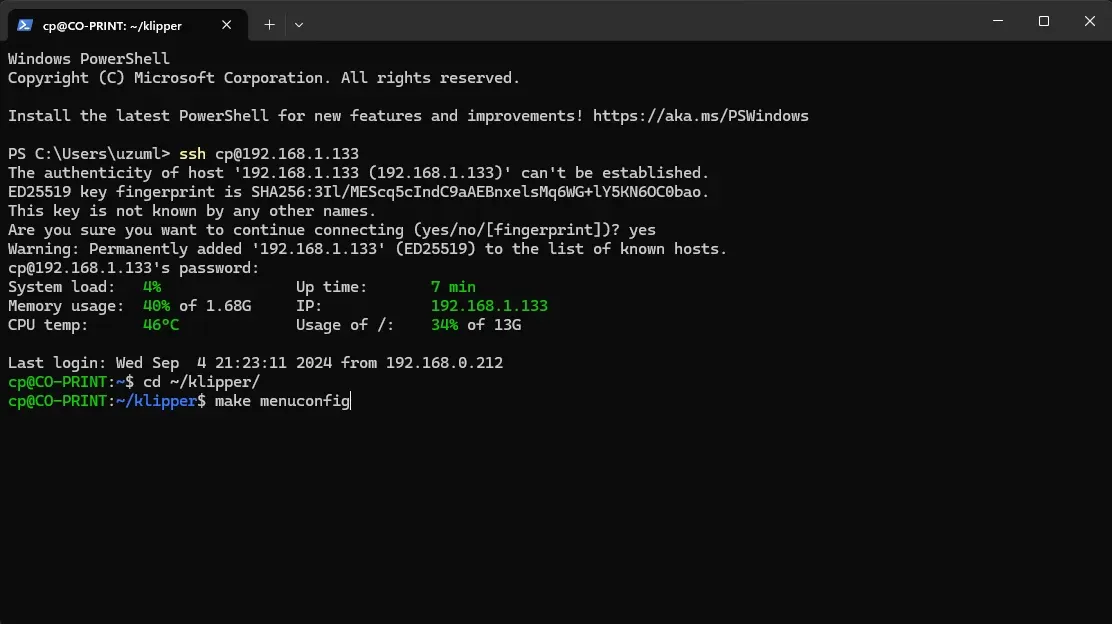
- On the screen that opens, enter the following commands in order:
- cd ~/klipper/
- make menuconfig write and enter.
- In the new screen that opens, you need to select the options according to your printer's processor. Atmega will be selected in this process.
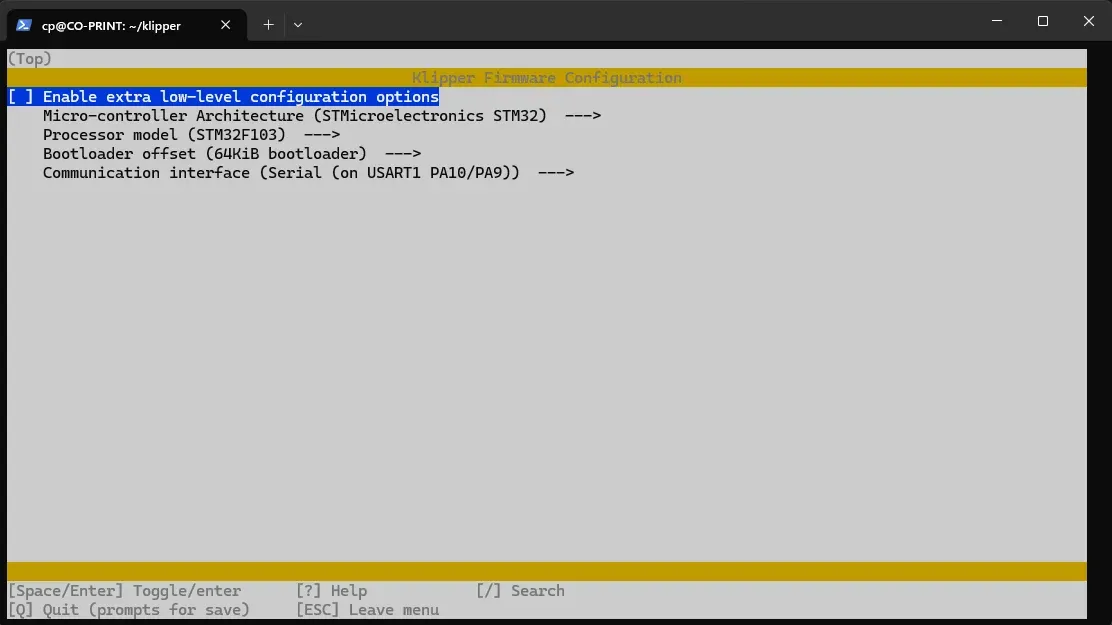
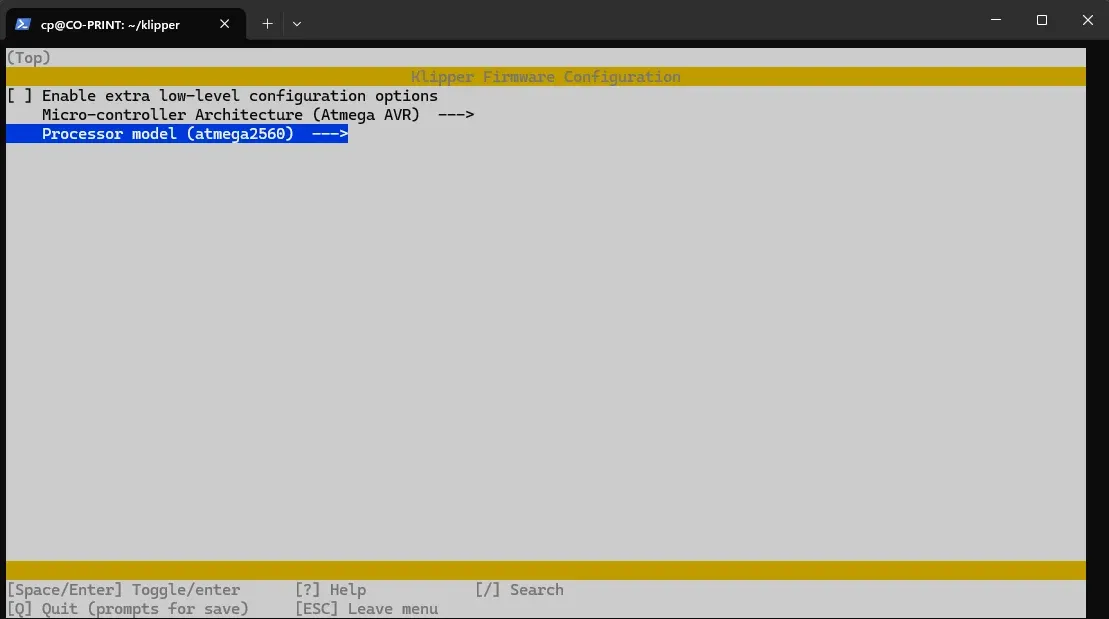
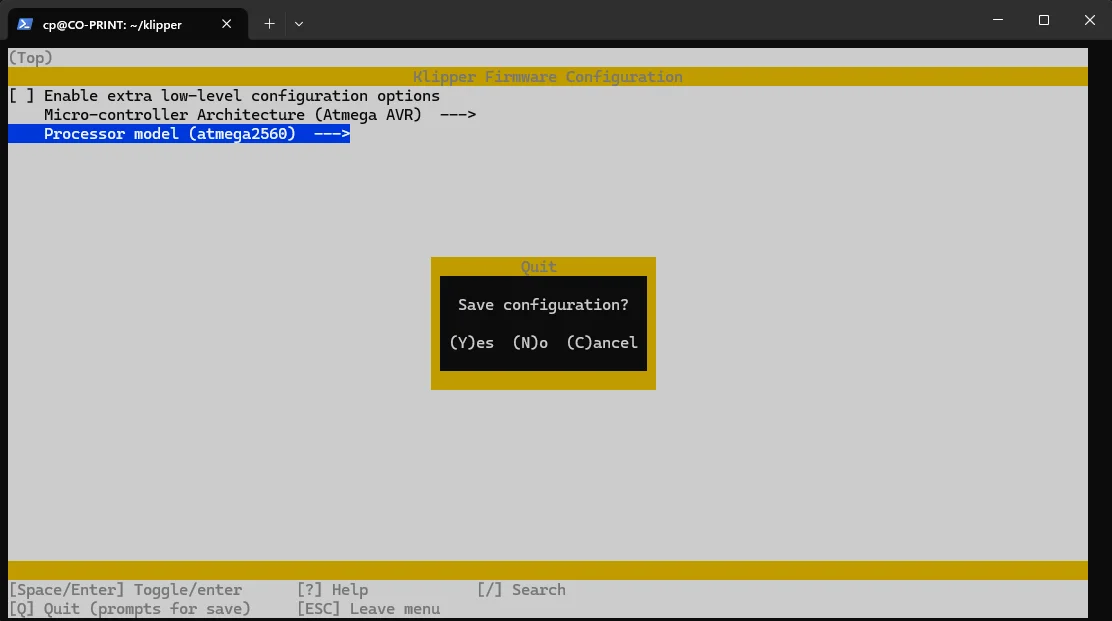
- After selecting our processor, we save and exit by pressing Q and then Y.
- When we return to the black screen, we want our file to be created since its preset settings are made. To do this, we type make as the command and press enter.
- After creating the file, we find the serial path to which our printer is connected.
- ls /dev/serial/by-id We type the command and press enter.
- The resulting path should look something like this: “/dev/serial/by-id/usb-1a86_USB2.0-Serial-if00-port0”
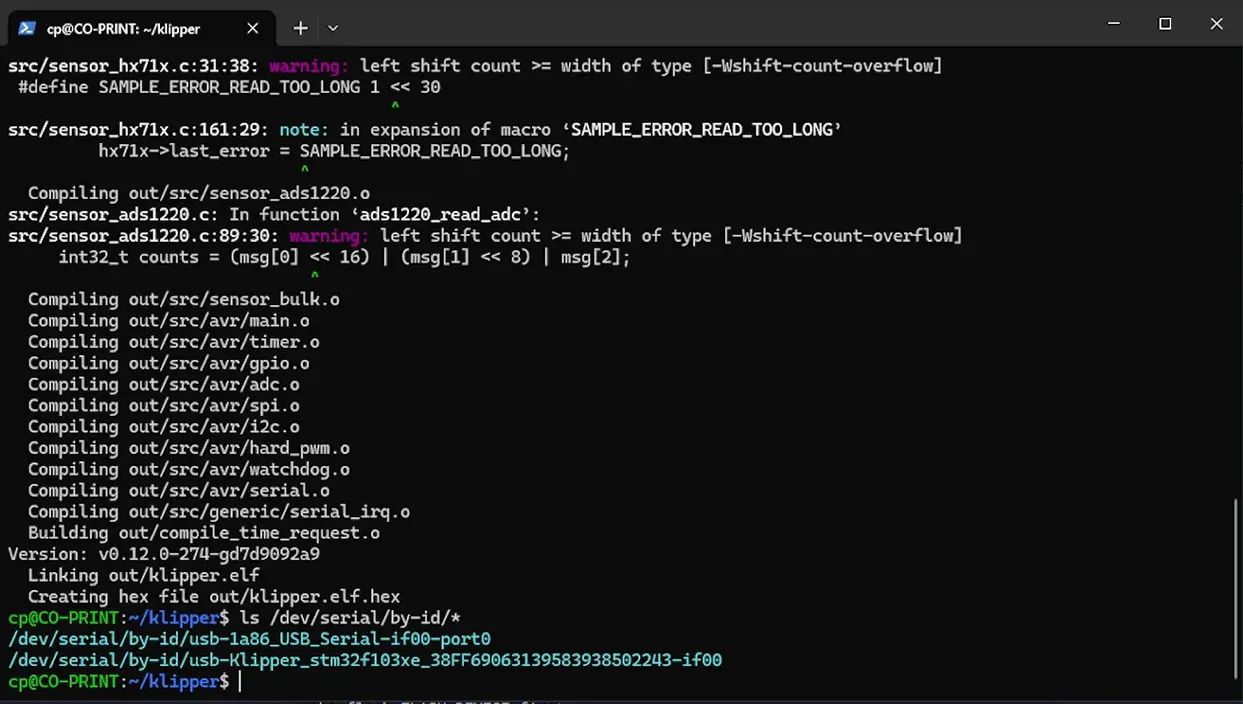
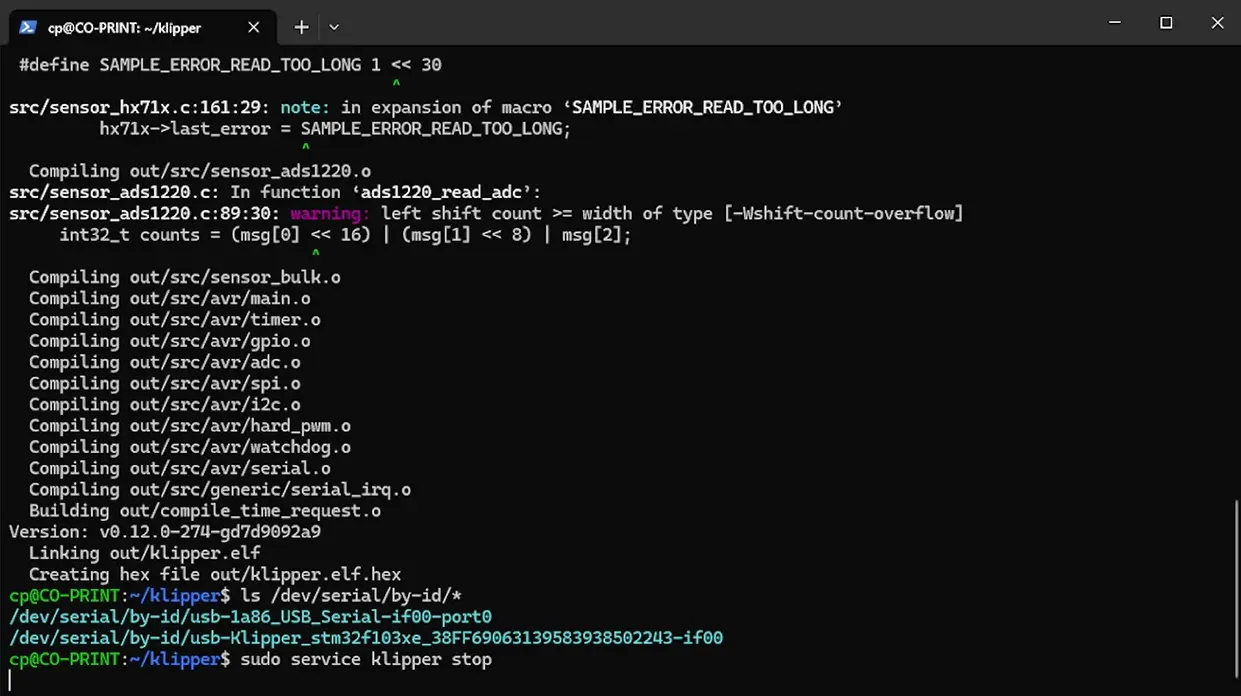
- After this process, we prepare our printer for flashing by entering these commands in order.
- sudo service klipper stop
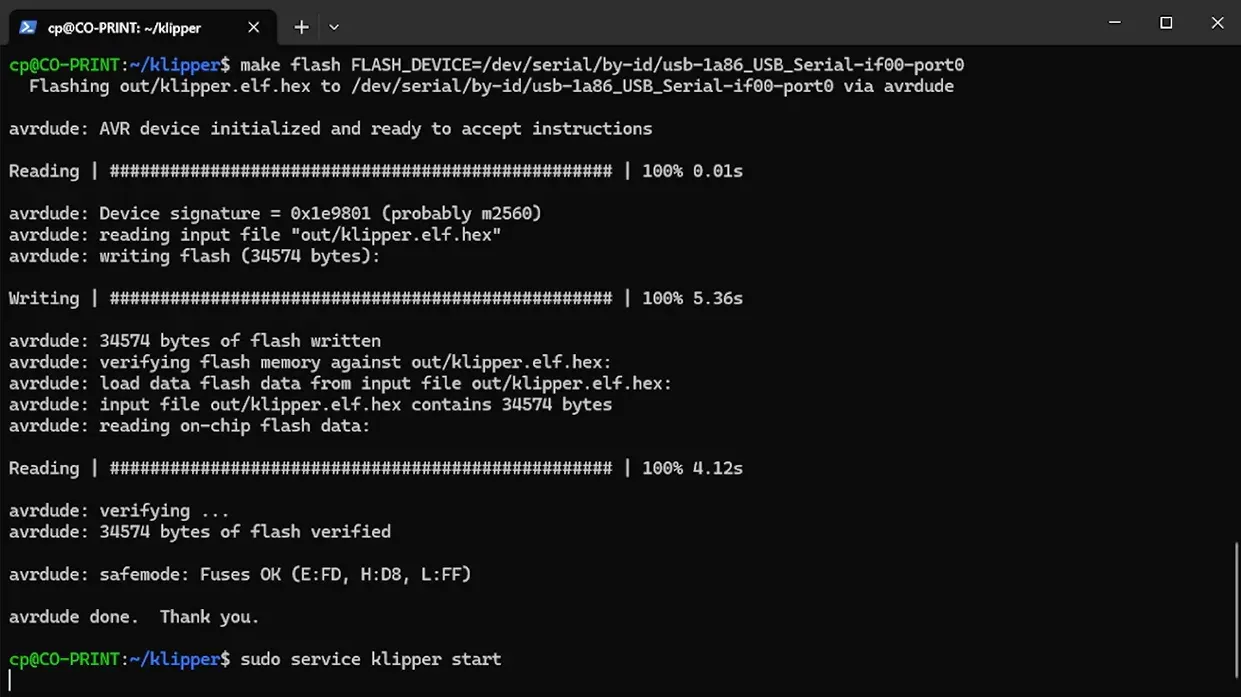
- make flash FLASH_DEVICE=<serial(path to find)>
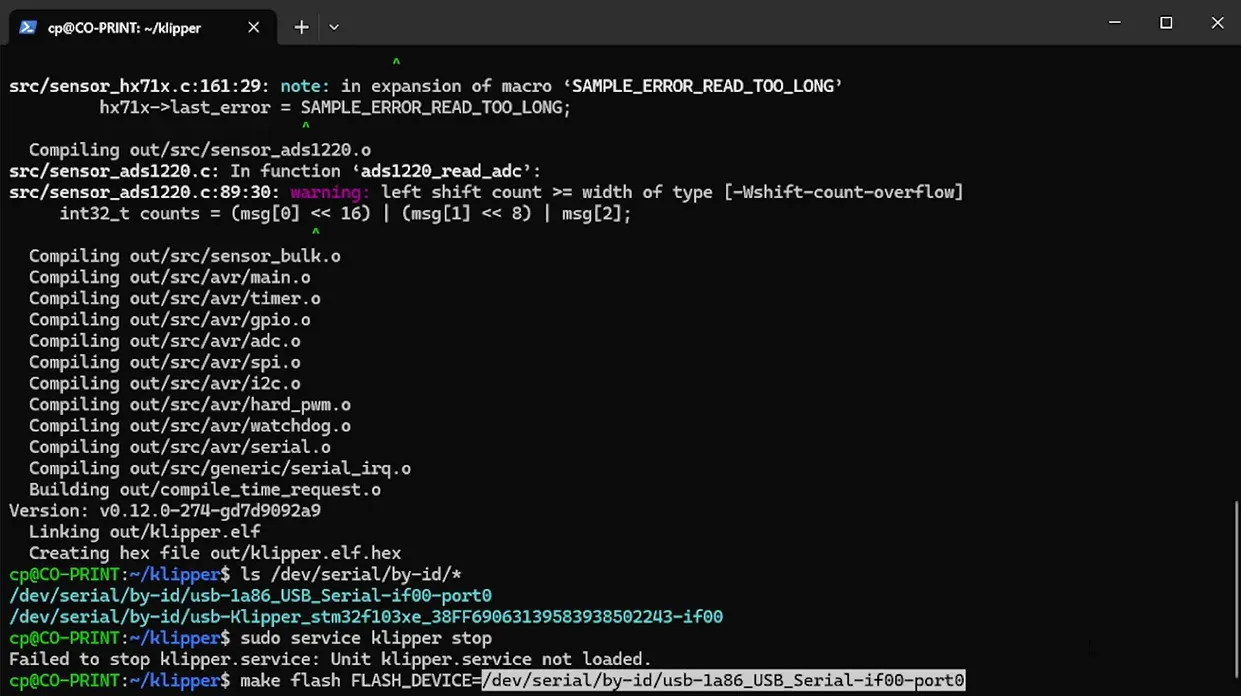
- After this process, Klipper is installed on your printer.
- You can type the last command to start the Klipper service and close the terminal.
- sudo service klipper start
