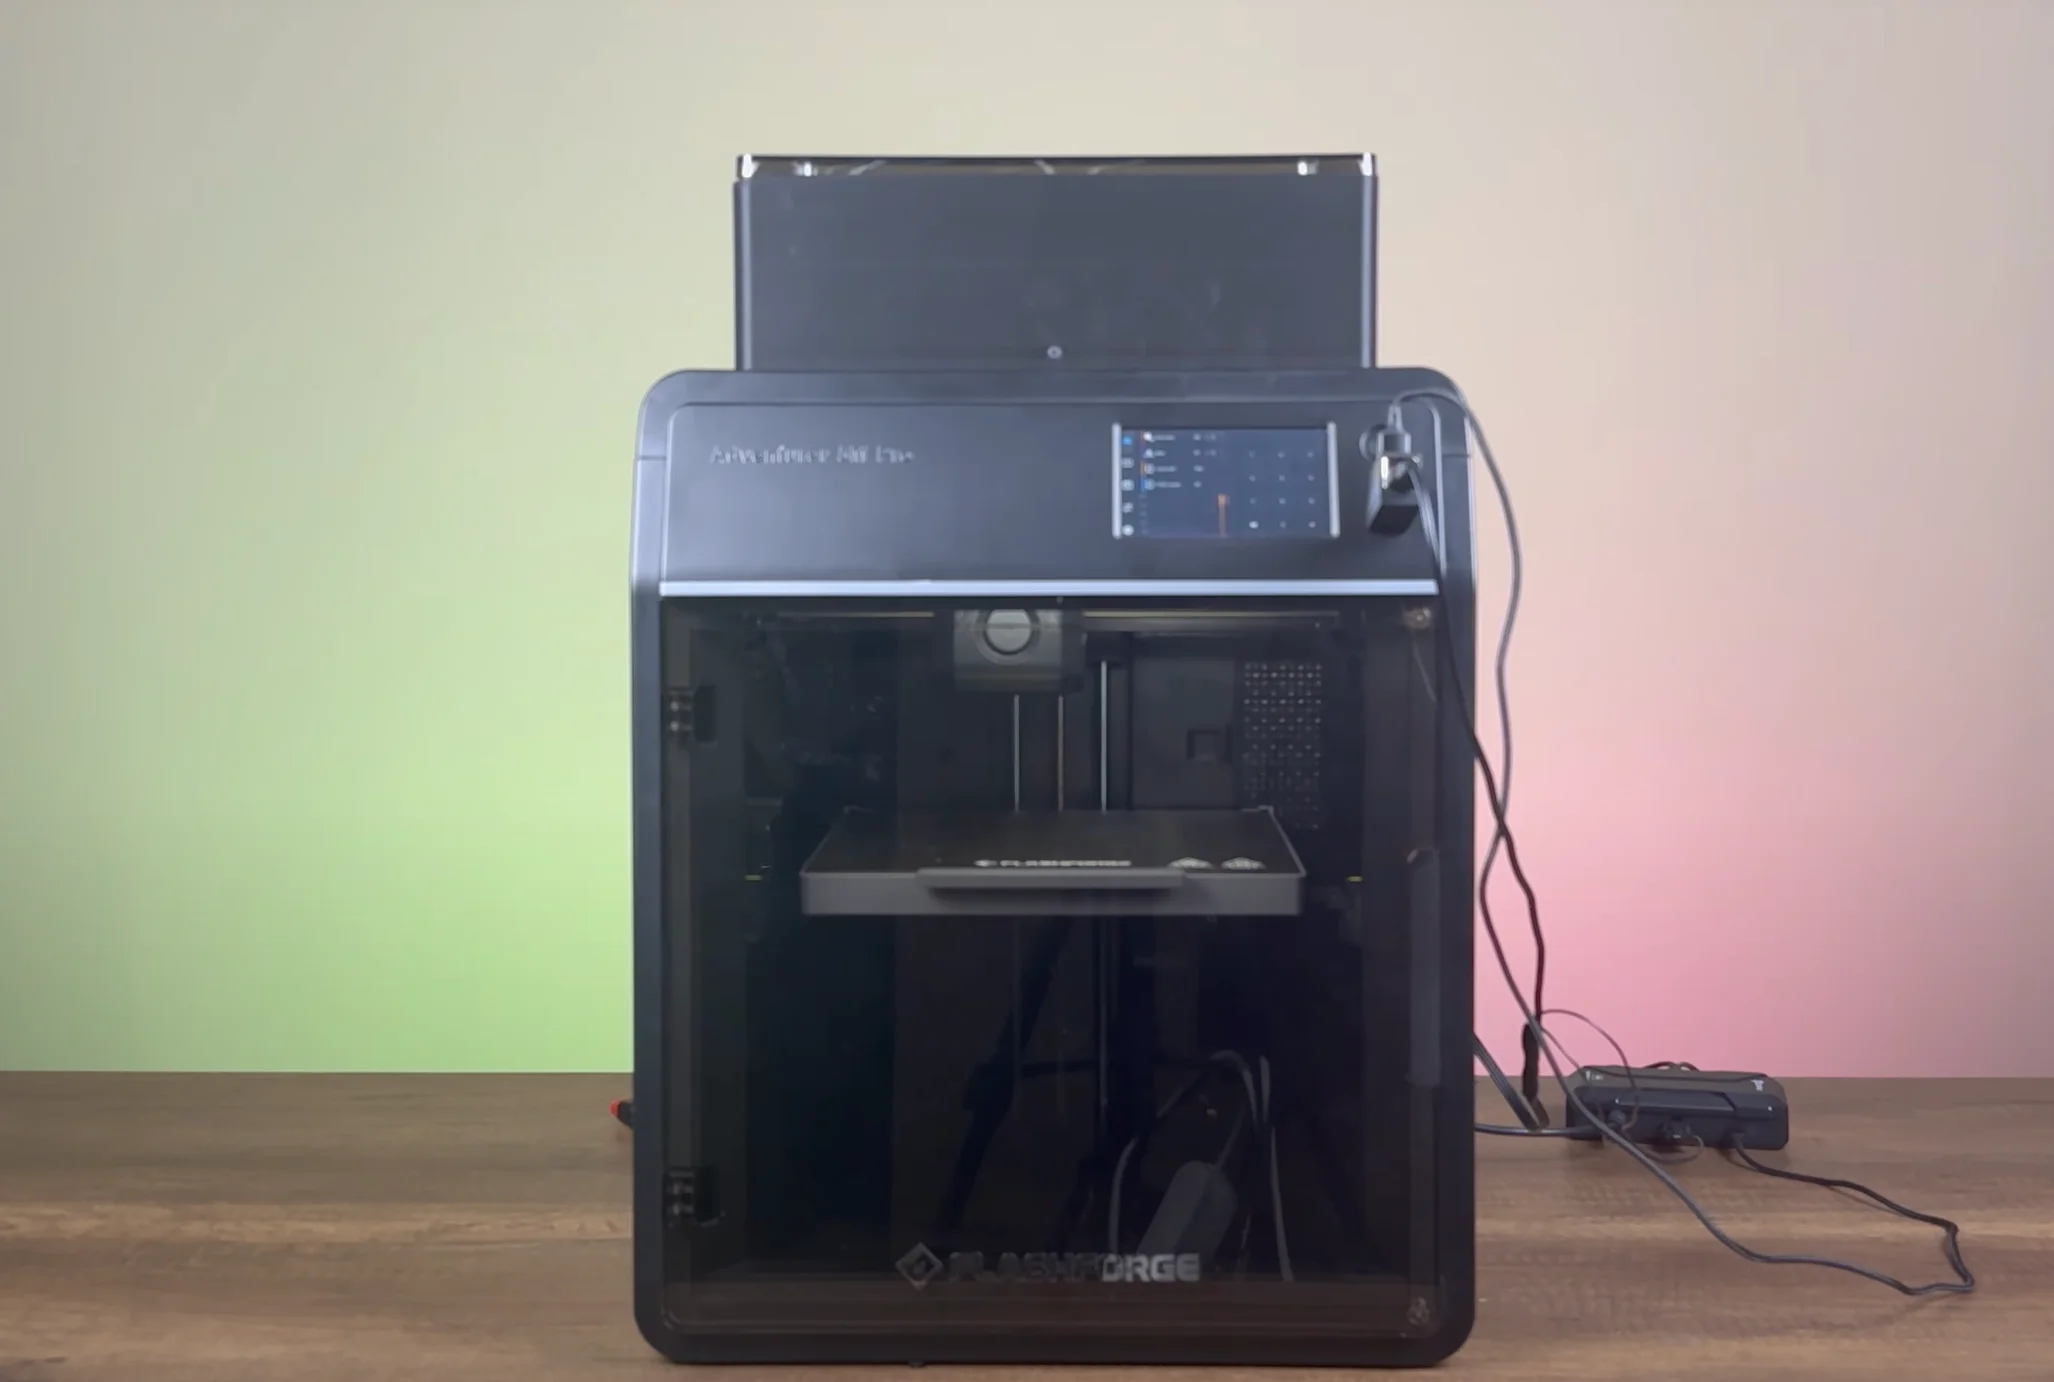
¶ Flashforge Adventurer 5M Pro KCM Set Installation Guide
| Image | Information |
|---|---|
 |
Welcome to the installation page for Flashforge Adventurer 5M Pro with KCM Set. This guide will help you update your printer's firmware to ensure compatibility with KCM Set, download and print the required .STL files for mechanical assembly, complete the mechanical setup, and configure the Klipper settings. By following these steps, you will successfully complete the installation process. |
¶ - Downloadable parts required for the installation
You can download the required STL files below.
| Part Name | Quantity | Links |
|---|---|---|
| ChromaHead Adapter Part | 1x | Download |
| Mainboard Holder Part | 1x | Download |
| 4 CX-1 Extruder Block | 1x | Download |
| Block Holder | 2x | Download |
| A5M Pro Upper Rear | 1x | Download |
| A5M Pro Upper Front | 1x | Download |
| A5M Pro Upper Right | 1x | Download |
| A5M Pro Upper Left | 1x | Download |
| A5M Pro Upper Holder Part | 1x | Download |
¶ 1) Flashforge Adventurer 5M Pro Klipper Installation
¶ 1.1) Prepare a USB to Install Mainsail on the Printer.
Download the necessary files to your computer and copy them onto a USB flash drive. (You can find the required files on GitHub.)
¶ 1.2) Install Klipper on the Printer.
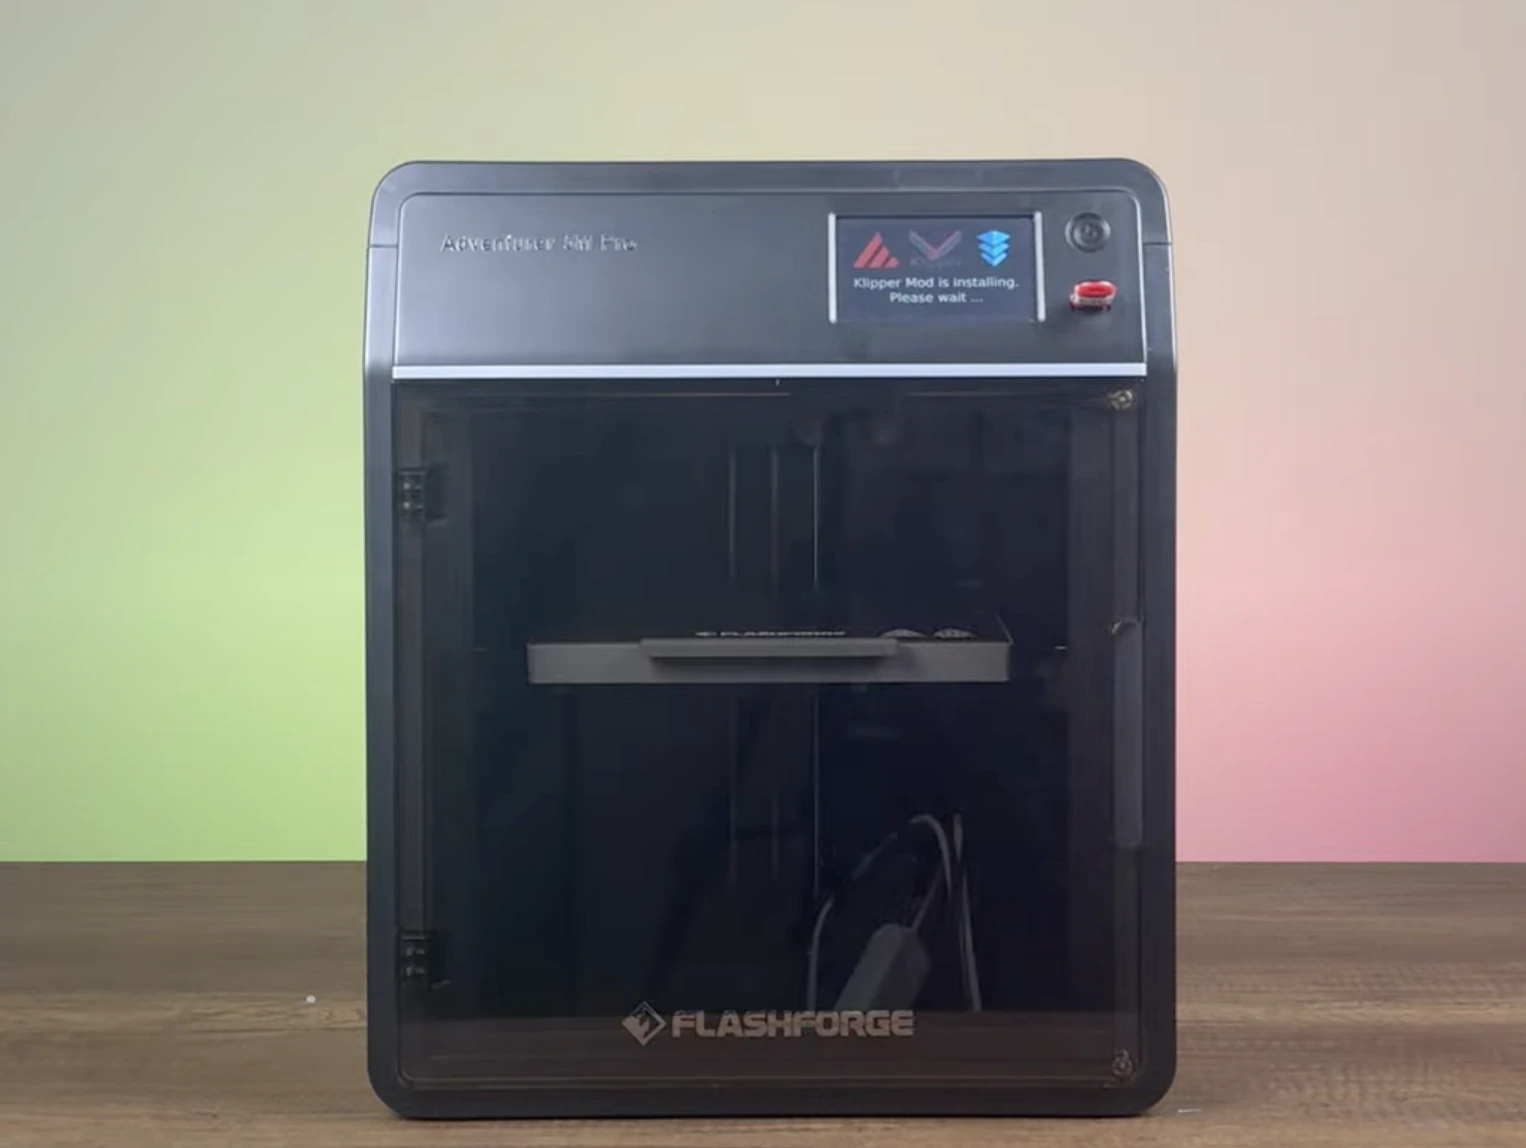
Insert the prepared USB flash drive into the printer, turn on the printer, and wait for Klipper to install. Once the installation is complete, remove the flash drive from the printer.
¶ 1.3) Connect the Printer to the Wifi.
Connect your printer to the Wifi and obtain its IP address.
¶ 2) Flashforge Adventurer 5M Pro KCM Installation
Before starting the next steps, make sure your printer is turned off.
¶ 2.1) Remove the Top Cover of the Printer
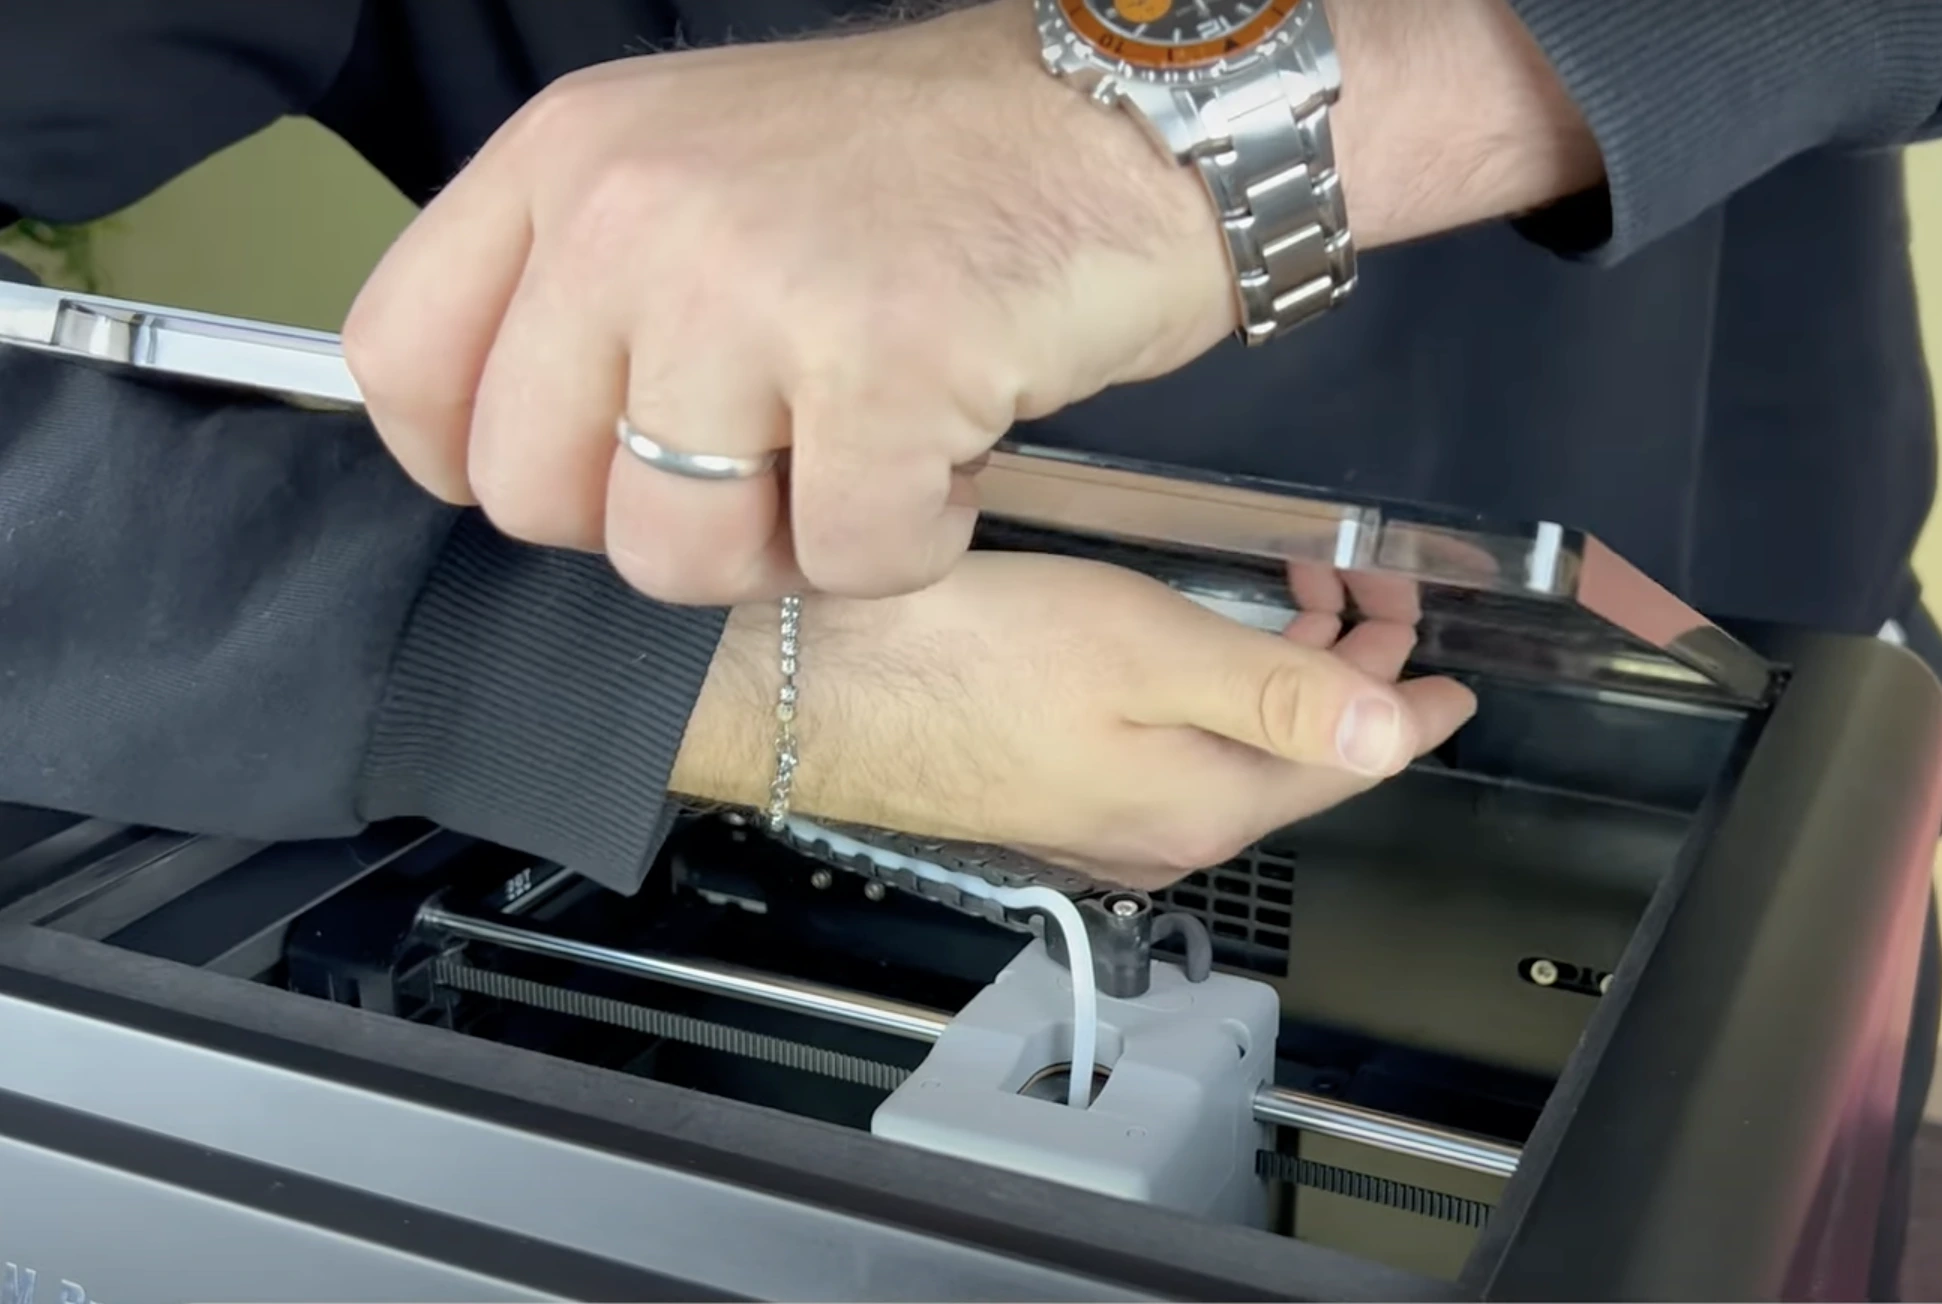
Carefully flex and remove the top cover of the printer.
¶ 2.2) Remove the Cable Holder
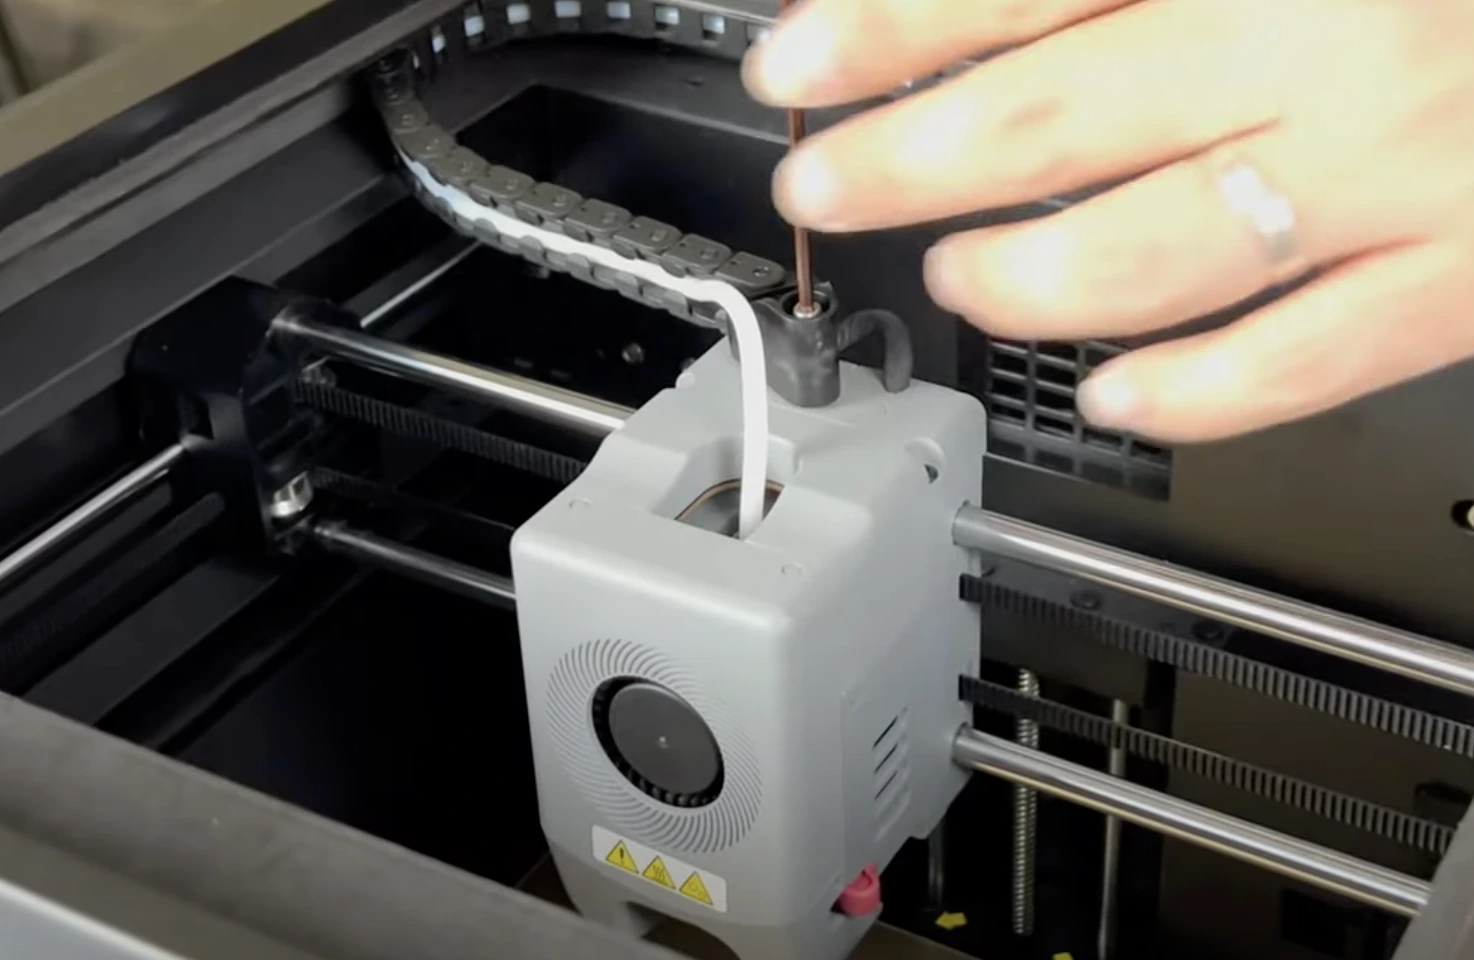
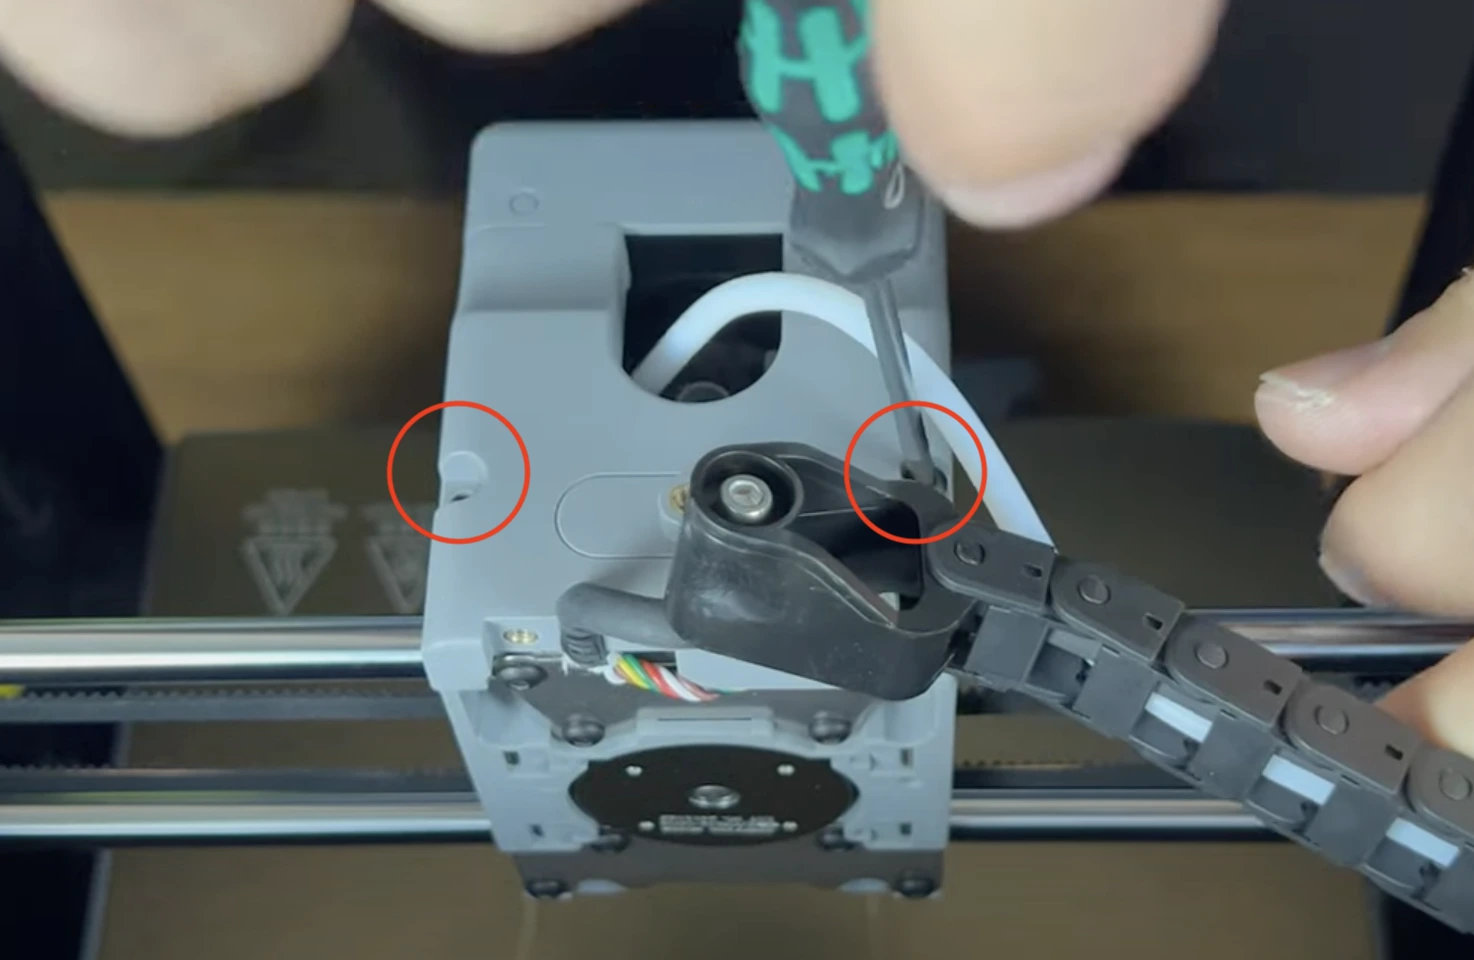
Unscrew the cable holder screw on the stock print head and remove the PTFE tube. Then, remove the plastic piece that secures the cables on the rear part.
¶ 2.3) Access the Print Head Board
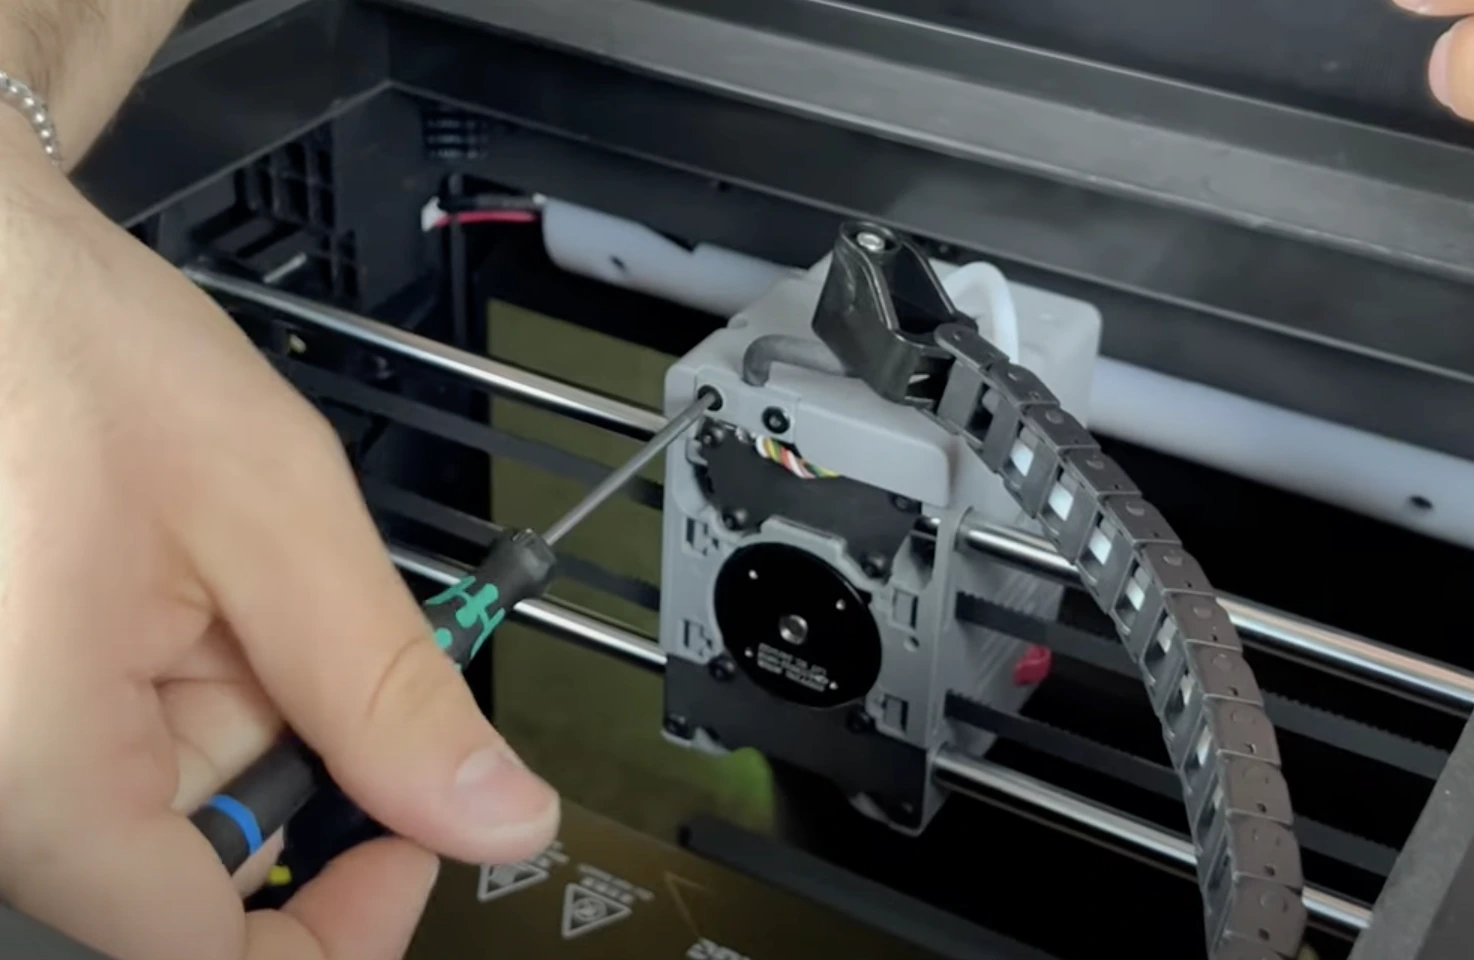
To access the board on the print head, unscrew the two screws on top of the print head and remove the front and top covers.
¶ 2.4) Disconnect the Print Head and Front Cover Cables
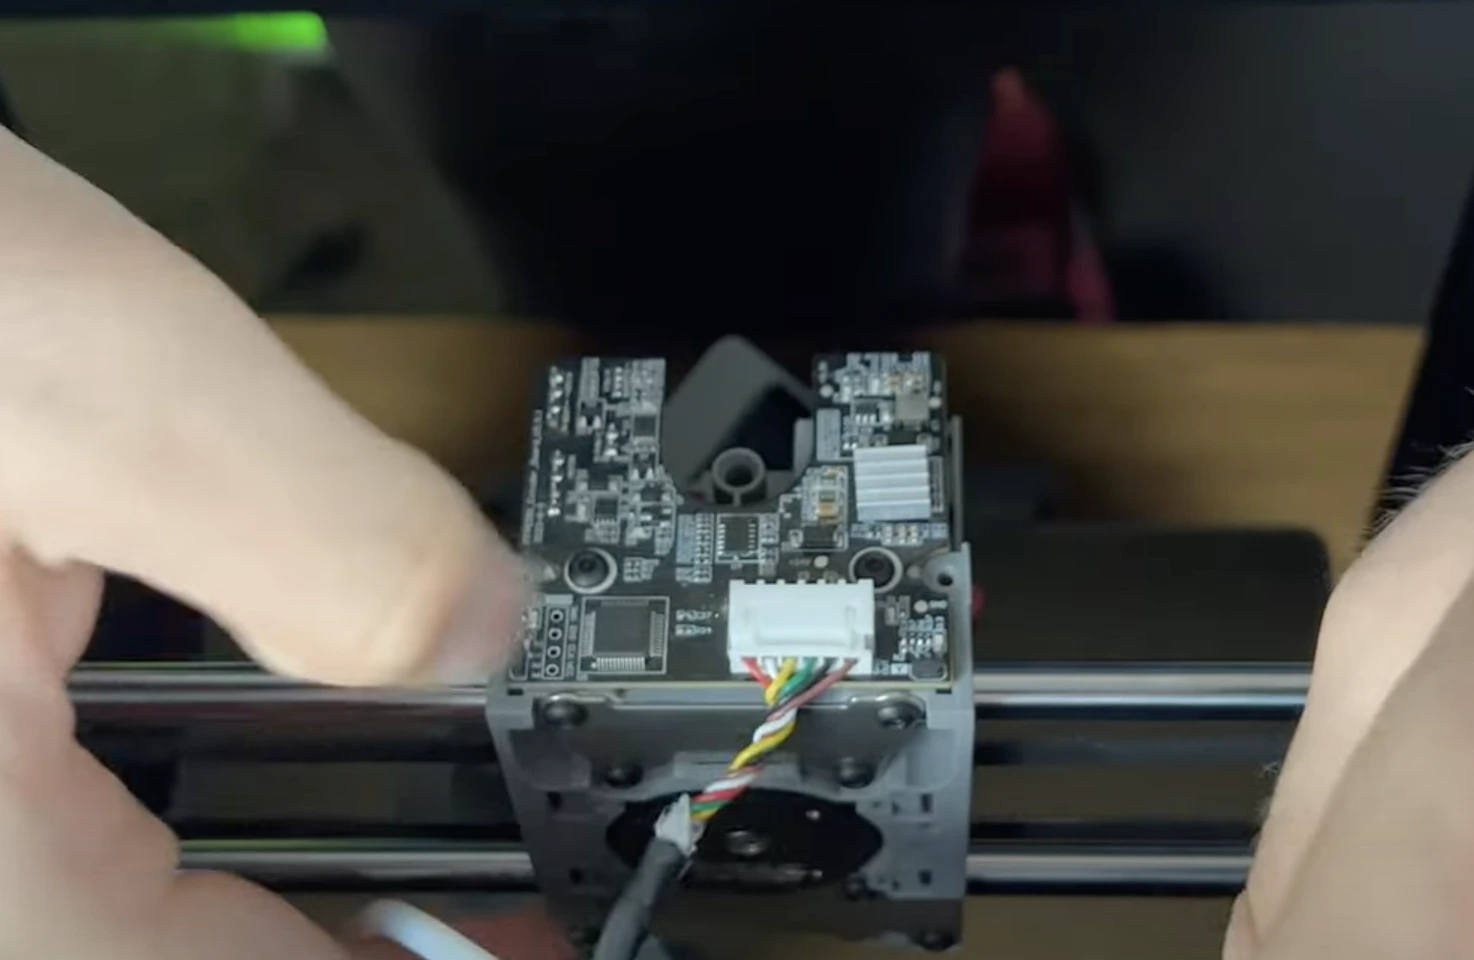
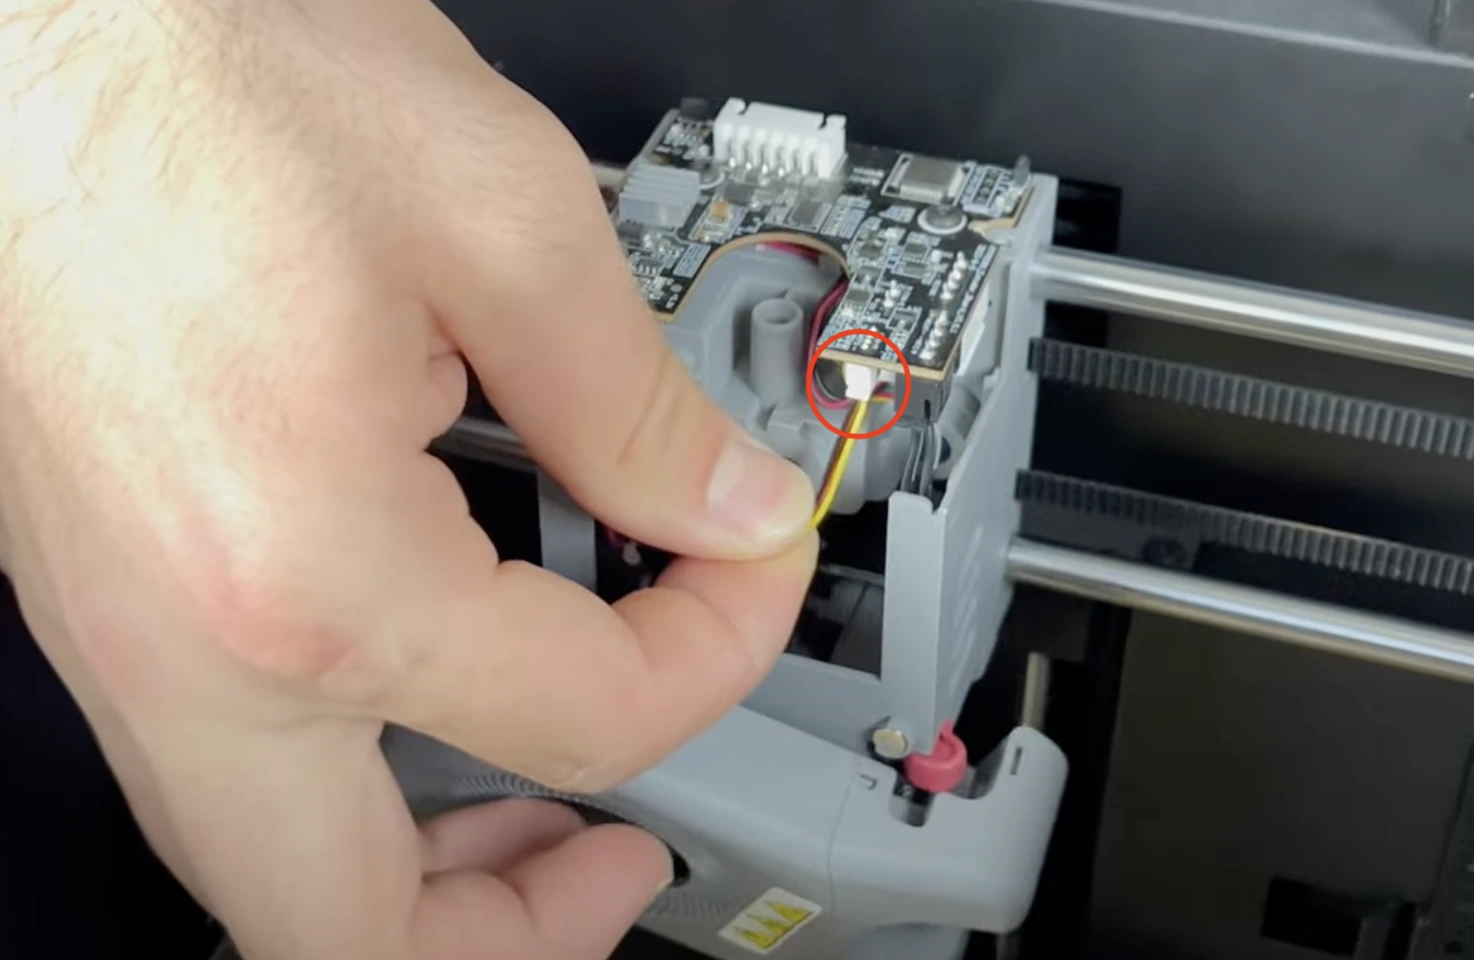
Disconnect the print head cable and the front cover cable connected to the printer’s head board.
¶ 2.5) Detach the Print Head Board from the Printer
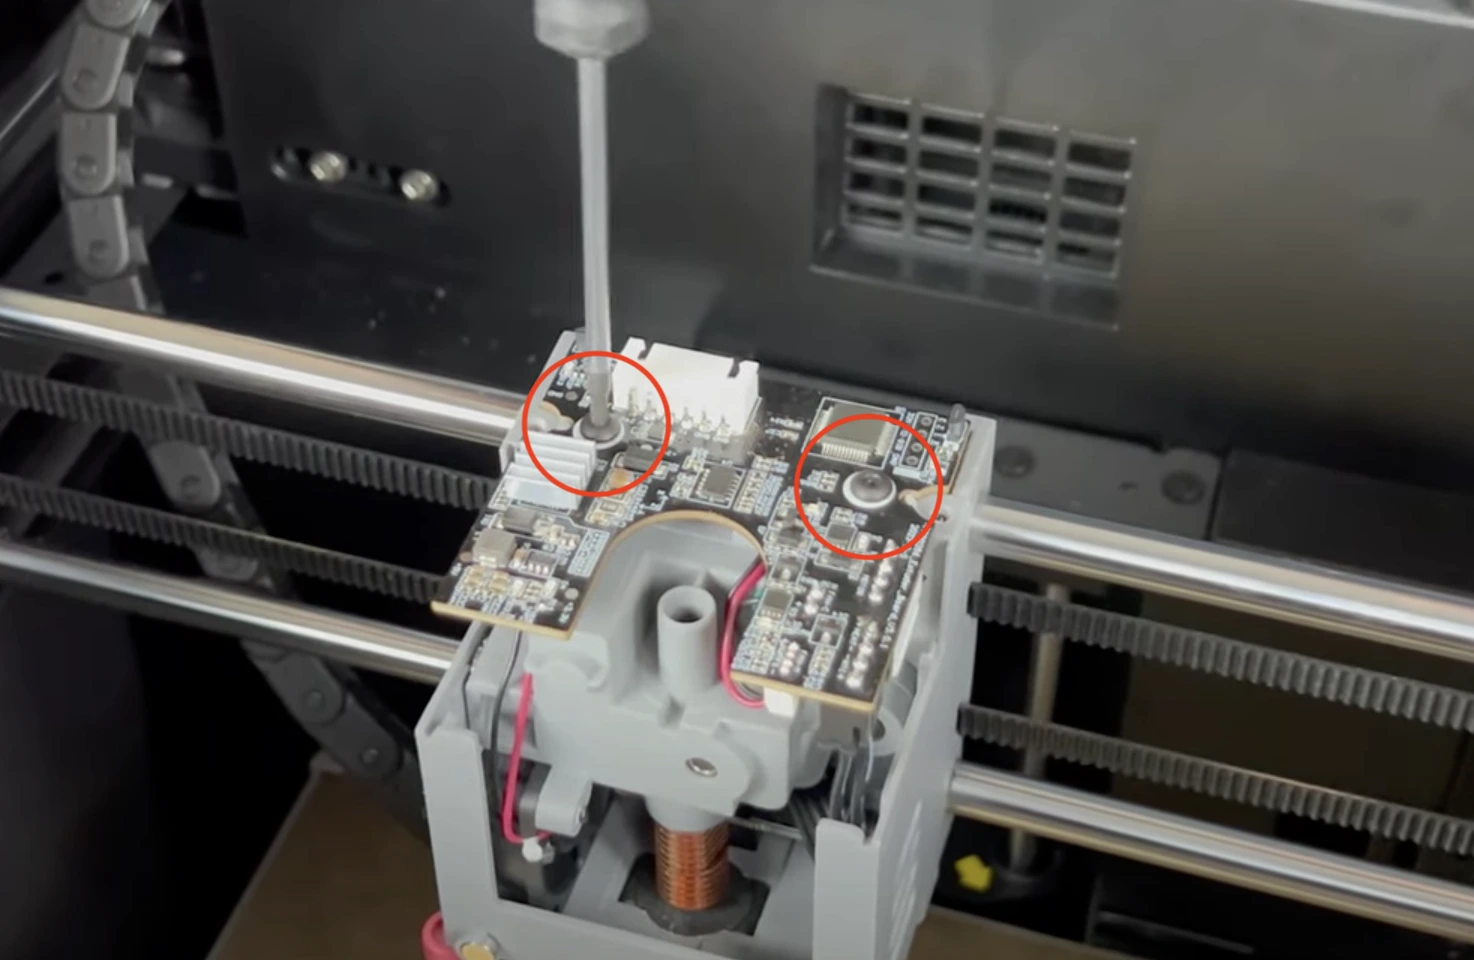
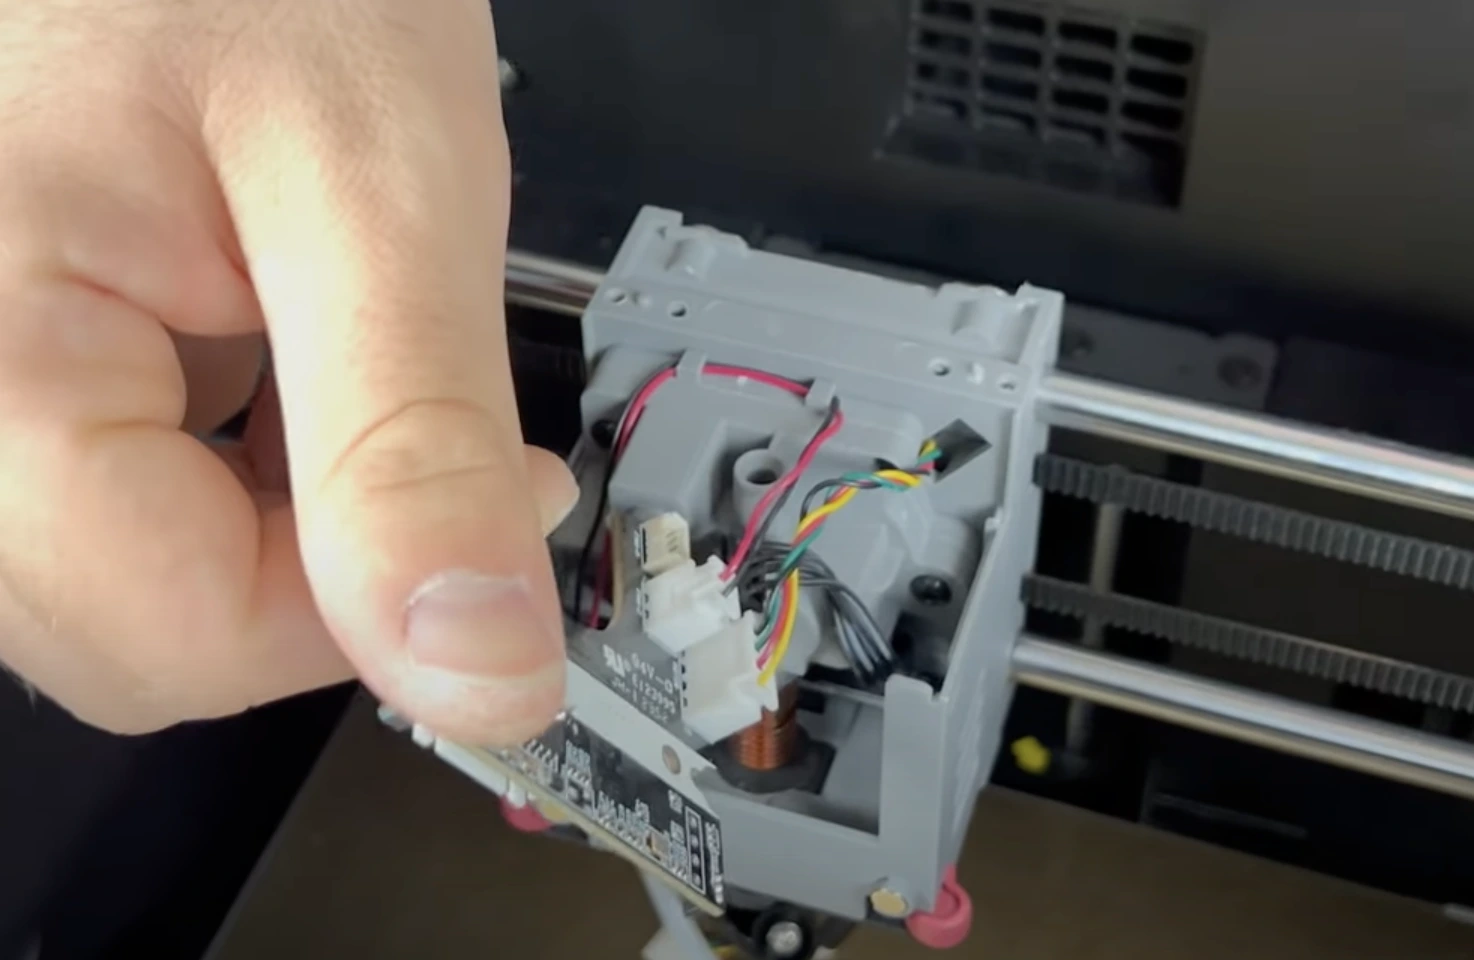
Unscrew the two screws on the print head, disconnect the cables underneath, and detach the board from the printer. (We will reuse this board for the X and Y axis sensors.)
¶ 2.6) Remove the Hotend.
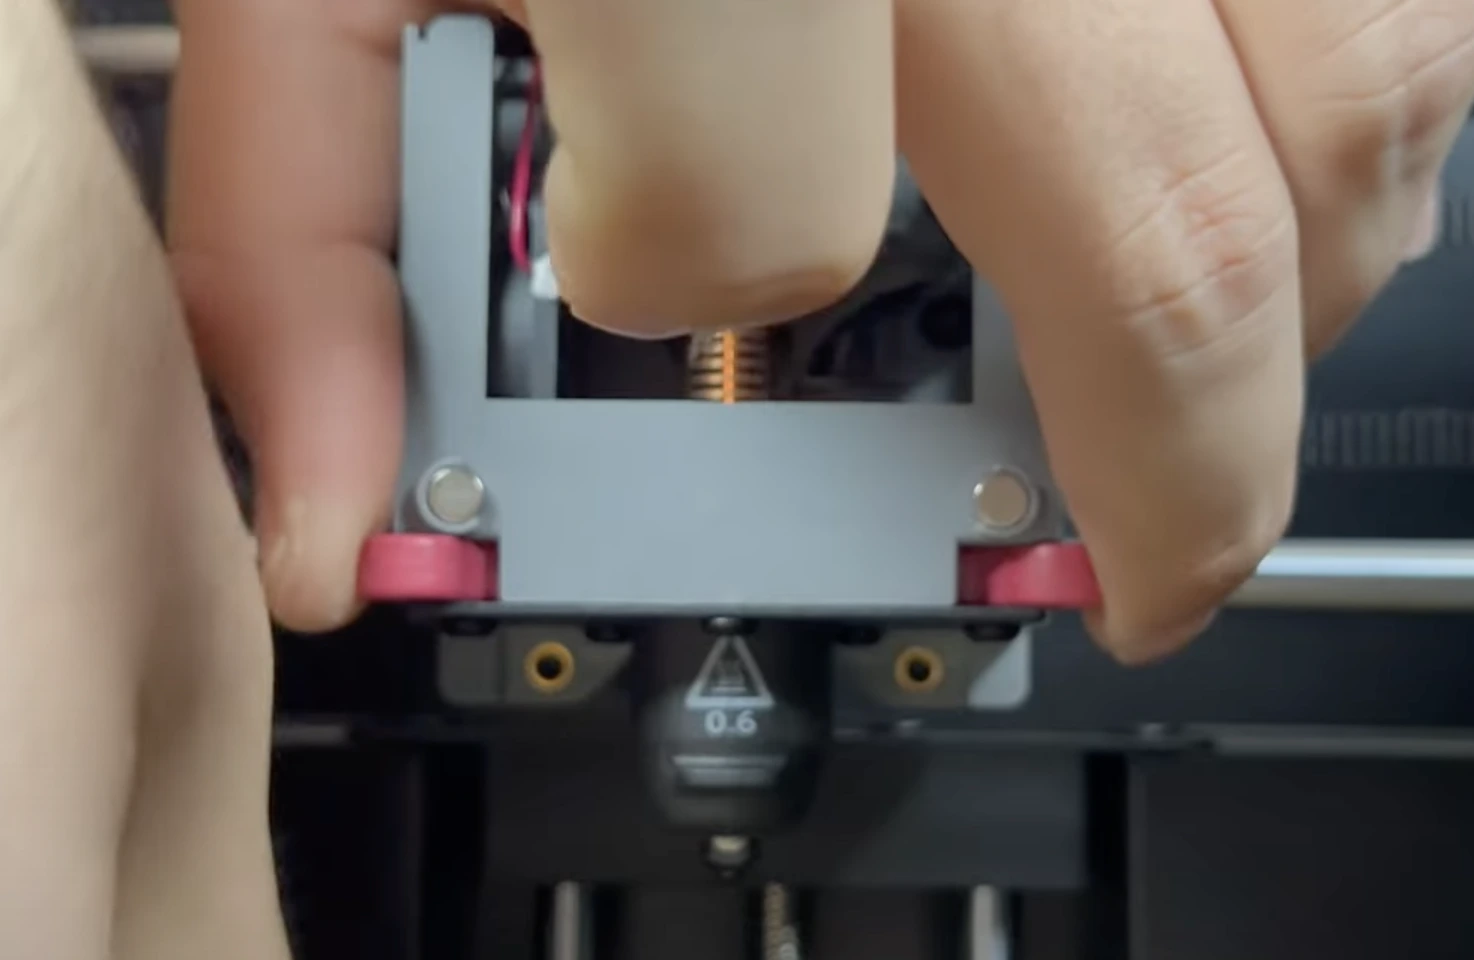
To remove the hotend from the printer, squeeze the clamps located on the sides of the print head and pull the hotend downward.
¶ 2.7) Remove the Extruder Gears and the Hotend Fan
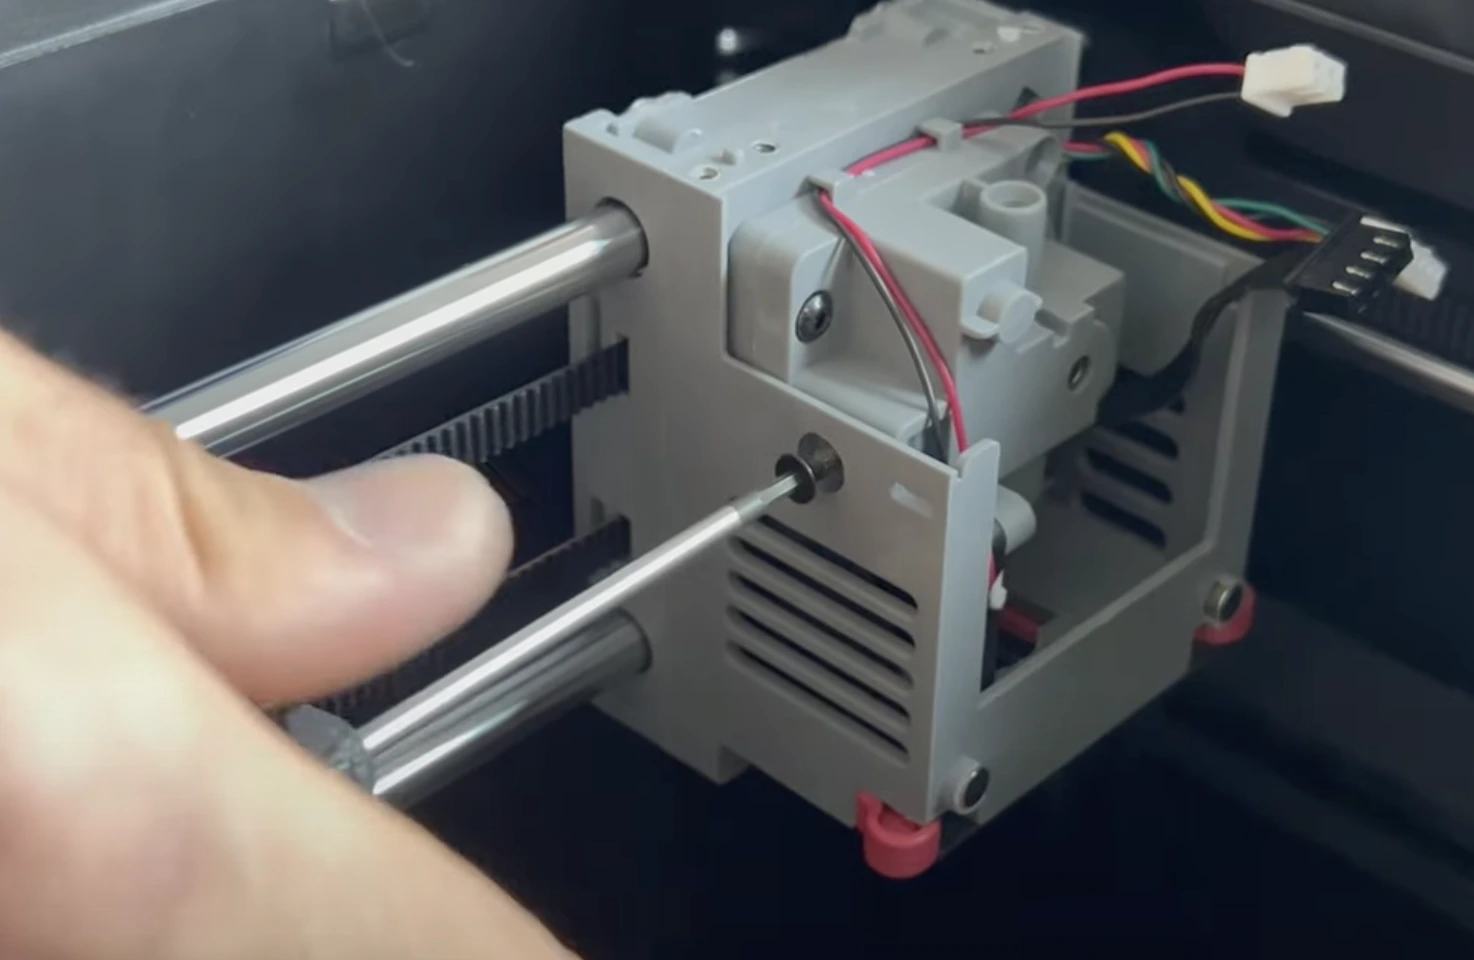
Unscrew the three screws located on the right side and front of the print head, then detach the remaining parts from the printer.
¶ 2.8) Remove the Extruder Motor
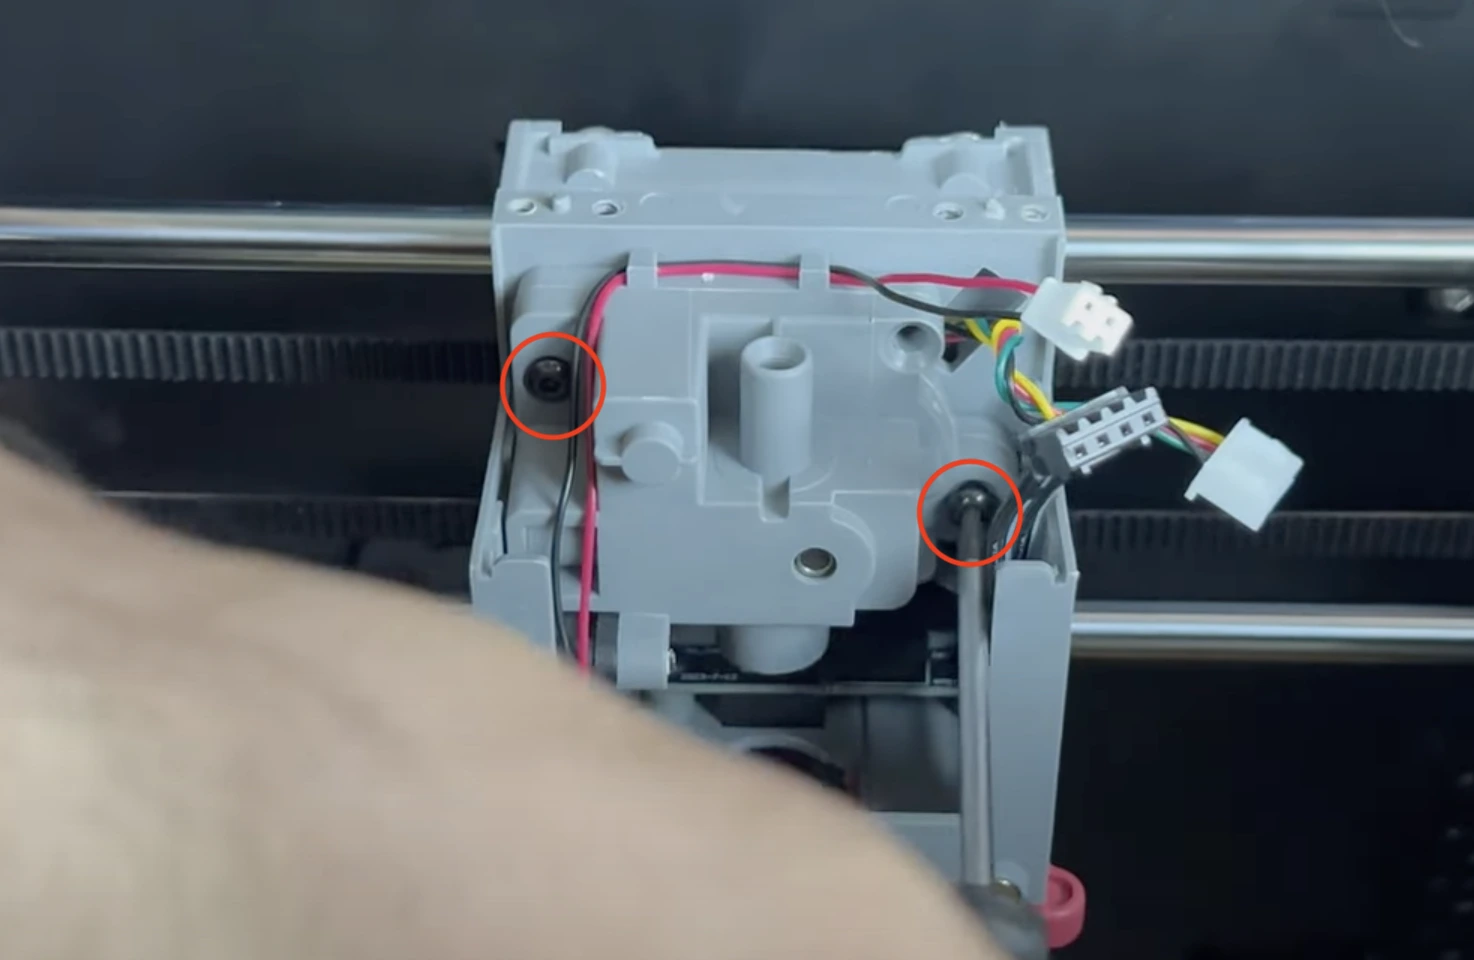
Unscrew the four screws located on the back of the print head and detach the extruder motor from the print head.
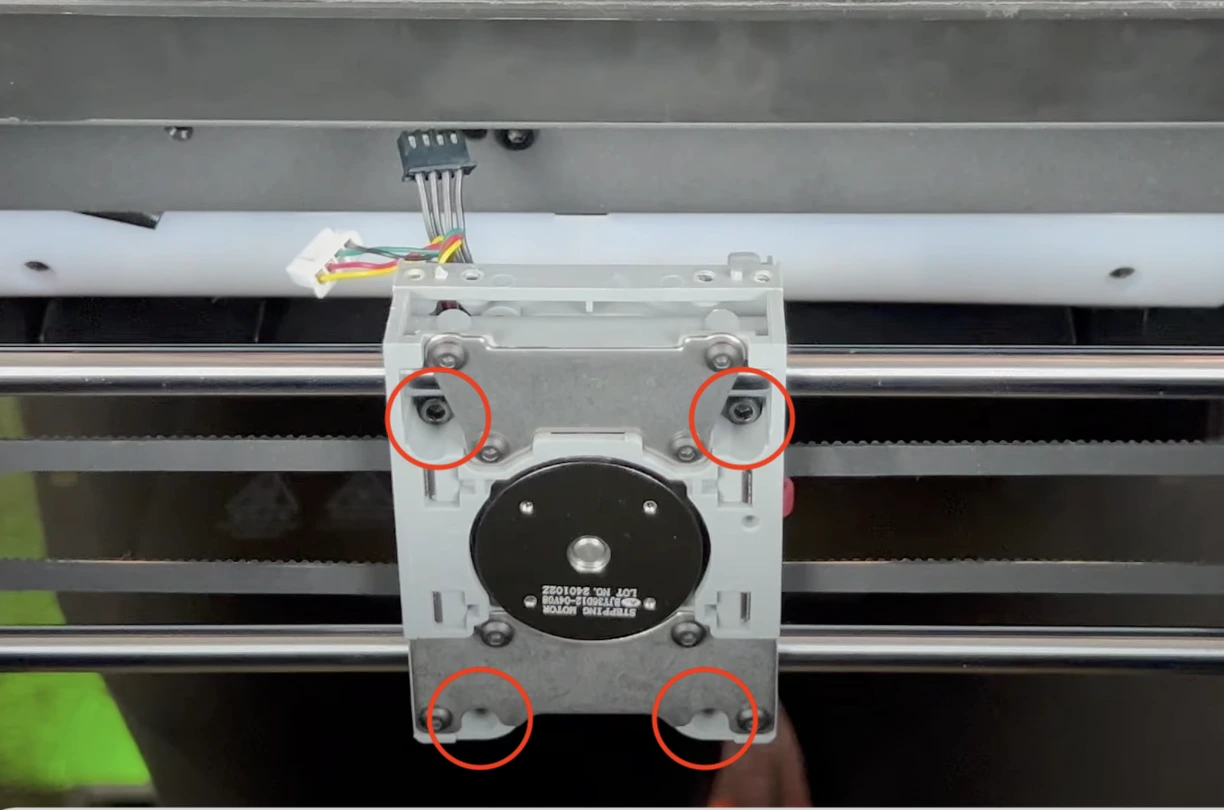
¶ 2.9) Attach the New Mounting Bracket.
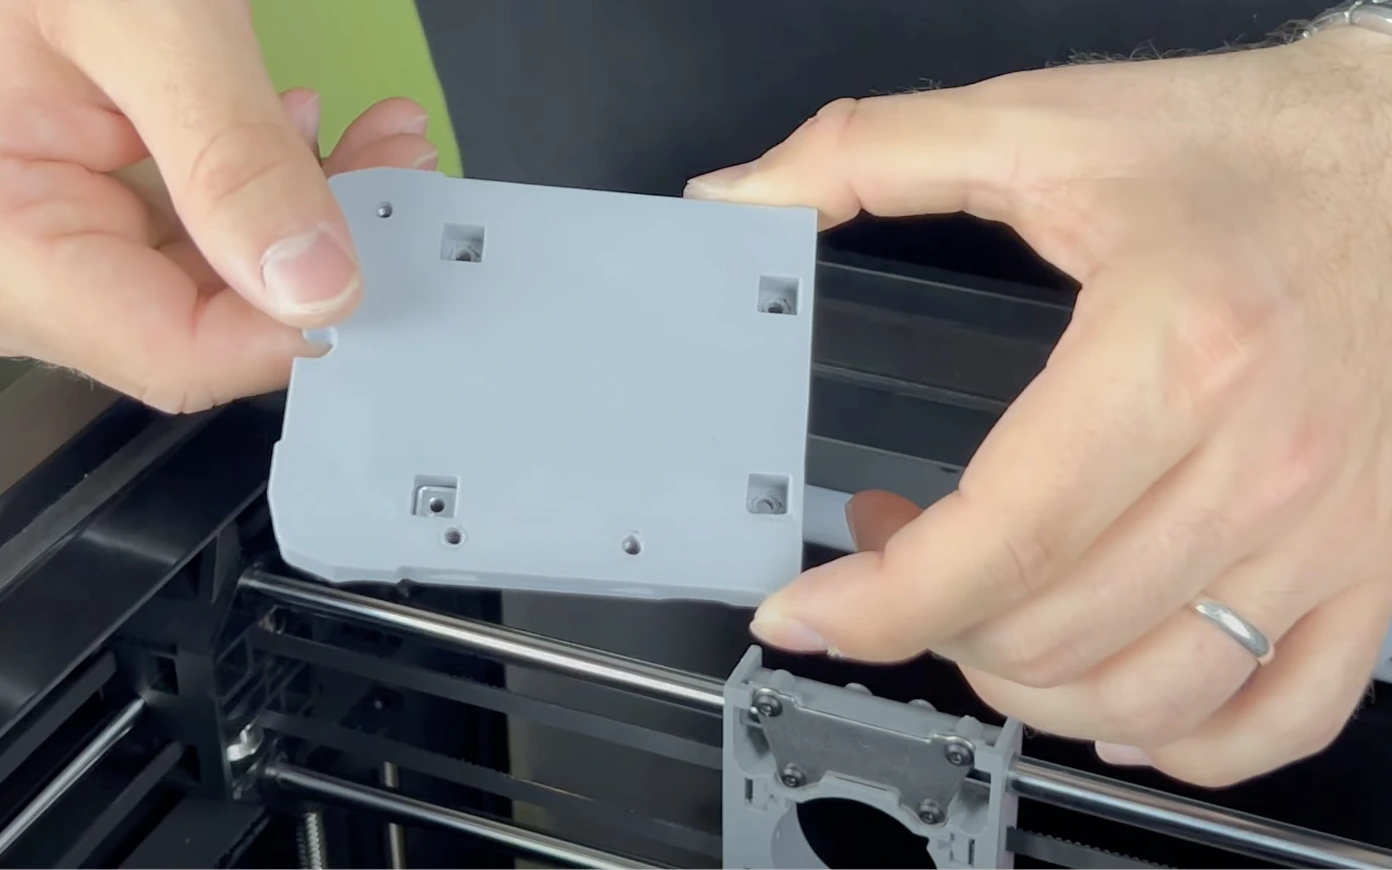
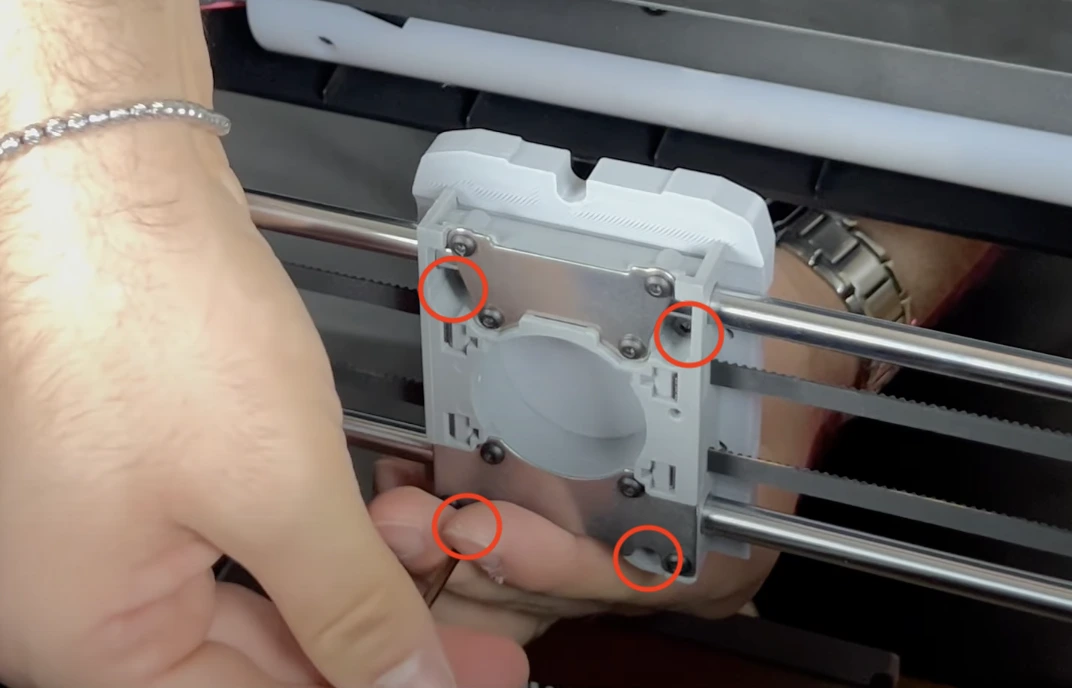
Insert four square nuts into the printed mounting part named “Flashforge/Adventurer 5M Pro/Flashforge Adventurer 5M Pro ChromaHead Adapter.STL” and secure it through the holes of the removed extruder motor.
¶ 2.10) Remove the Cable Protector
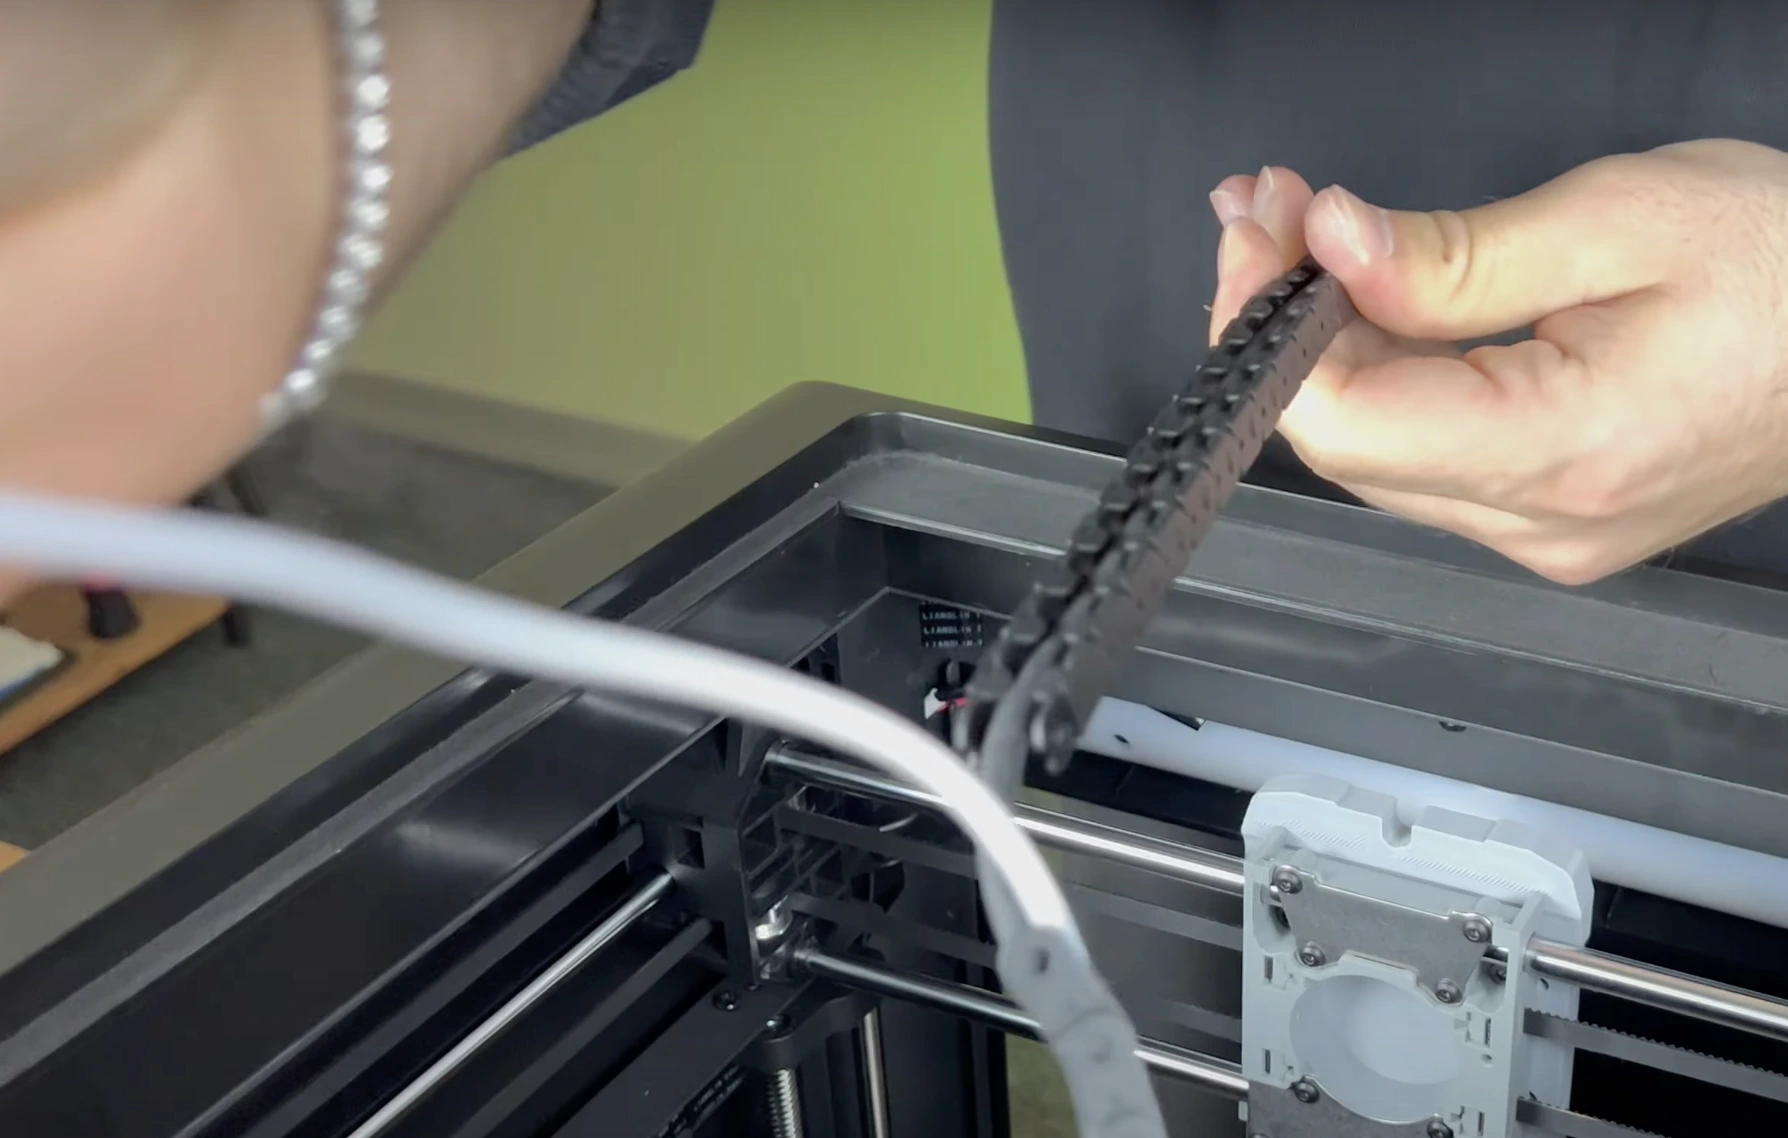
Remove the last 16 segments of the cable protector leading to the print head.
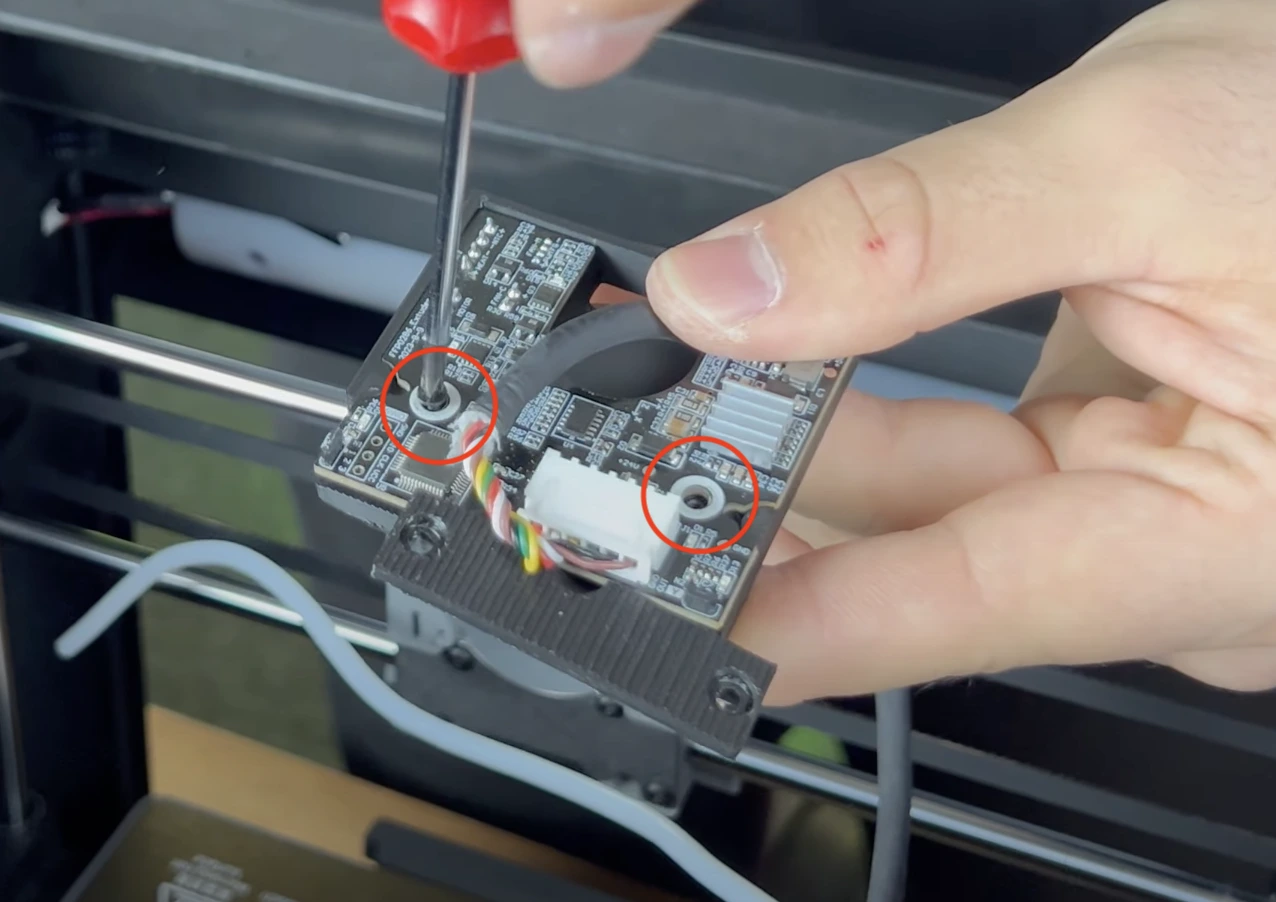
¶ 2.11) Reattach the Print Head Board
Place the board into the print head board mounting part named “Flashforge/Adventurer 5M Pro/Flashforge Adventurer 5M Pro Mainboard Holder.STL” that you printed. Route the print head cable through the correct slot, and secure the board to the new mounting part using the two holes on the motherboard
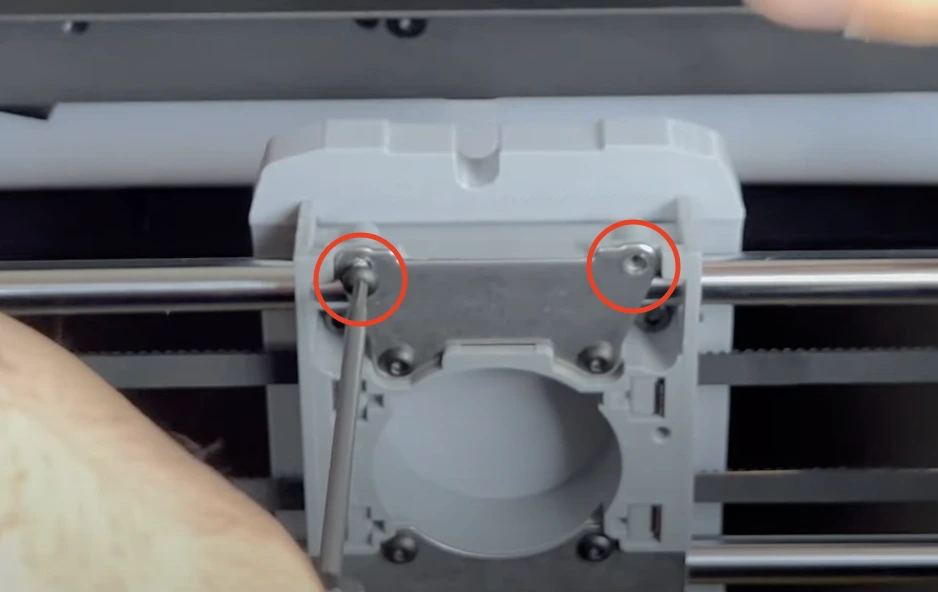
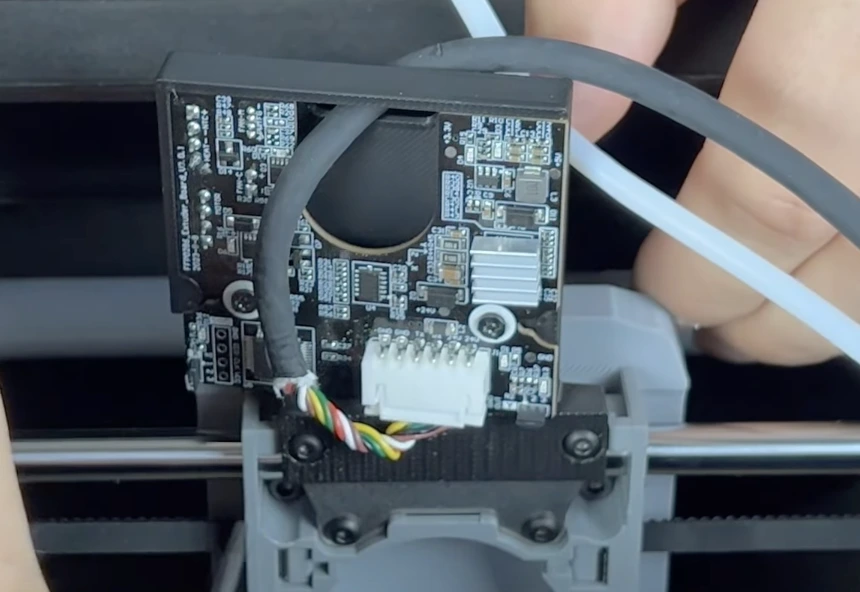
¶ 2.12) Secure the Mainboard Connection Bracket
To secure the connection bracket that holds the print head board to the print head, remove the top two screws from the rear panel, place the bracket, and then reinstall the screws.
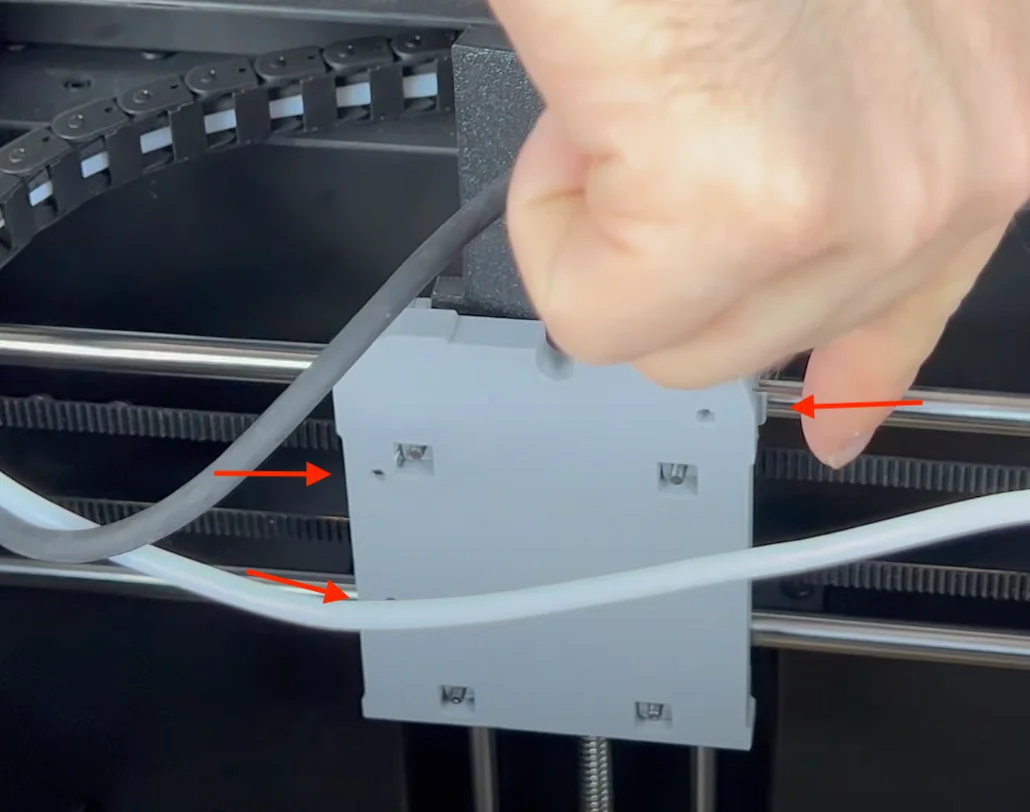
¶ 2.13) Insert the Square Nuts into the Print Head Connection Bracket.
Place the square nuts into the holes on the print head where we will attach the ChromaHead.
¶ 2.14) Secure the ChromaHead to the Printer
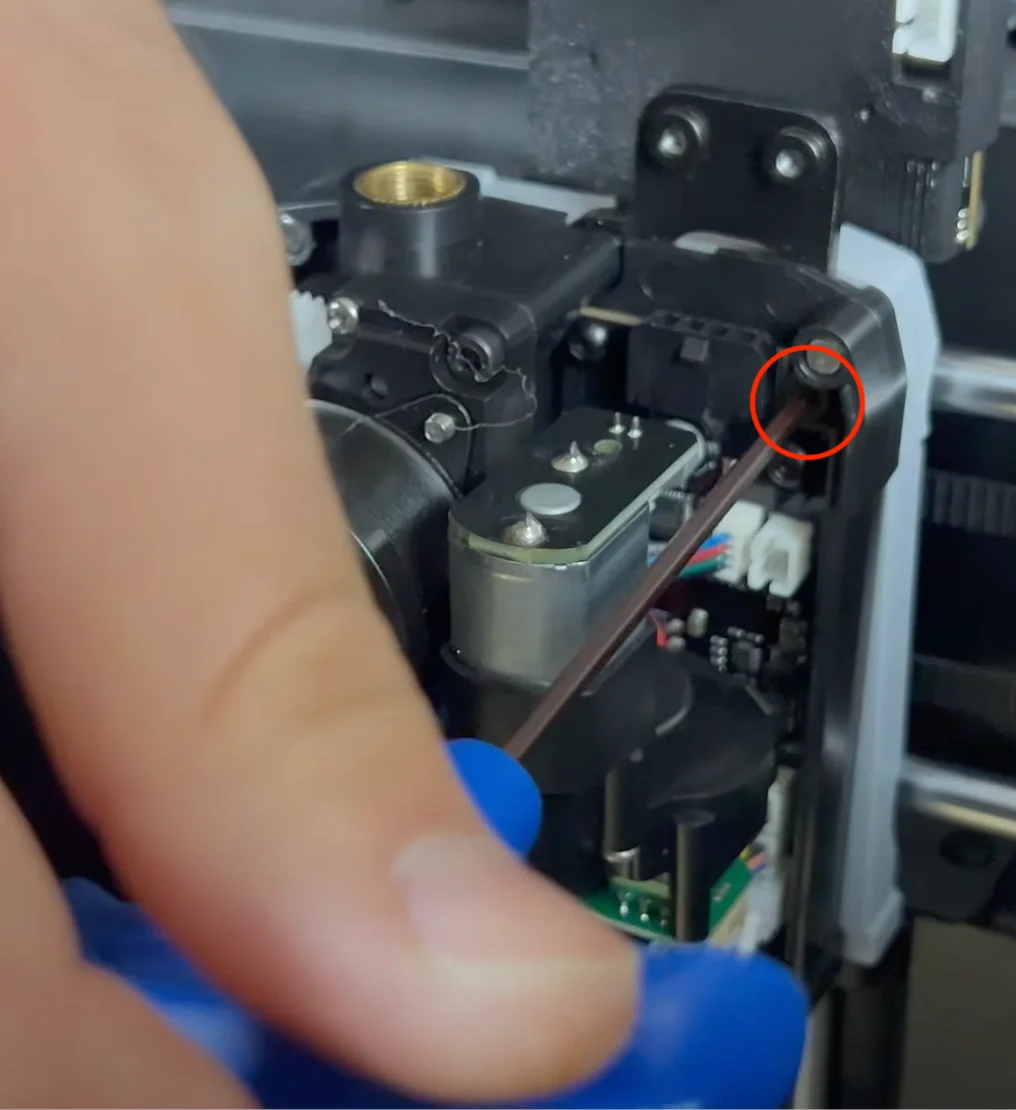
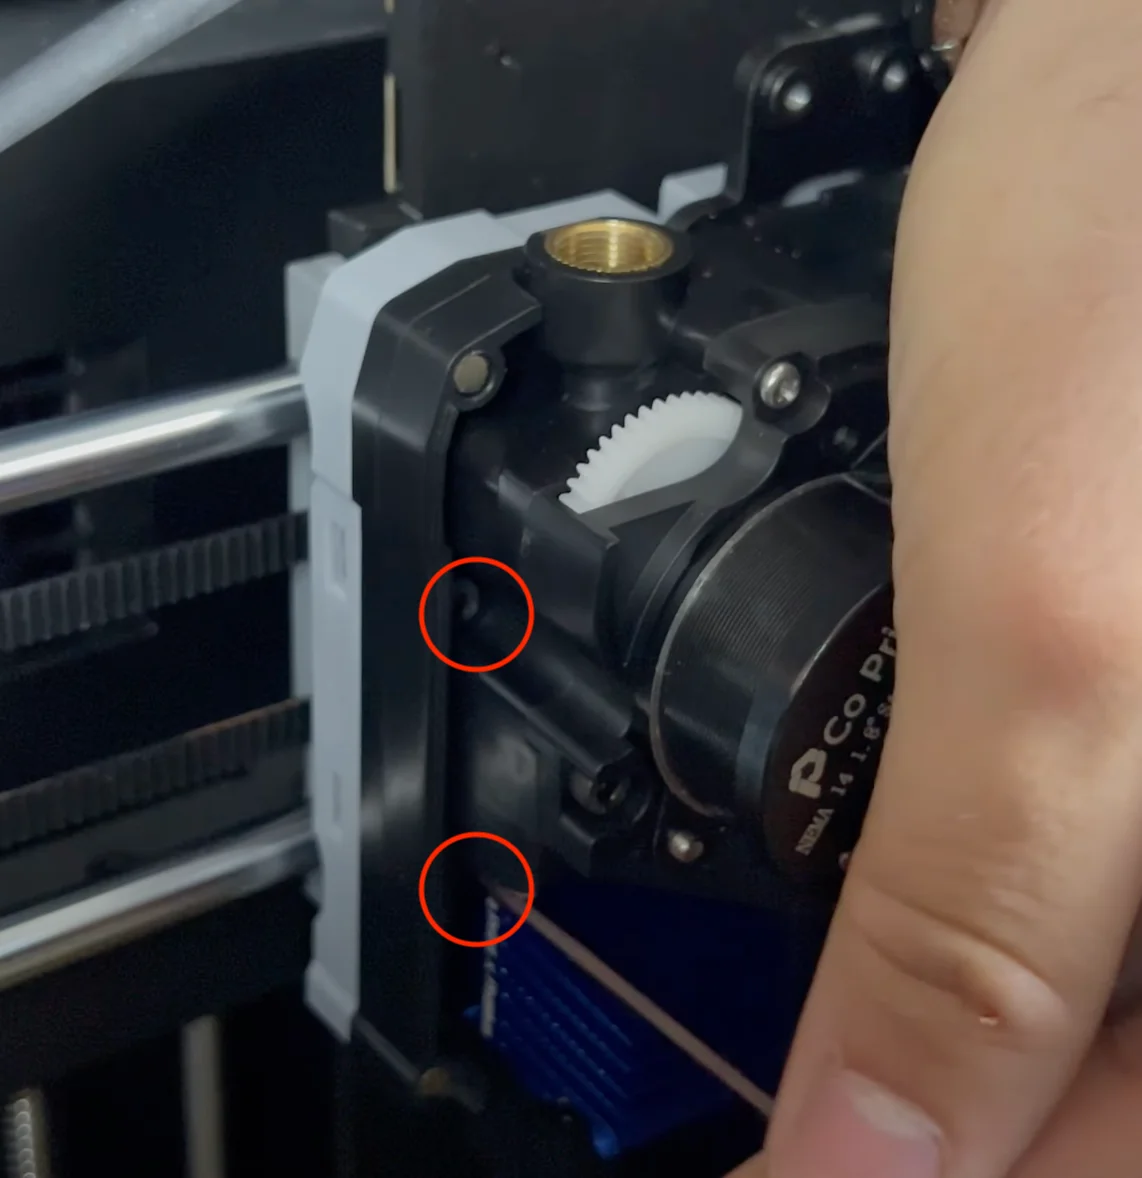
Open the ChromaHead cover, disconnect the fan cable, and remove the front cover. Then, secure it to the printer using the necessary screws through the mounting holes.
¶ 2.15) Connect the ChromaHead Cable.
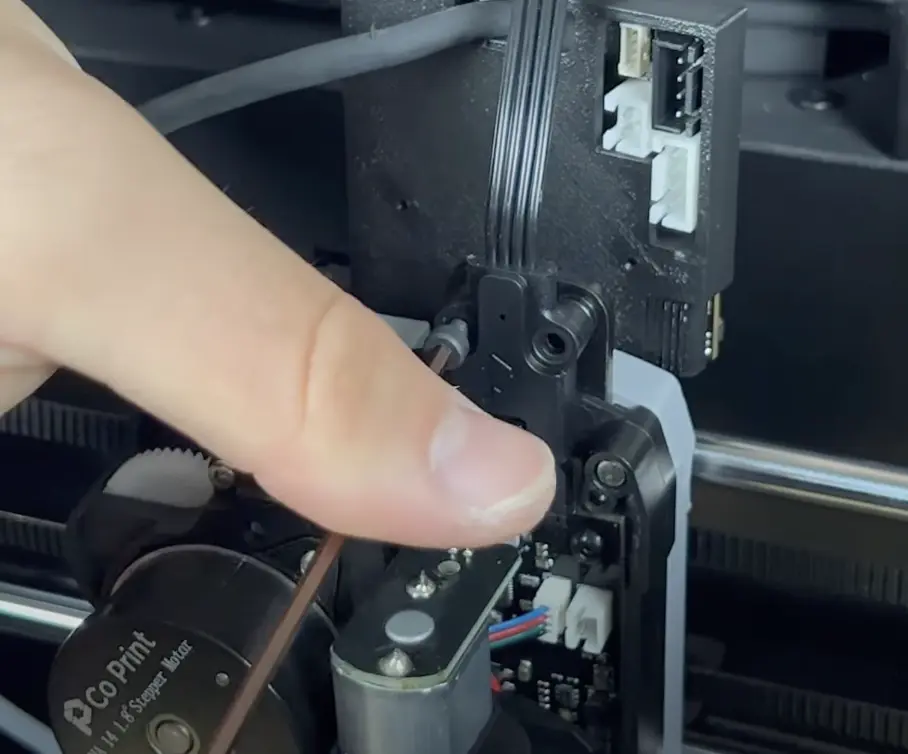
Attach the ChromaHead cable in place, then secure the cable by tightening screws through the two holes on the cable.
¶ 2.16) Close the Front Cover
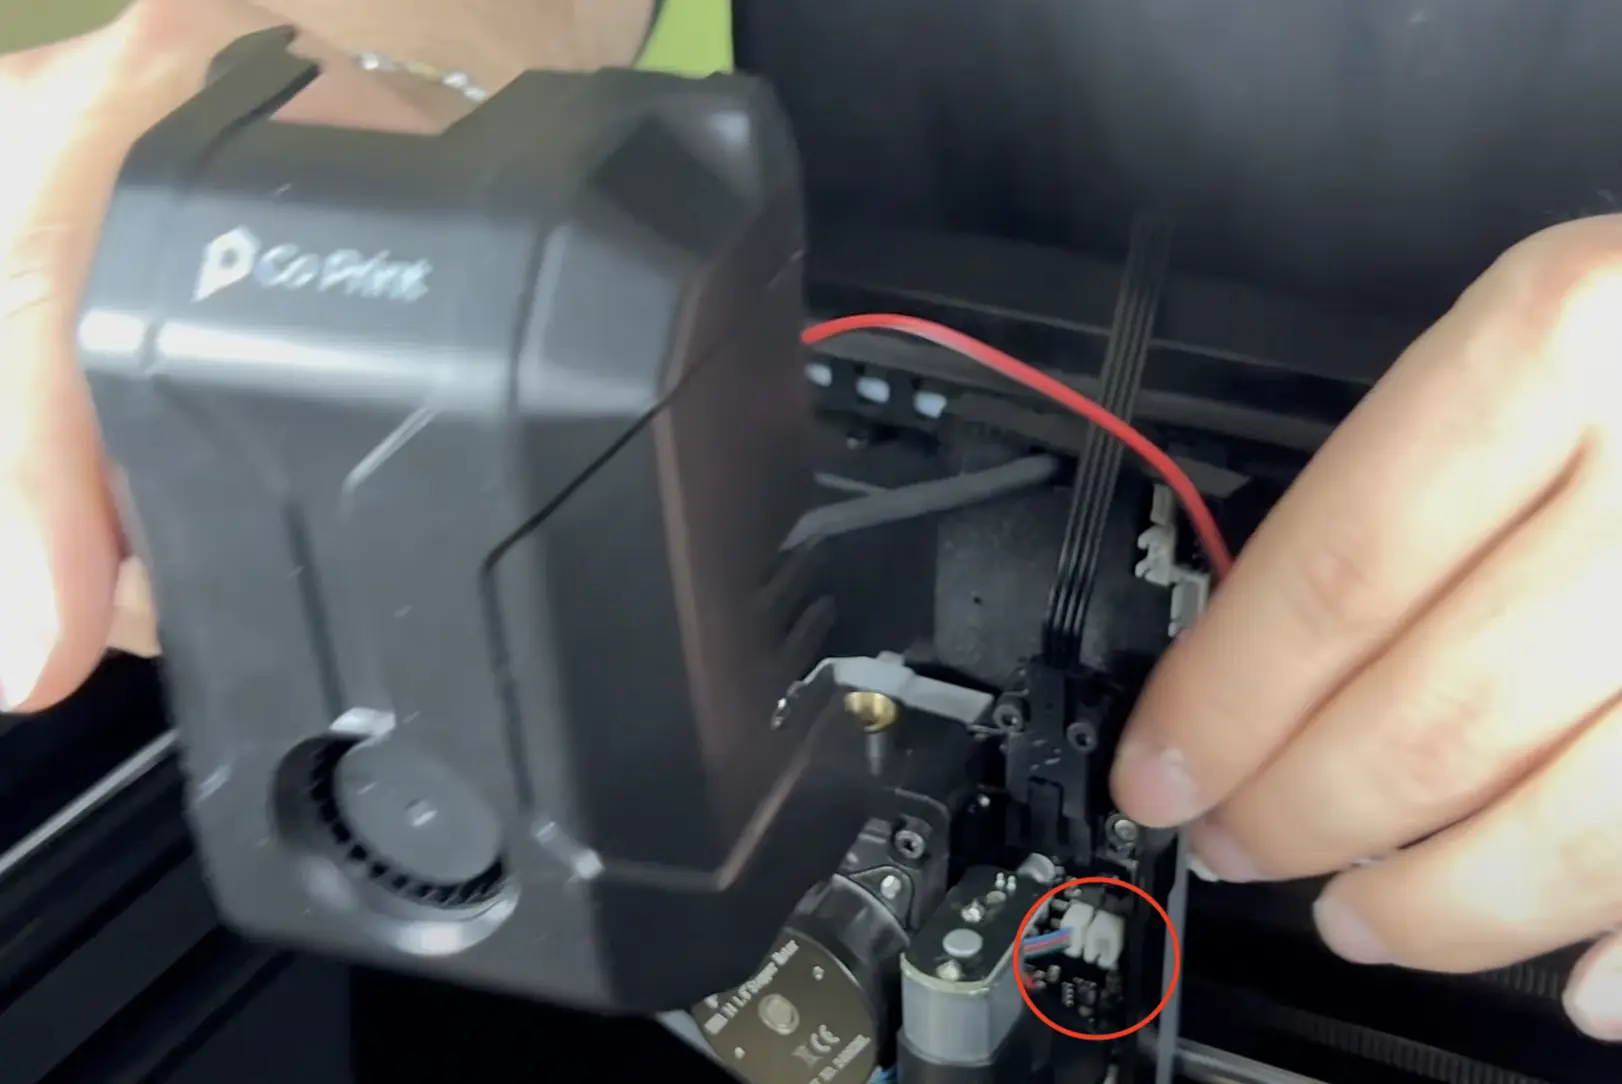
After reconnecting the fan cable, close the magnetic ChromaHead cover.
¶ 2.17) Install the 8in1 Module
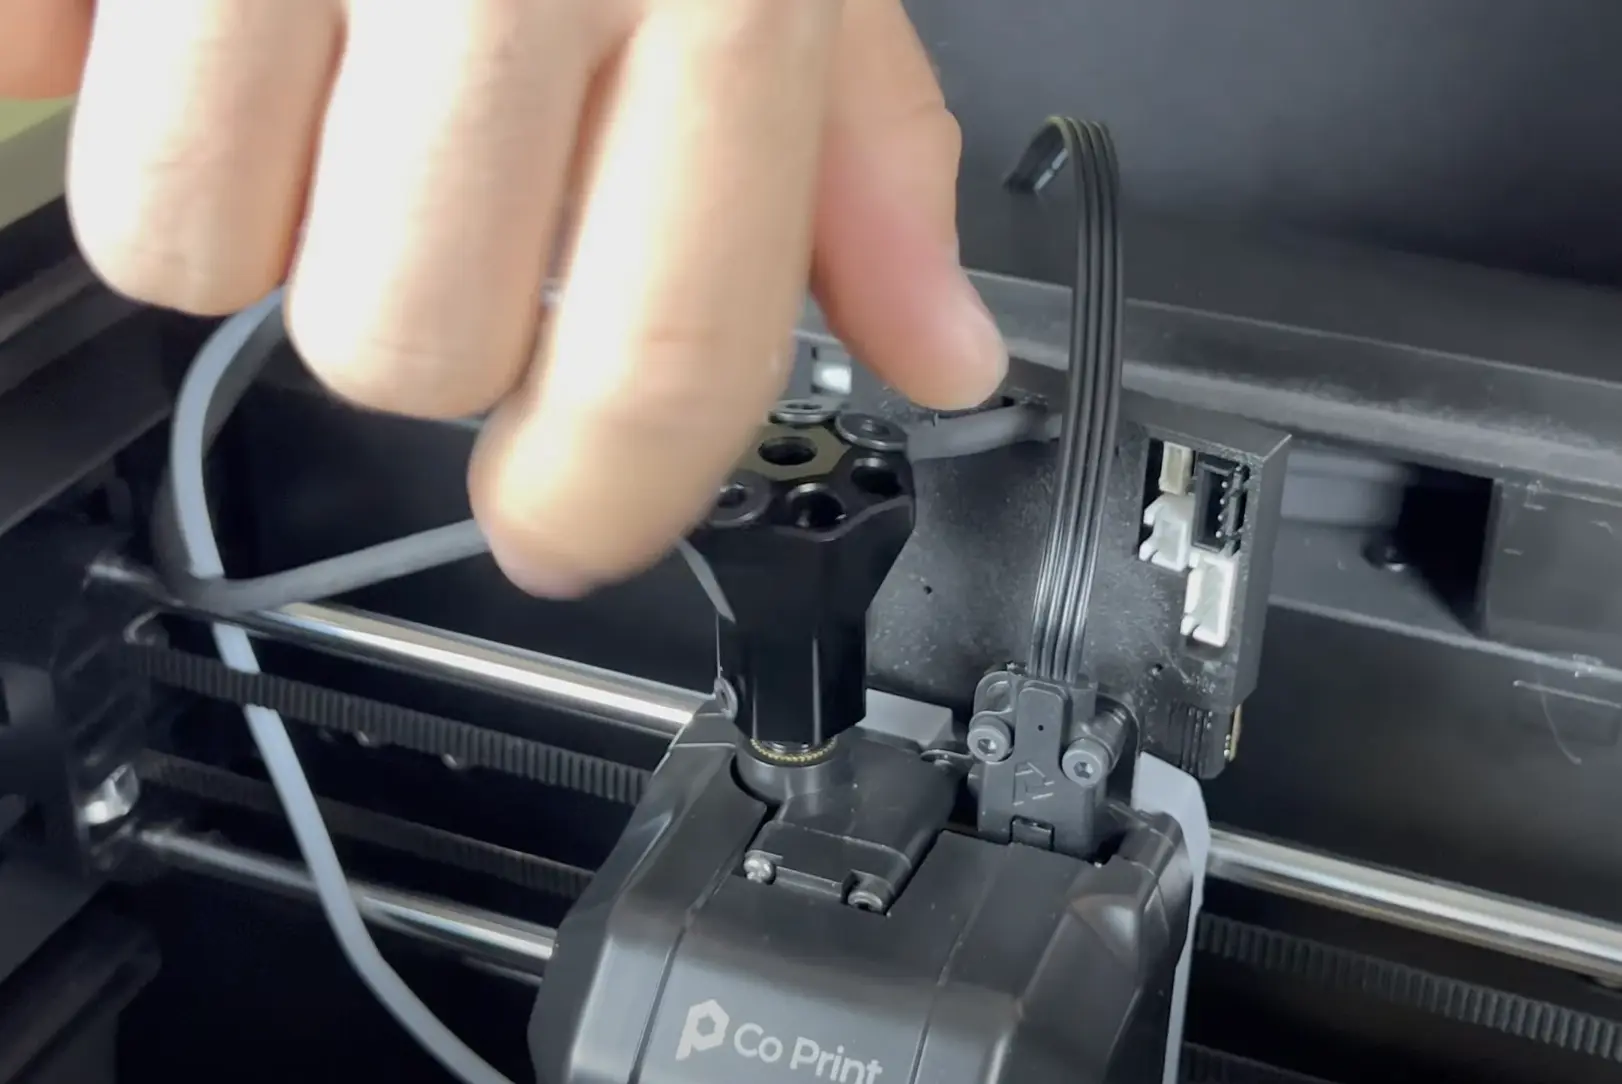
Rotate the 8in1 module from the box and place it in the designated spot. Make sure it is securely attached, but do not apply excessive force.
¶ 2.18) Remove the Top Cover
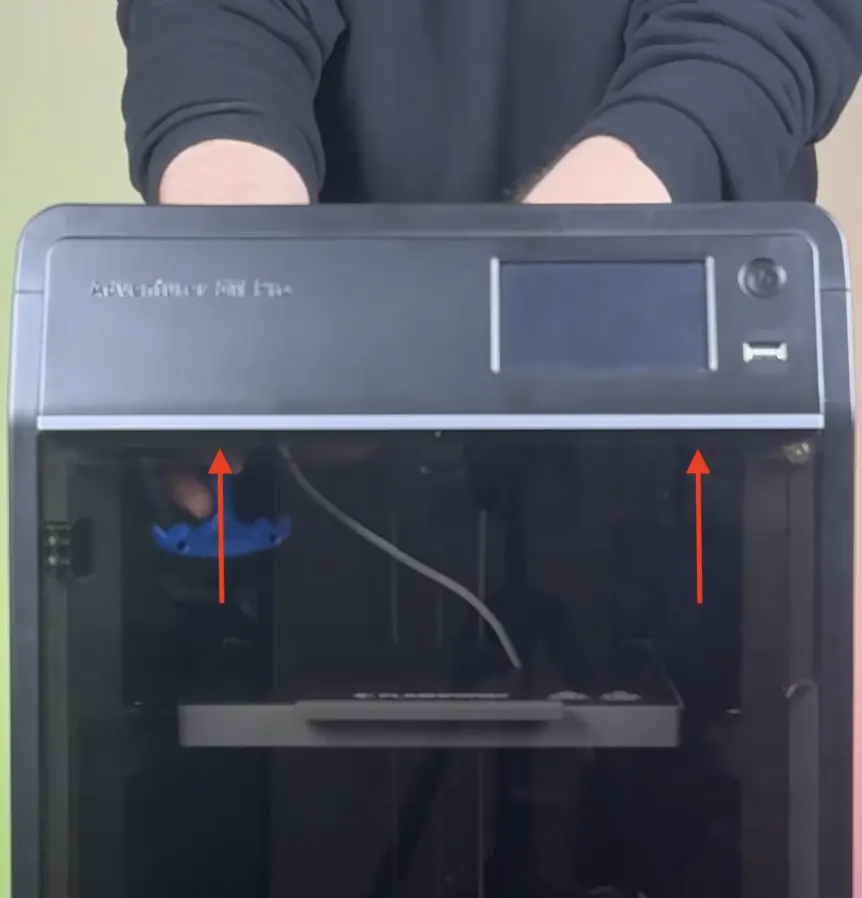
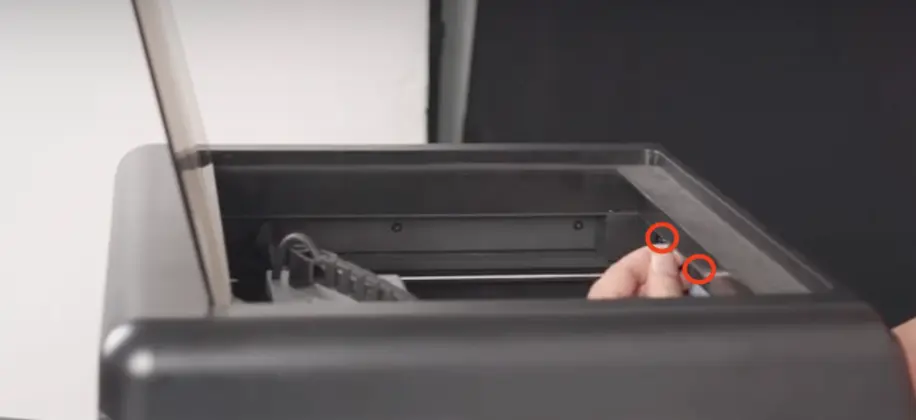
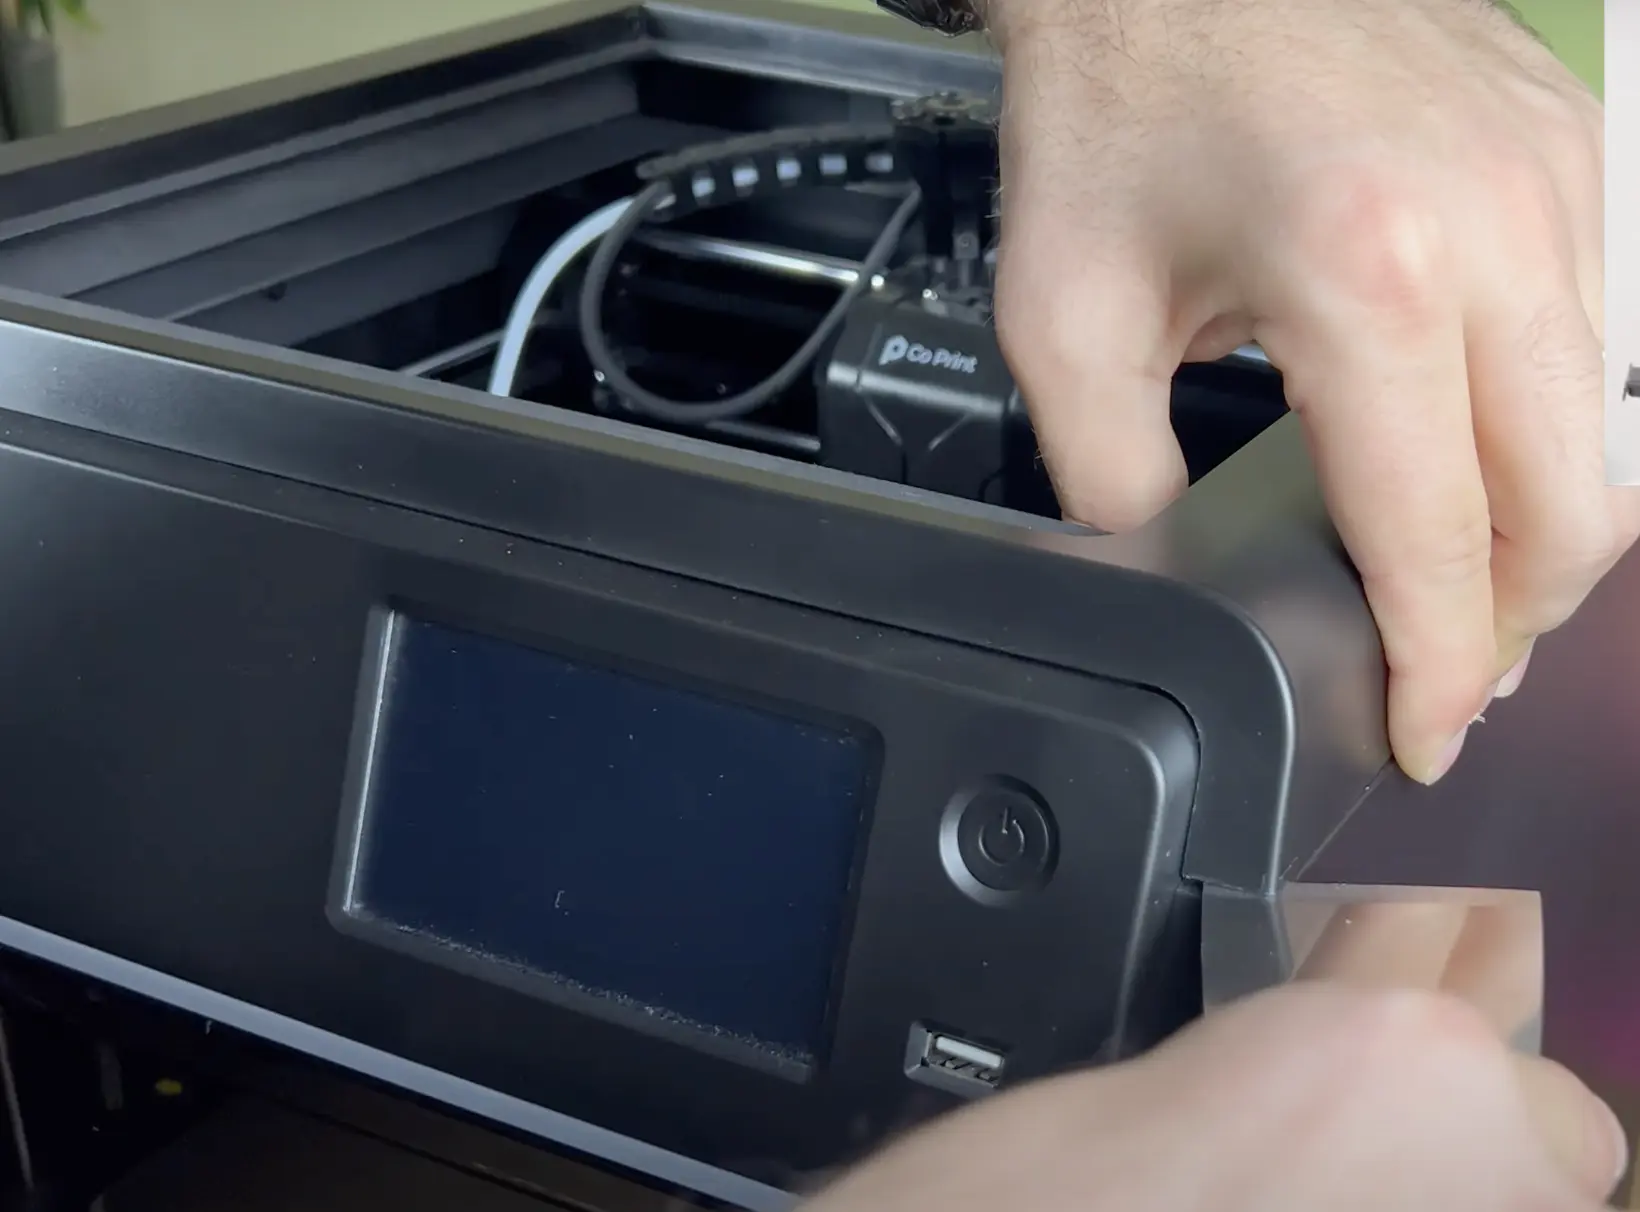
To remove the stock PTFE tube on the printer, you need to remove the printer’s top cover. Unscrew the two screws inside the printer, then carefully flex the top cover using a spatula at the front corners and lift it off gently.
¶ 2.19) Remove the Stock PTFE Tubes
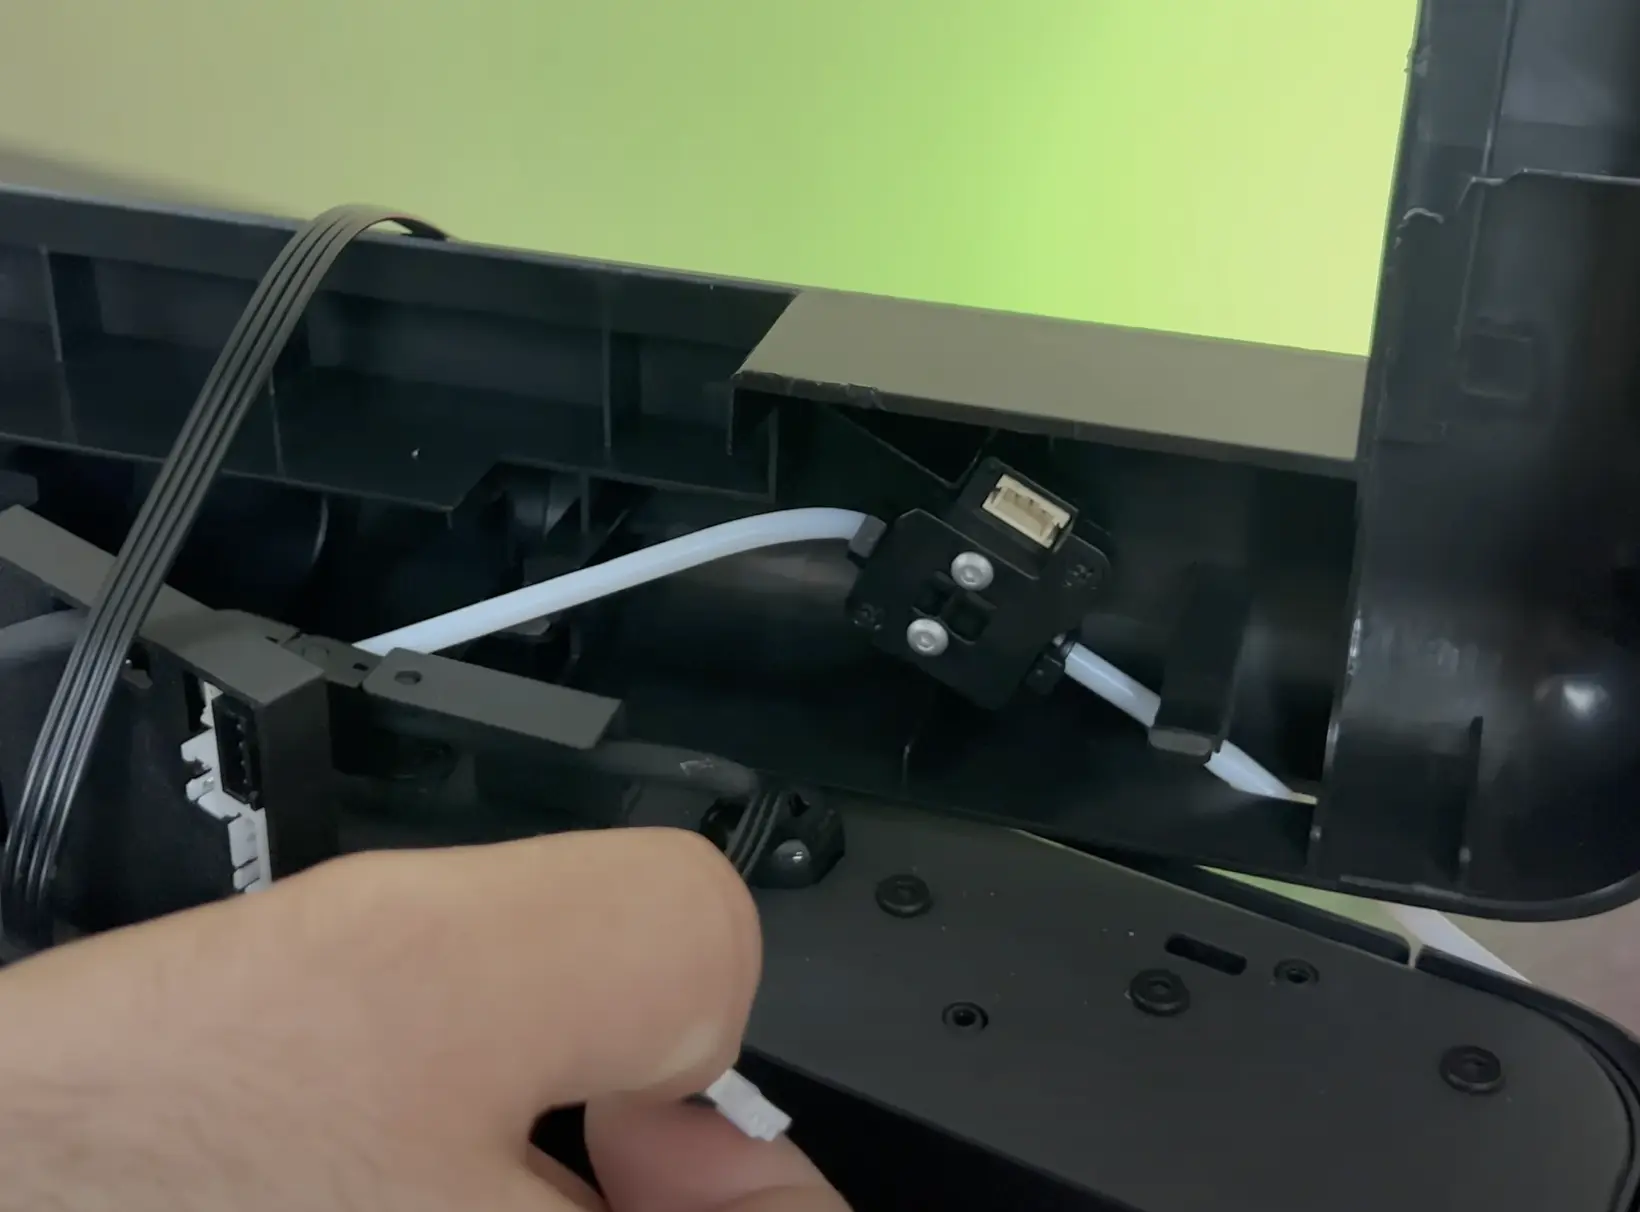
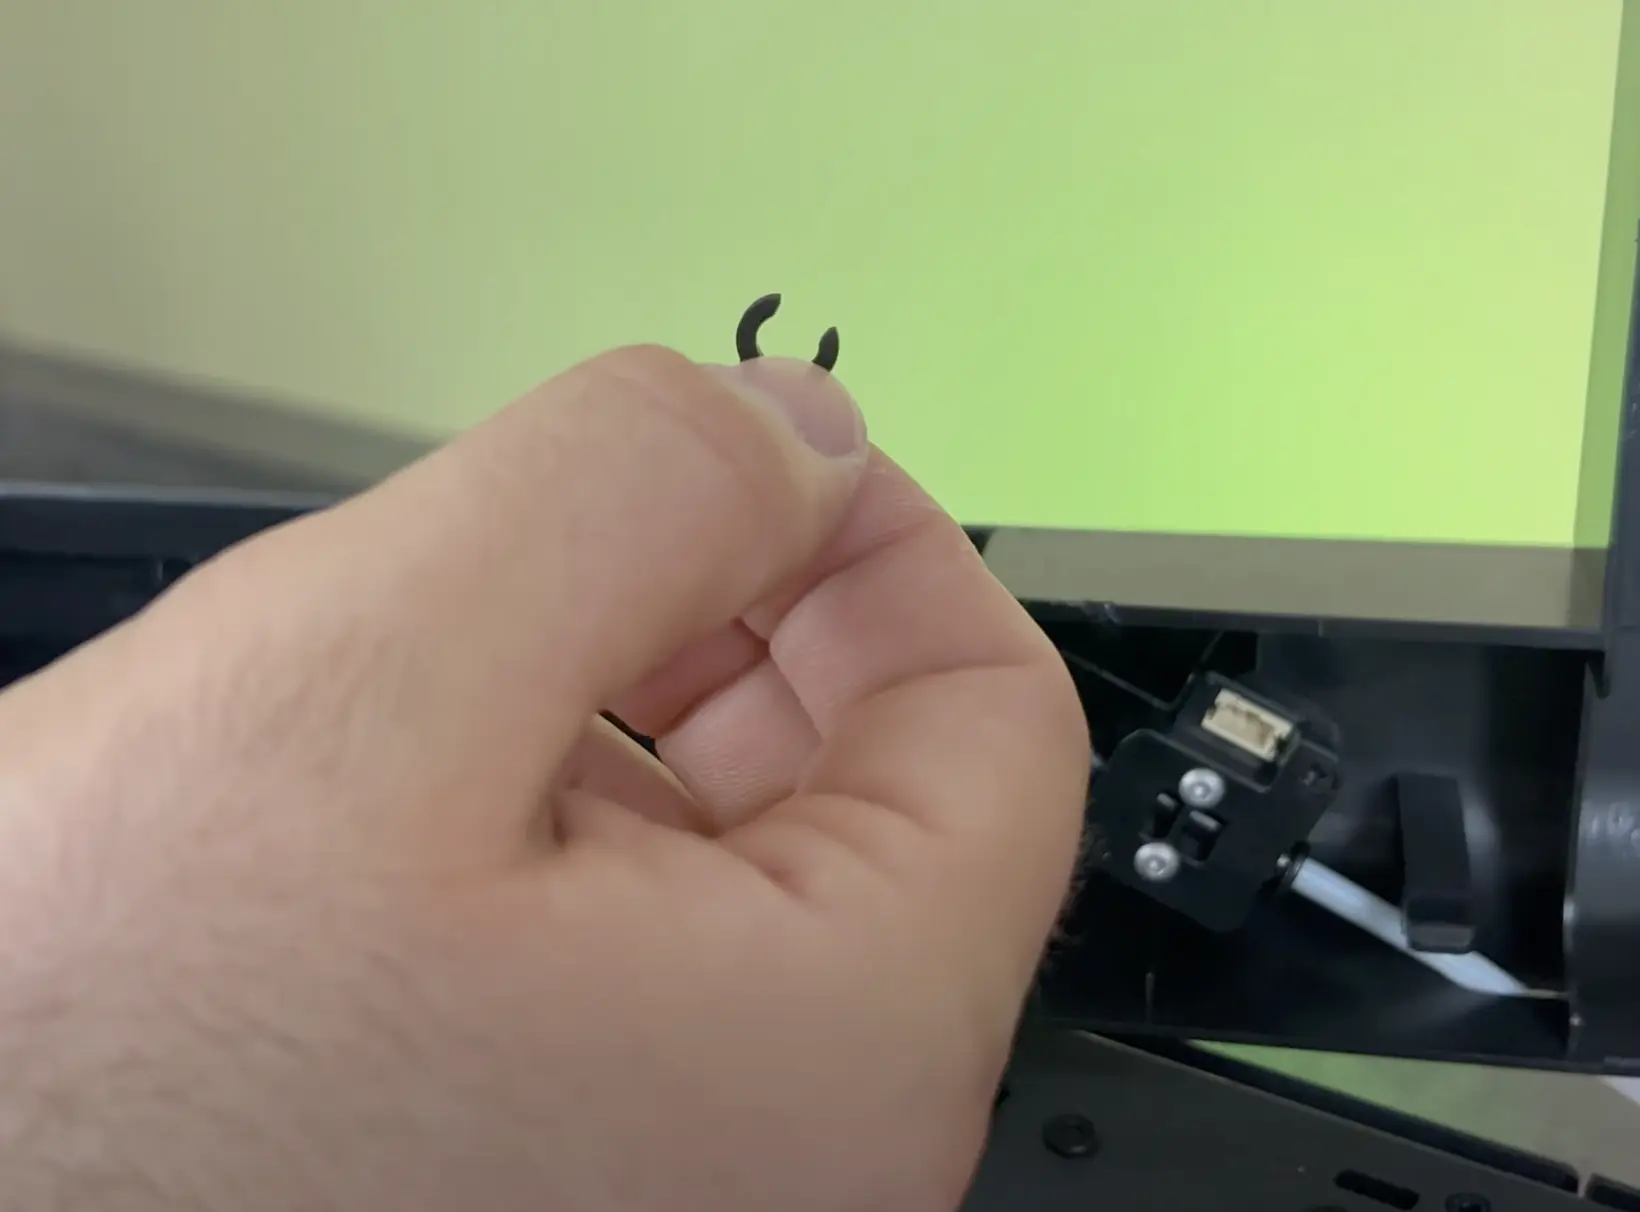
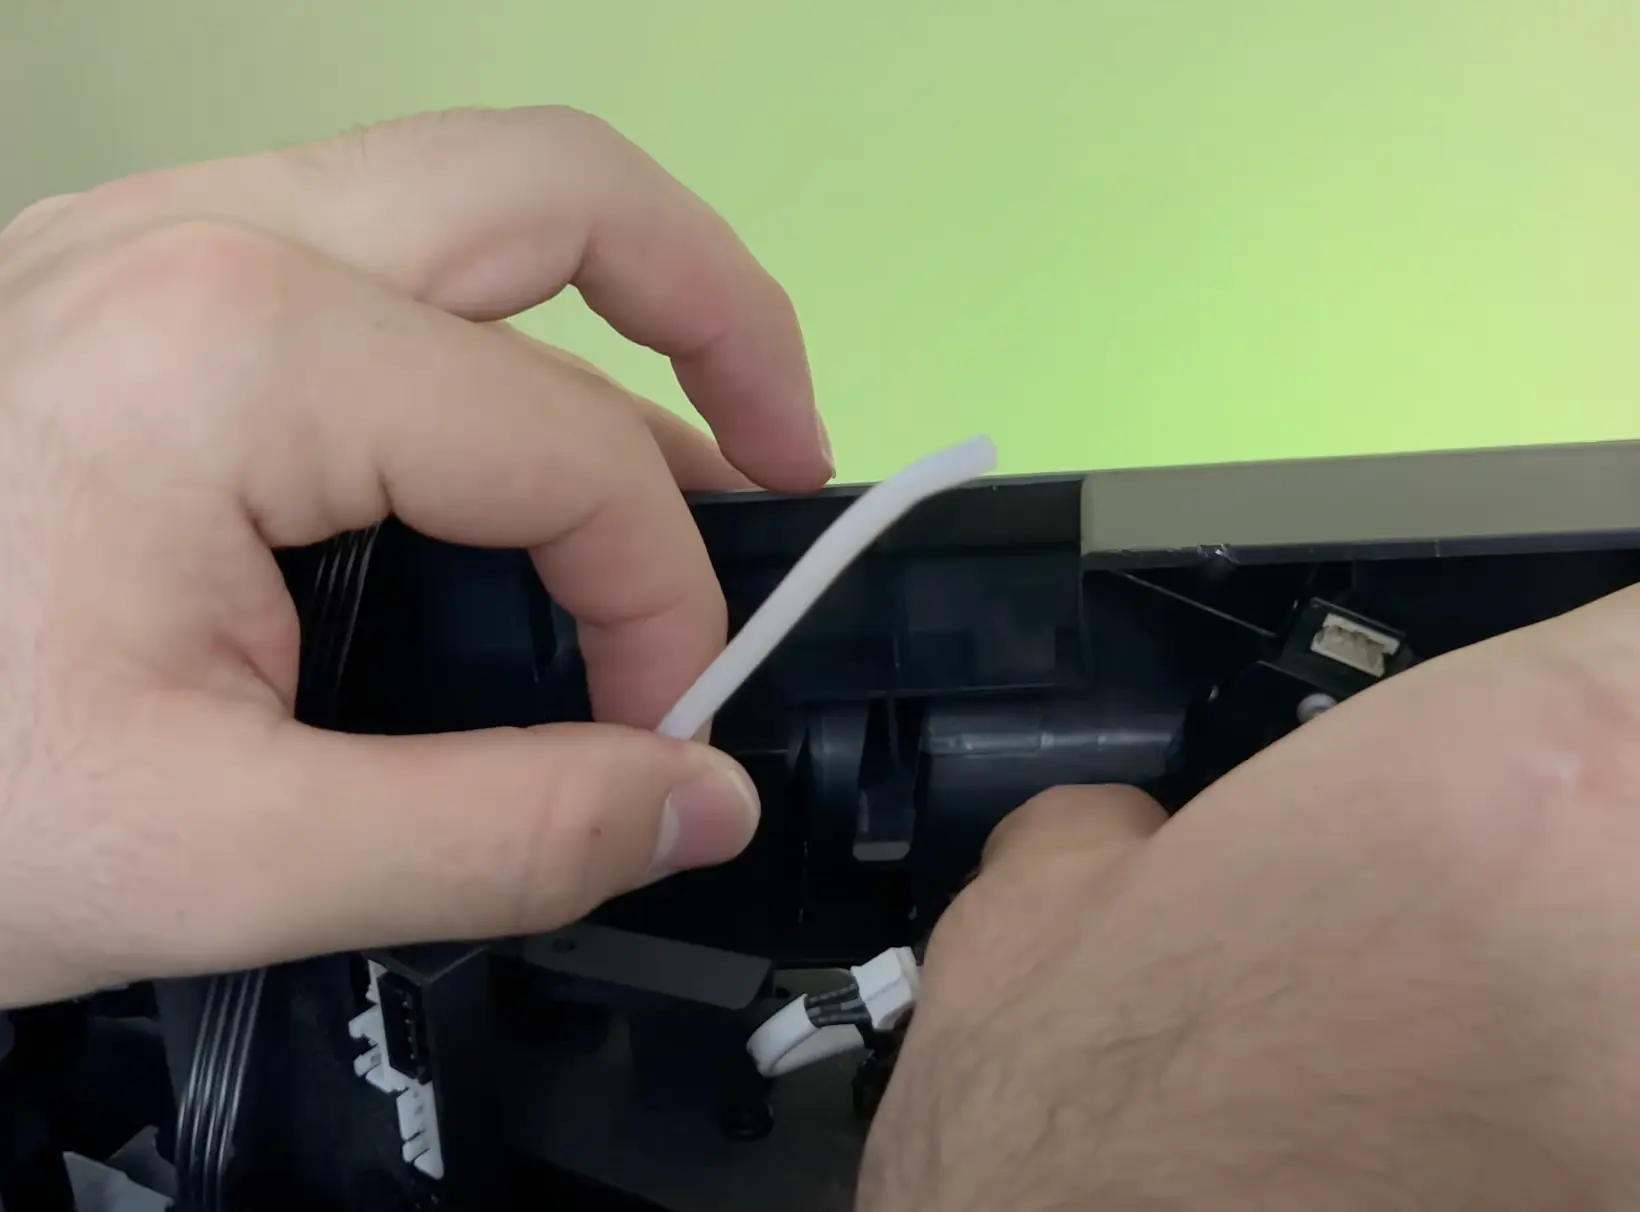
Disconnect the filament sensor cable located under the printer’s cover, then remove the small clips securing the PTFE tubes and detach the tubes from the printer.
¶ 2.20) Reattach the Printer’s Top Cover.
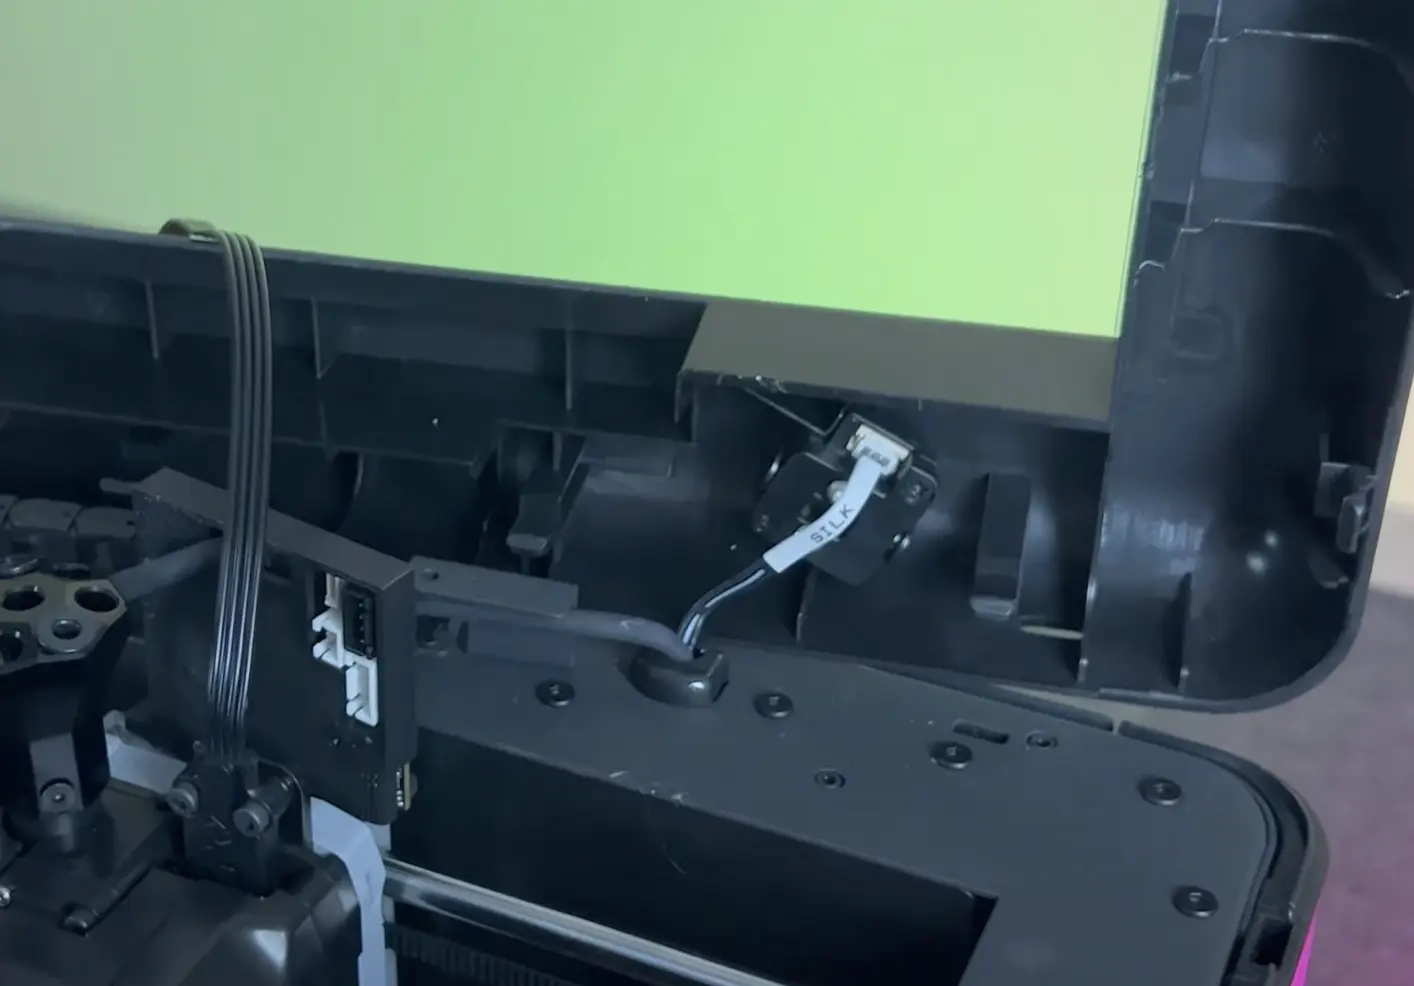
Reconnect the filament sensor cable, then place the printer’s top cover back on. Press down gently to secure it in place, and finally, fasten the screws you removed earlier.
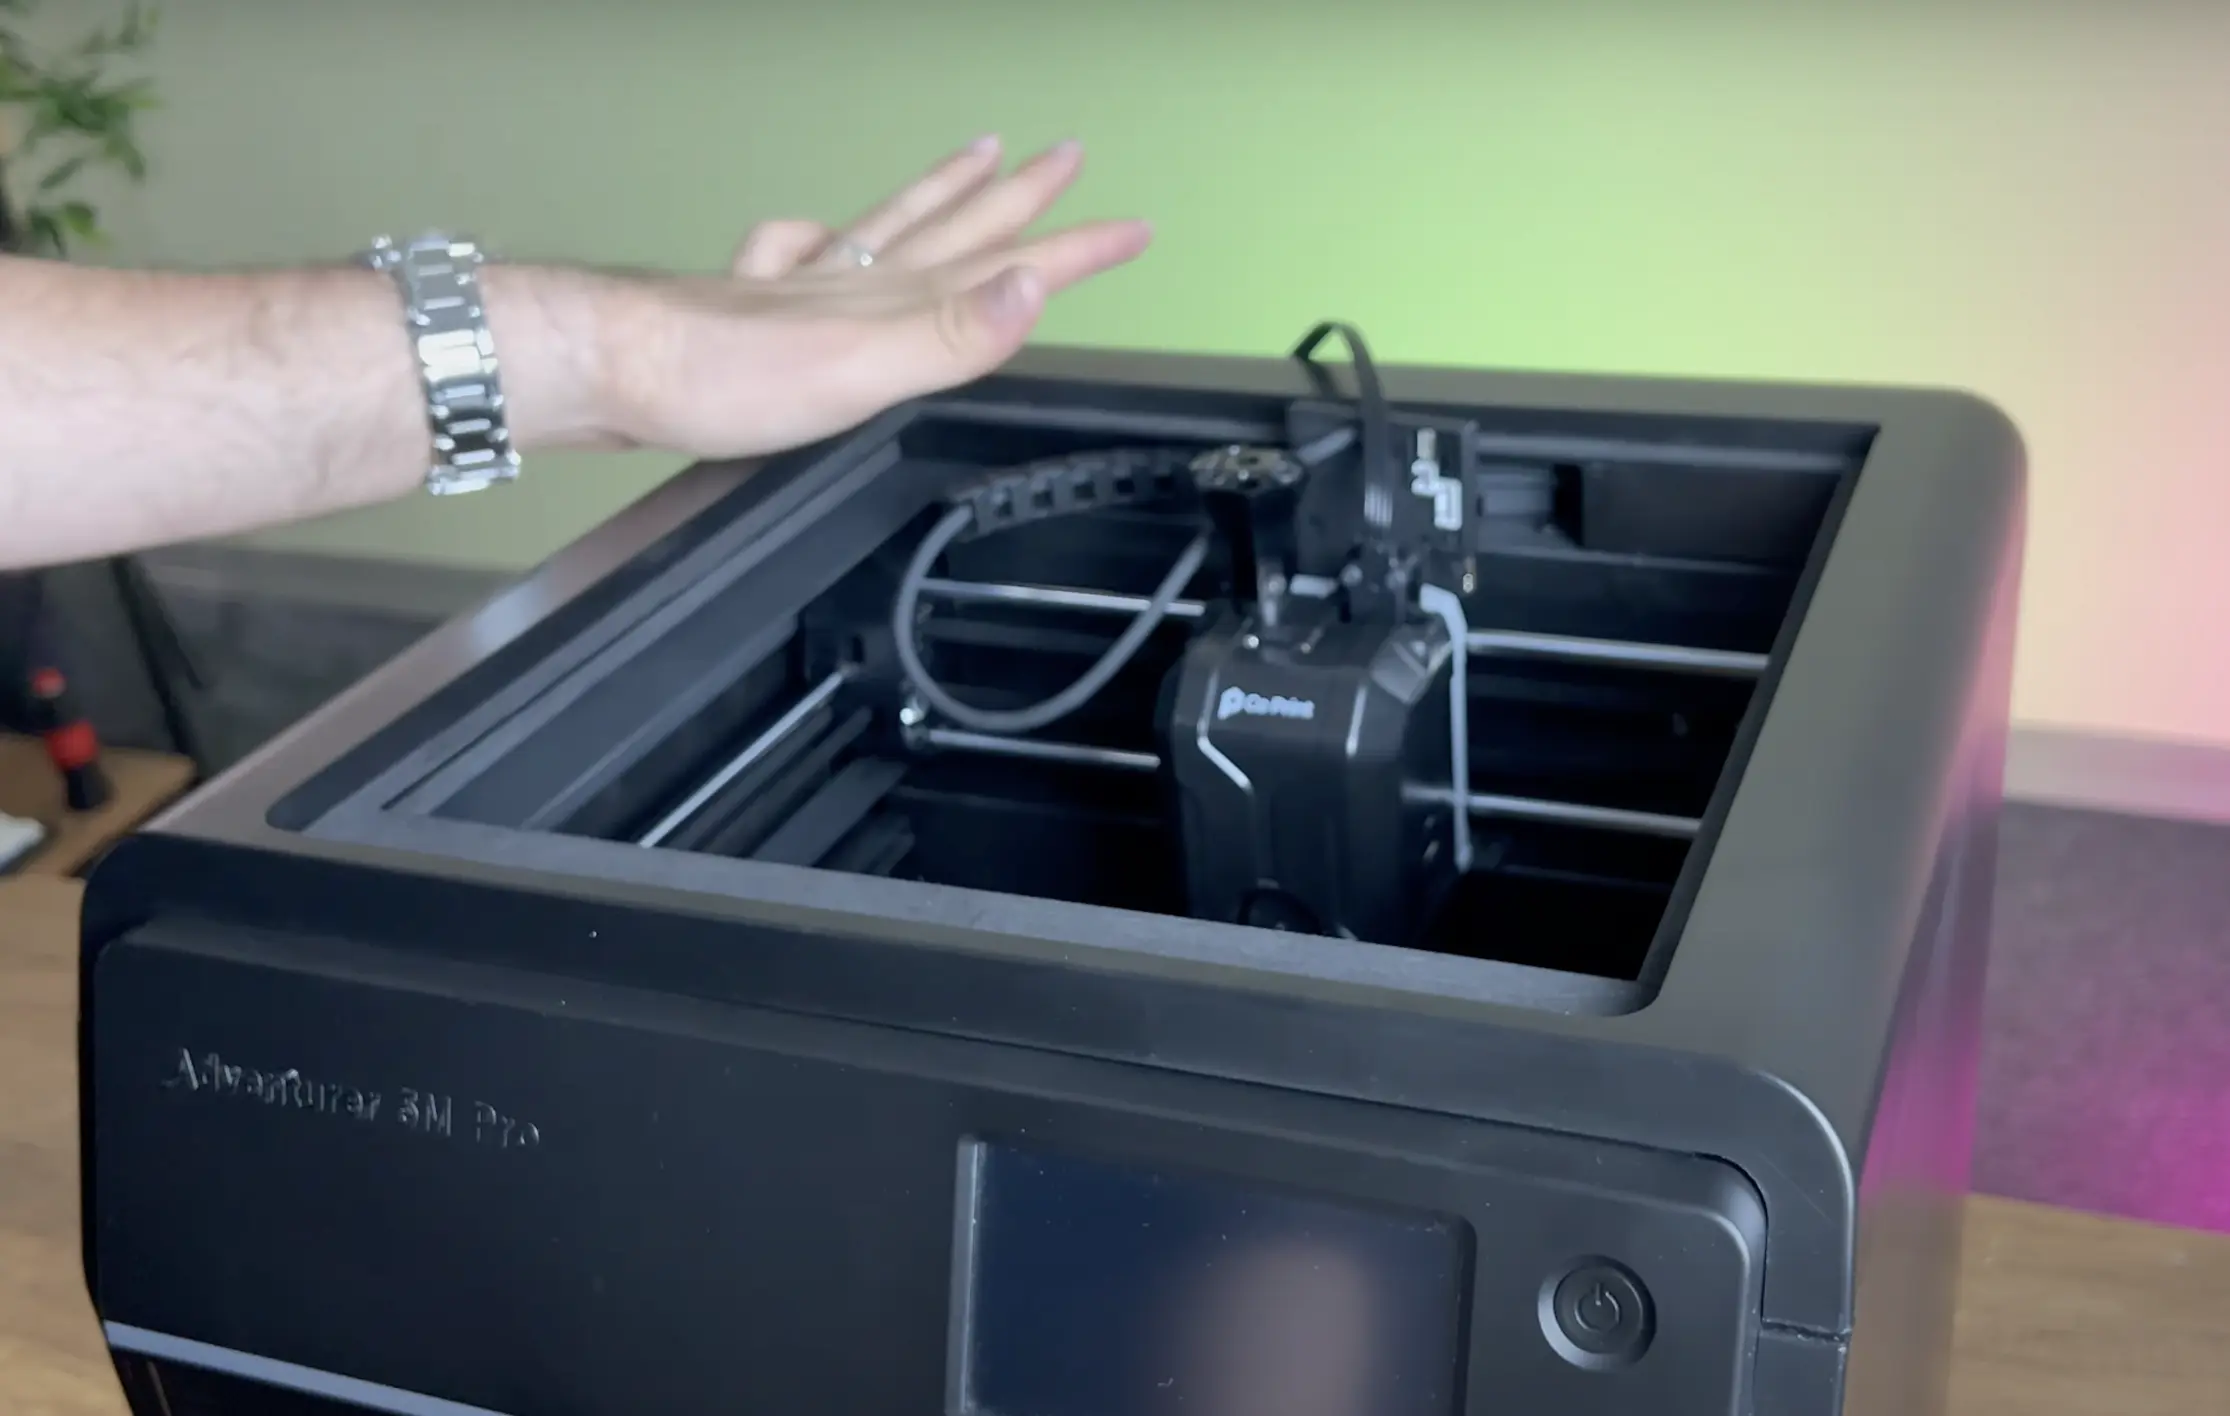
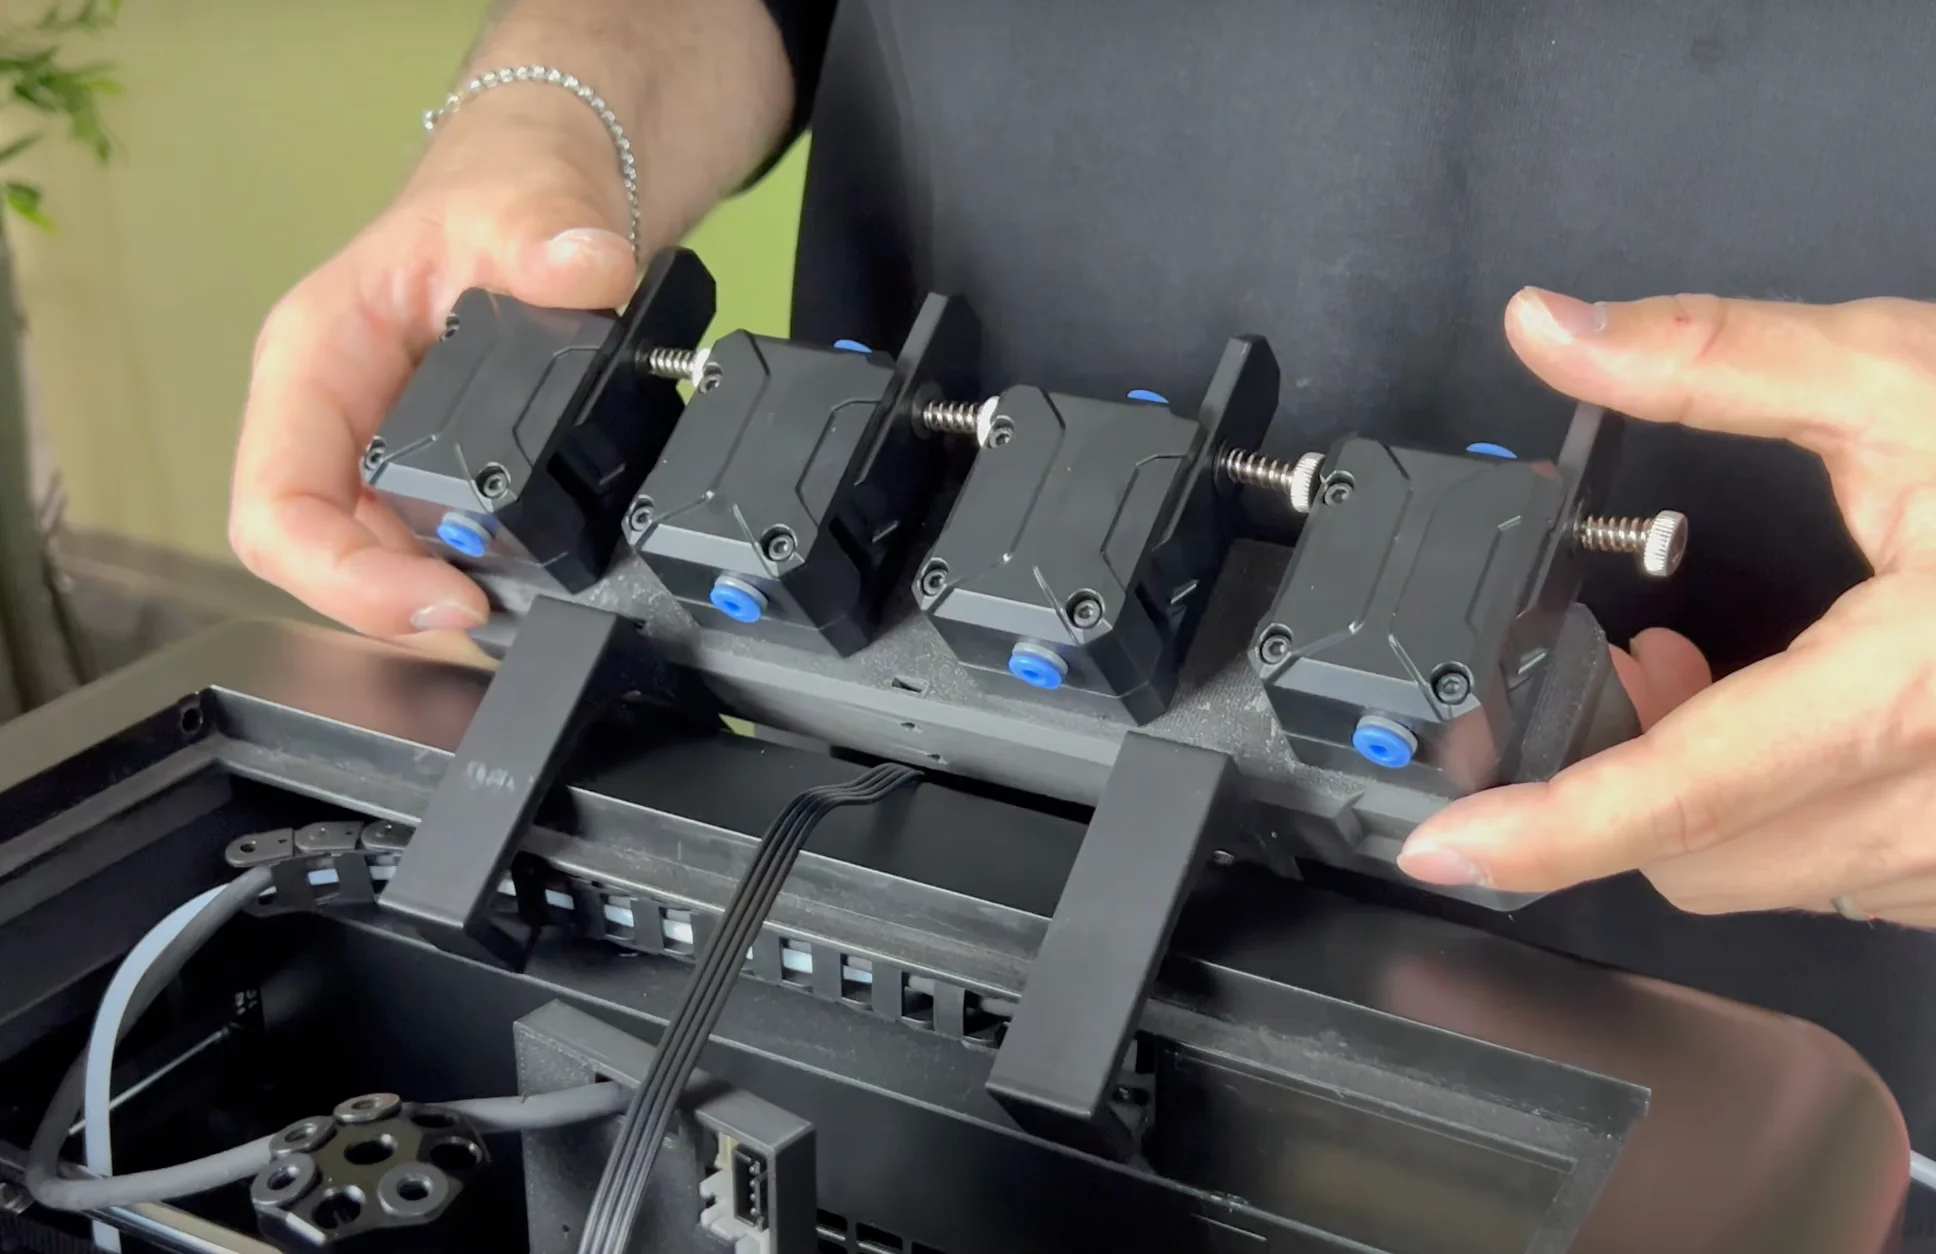
¶ 2.21) Install the Extruder Motors
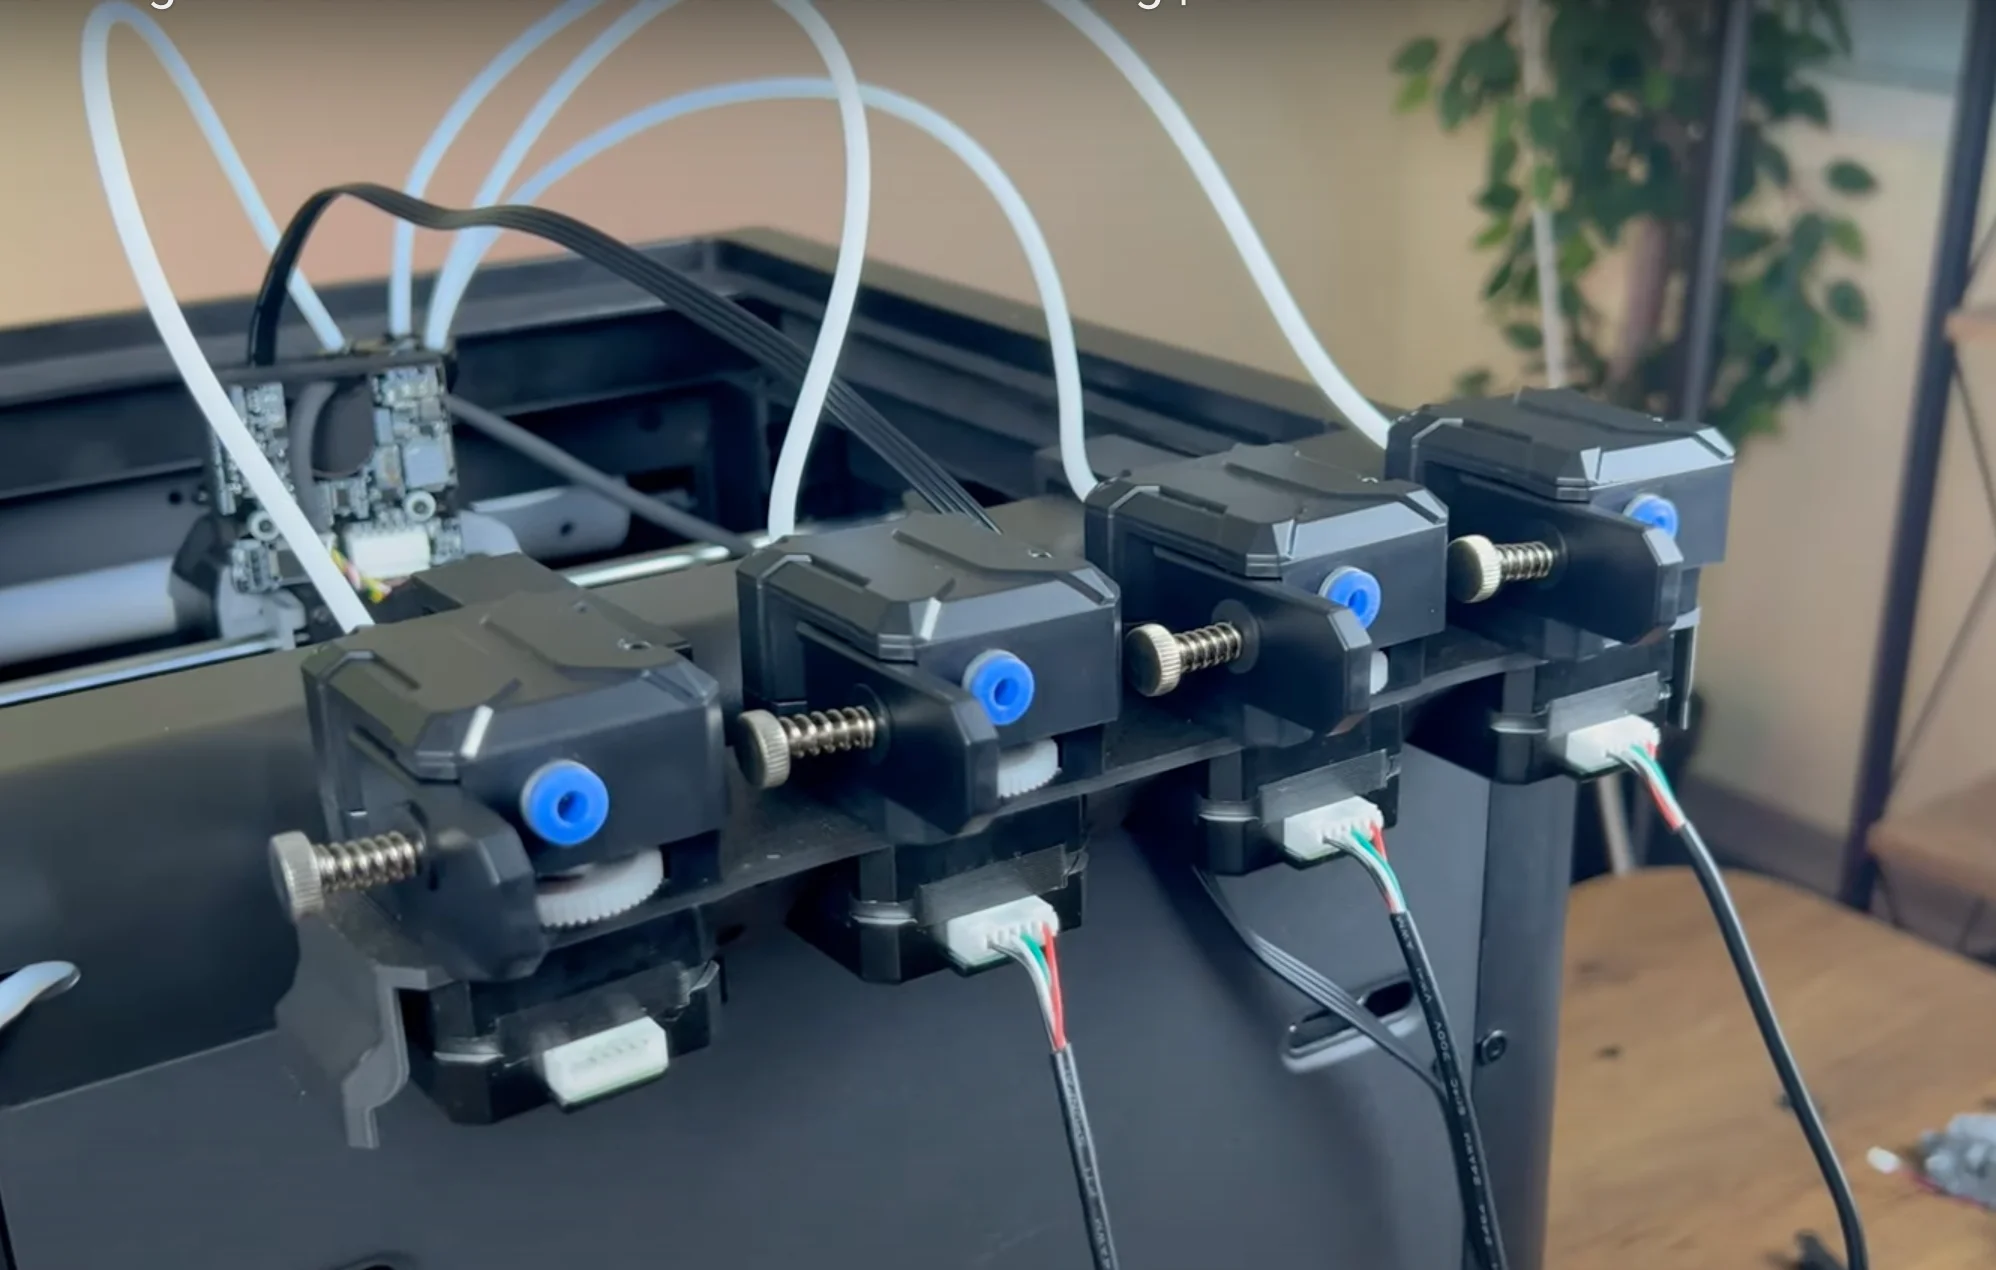
Assemble the printed parts named “4 CX-1 Extruder Block.STL” and “Flashforge Adventurer 5M Pro Block Holder.STL,” secure all the motors to this assembly, and then mount it on the back of your printer.
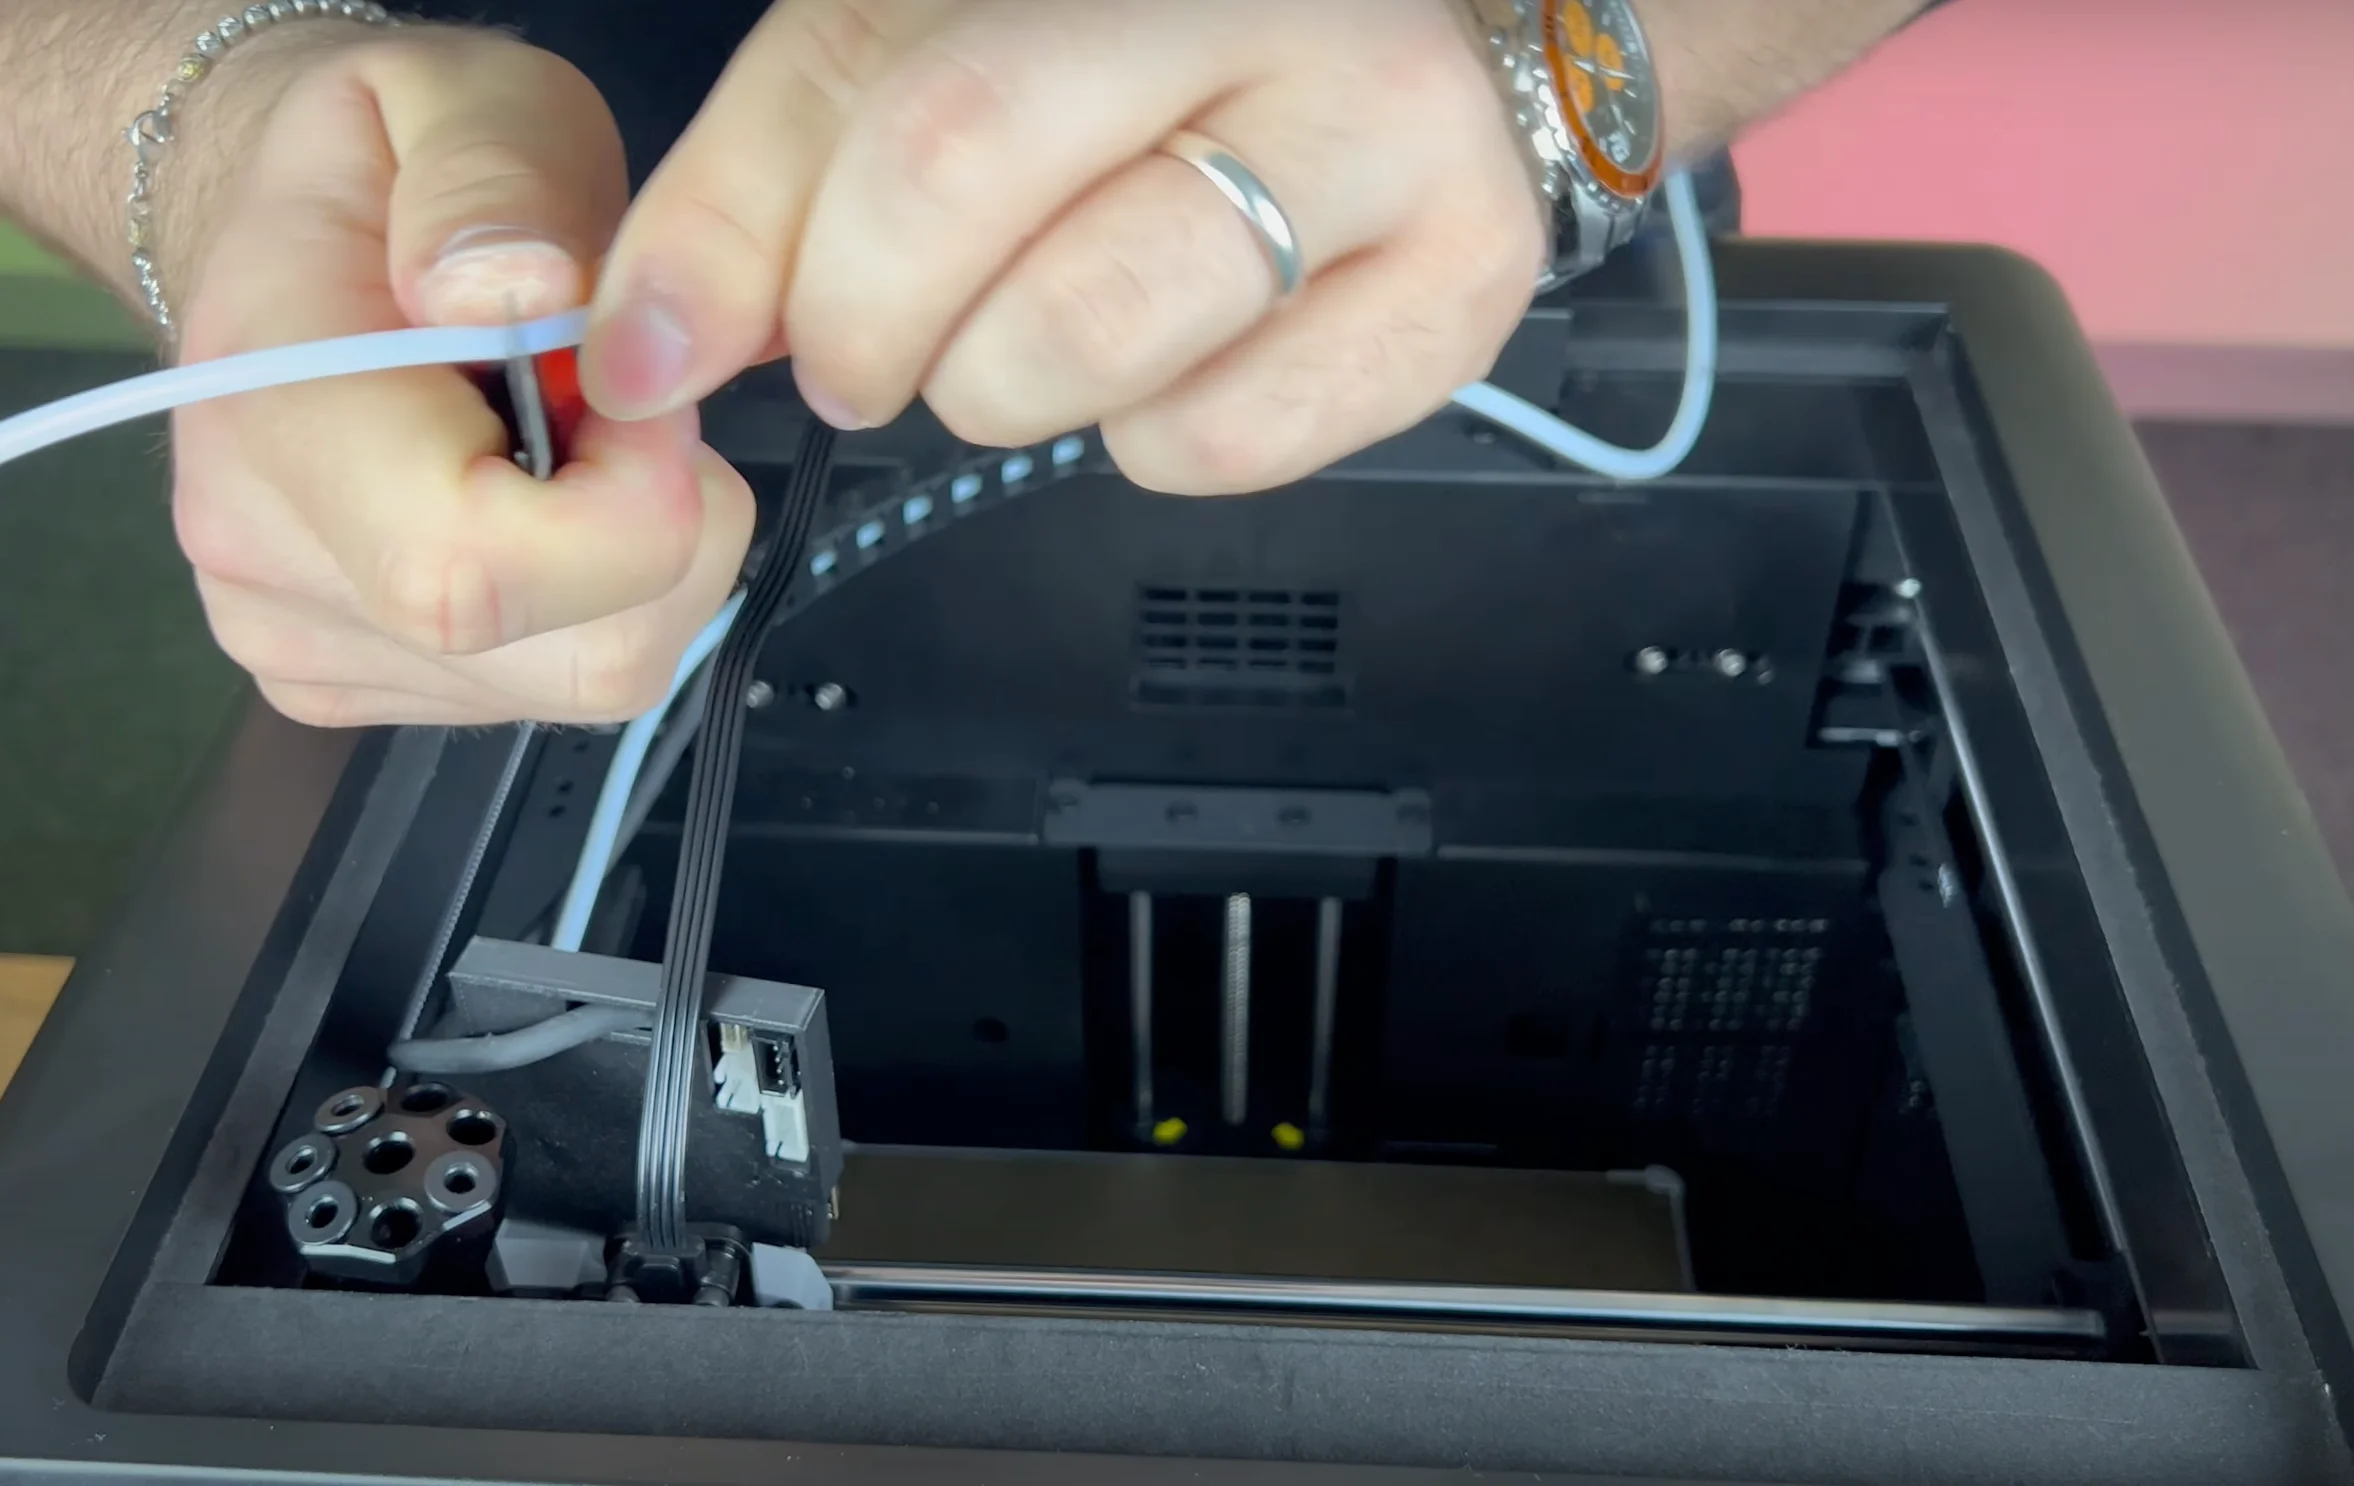
¶ 2.22) Install the PTFE Tubes
After attaching one end of the tube to the extruder motor, move the print head to its farthest position and cut the PTFE tube to the appropriate length. Repeat this process for all motors.
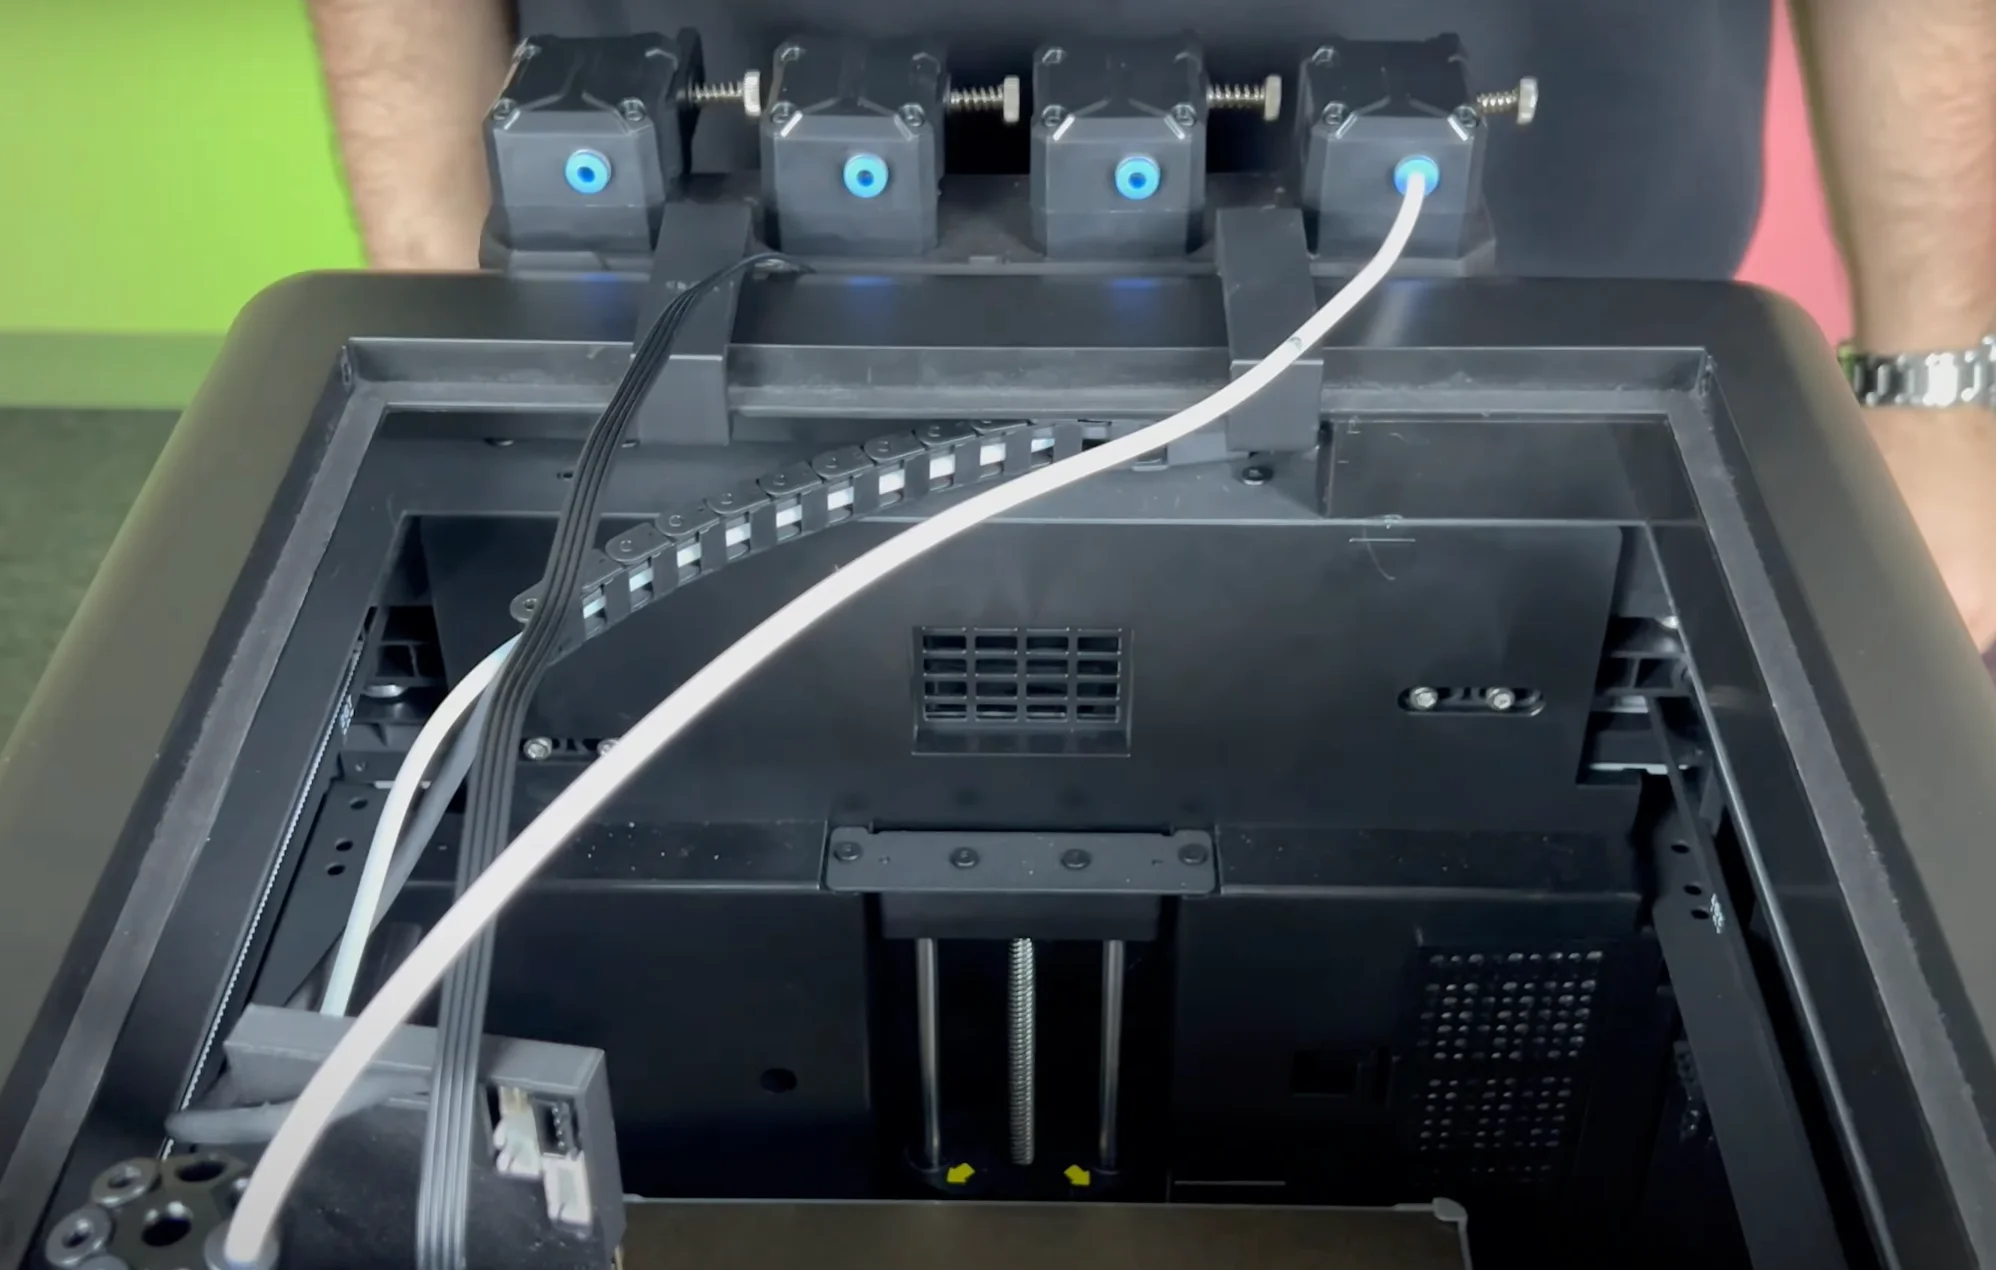
¶ 2.23) Connect the Motor Cables
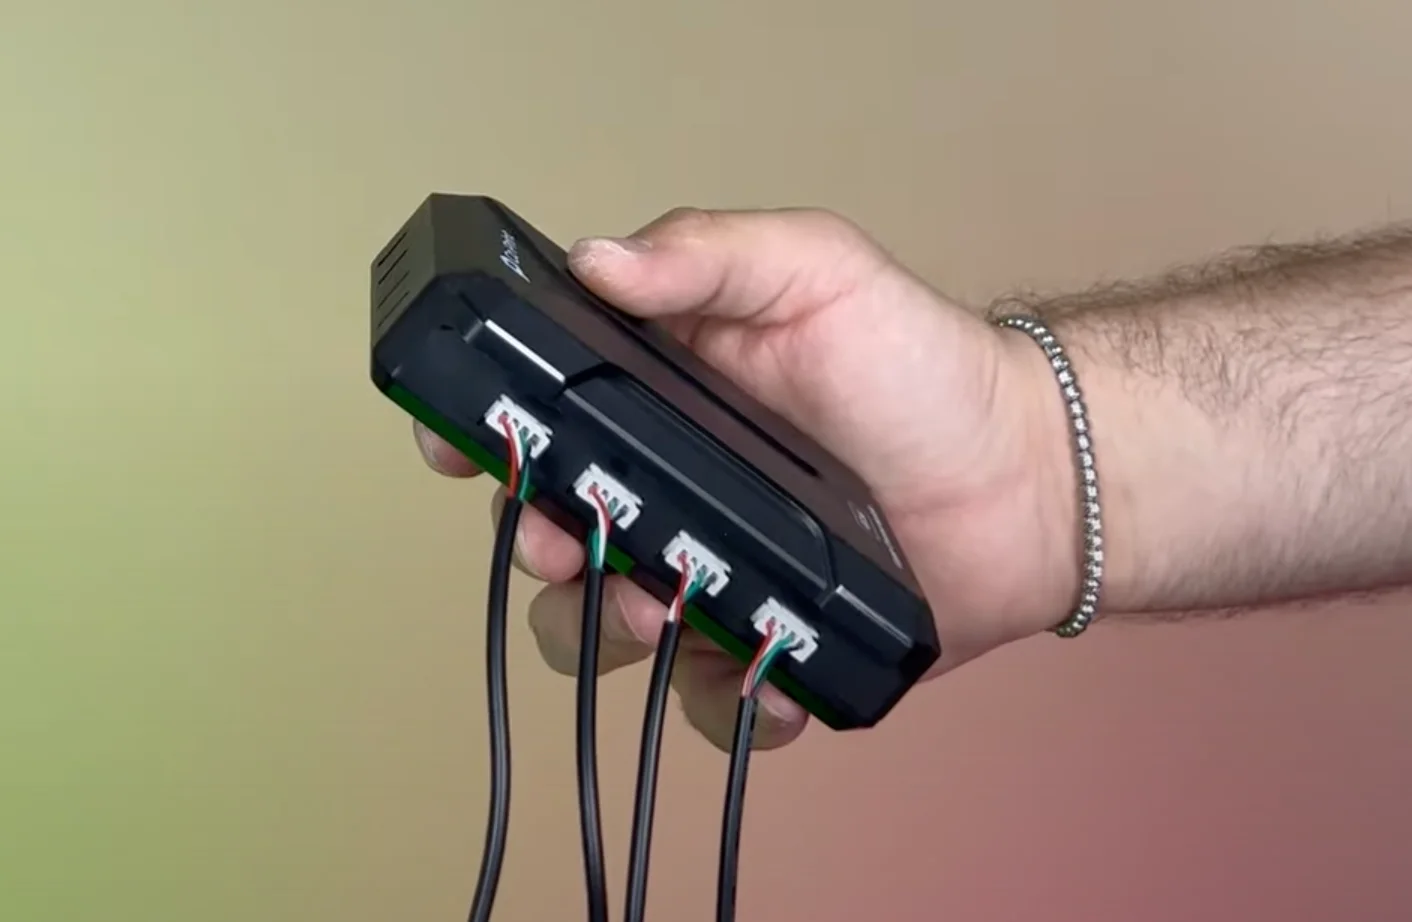
Connect one end of the motor cables to the motors and the other end to the KCM.
¶ 2.24) Viewing serial paths
Don’t forget to install the Klipper mod on your printer.
-
¶ Establish an SSH Connection
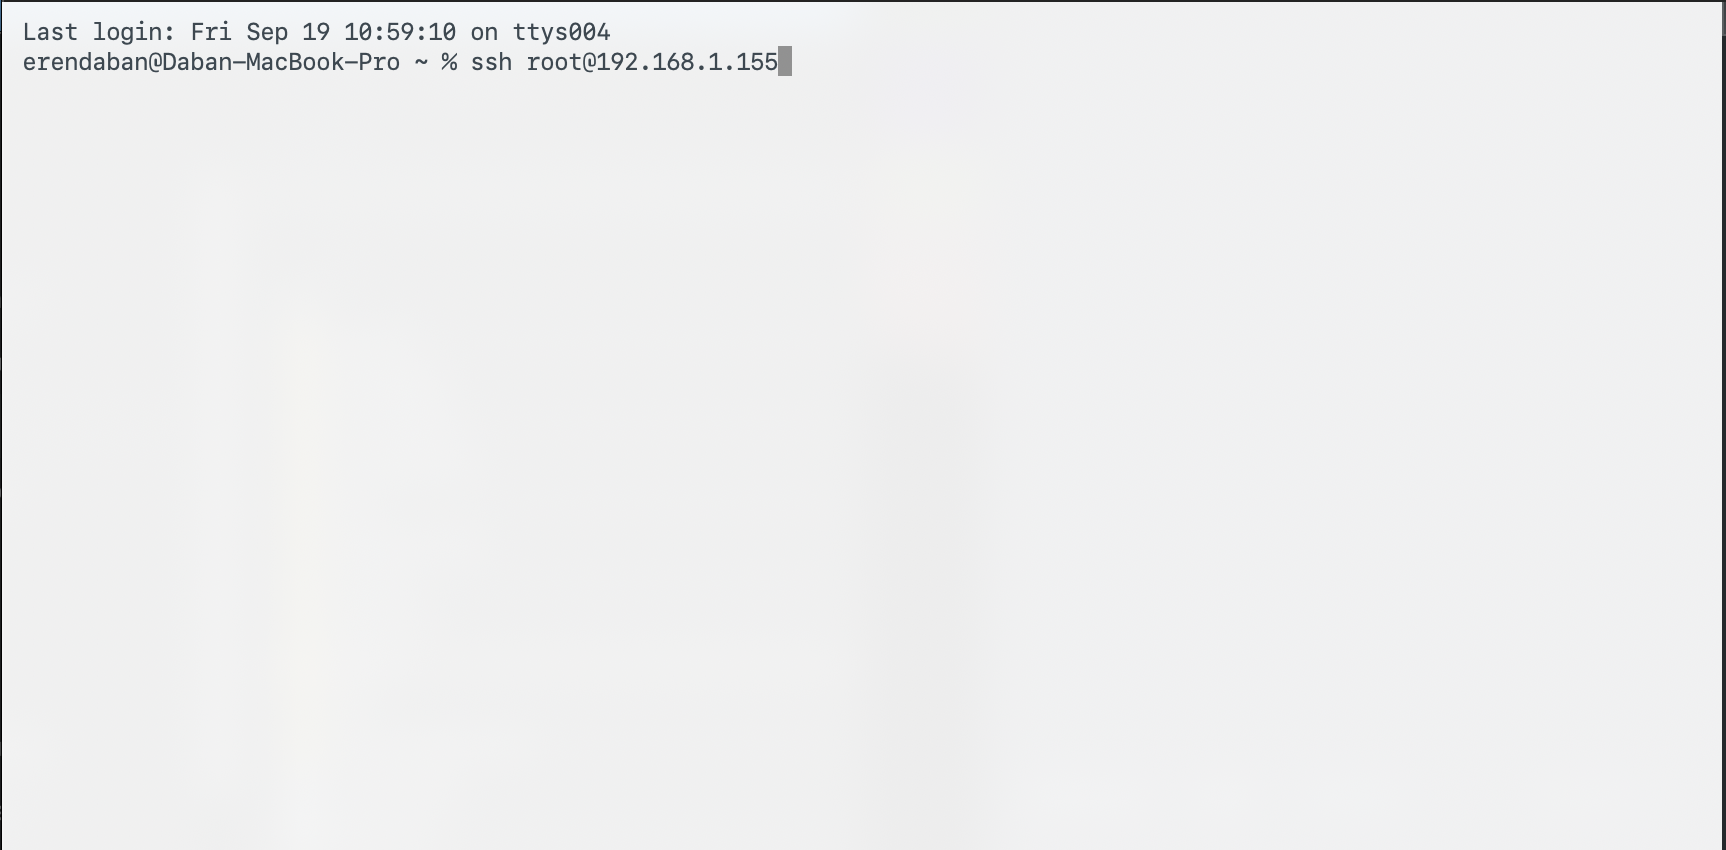
Obtain the IP address of your Flashforge AD5M Pro printer. In this example, the IP is 192.168.1.155. To connect via SSH, open the Windows Command Prompt or macOS Terminal and type: ssh root@192.168.1.155
-
¶ Enter the SSH Password
For Flashforge AD5M Pro printers with klipper mod, the default root password is klipper. Enter klipper in the password field to proceed.
-
¶ After connecting, download the script with git clone.
Clone the repository
git clone https://github.com/erendabn/FlashForgeSerial.git
-
¶ Run the script
Go into the folder.
cd FlashForgeSerial
and run that script.
sh serialscript.sh
-
¶ Check the serial connections
After this, your USB devices should be defined as id and path. To check, type the commands
ls /dev/serial/by-id/*
ls /dev/serial/by-path/*
¶ 2.25) Access Mainsail
1- To acces Mainsail, first turn on your printer and enter your printer’s IP address followed by “:4000” in your web browser.
2- In the “MACHINE” section, delete the “printer.cfg” file. (Make sure you have backed it up before deleting.)
3- Upload the new configuration files, then click the power icon at the top right and select “Firmware Restart.” (You can find the necessary files on our GitHub page.)
4- Connect the ChromaHead cable to the KCM input, plug one end of the USB-C cable into the KCM and the other into your printer, then connect the KCM power cable.
5- Open the “kcm.cfg” file, select the “Devices” option, and press the “REFRESH” button.
6- Copy the “Path By Hardware” under the “ttyACM0” device displayed on the screen, paste it into the “serial:” field in the “kcm.cfg” file, and select “SAVE & RESTART.”
7- Open the “chroma_head.cfg” file, select the “Devices” option, and press the “REFRESH” button.
8- Copy the “Path By Hardware” under the “ttyACM1” device displayed on the screen, paste it into the “serial:” field in the “chroma_head.cfg” file, and select “SAVE & RESTART.”
¶ 2.26) Close the Printer’s Top Cover
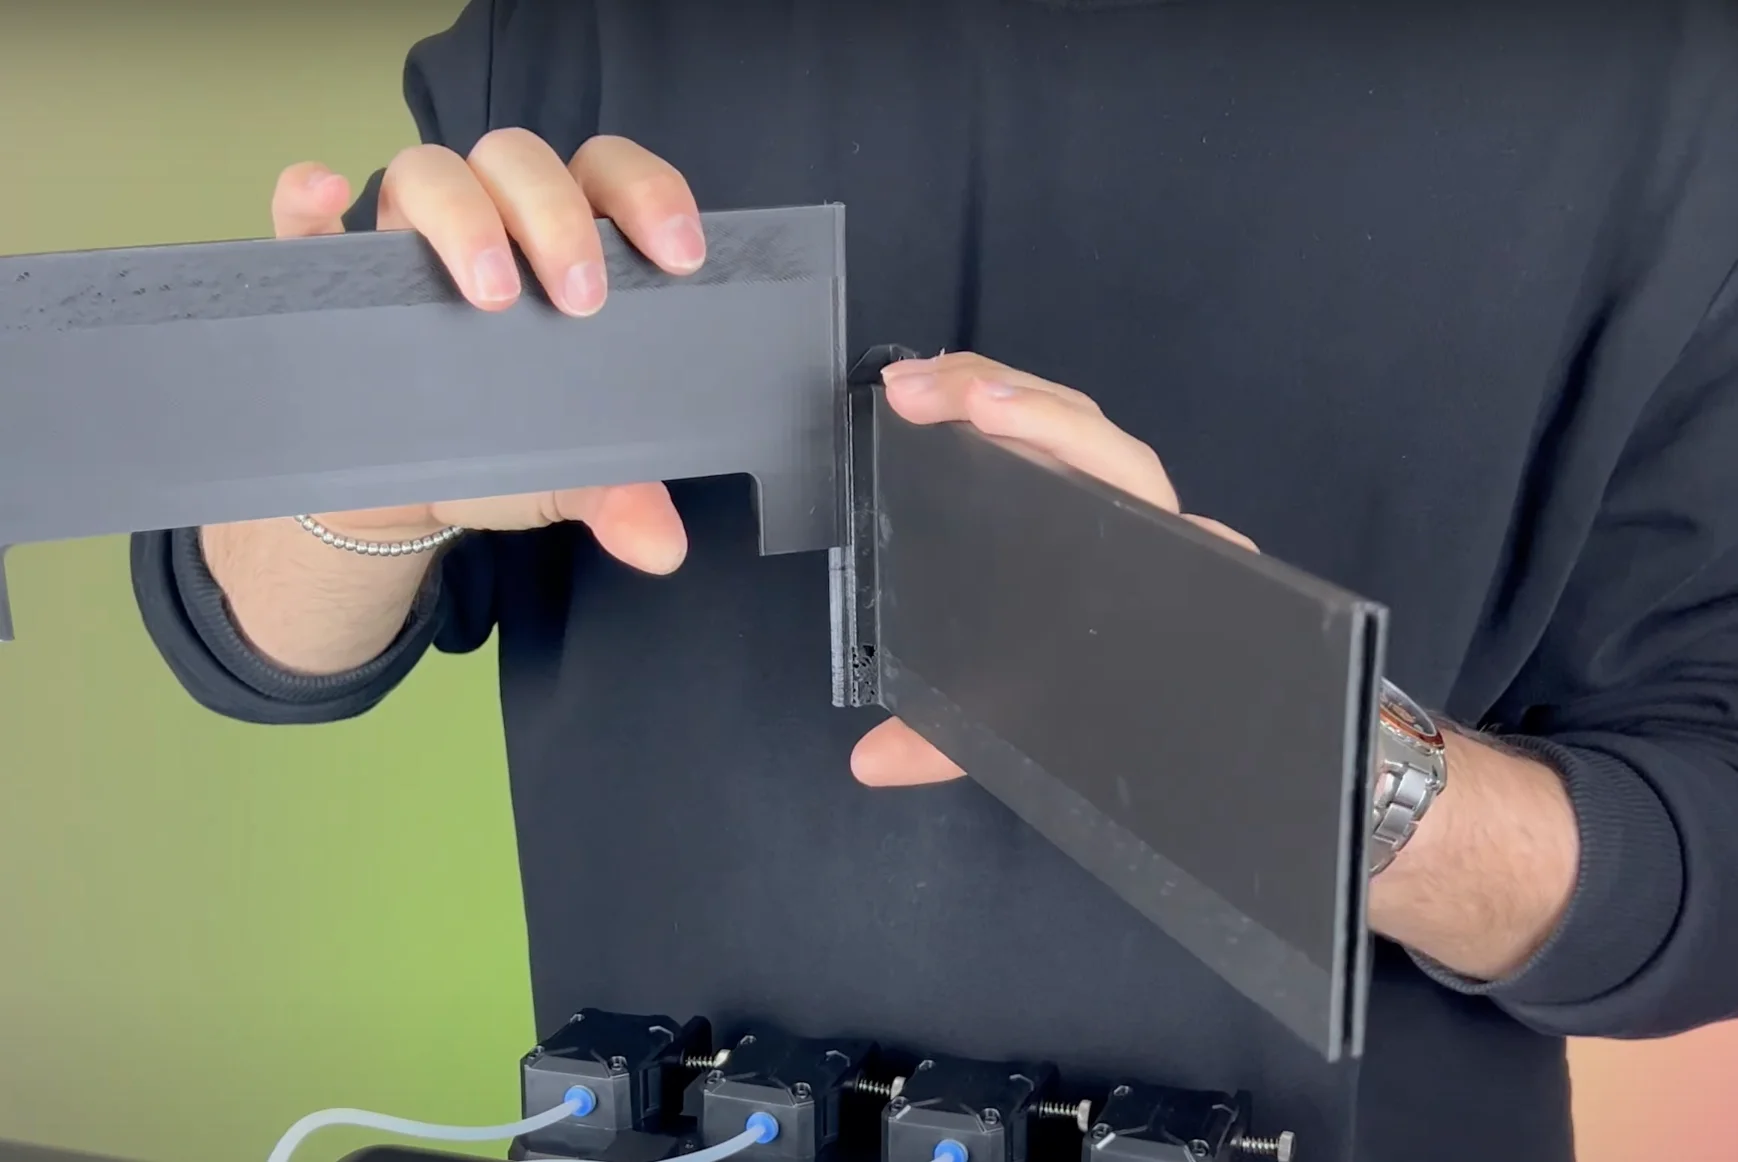
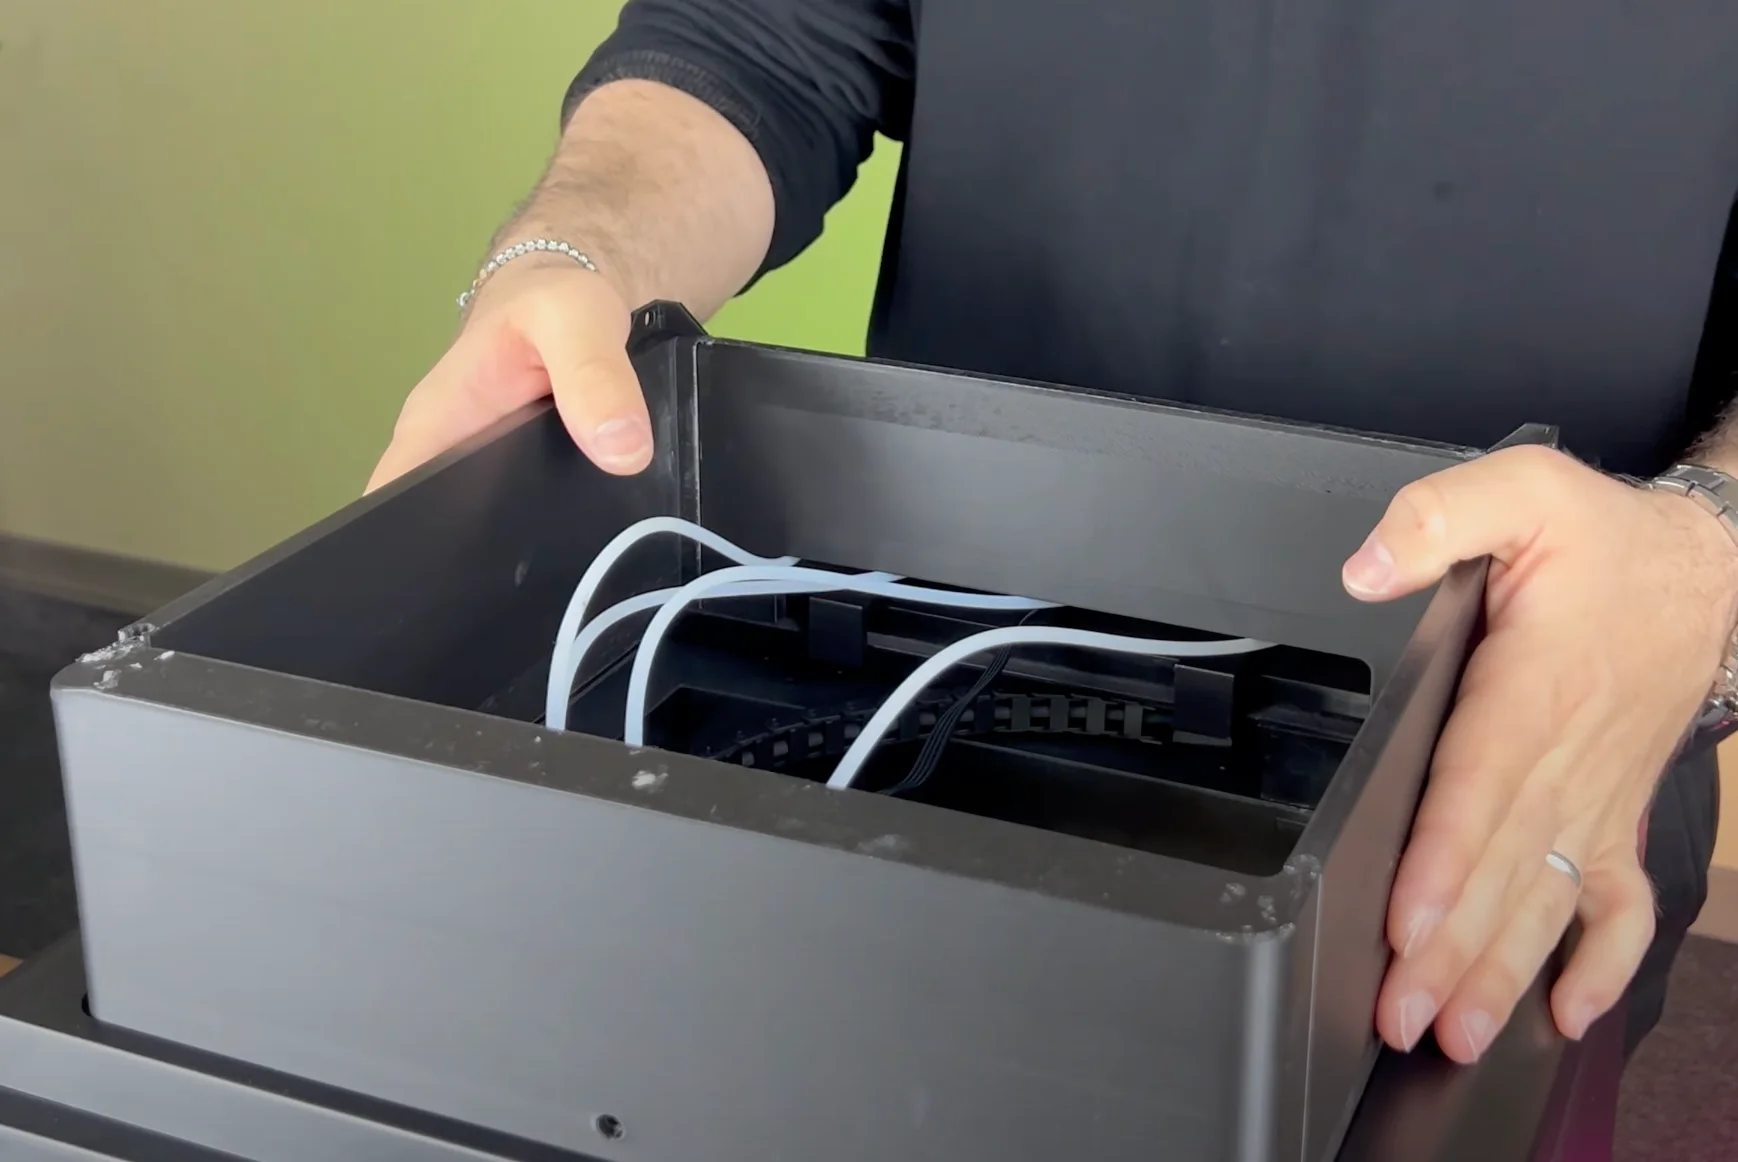
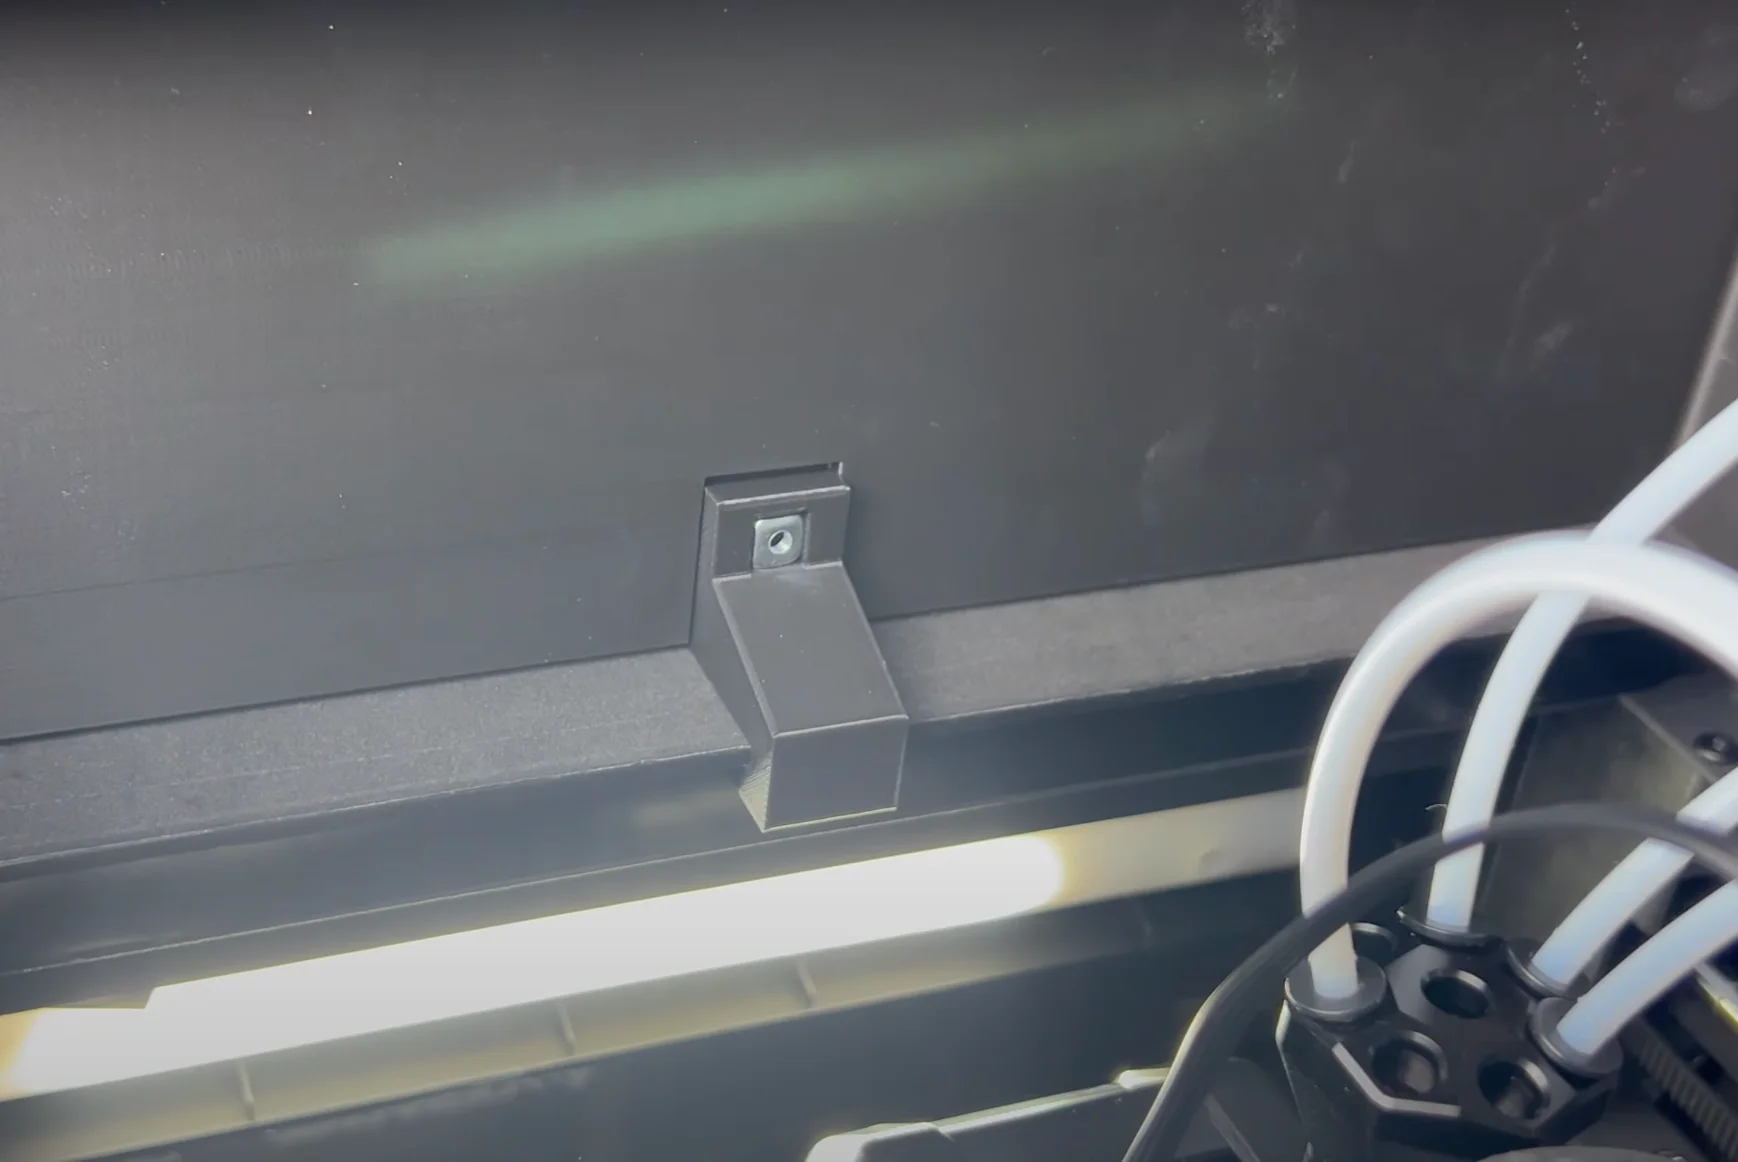
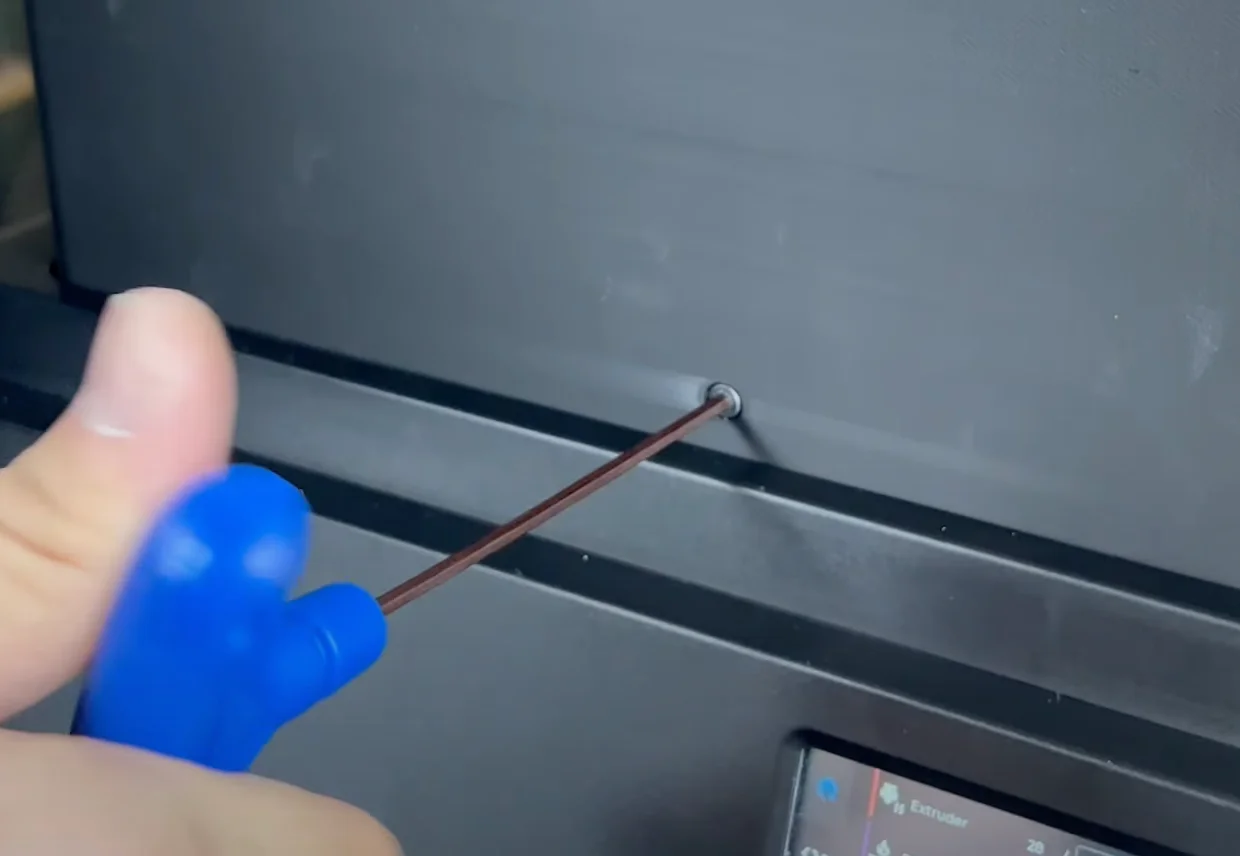
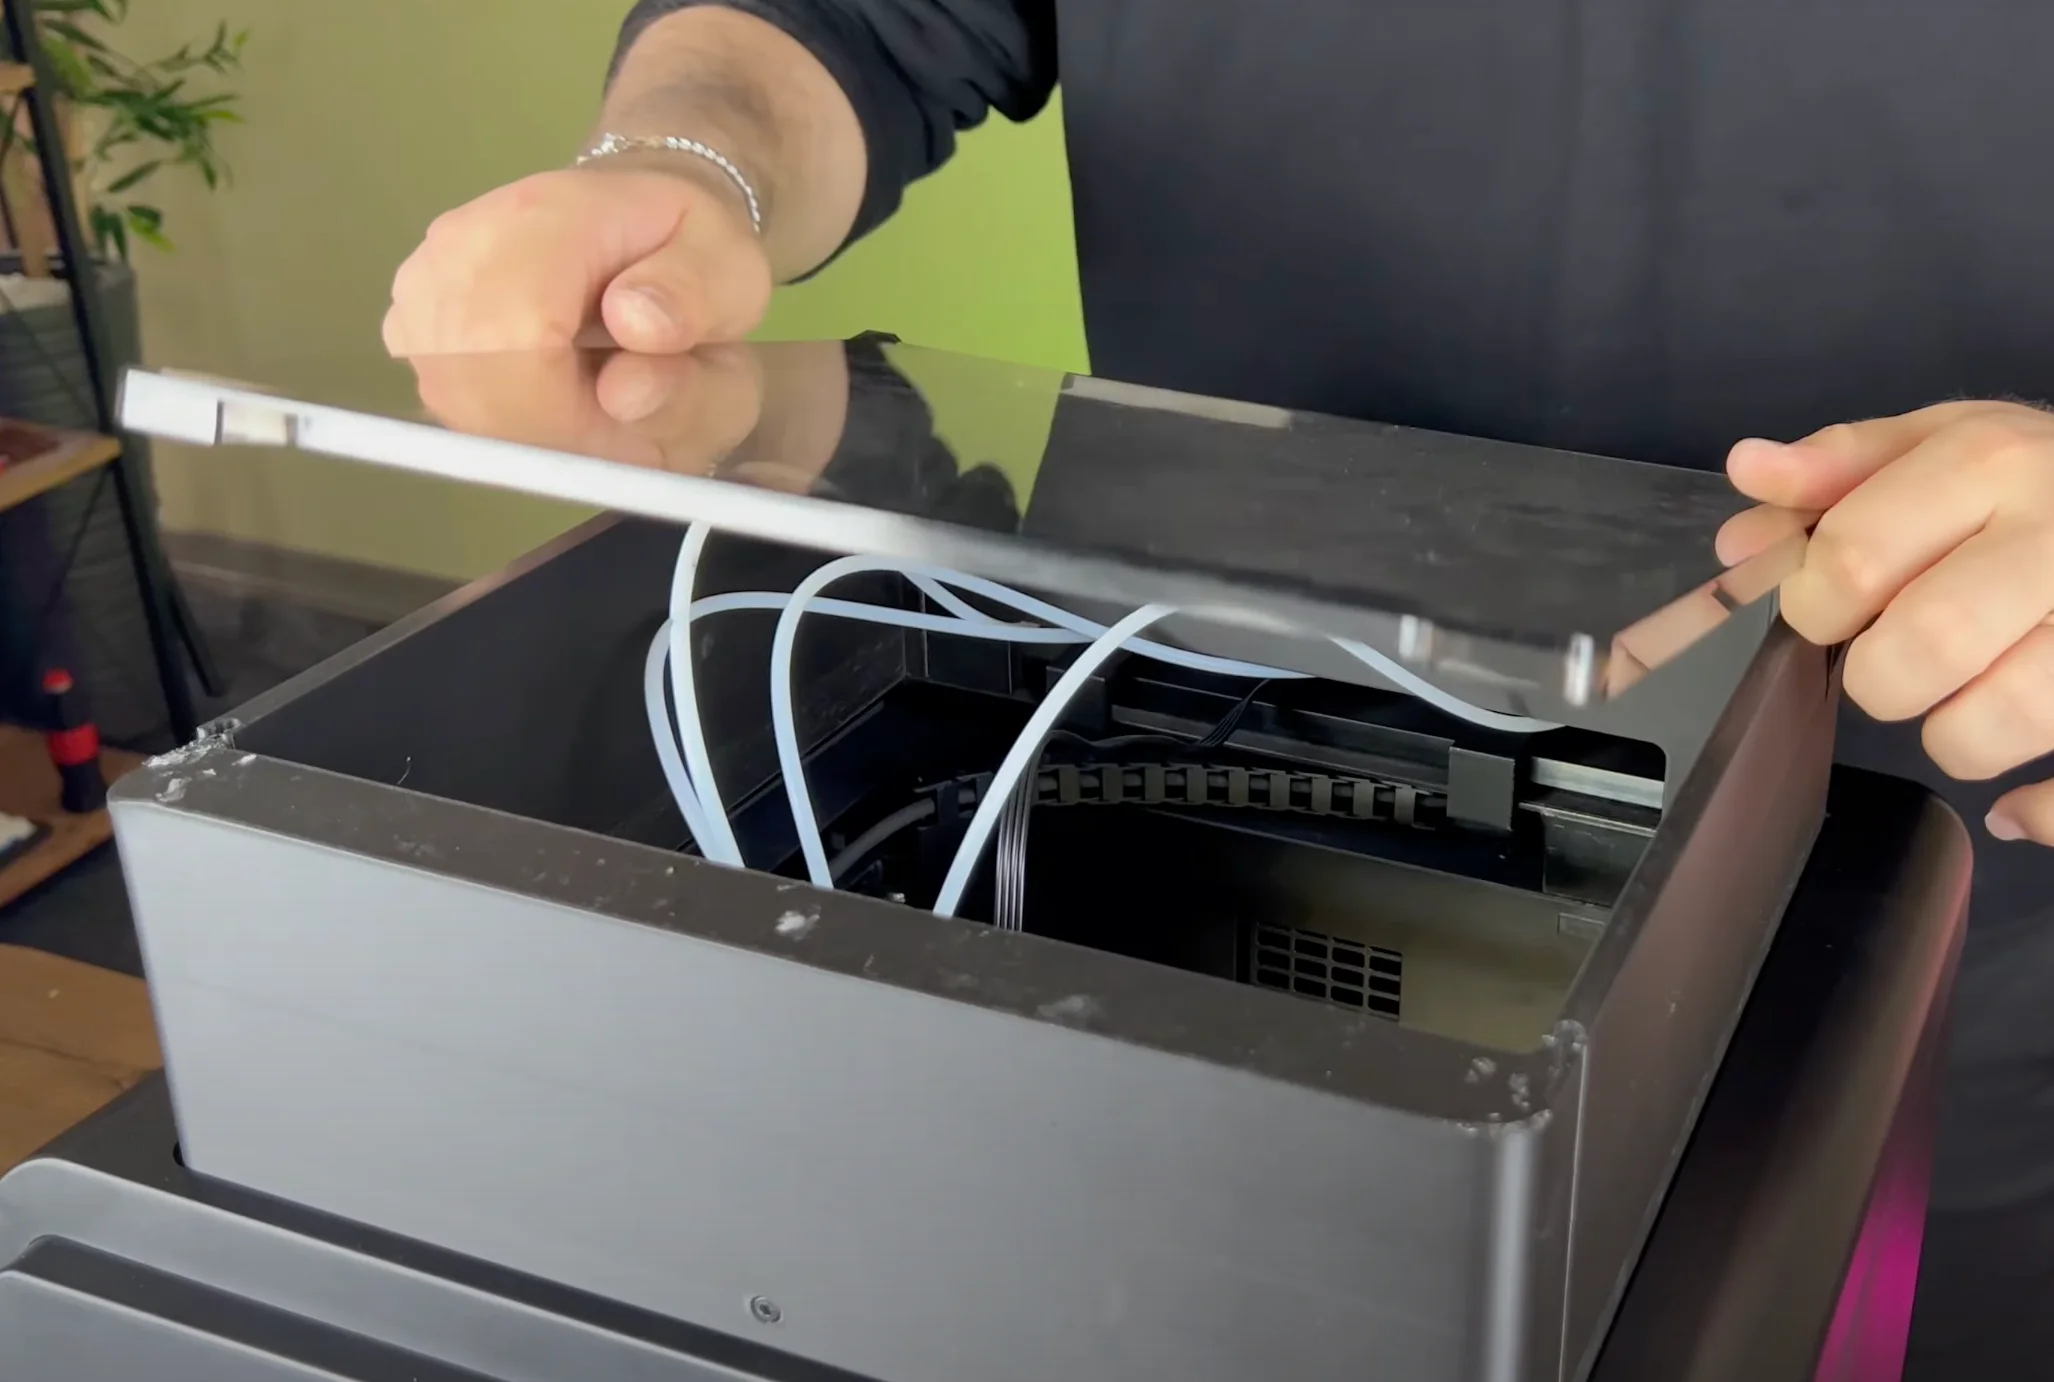
To close the printer’s top cover, you will need the riser parts you printed before starting the installation. After properly fitting these parts together, place them on top of the printer, then add a support piece inside and secure it with screws to ensure stability. Finally, fit the cover into place.
¶ Your printer is ready to use.
¶ 3) Post-Installation OrcaSlicer Configuration
After completing the installation, you also need to configure OrcaSlicer. We recommend downloading the latest version of OrcaSlicer for optimal compatibility. You can use the link below to get the most recent release.
OrcaSlicer Download Link - Download
-
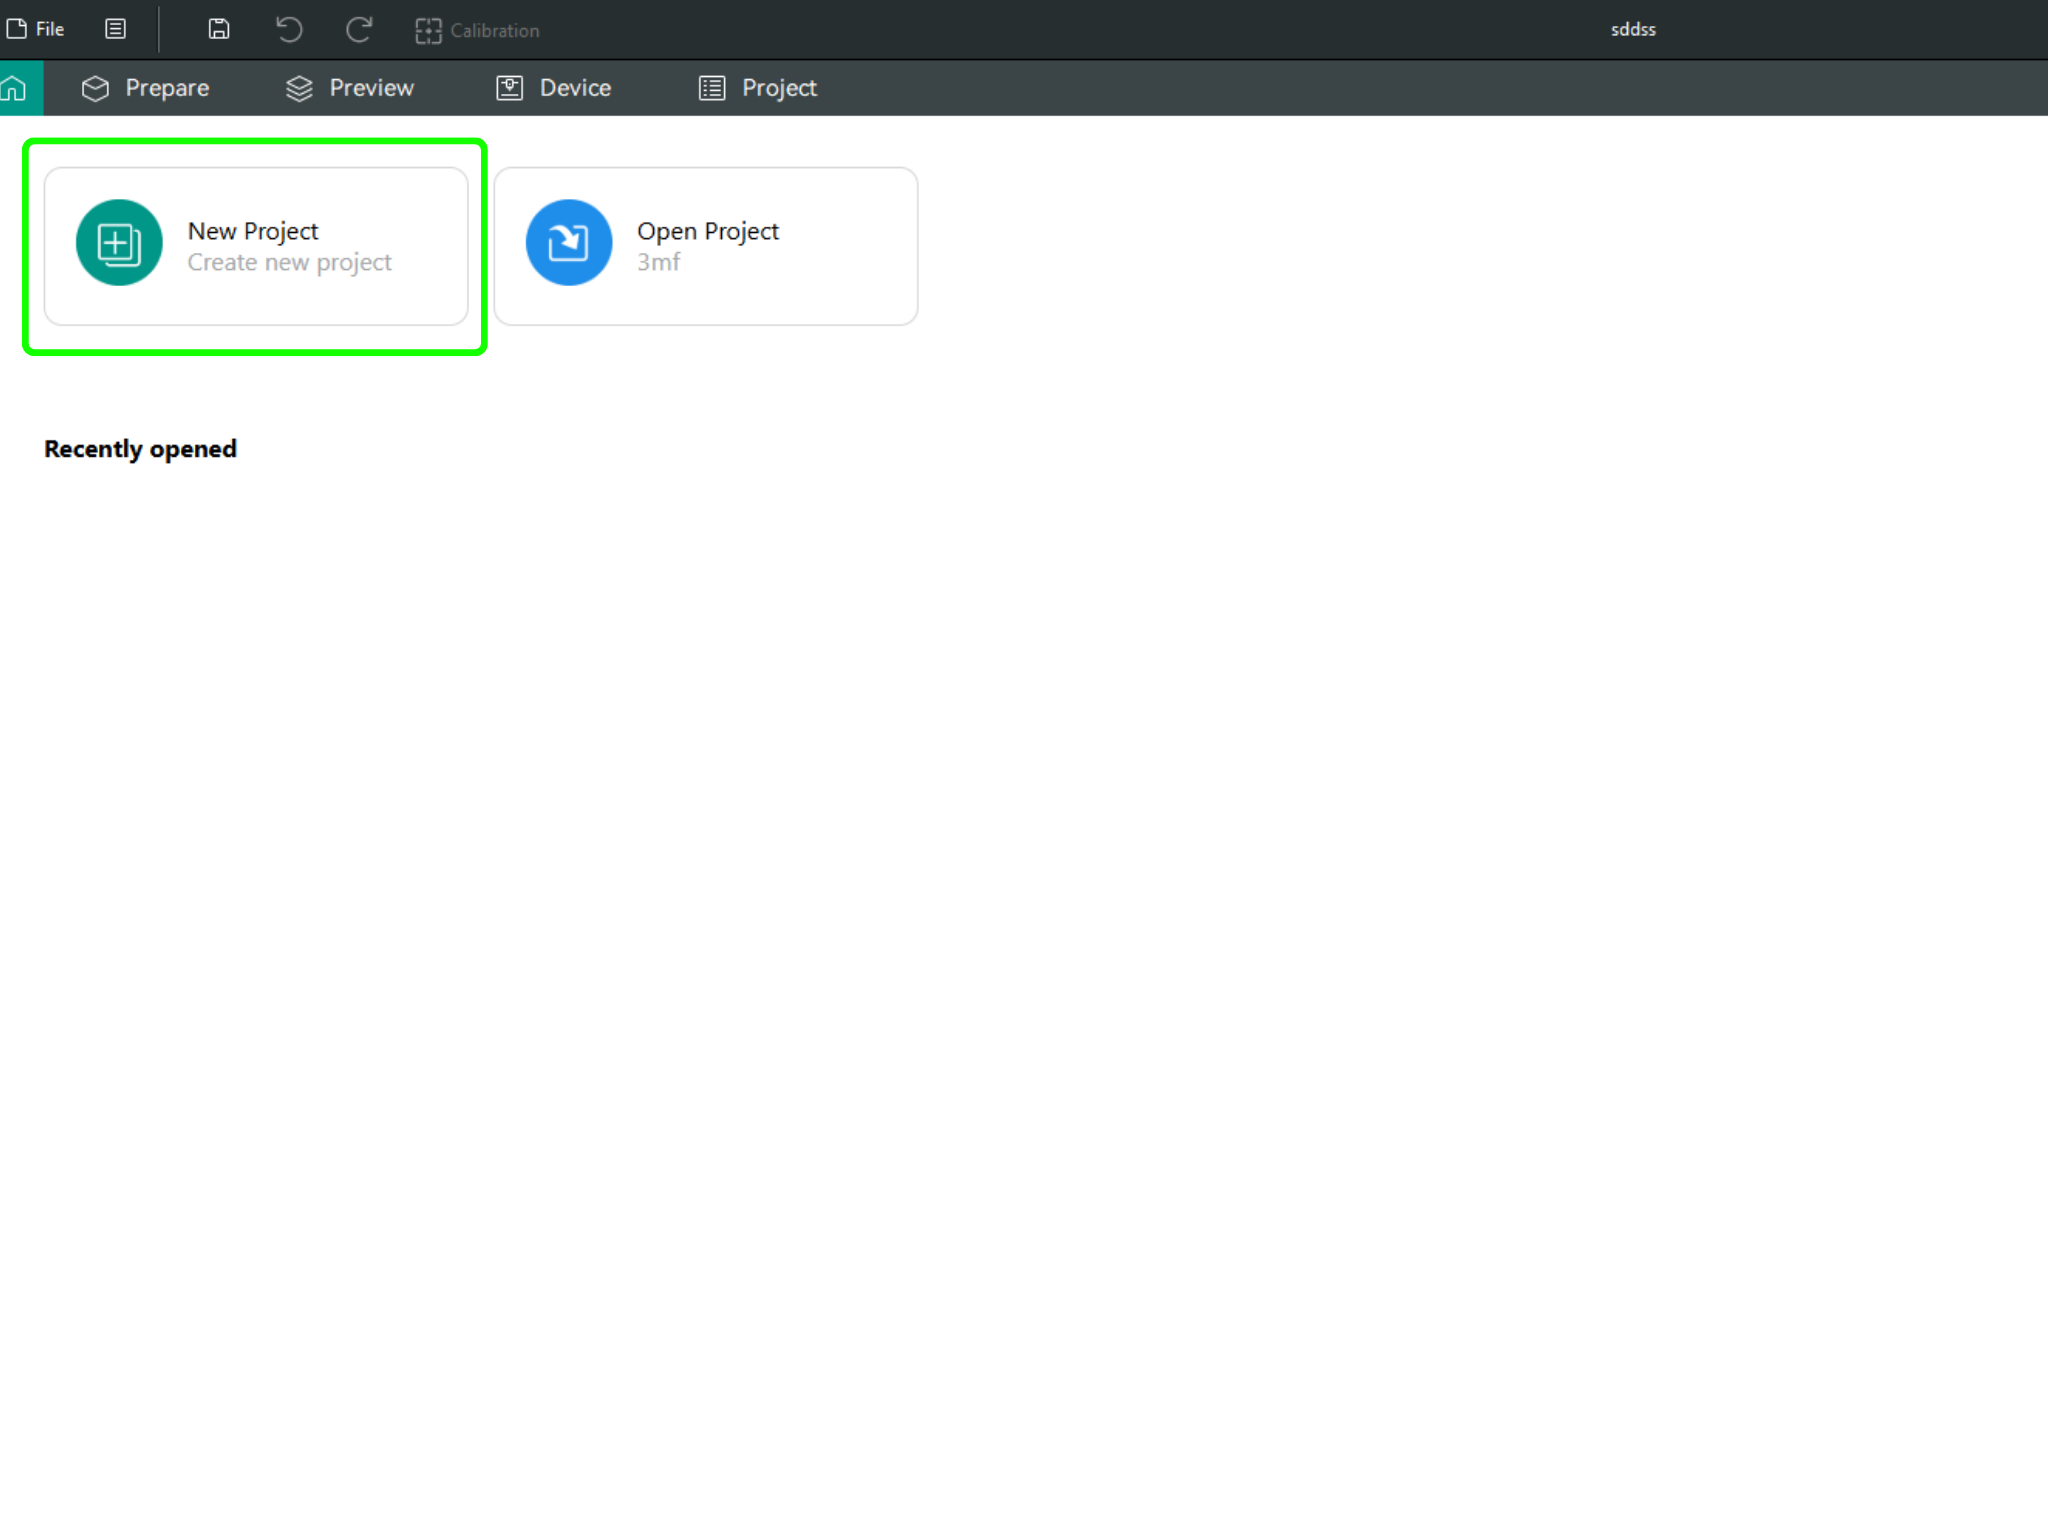
After downloading OrcaSlicer, click on “New Project”.
-
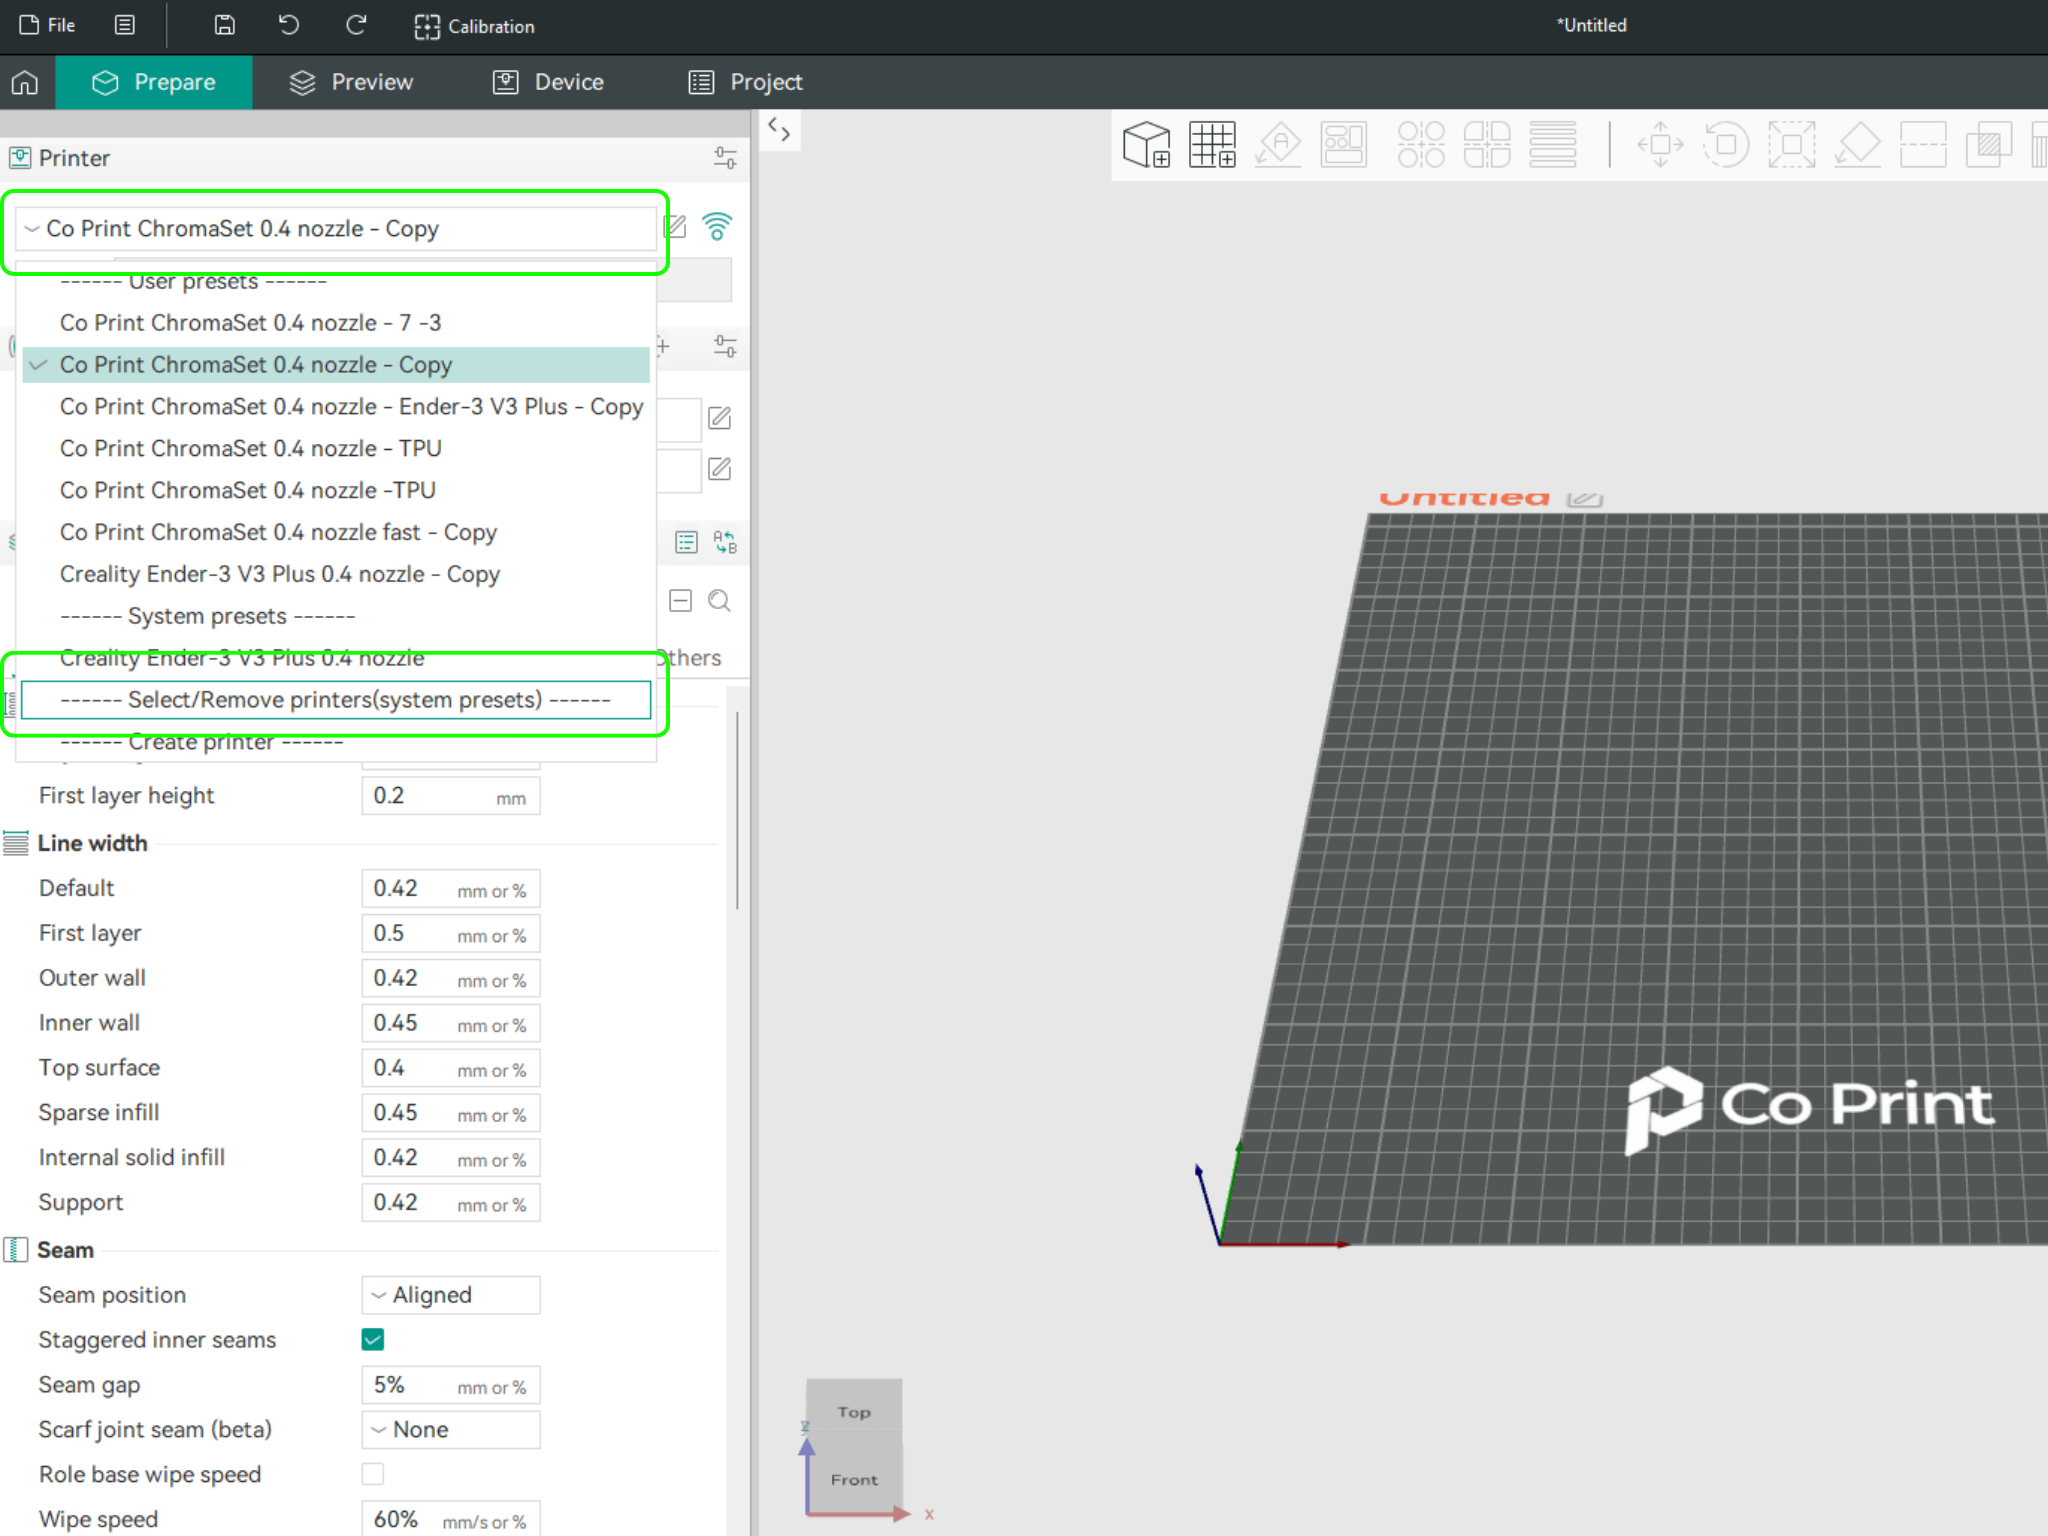
In the left menu, go to the Printers section and click on “Select/Remove printers”.
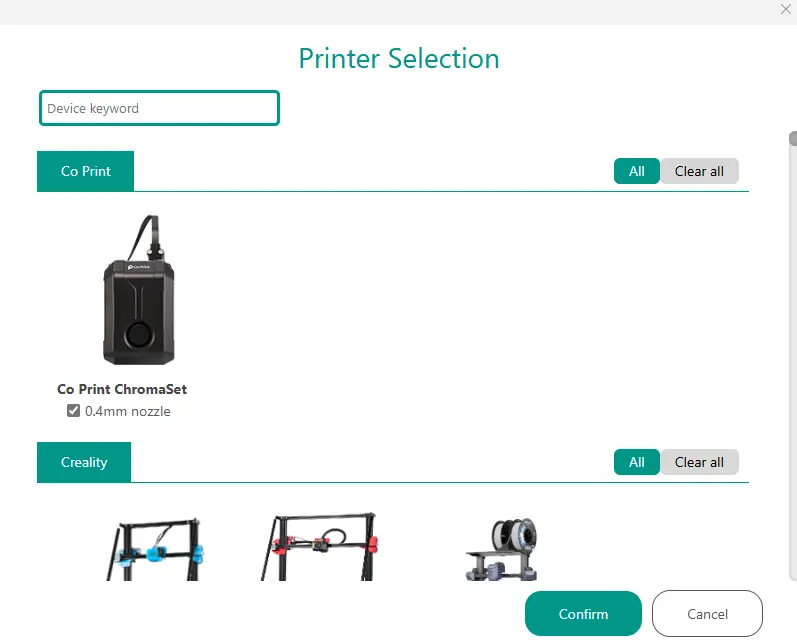
- In the opened menu, find and select Co Print. Then click "Confirm".
- After loading the settings, you need to adjust them in OrcaSlicer according to your printer’s bed size.
- You can import your model into OrcaSlicer as shown in the videos below, paint it, and start your print directly from within OrcaSlicer.