¶ Creality Ender 5 Plus - ChromaSet Upgrade Guide
| Image | Information |
|---|---|
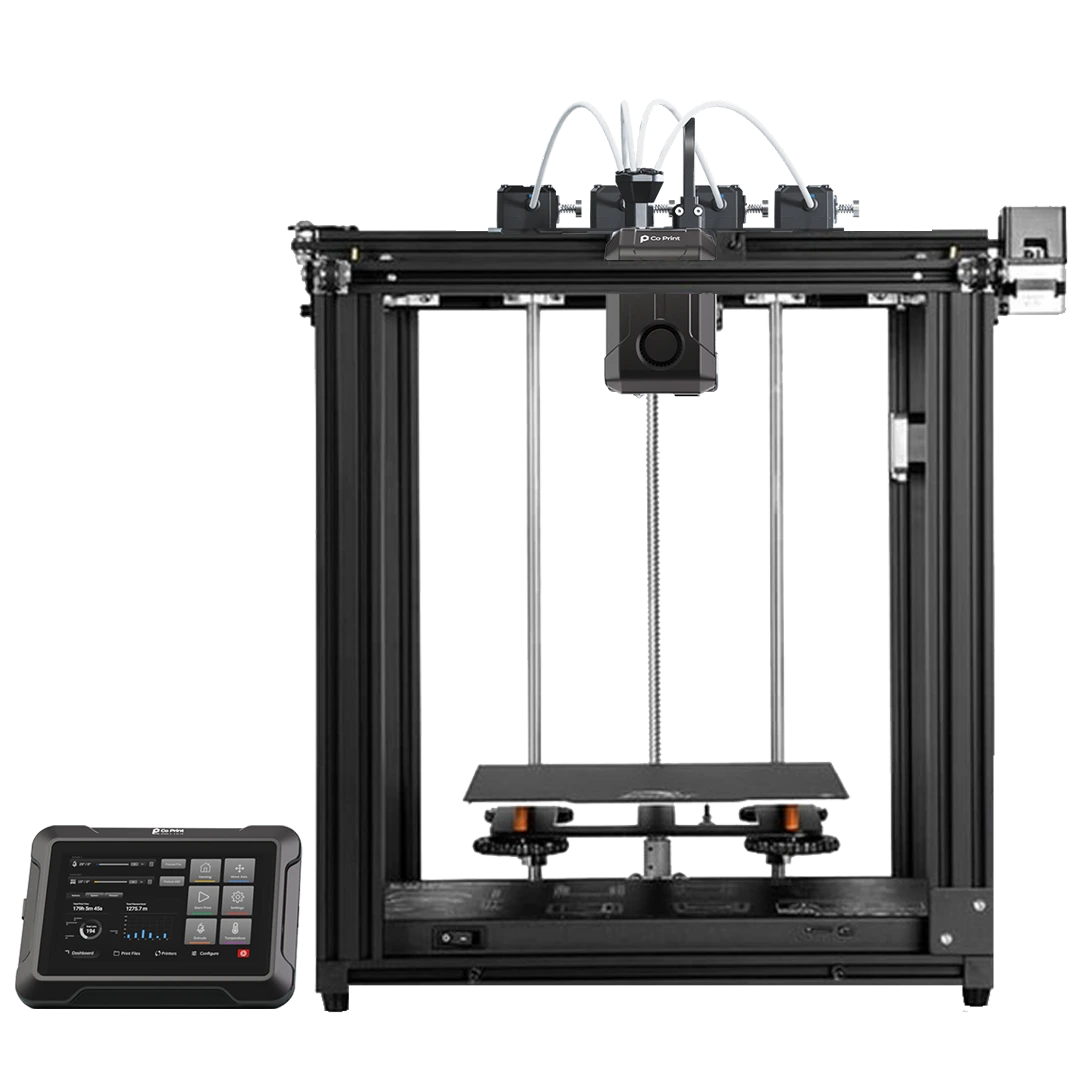 |
Welcome to the installation page for Creality Ender 5 Plus with ChromaSet. This guide will help you update your printer's firmware to ensure compatibility with ChromaSet, how to mount ChromaHead and CX-I Extruders on printer, complete the mechanical setup, and configure the ChromaPad settings. By following these steps, you will successfully complete the installation process. |
¶ Mechanical Setup of ChromaHead and CX-I Extruders
¶ Mechanical Setup of ChromaSet
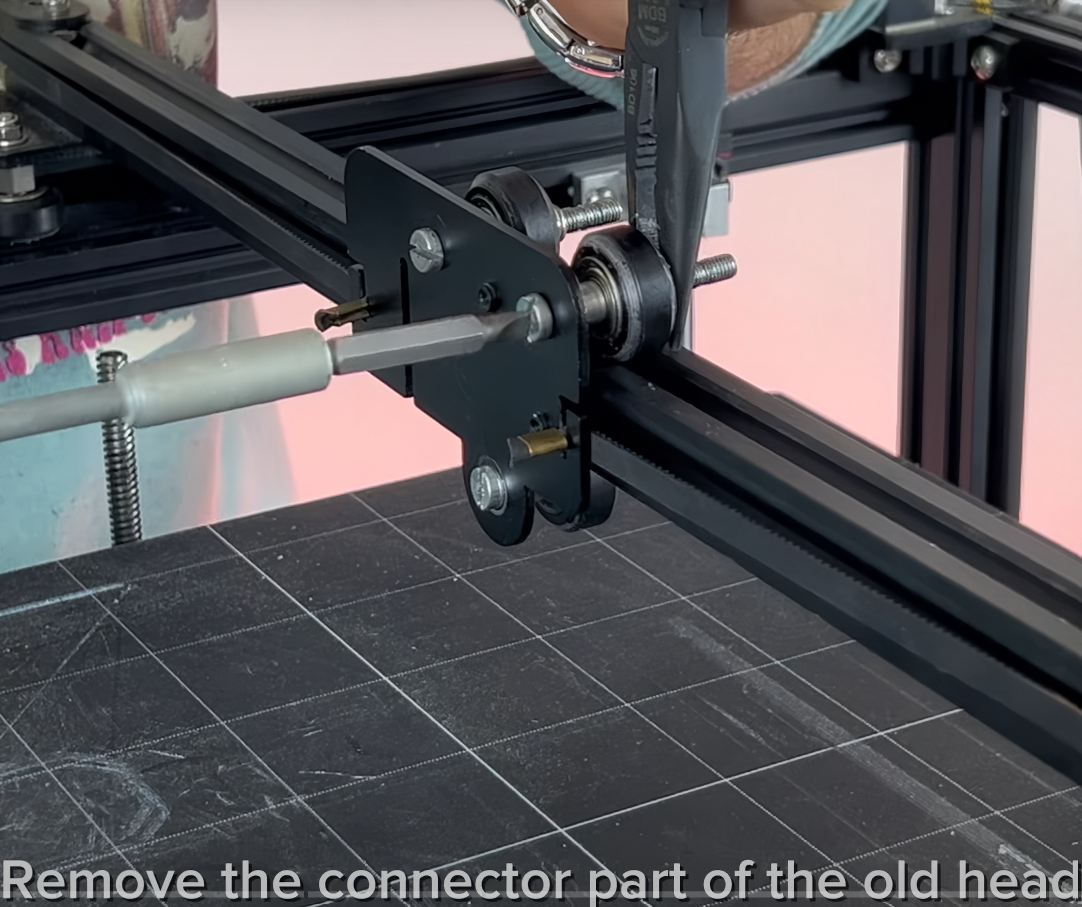
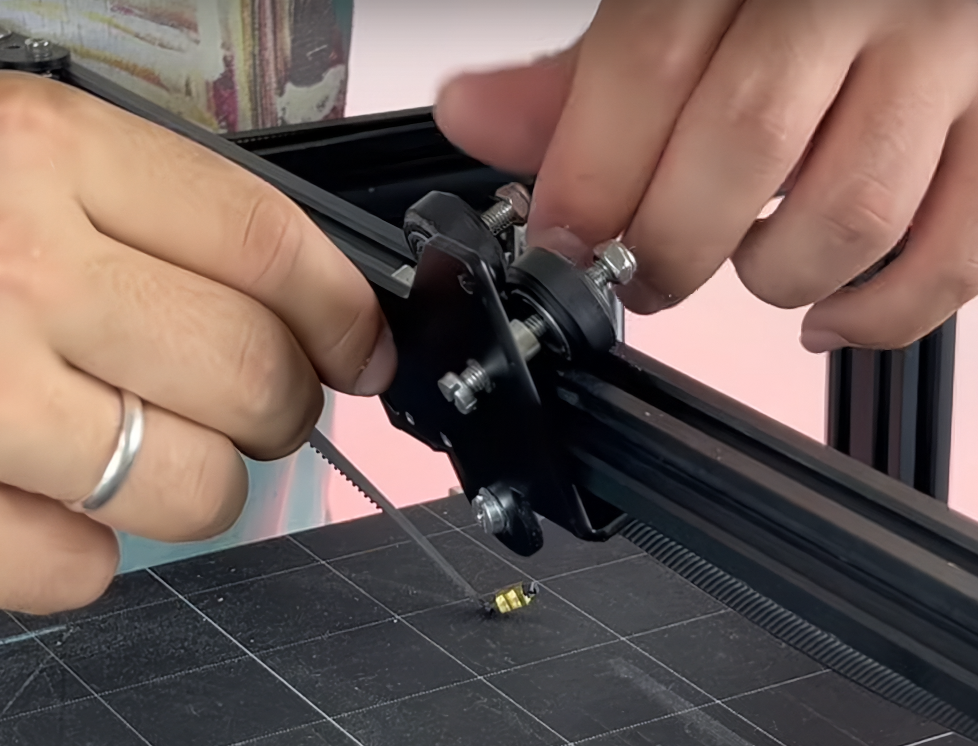
¶ 1. Remove the Stock Print Head
Remove the stock print head from the Ender 5 Plus, including the carriage it is mounted on. However, set aside the screws and wheels from the carriage — these will be reused to install the ChromaHead mounting carriage.
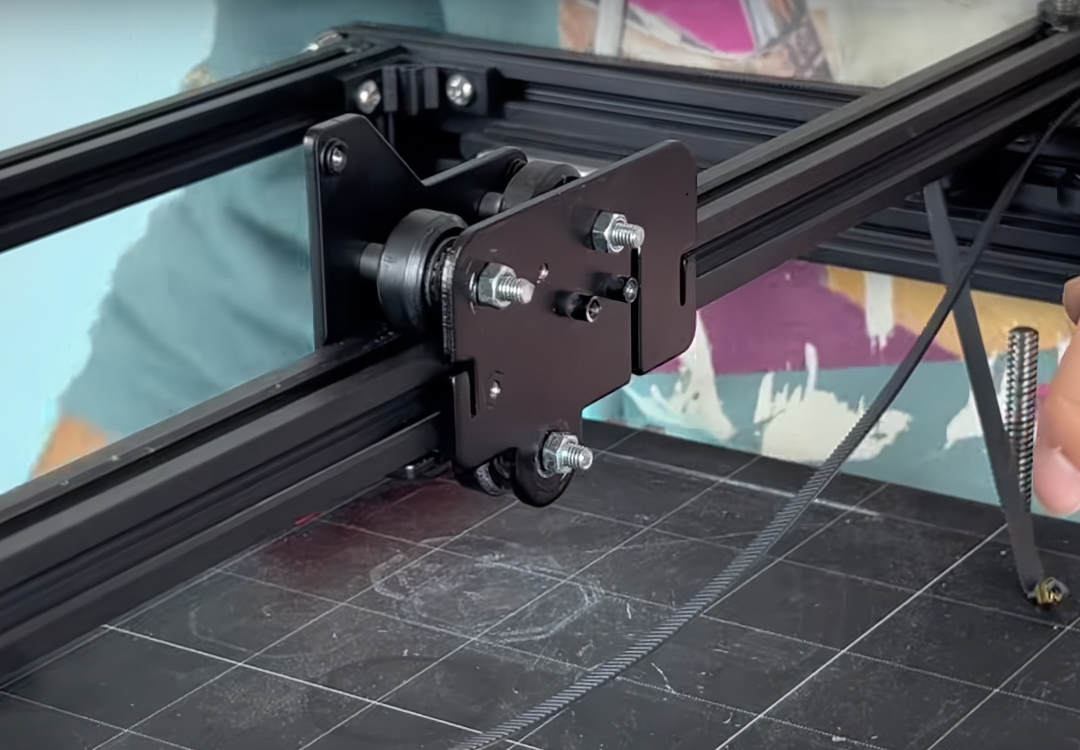
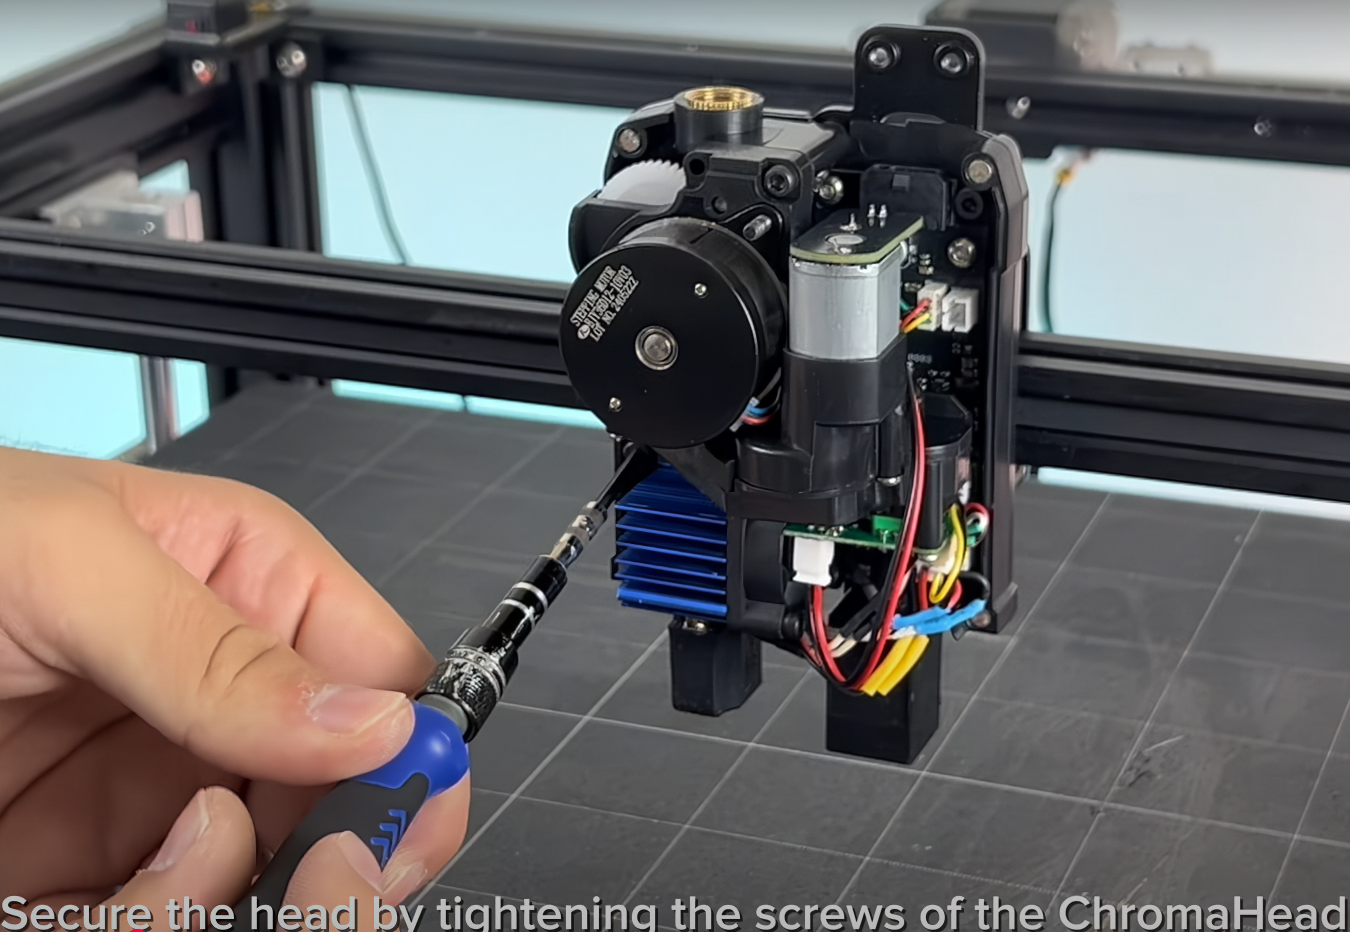
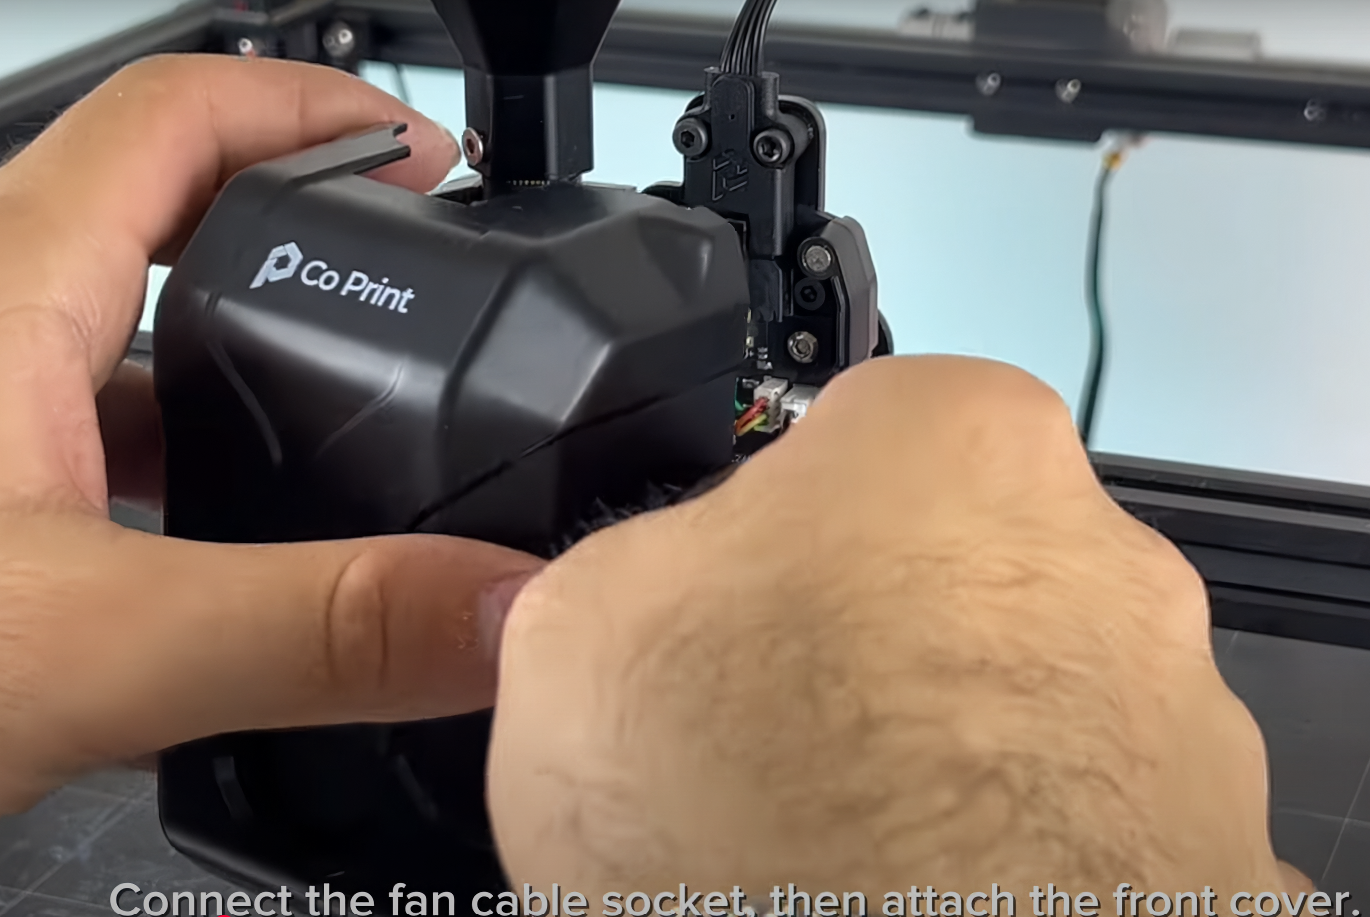
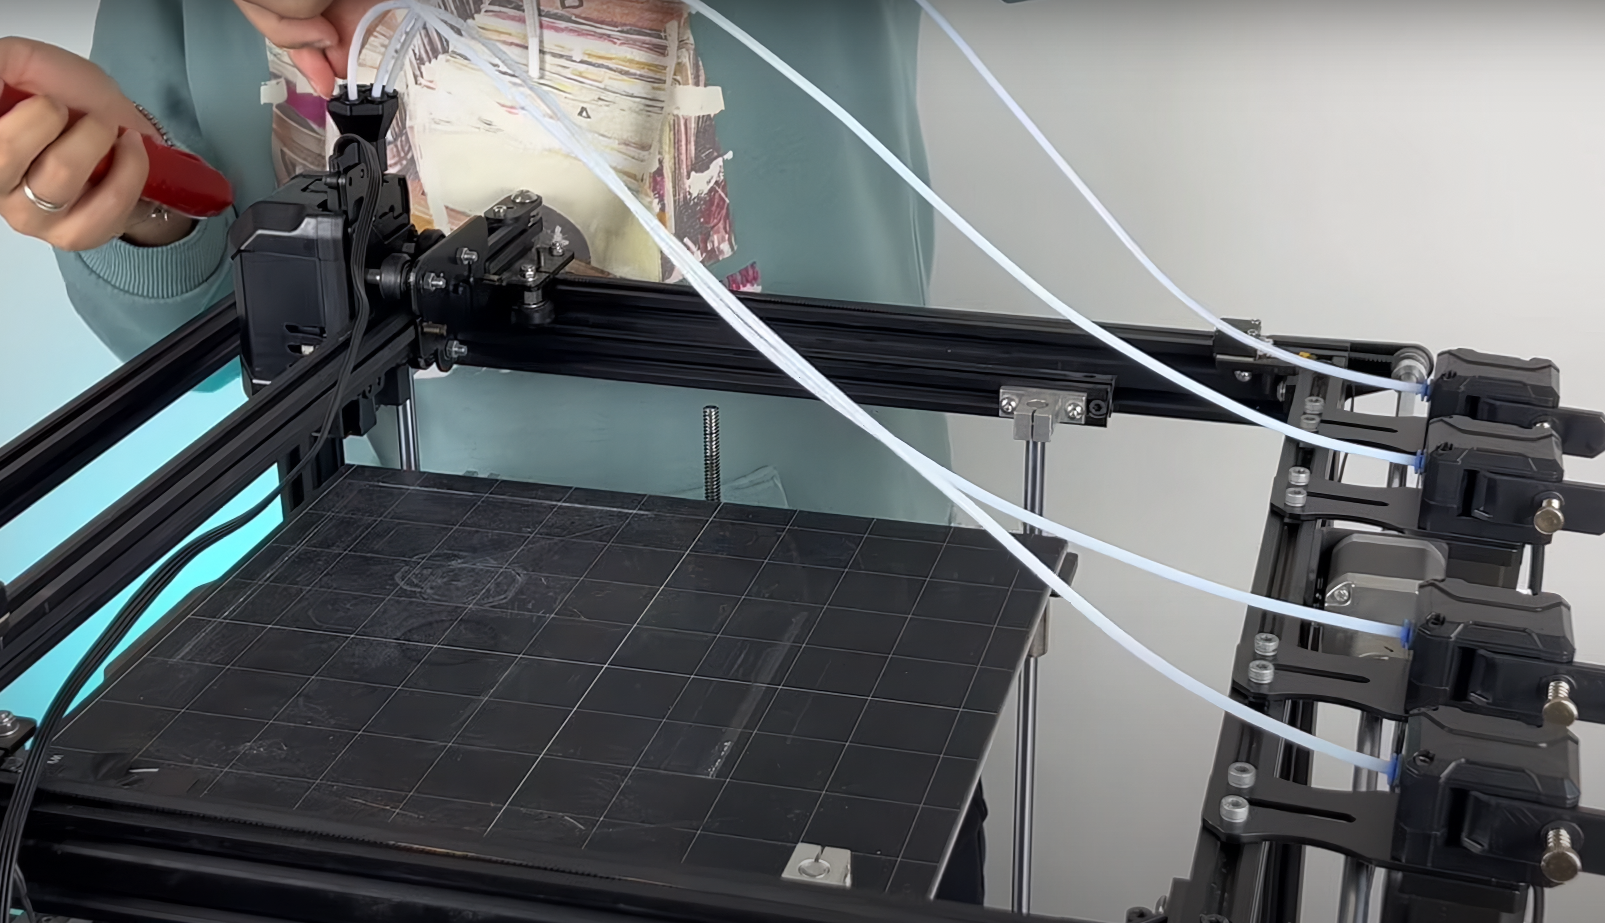
¶ 2. Attach the ChromaHead
Mount the carriage piece included with the ChromaHead onto the rail using the existing wheels and stock screws.
¶ 3.CX-I Extruders Installation
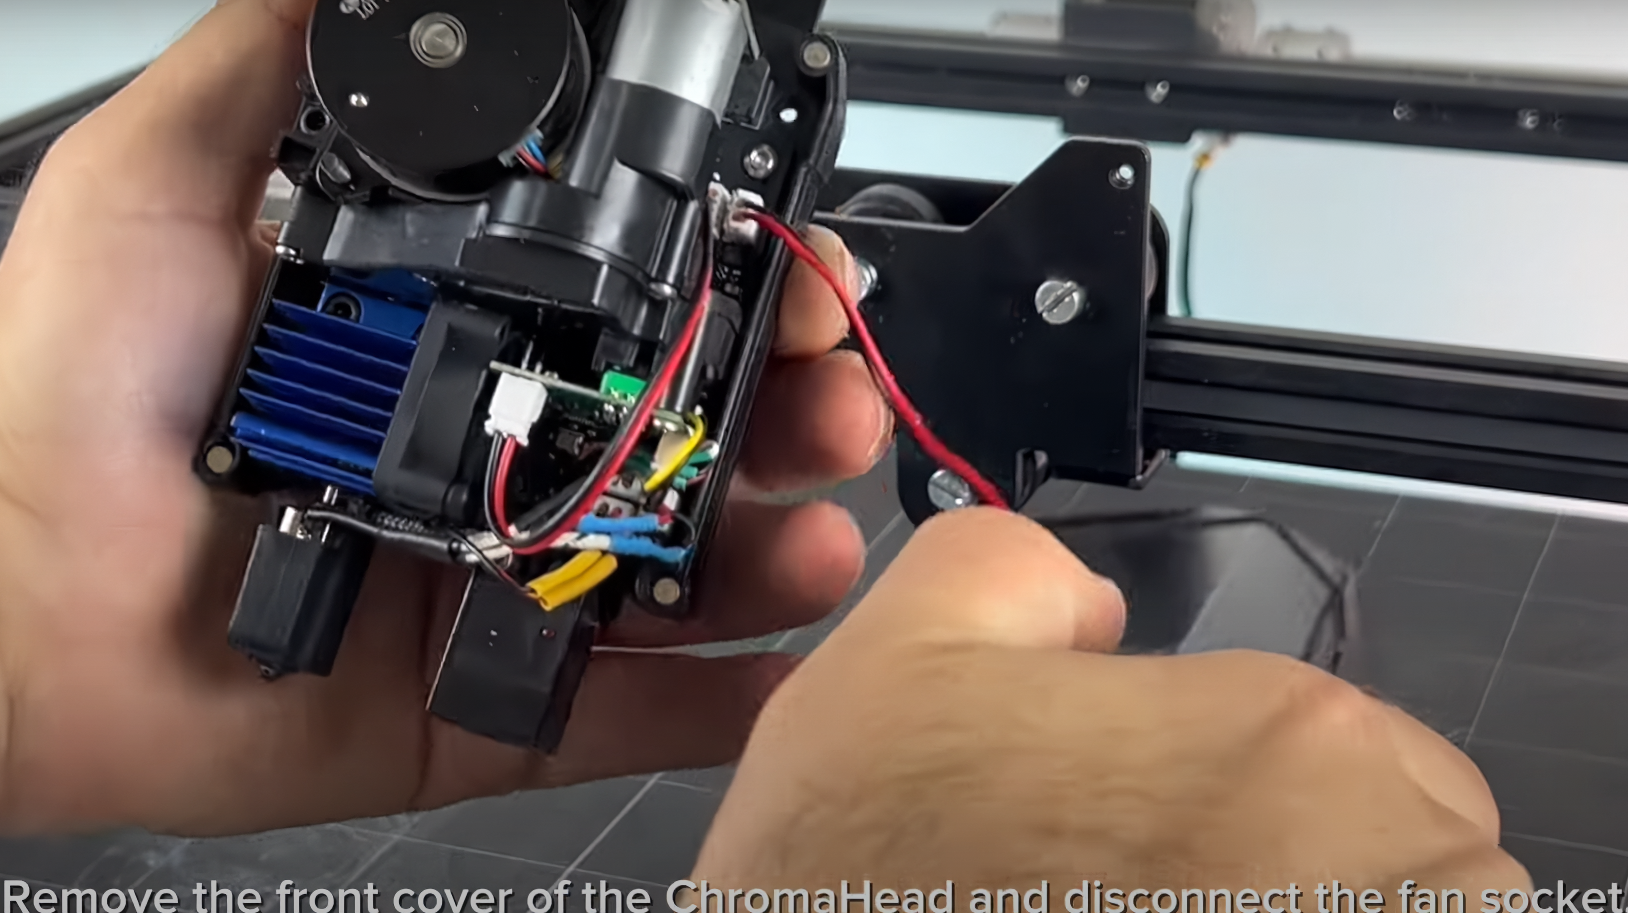
The CX-I Extruders come pre-assembled with the motor and plastic components inside the box. However, in order to mount them onto the extruder holder, the motor and extruder sections need to be separated. To do this, remove the 3 screws on the top of the extruder and separate the motor from the extruder section.
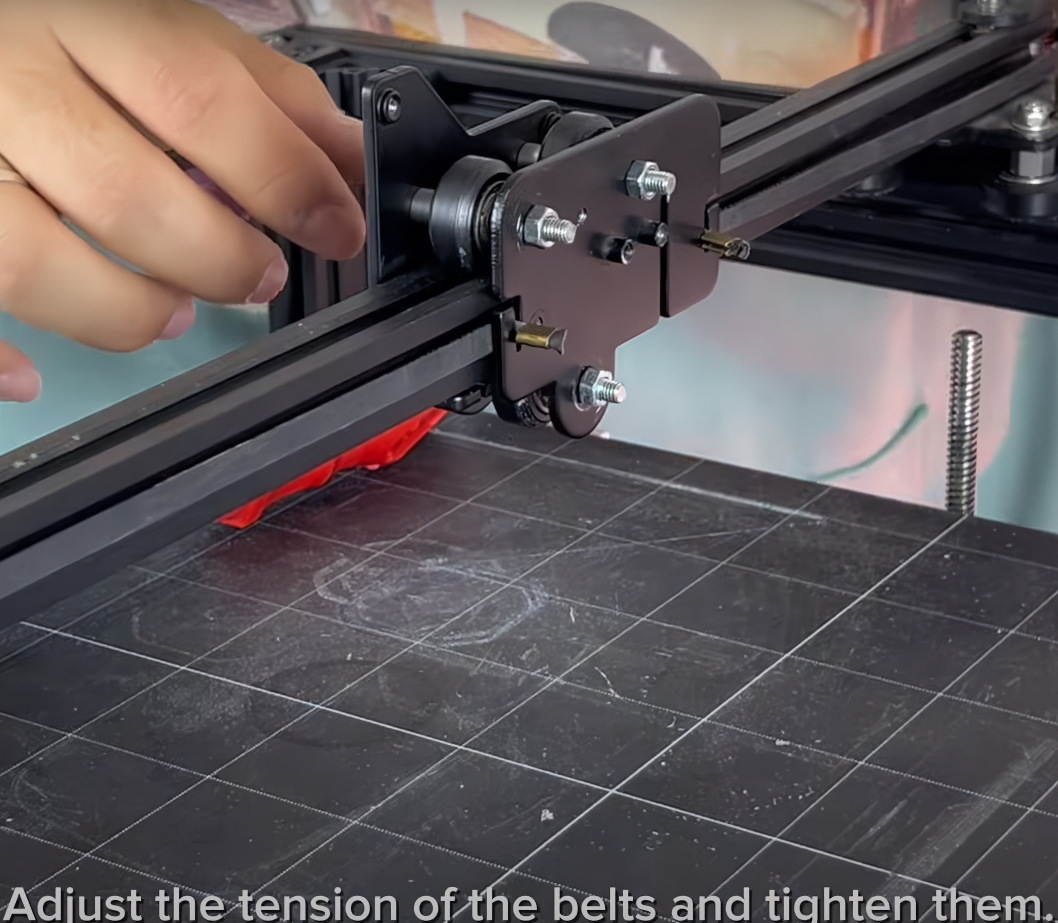
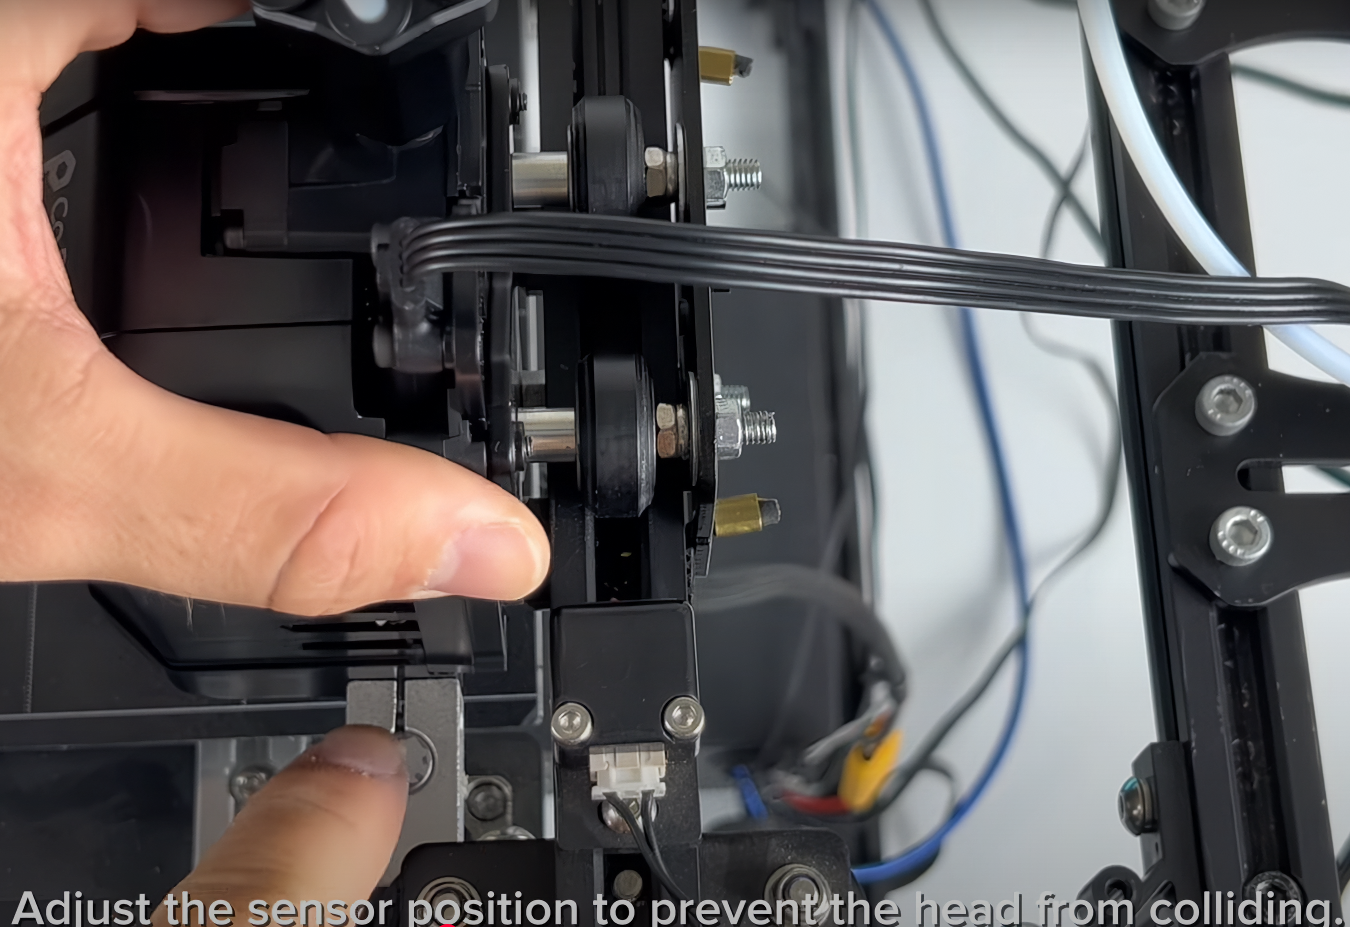
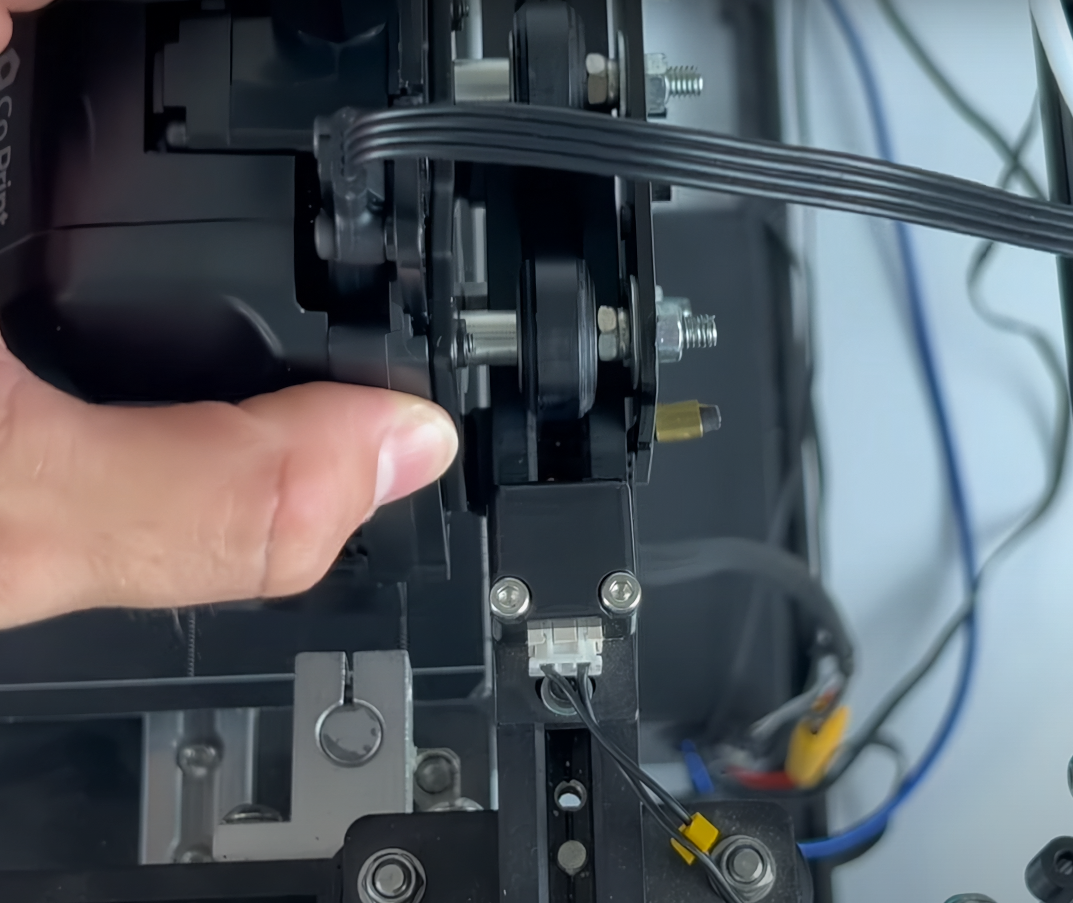
¶ 4. Adjusting the sensor
Adjust the sensor for new axis level.
¶ ChromaPad Setup on Creality Ender 5 Plus
After completing the mechanical setup of ChromaHead and CX-I Extruders, let's move on to configuring your printer with ChromaPad.
1- Select your language
2- Accept privacy policy
3- Select your timezone
4- Give your ChromaPad a name(this will be device name visible on the network)
5- Connect your wifi network
6- Update system if available
7- Select Ender 3 Max model under the Creality brand
8- confirm both options shown for the setup steps and click next
9- Connect the ChromaPad to the your printer
10- Open terminal(cmd) and connect to the IP address of the ChromaPad via SSH(ssh cp@x.x.x.x) password is coprint
11- Type command cd ~/klipper/ followed by make menuconfig command
12- Go to Micro-controller Architecture followed by Atmega AVR
13- Go to Processor model and select Atmega 2560. Press Q and Exit
14- Type make and enter
15- Type ls /dev/serial/by-id/ and enter
16- Type sudo service klipper stop and enter
17- Type make flash FLASH_DEVICE=X(X=The path include USB_Serial when you type ls /dev/serial/by-id/) change X with correct path
18- Type sudo service klipper start and enter
19- Select the usb port where the printer connected on ChromaPad
20- Turn off ChromaPad and connect the ChromaHead cable and extruder cables
21- Turn back on ChromaPad
Stock Ender 5 Plus config files =>Download
¶ Your printer is ready to use.
¶ 2) Post-Installation OrcaSlicer Configuration
After completing the installation, you also need to configure OrcaSlicer. We recommend downloading the latest version of OrcaSlicer for optimal compatibility. You can use the link below to get the most recent release.
OrcaSlicer Download Link - Download
-
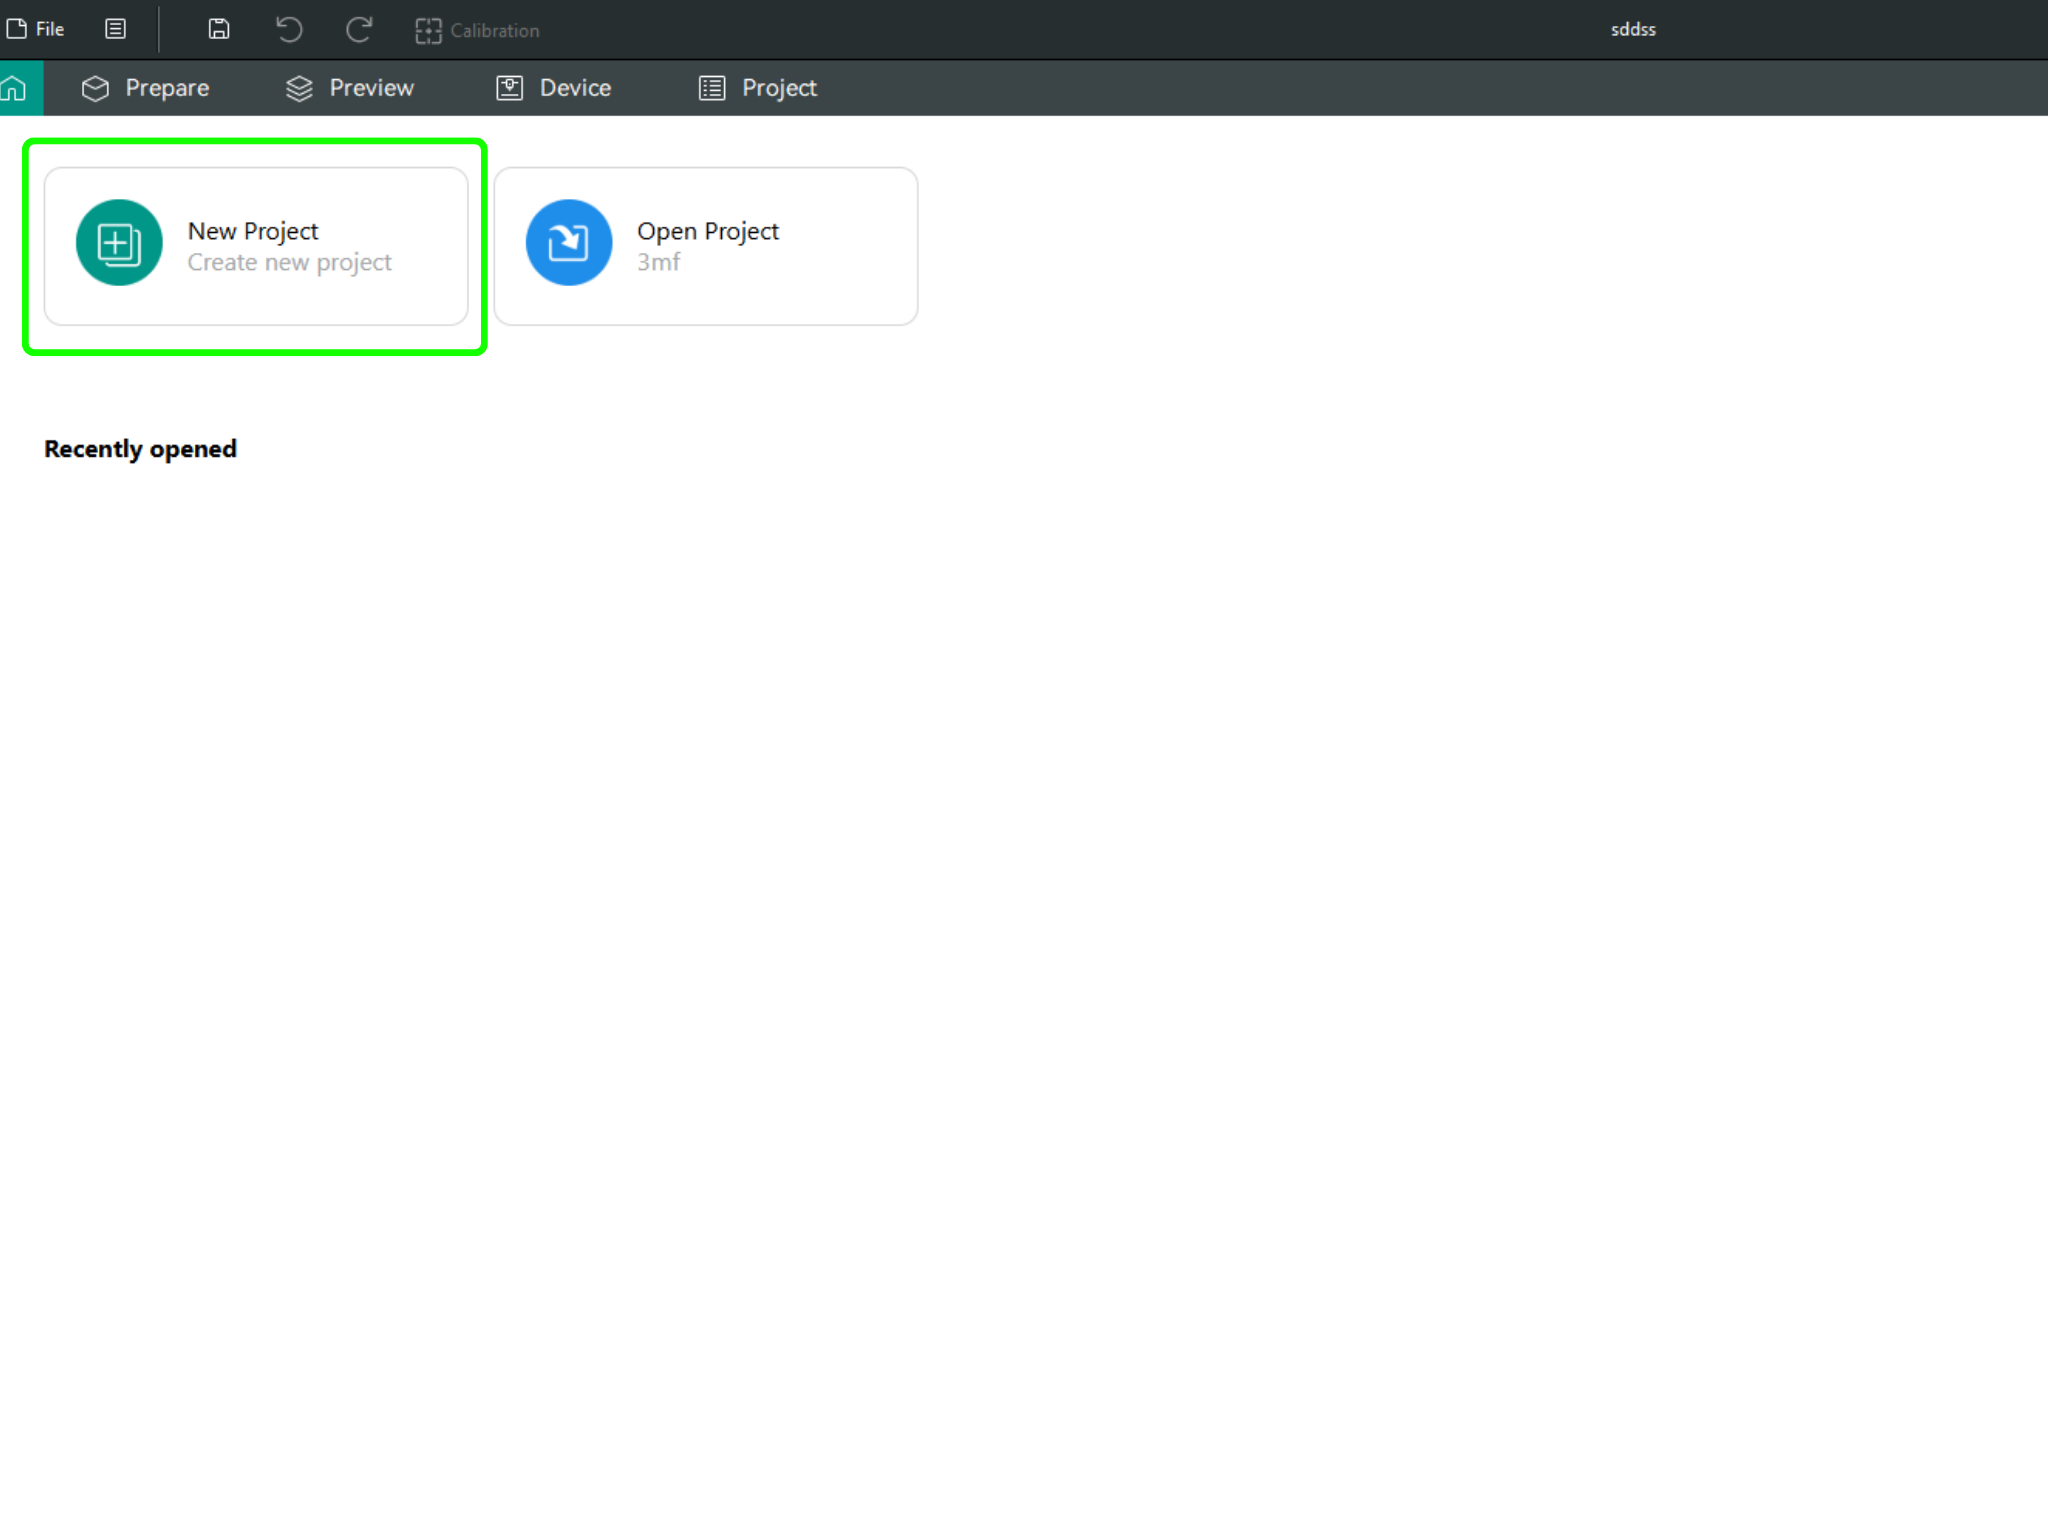
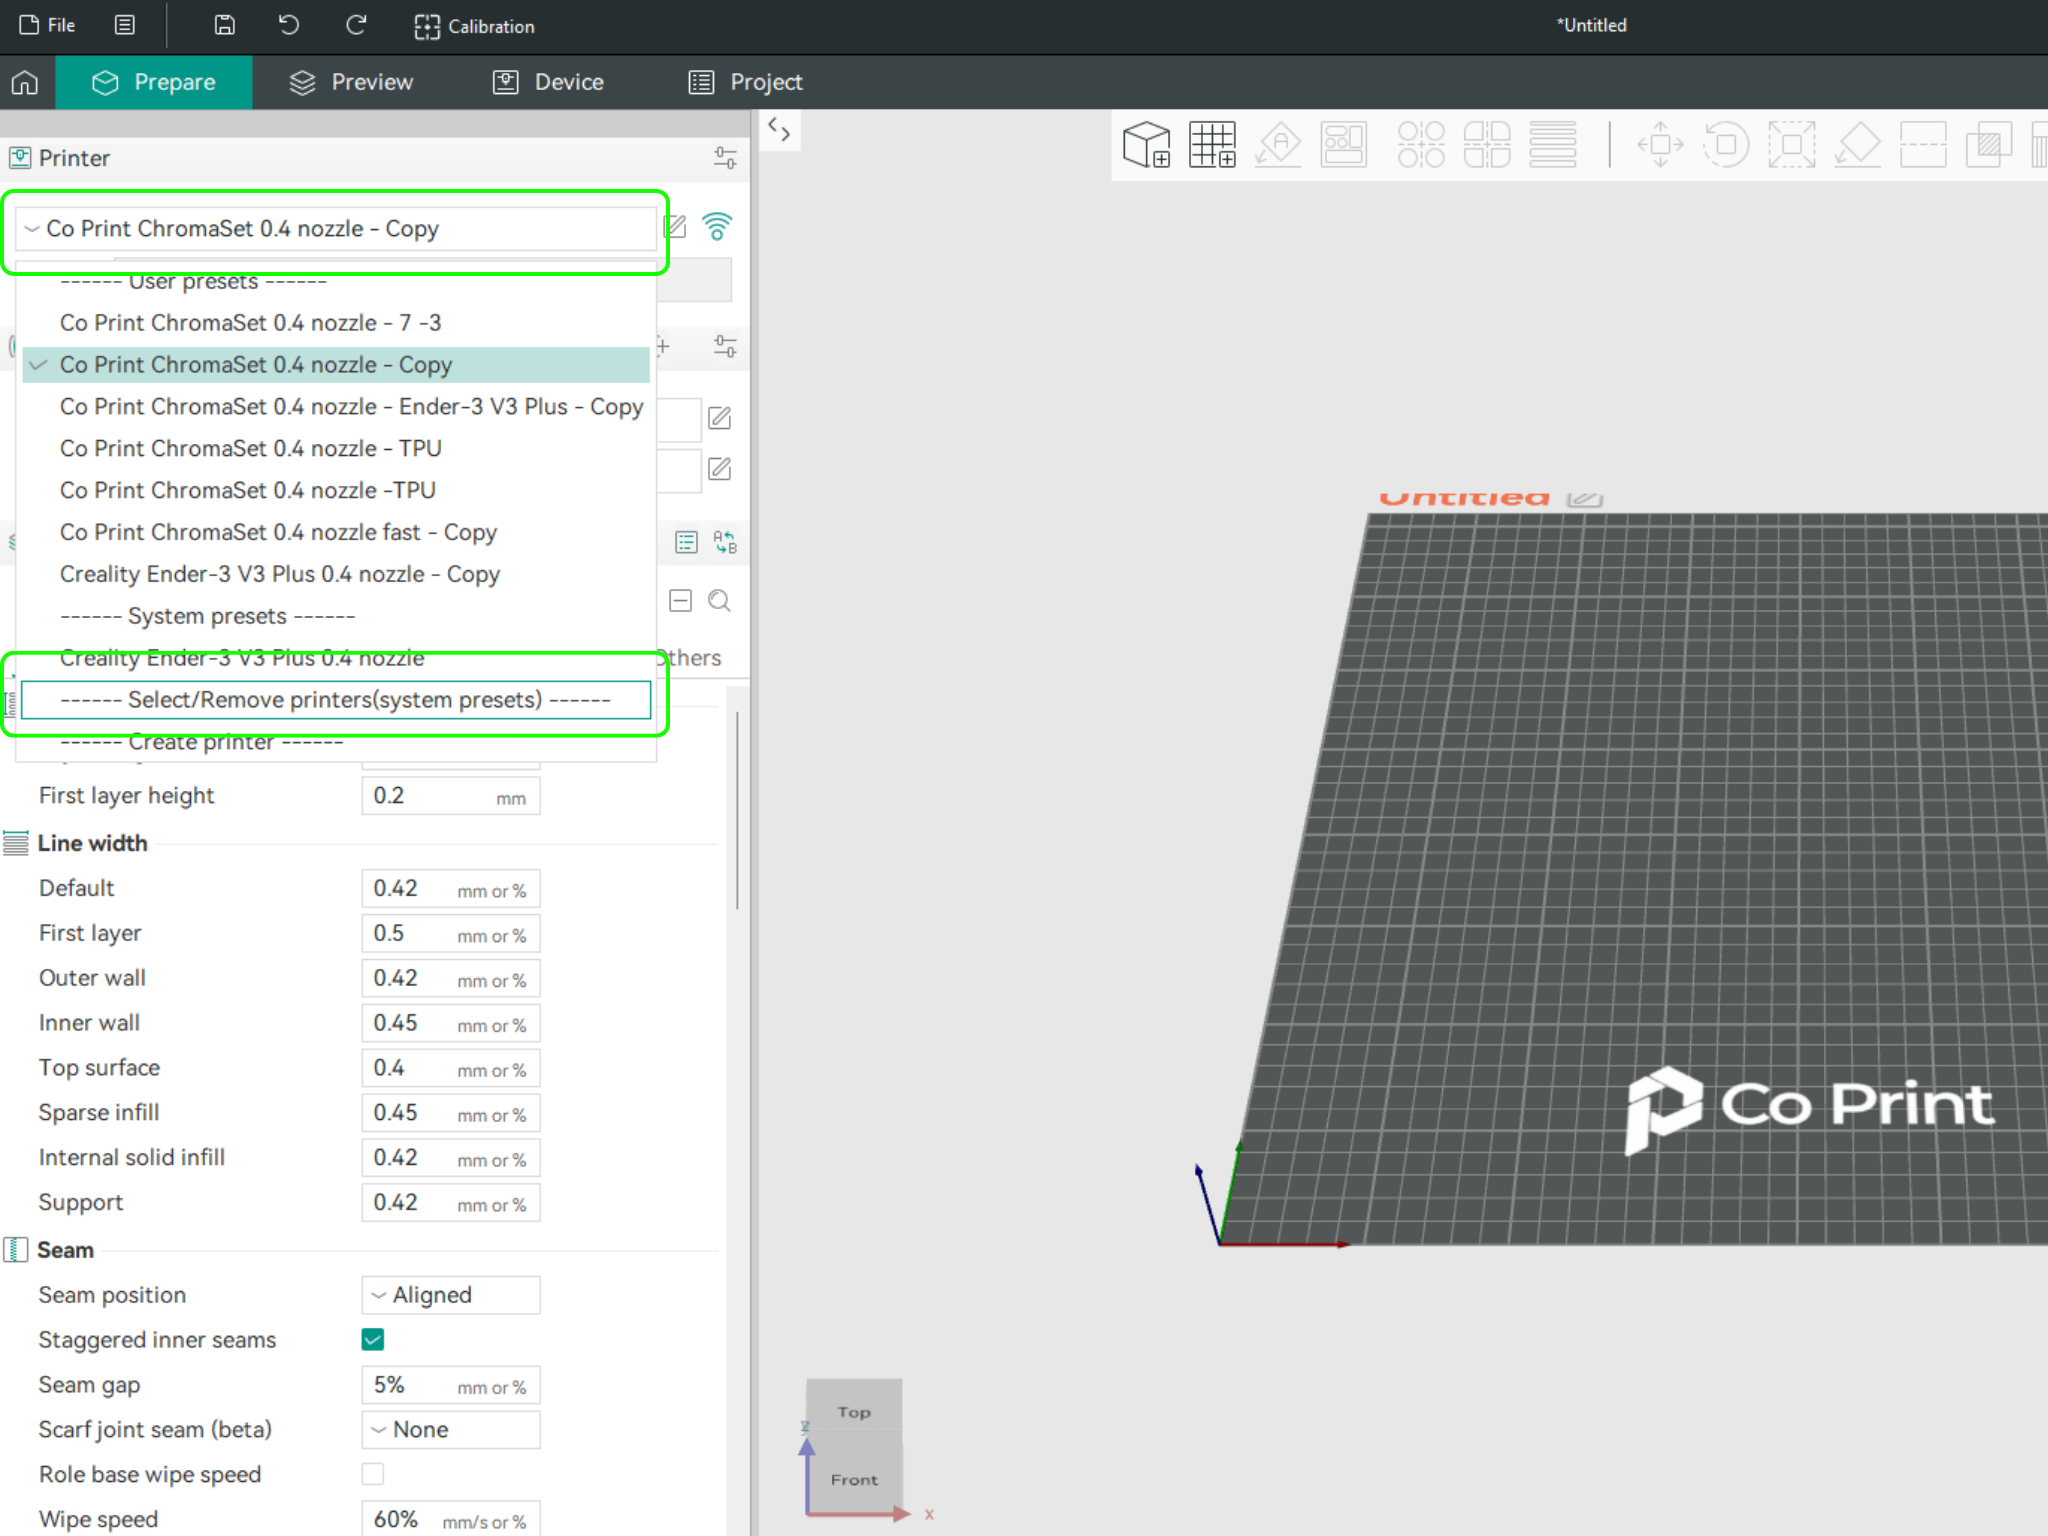
After downloading OrcaSlicer, click on “New Project”.
-
In the left menu, go to the Printers section and click on “Select/Remove printers”.
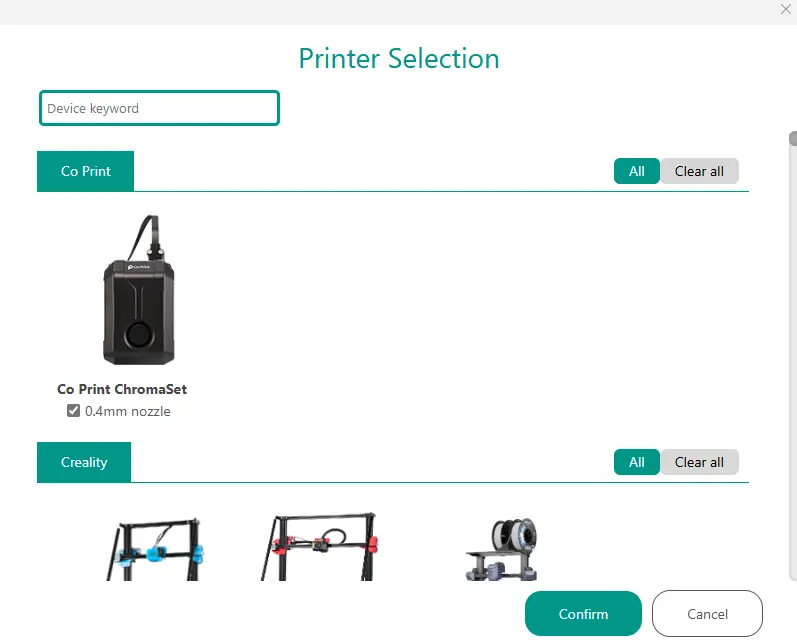
- In the opened menu, find and select Co Print. Then click "Confirm".
- After loading the settings, you need to adjust them in OrcaSlicer according to your printer’s bed size.
- You can import your model into OrcaSlicer as shown in the videos below, paint it, and start your print directly from within OrcaSlicer.