¶ Sovol SV06 - KCM Set Upgrade Guide
| Image | Information |
|---|---|
 |
Welcome to the installation page for Sovol SV-06. This guide will help you update your printer's firmware to ensure compatibility with ChromaSet, download and print the required .STL files for mechanical assembly, complete the mechanical setup, and configure the Klipper settings. By following these steps, you will successfully complete the installation process. |
¶ Downloadable parts required for the installation
Before starting the installation, please download all the printable .stl files below and complete their printing.
¶ Klipper Config Files for Creality K1 - KCM Set
- Sovol SV-08 Config Files | Download
¶ Mechanical Setup
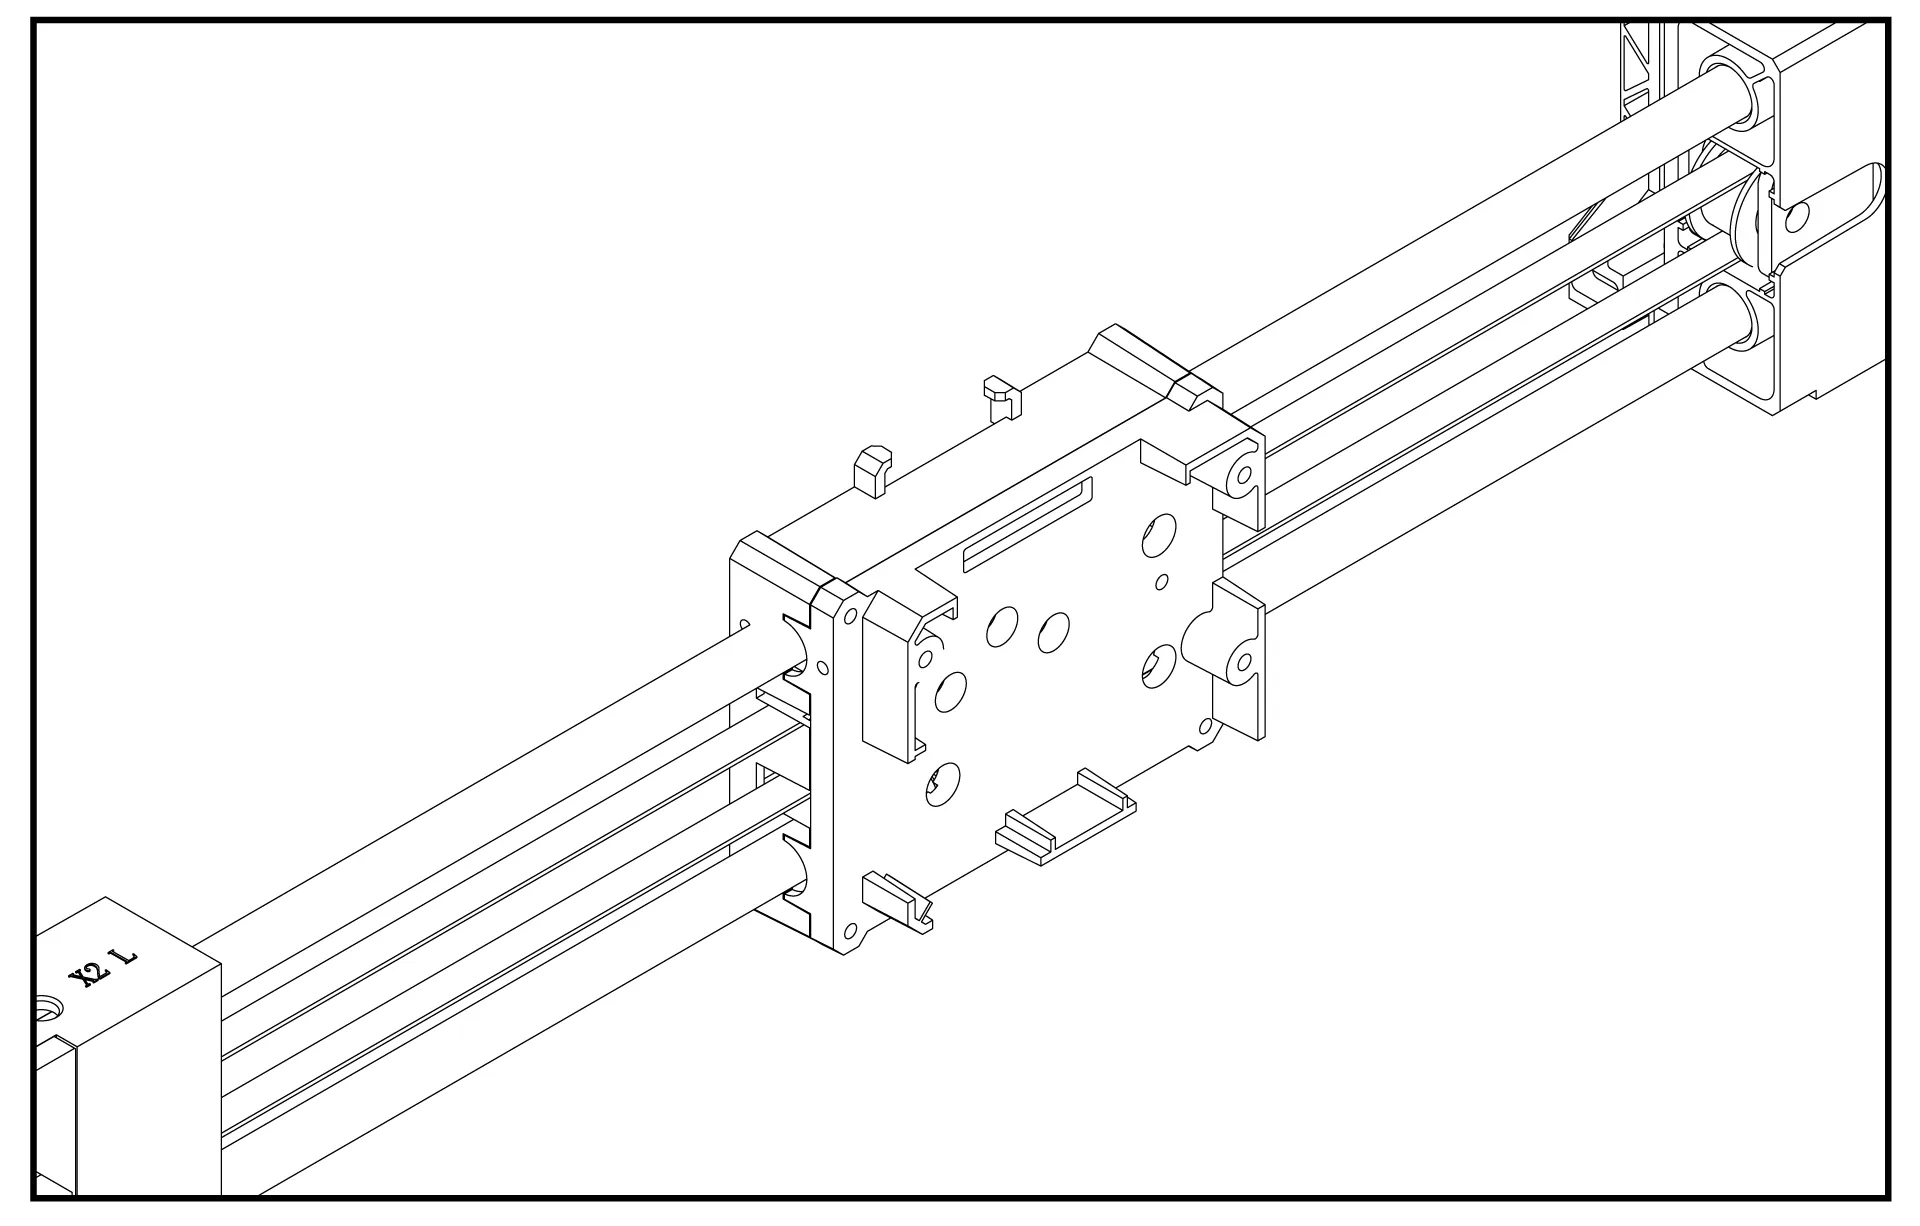
¶ 1- Remove the stock print head
Disassemble the stock print head up to the part shown in the image.
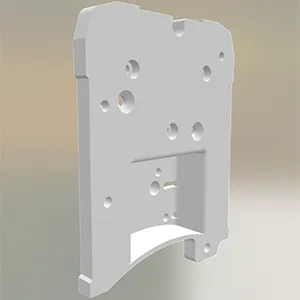
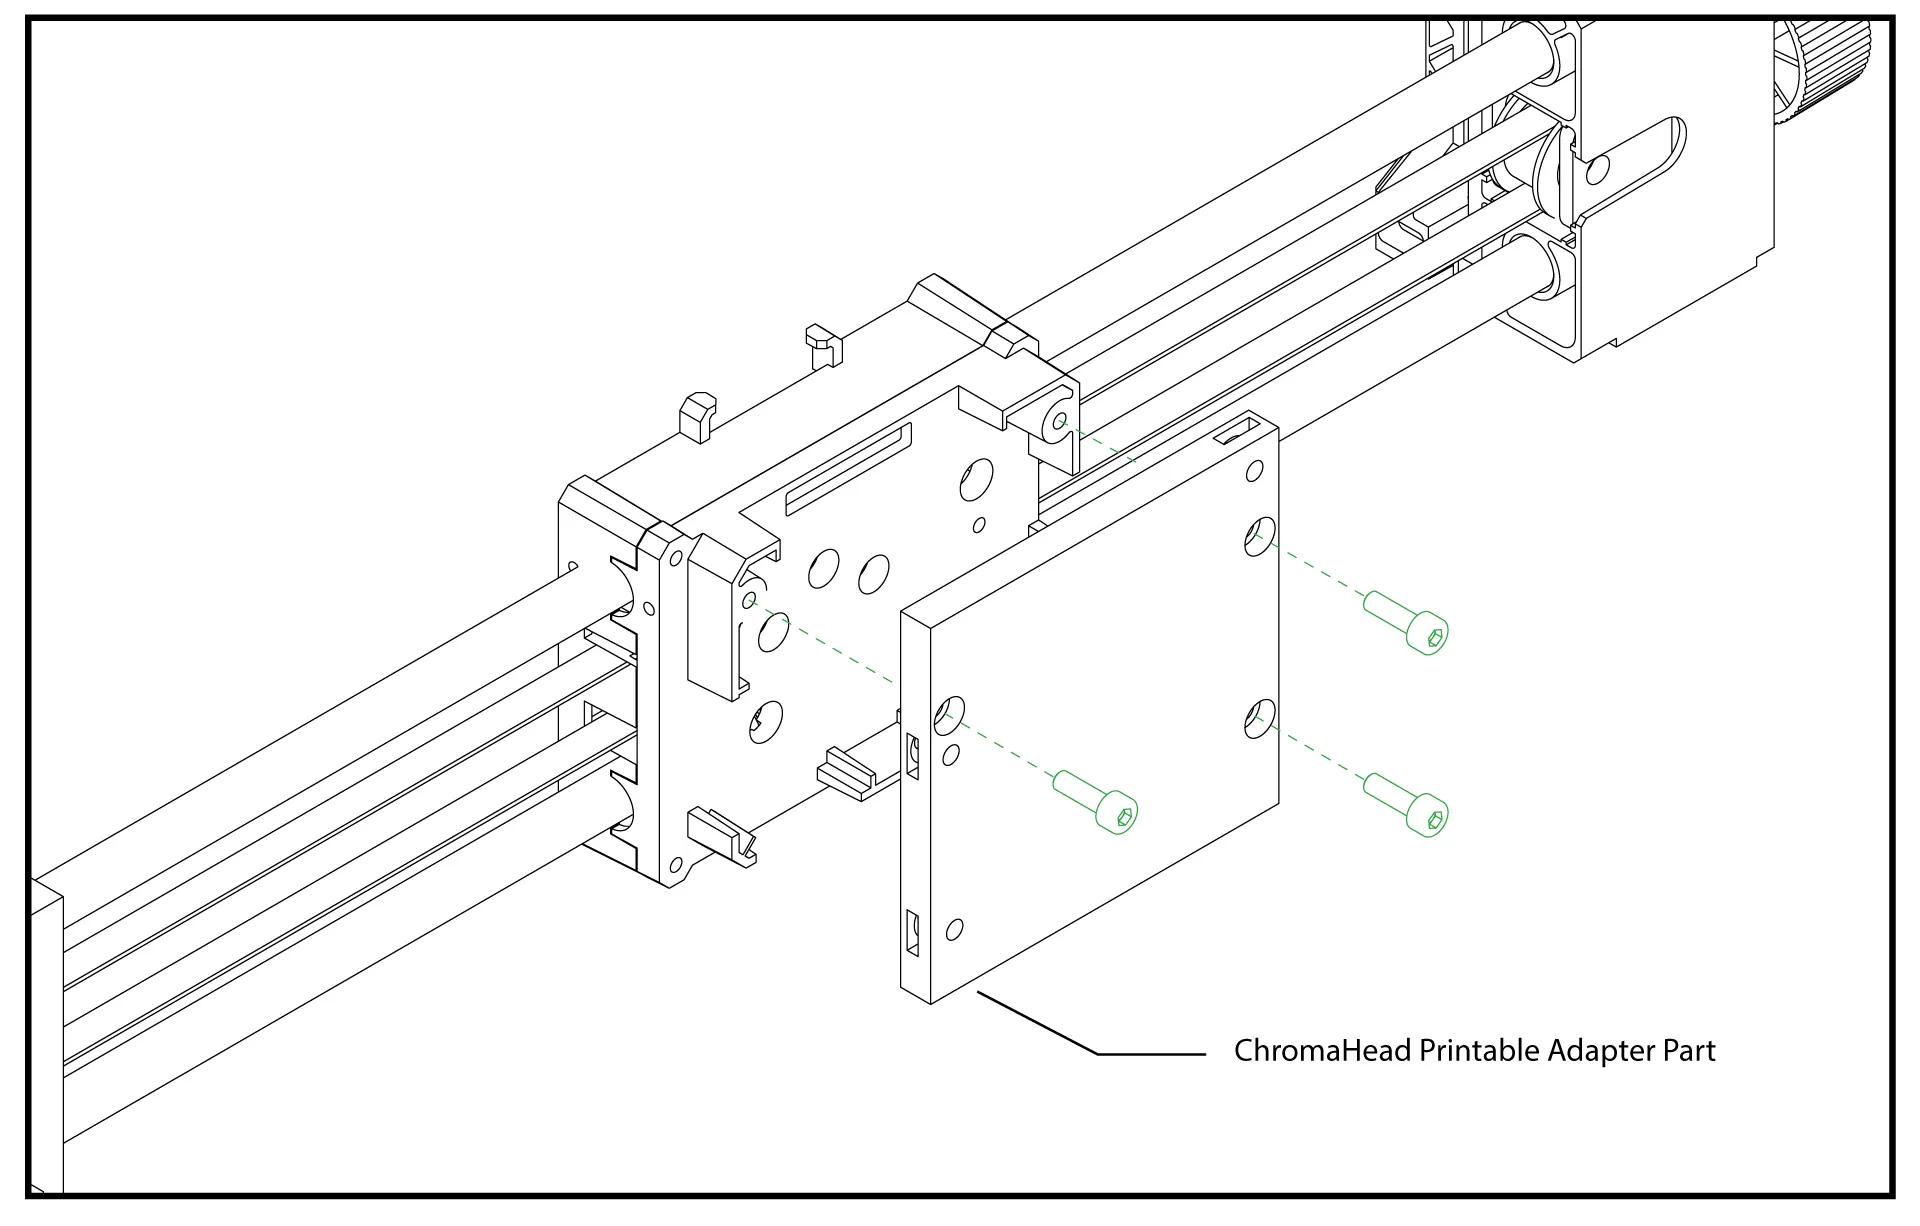
¶ 2- Attach the ChromaHead adapter piece
Place the ChromaHead adapter piece, available in the downloadable parts, as shown in the image and secure it with screws in three spots.
¶ 4- Insert the Square Nuts
Place the 3 M3 square nuts included in the ChromaHead box into the slots on the ChromaHead adapter piece.

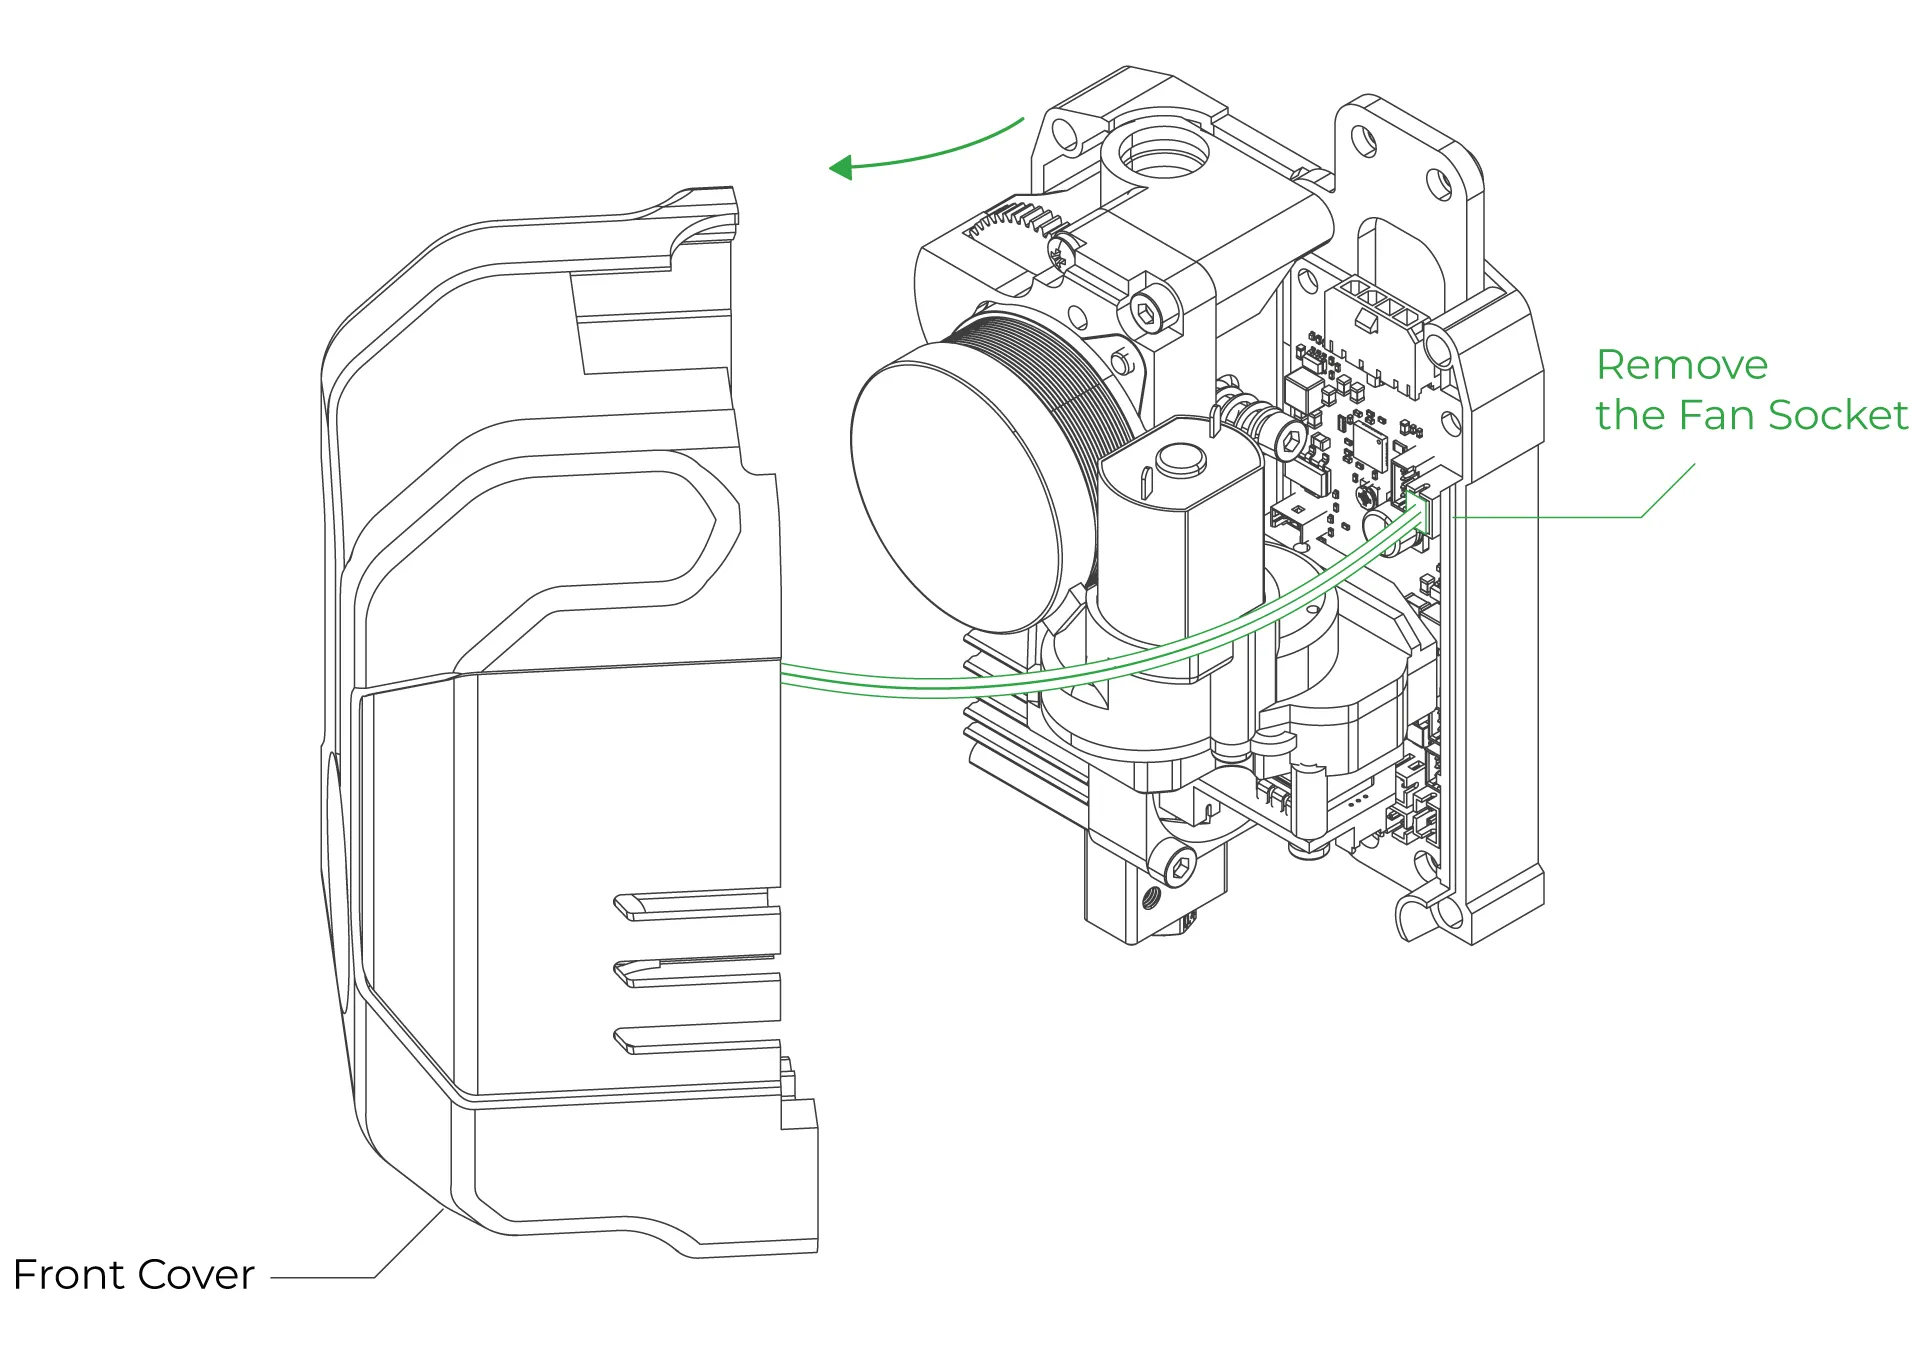
¶ 5- Remove the Front Cover of the ChromaHead
The connection screws for the ChromaHead's adapter part are located inside the front cover. Therefore, the front cover needs to be removed for installation.
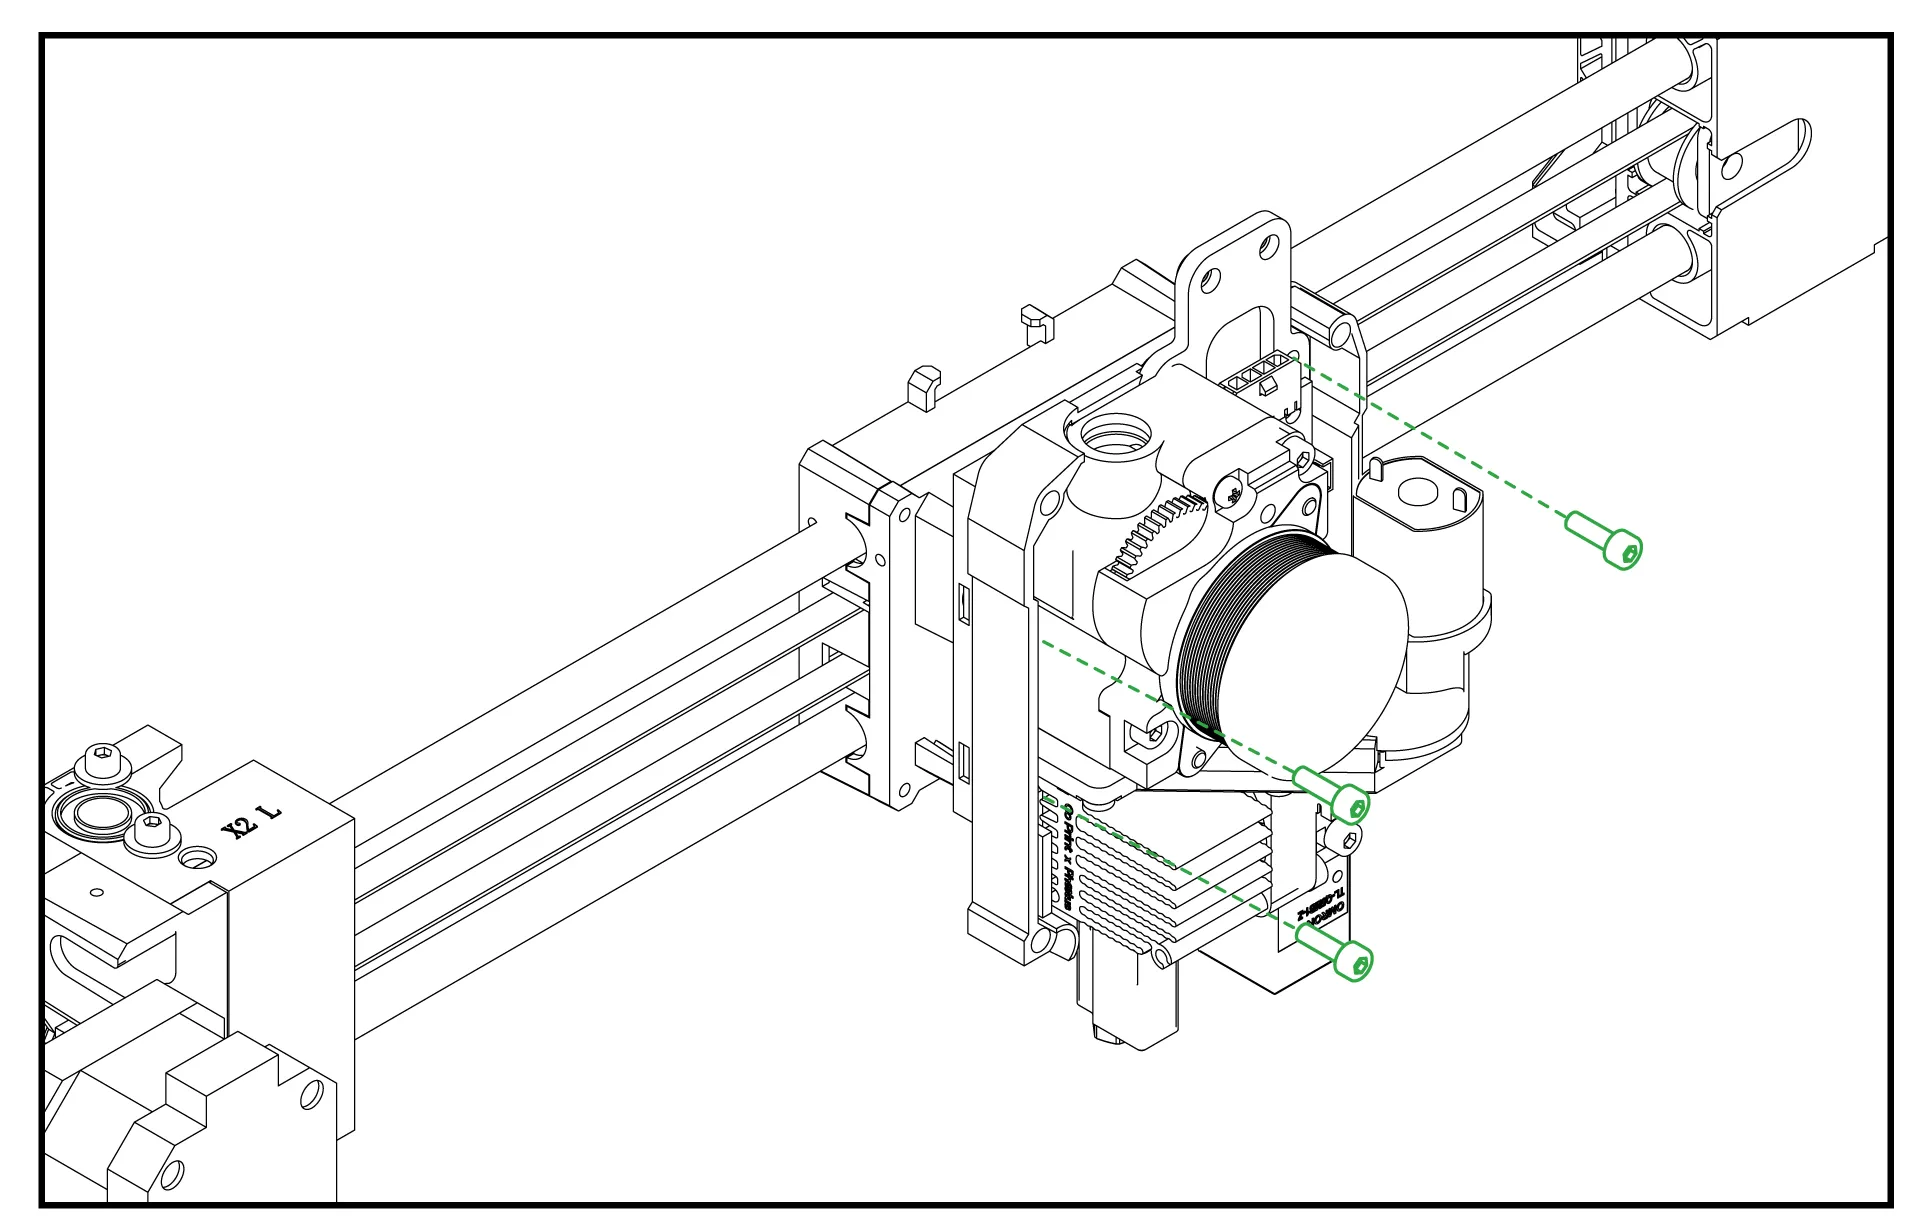
¶ 6- Attach the ChromaHead
Align the ChromaHead with the adapter piece and secure it using the 3 M3 screws provided in the box.
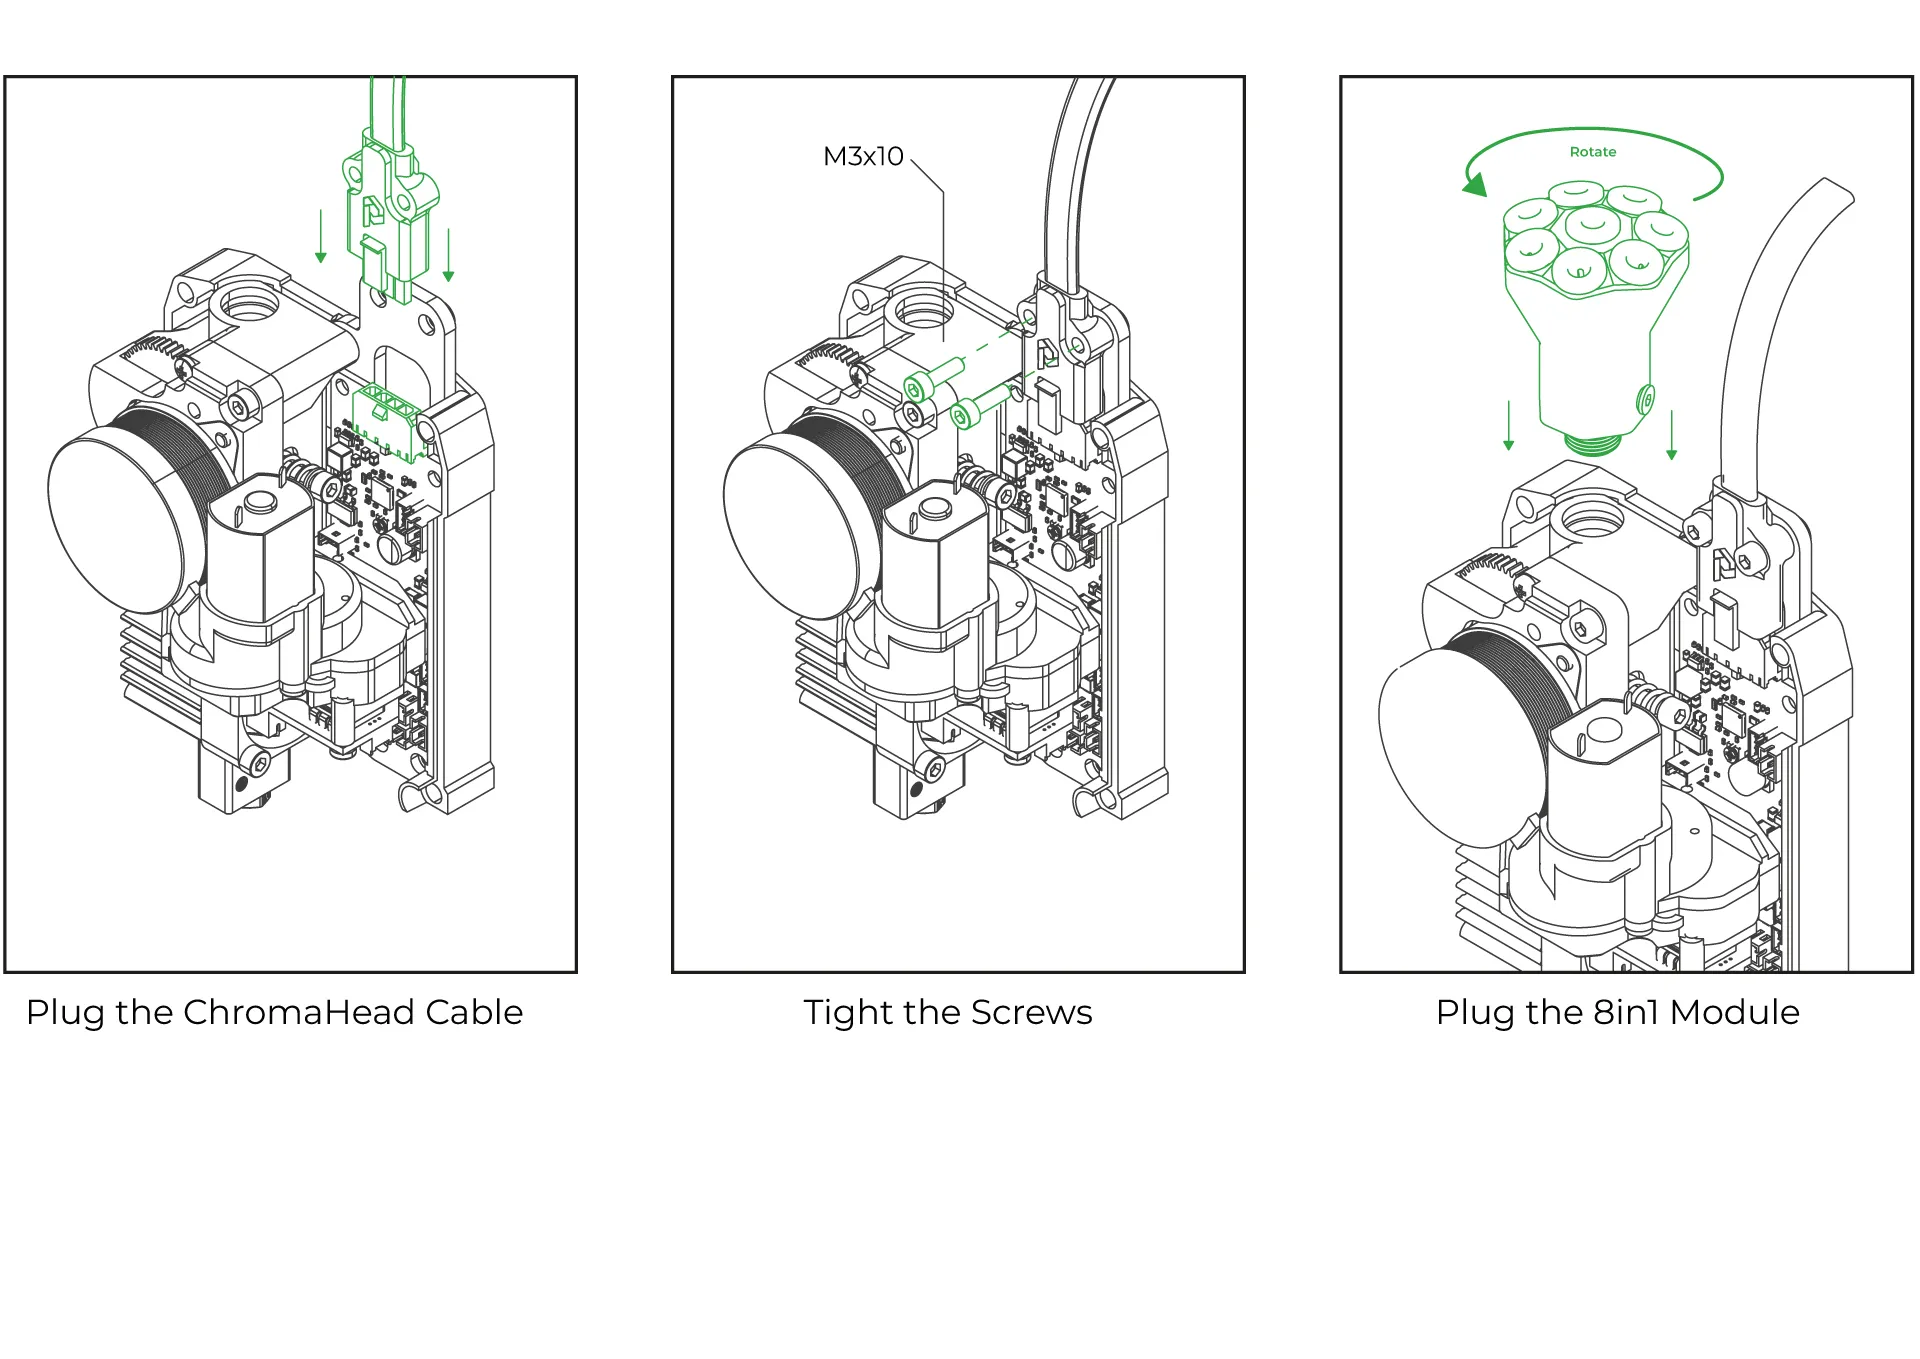
¶ 6-Head connection cable and the 8-in-1 kit mounting
Connect the head connection cable as shown in the image and make sure it is secured in place using the fastening screws. Then, rotate the 8-in-1 module and install it as shown in the image. Ensure it is tightly secured and doesn't move.
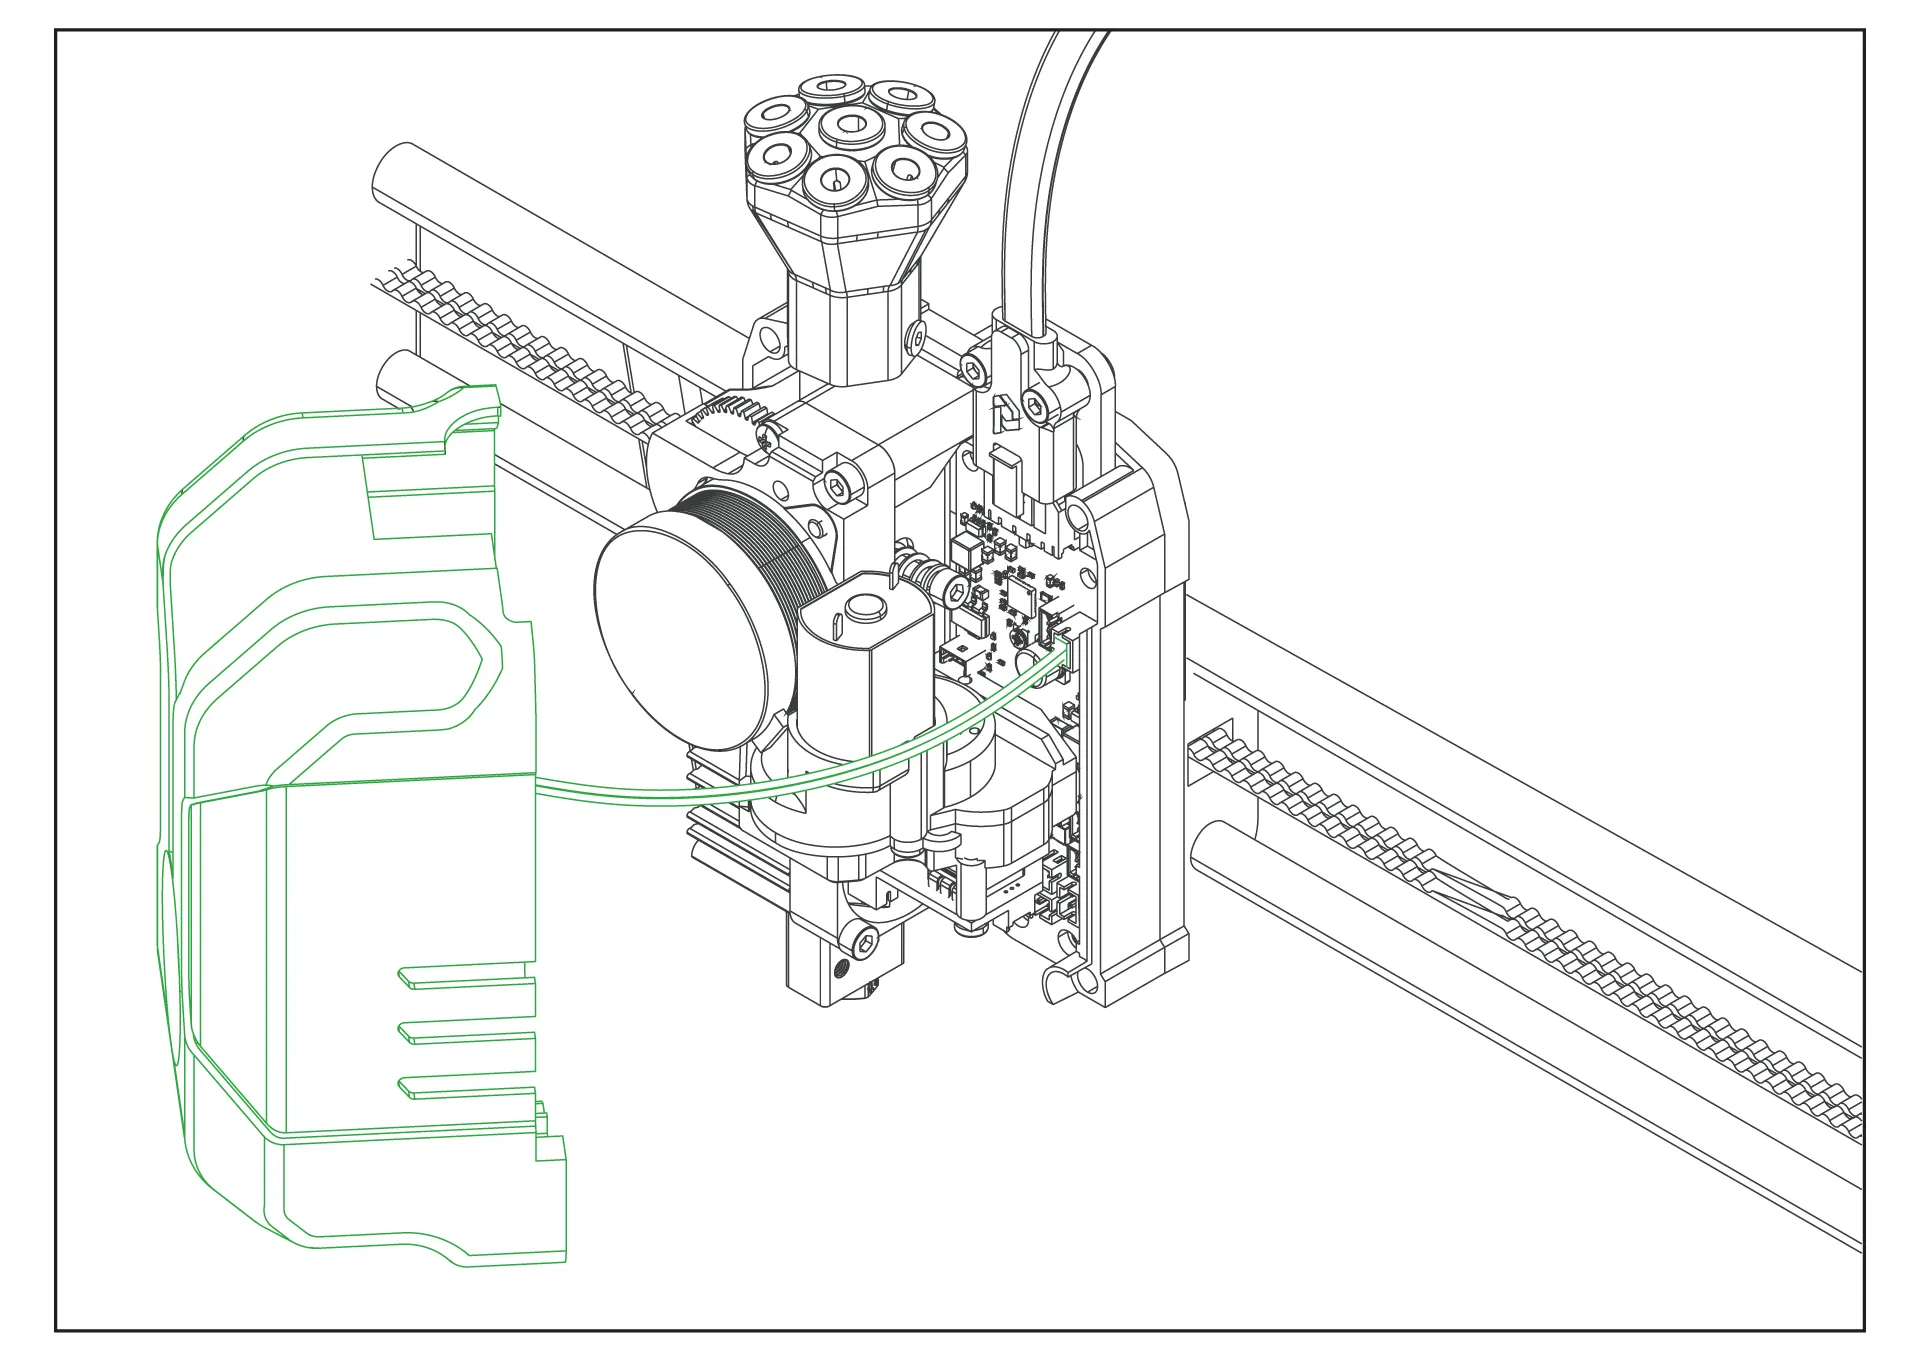
¶ 7-Close the front cover of the ChromaHead
The ChromaHead installation is complete. Reconnect the cooling fan cable from the front cover to the designated spot on the control board, and then close the cover.
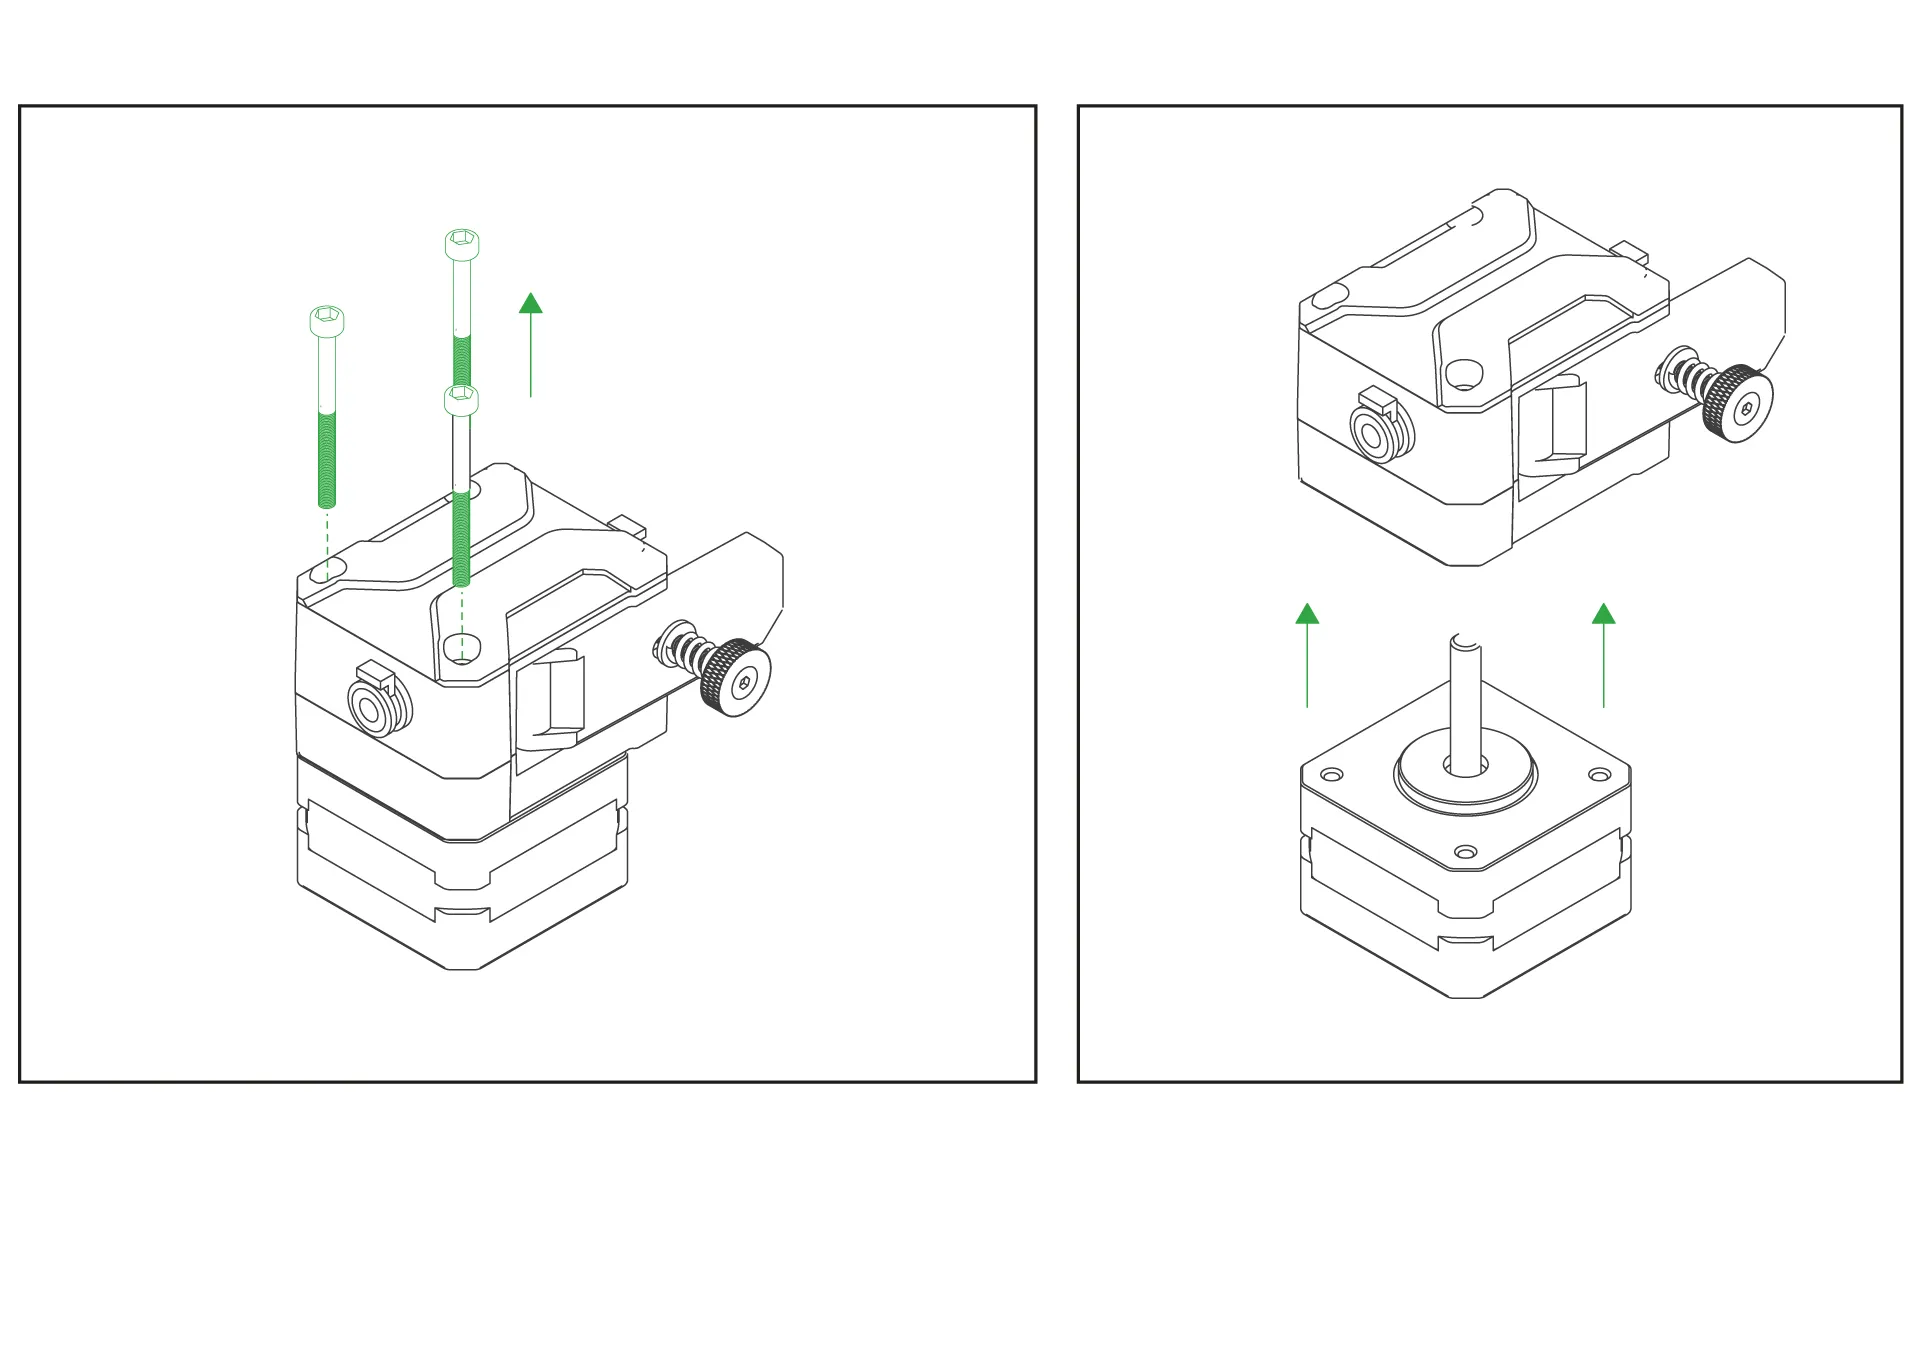
¶ 8-CX-I Extruders Installation
The CX-I Extruders come pre-assembled with the motor and plastic components inside the box. However, in order to mount them onto the 4-in-1 extruder holder, the motor and extruder sections need to be separated. To do this, remove the 3 screws on the top of the extruder and separate the motor from the extruder section.
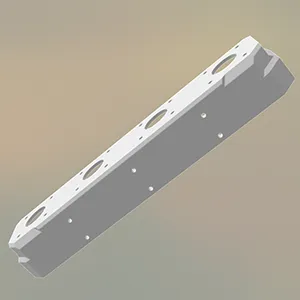
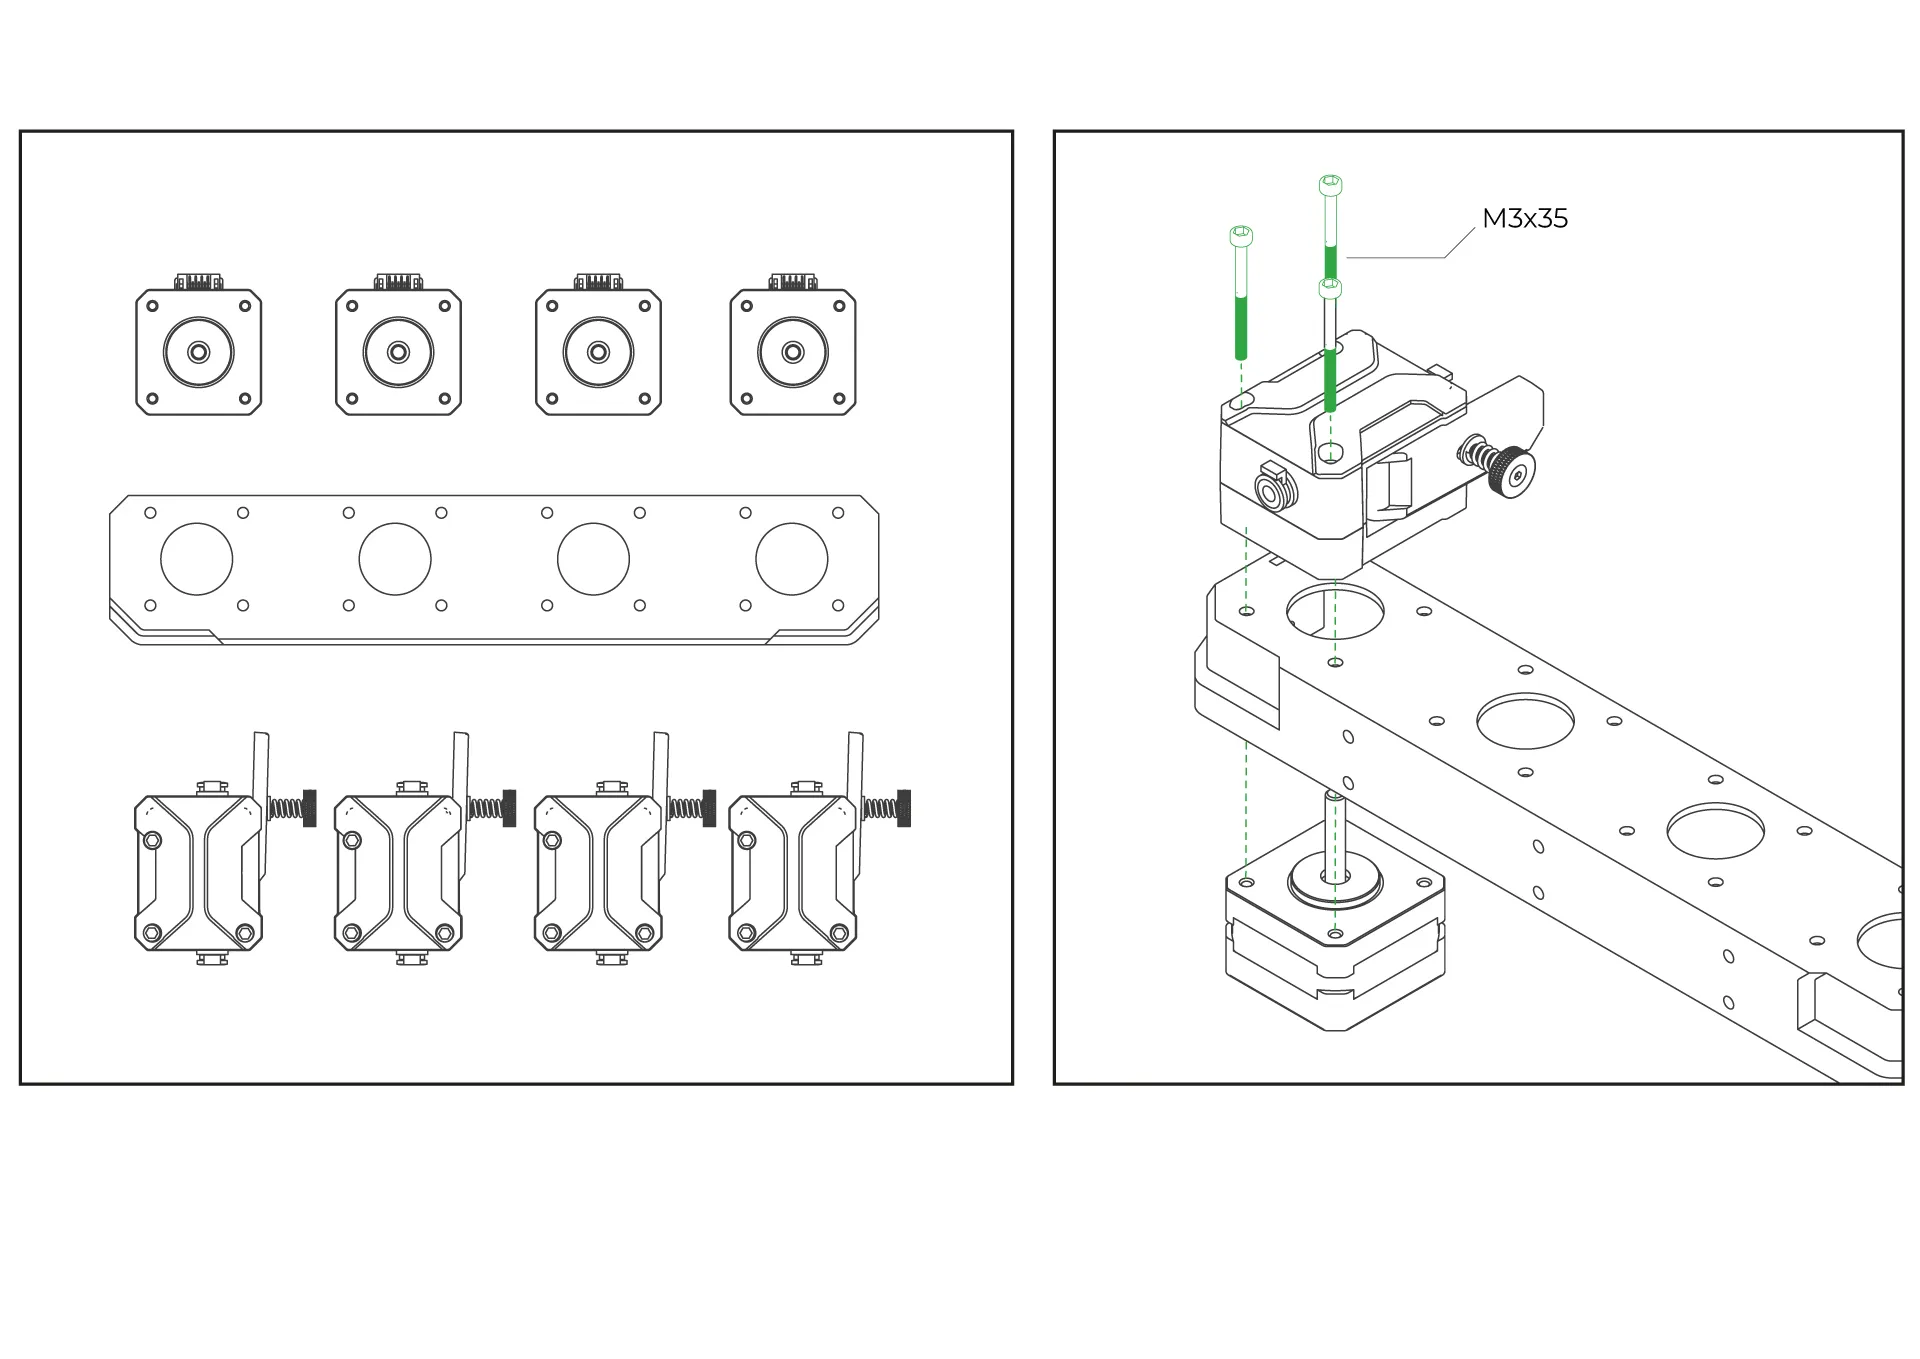
¶ 9- Place the extruders onto the 4-extruder holder.
Place the extruder on the top side of the printable 4-extruder holder you downloaded. Position the stepper motor on the bottom side, and then securely fasten the extruder using the three screws on it to complete the assembly.
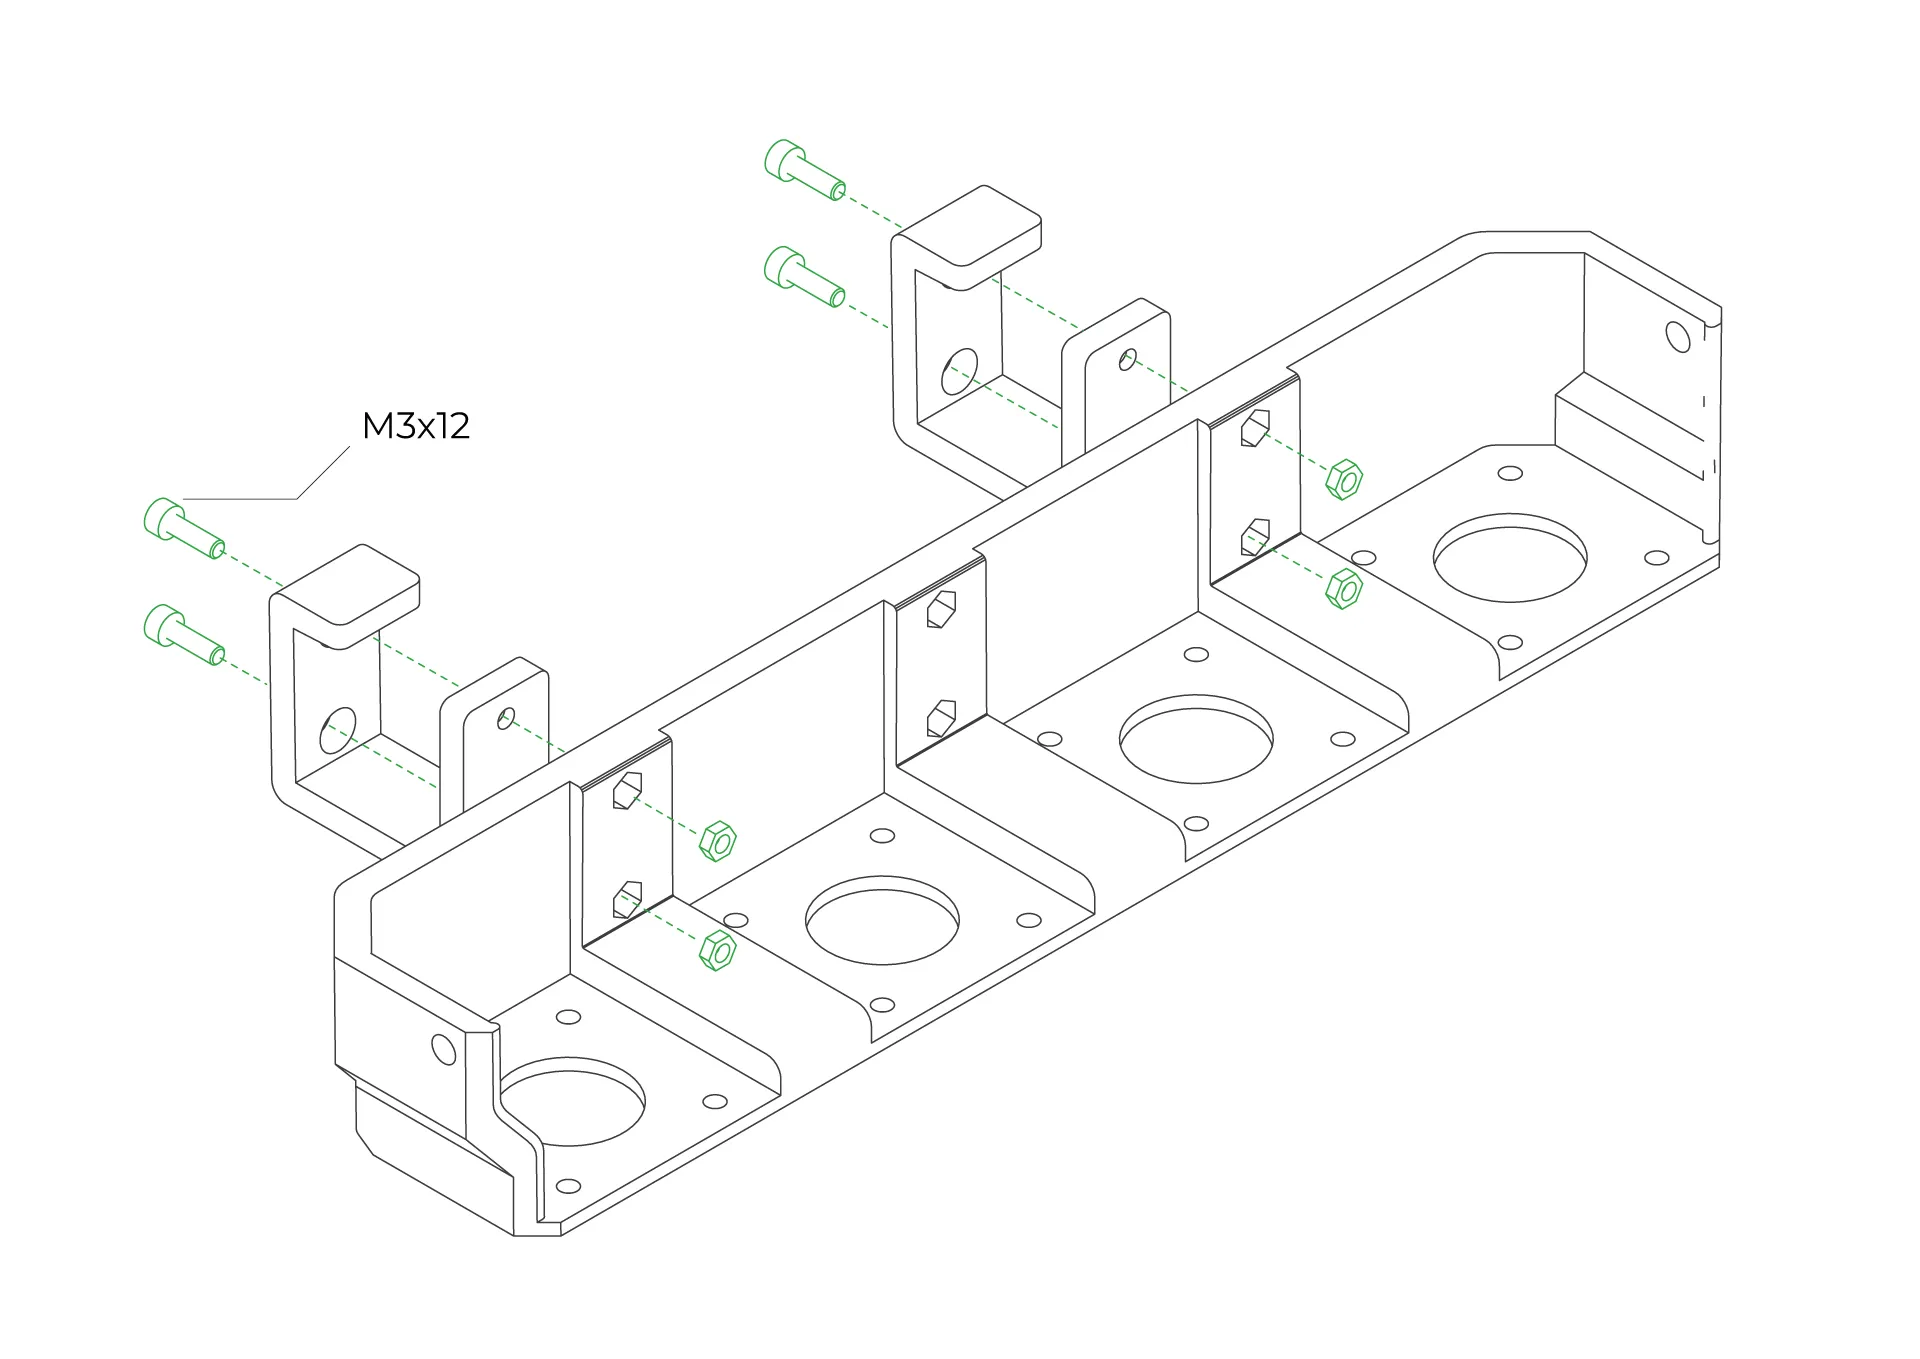
¶ 10-Attach the Mounting Feet to the 4-Extruder Holder
Secure the feet to the 4-extruder holder using M3-12mm screws and nuts.
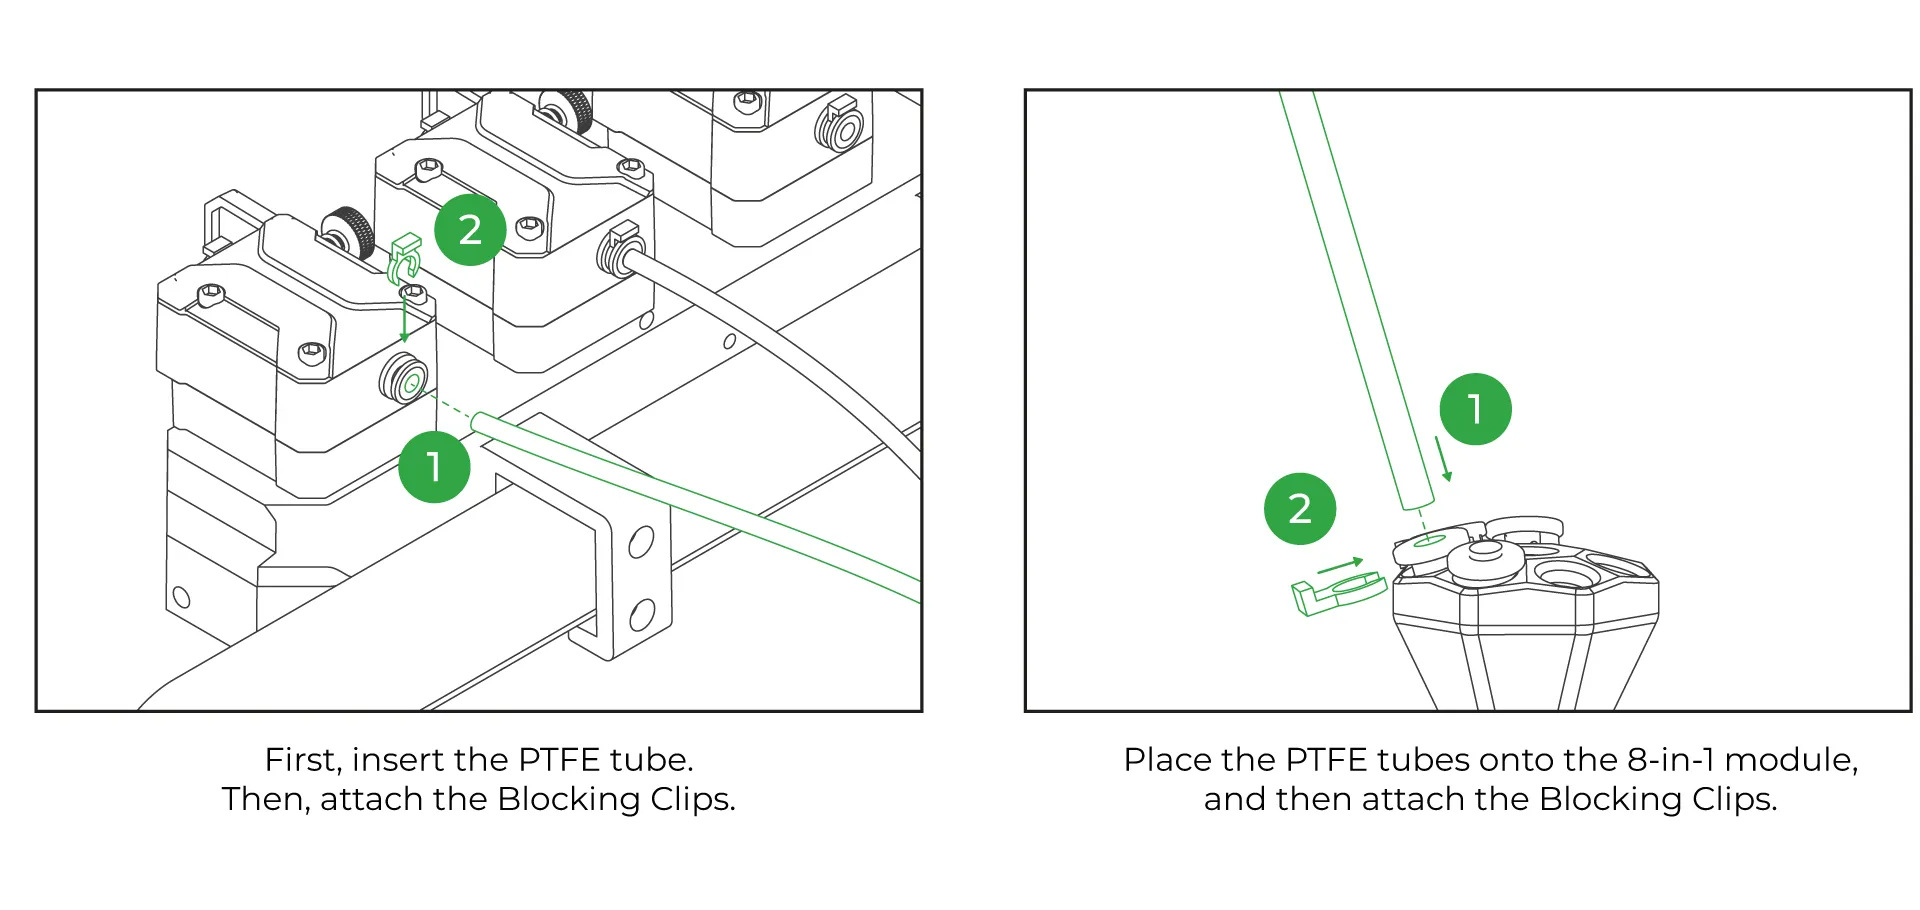
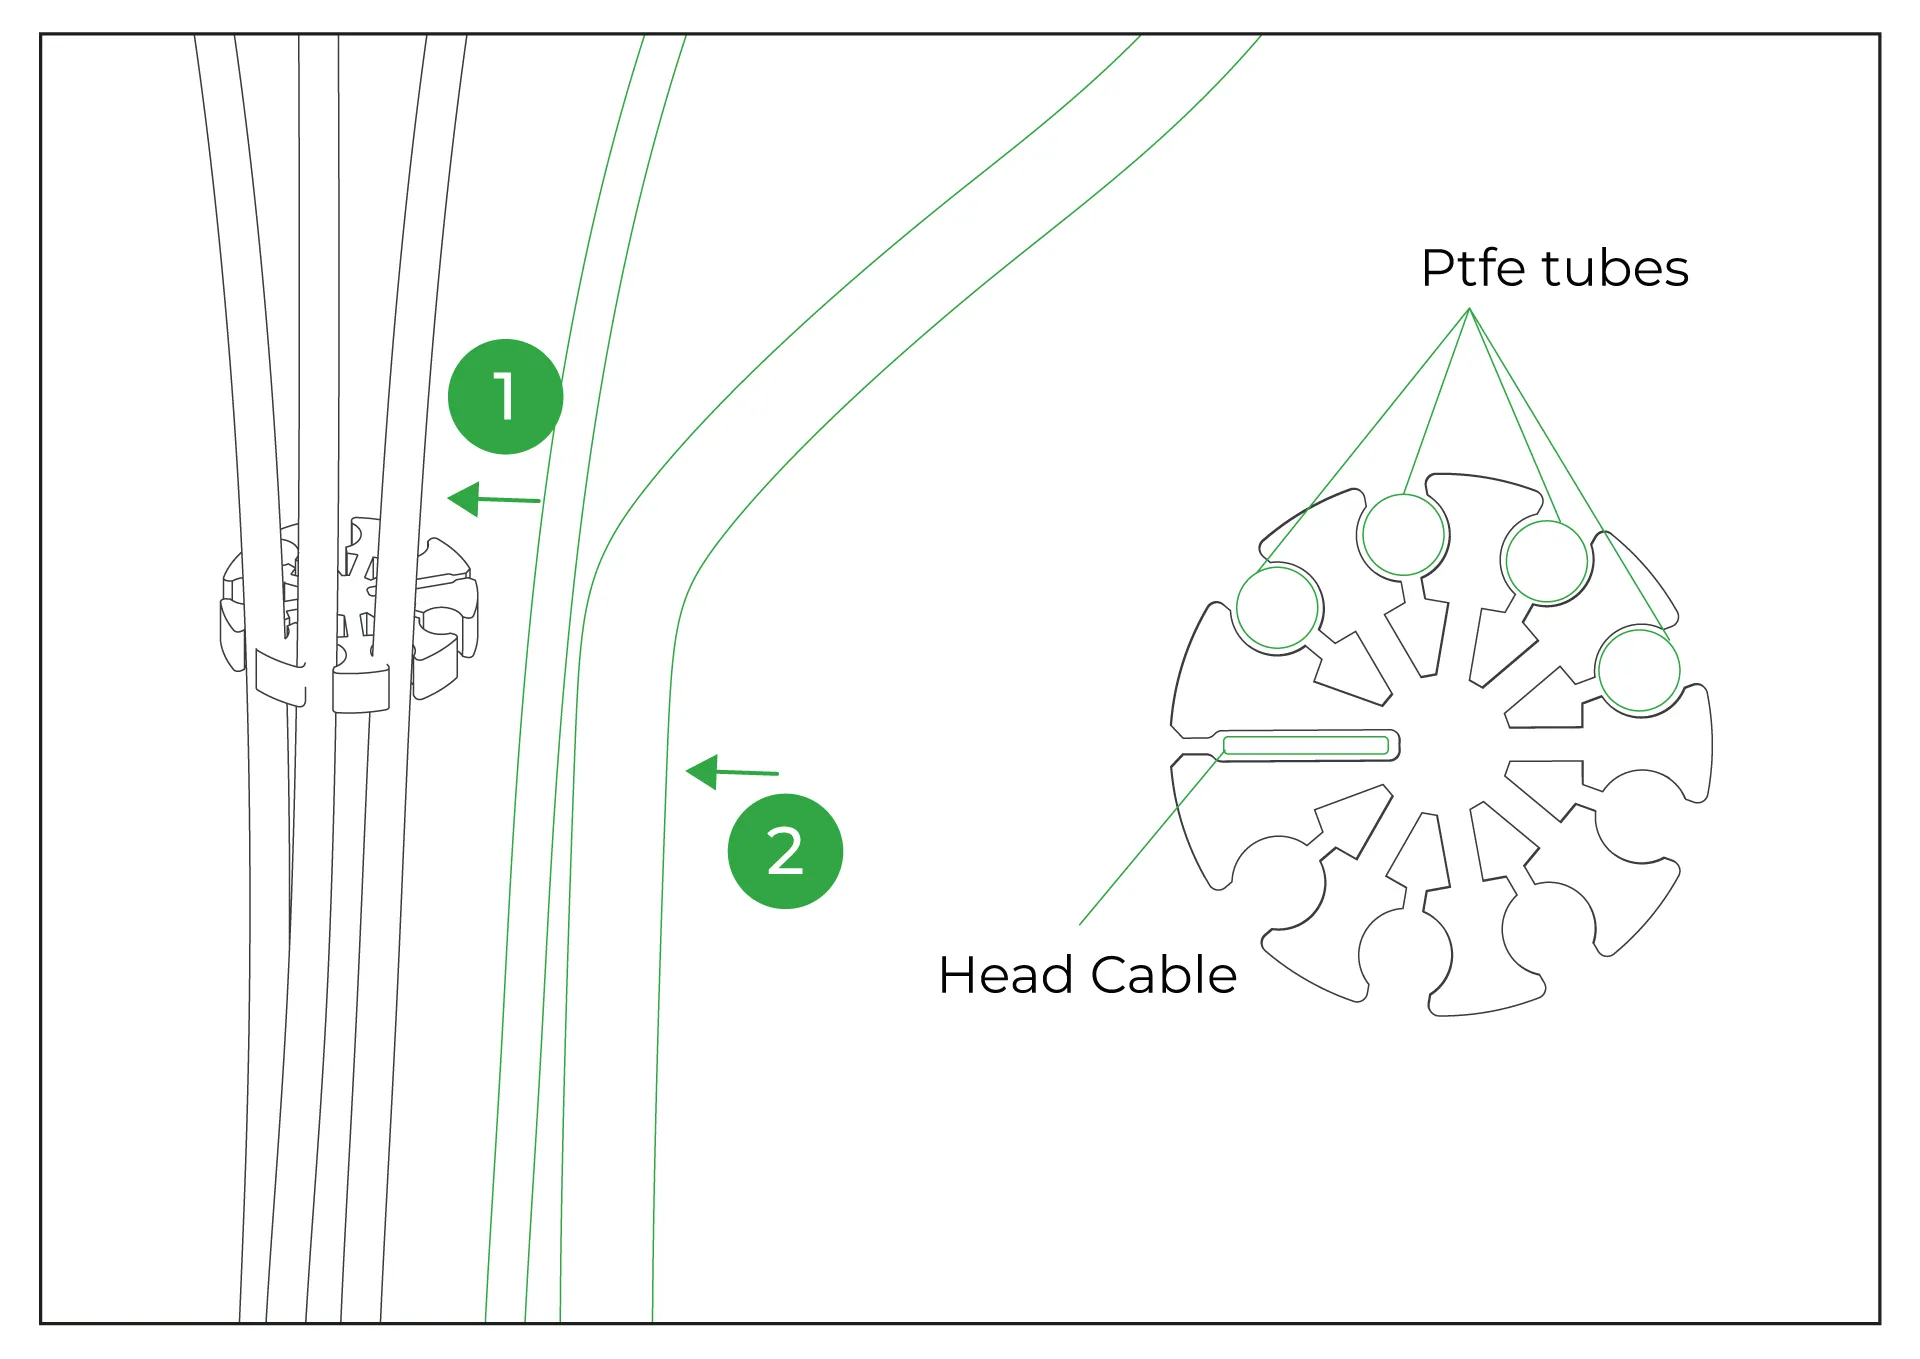
¶ 11-Install the PTFE Tubes
First, insert the PTFE tube into the CX-I extruder and secure it tightly using the blue retainers. Then, choose a nearby hole on the 8in1 and connect the other end of the PTFE tube to it, securing it firmly.
¶ 12-Place the PTFE Organizer
The PTFE organizer, provided as a printable 3D part, is designed to hold PTFE tubes together. You can secure the PTFE tubes by passing them through the slots on the organizer.
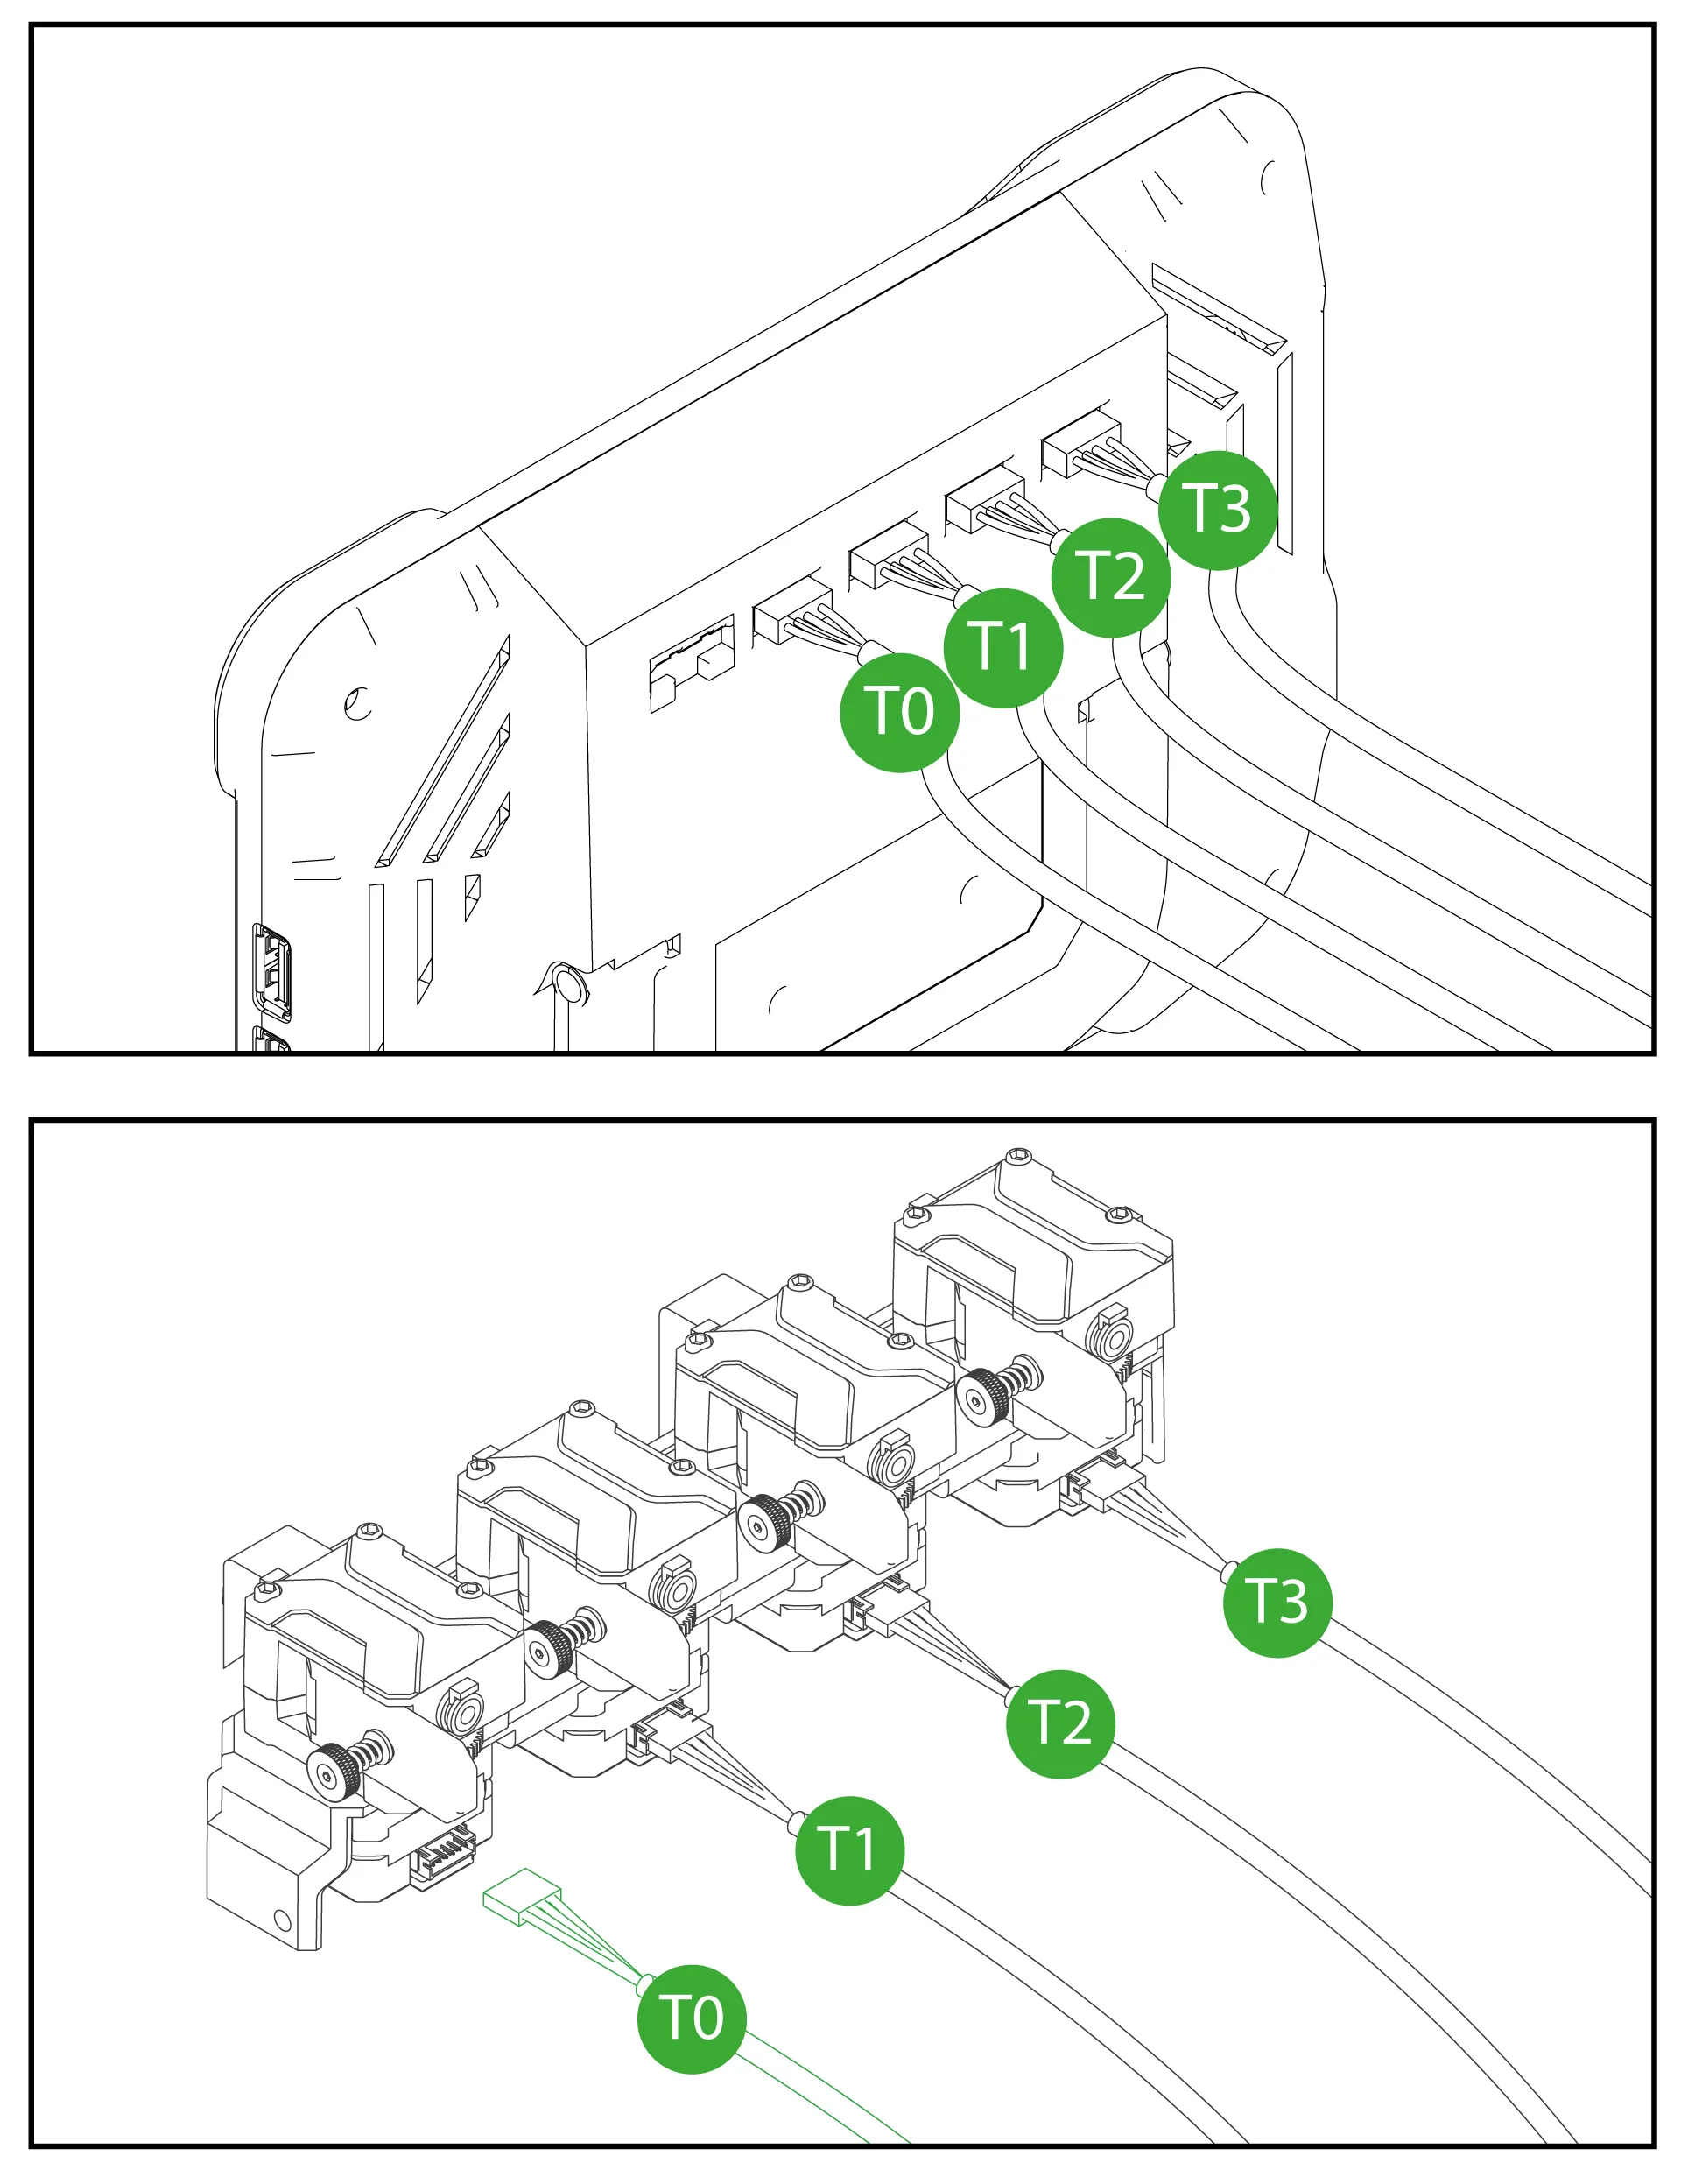
¶ 13-Plug the Extruder Motor Cables
The order of the extruder motor cables is crucial. Position the KCM with the extruder slots on the right-hand side. In this orientation, connect the first cable to the bottom-most socket. Then, proceed to connect the remaining cables in order, ensuring they are not mixed up. Connect the other ends of the cables to the extruders, starting from the left when viewed from the back of the extruders. Ensure the cables are connected in the correct order.
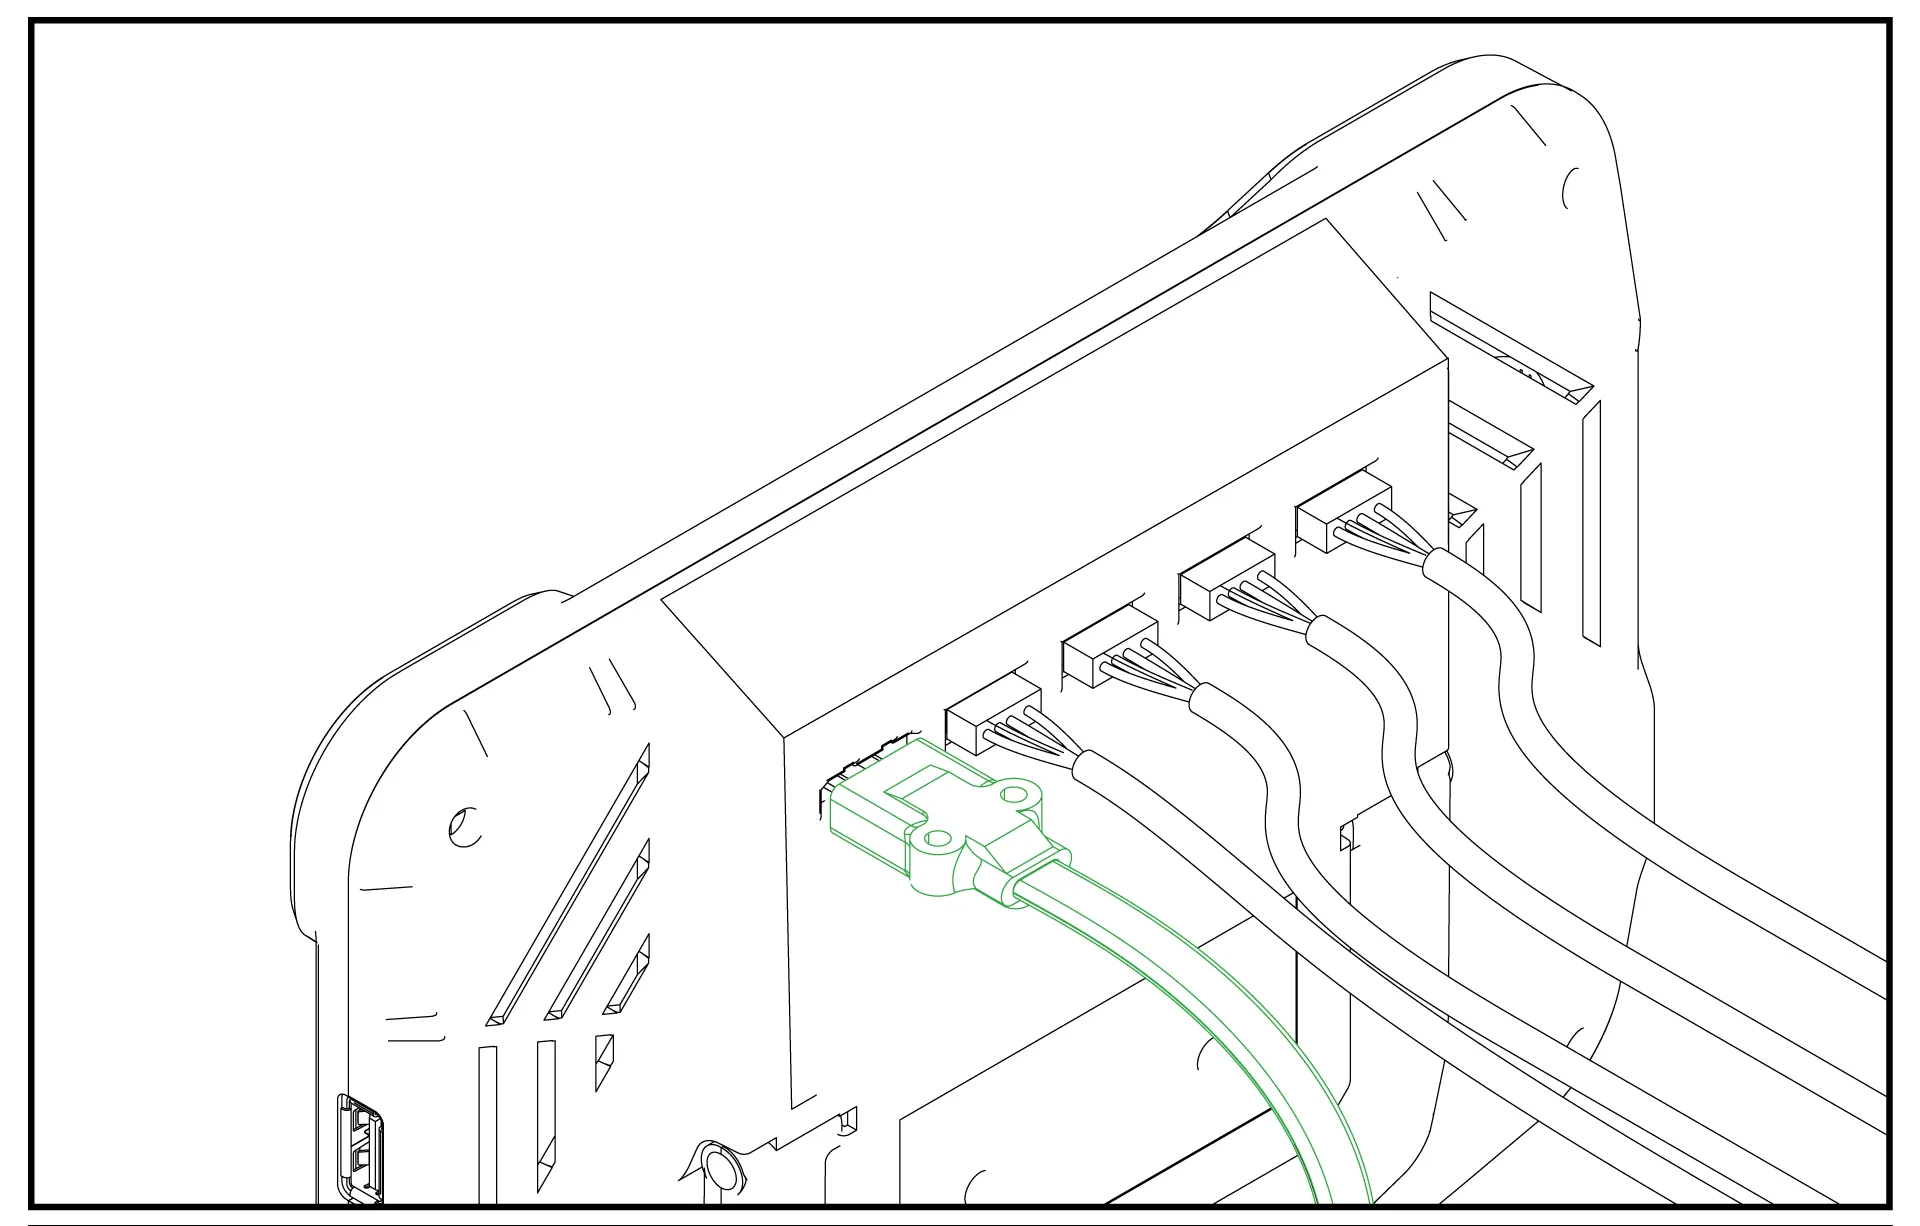
¶ 14- Plug the ChromaHead Cable
ChromaHead kablosunu tabletin arka kısmında yer alan ChromaHead soketine takınız.
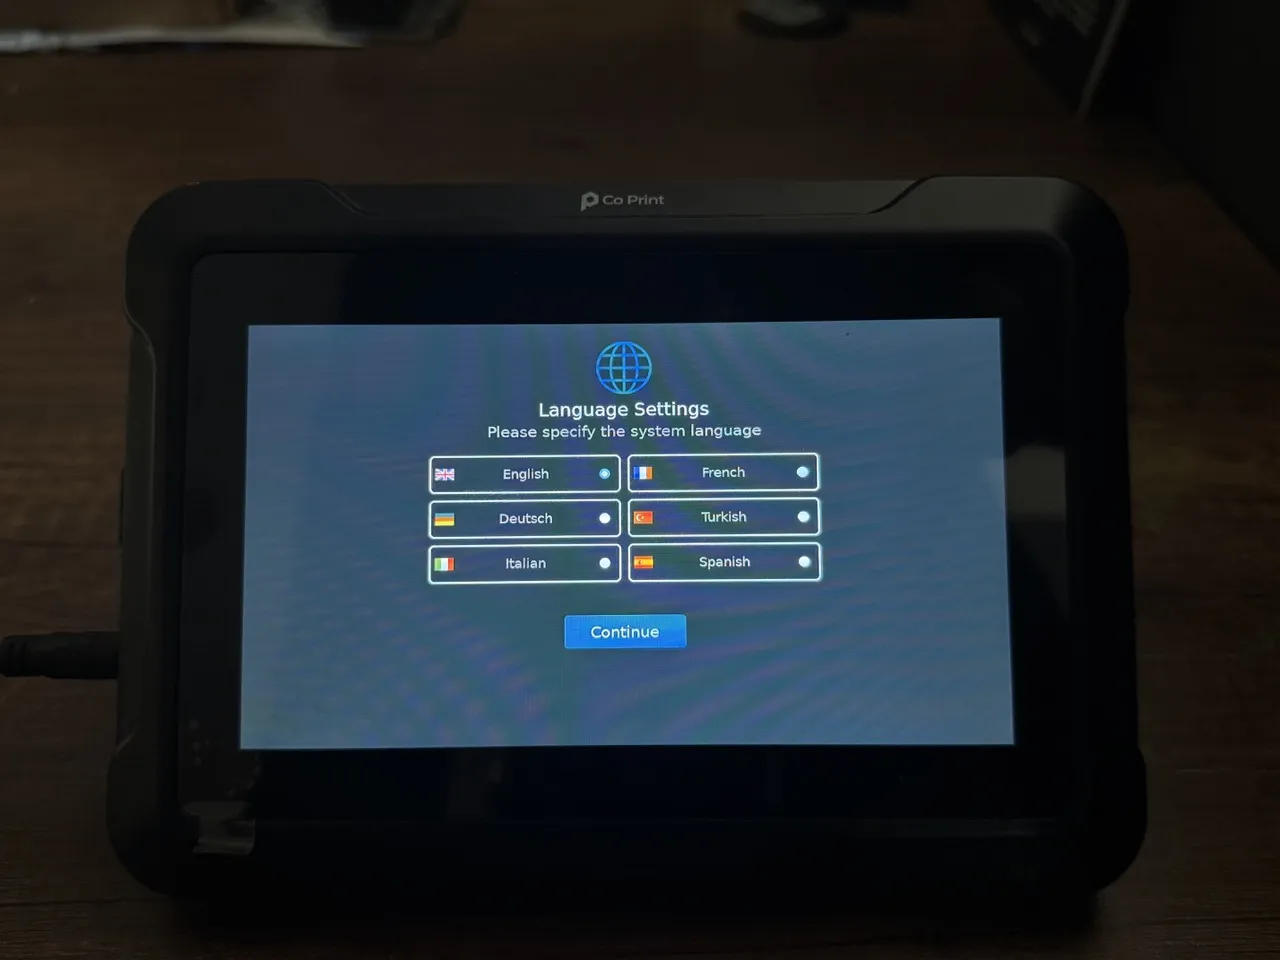
¶ 15- Select the Language
Power on the tablet and complete the language selection process.
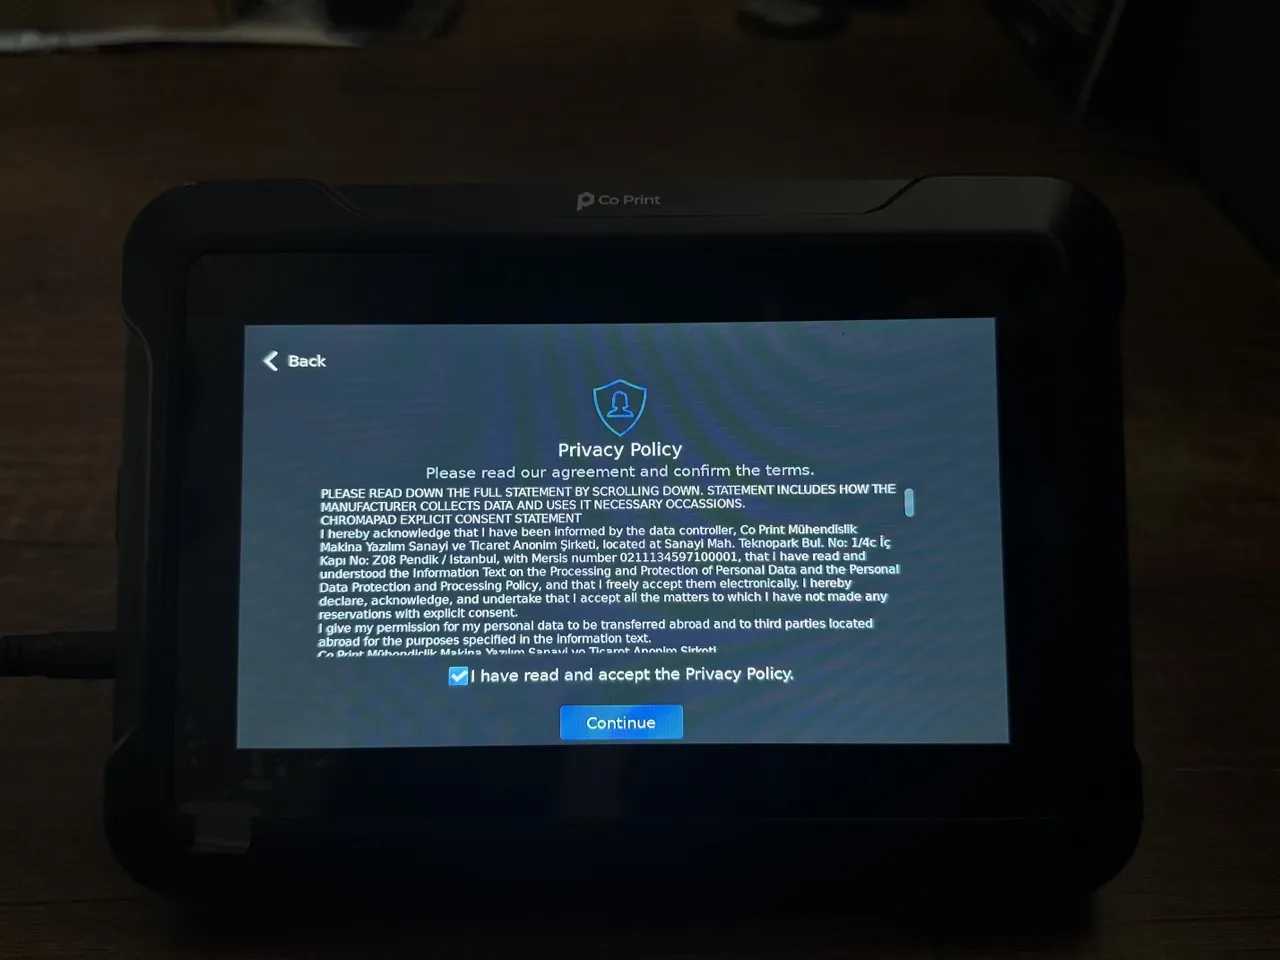
¶ 16- Accept the Privacy Policy
Read the terms of use, check the "I agree" box, and then click the "Continue" button.
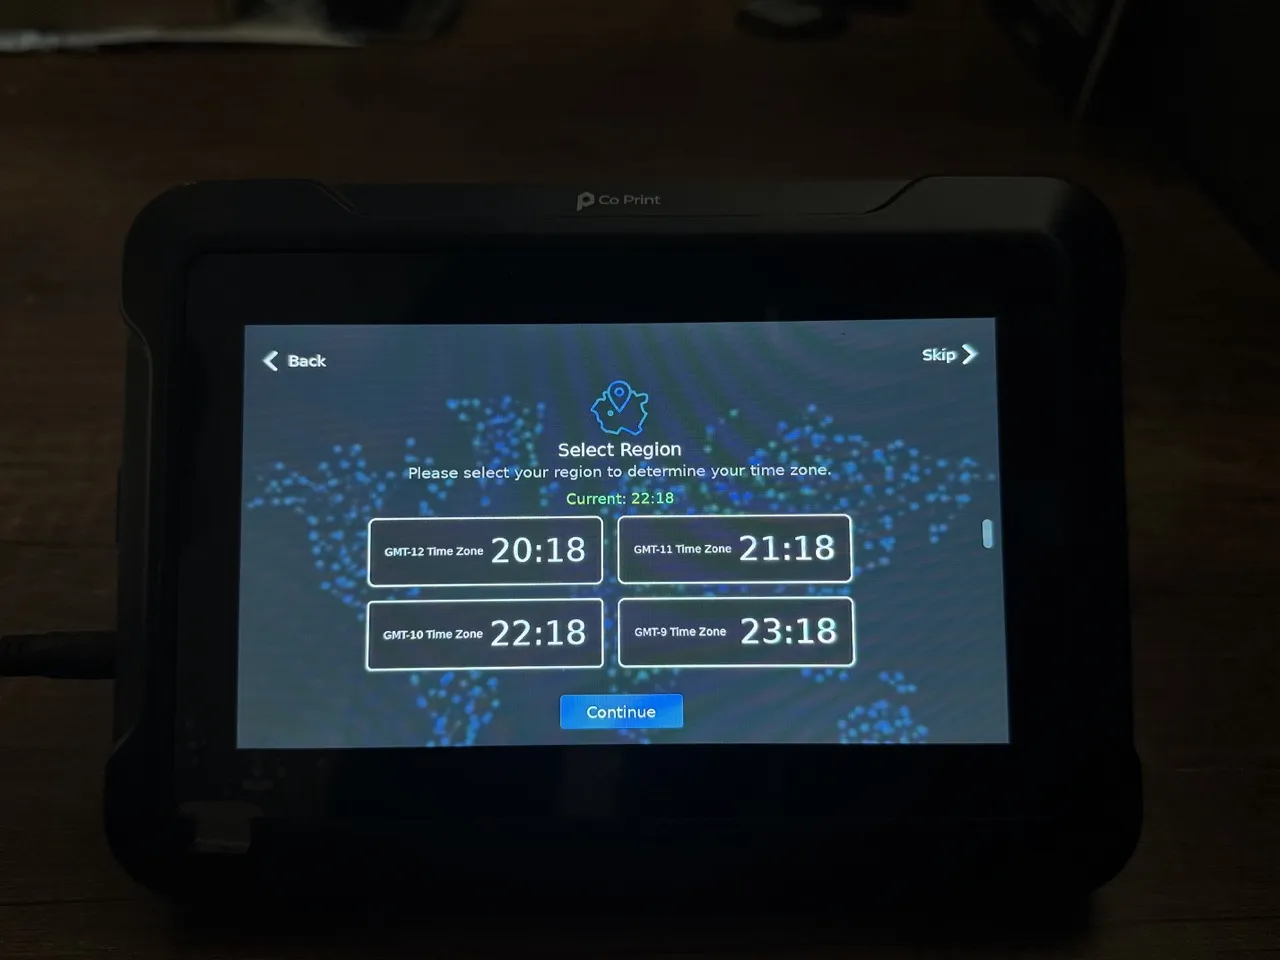
¶ 18- Select the Time Zone
To set the time zone, please select the time zone for your current region.n
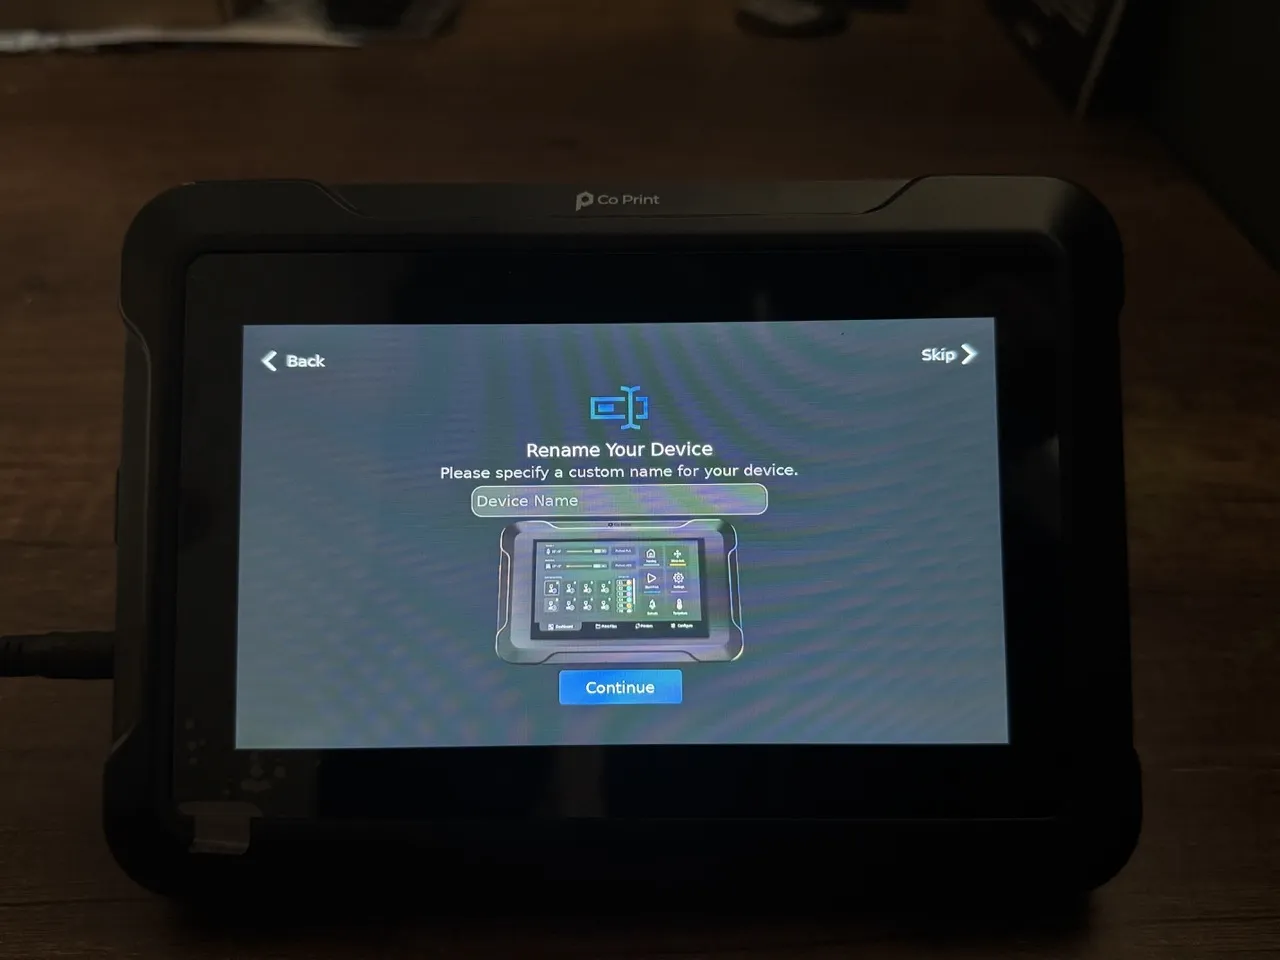
¶ 19- Name the Device
If you wish, you can assign a name to your tablet. If you don’t want to name it, you can simply proceed.
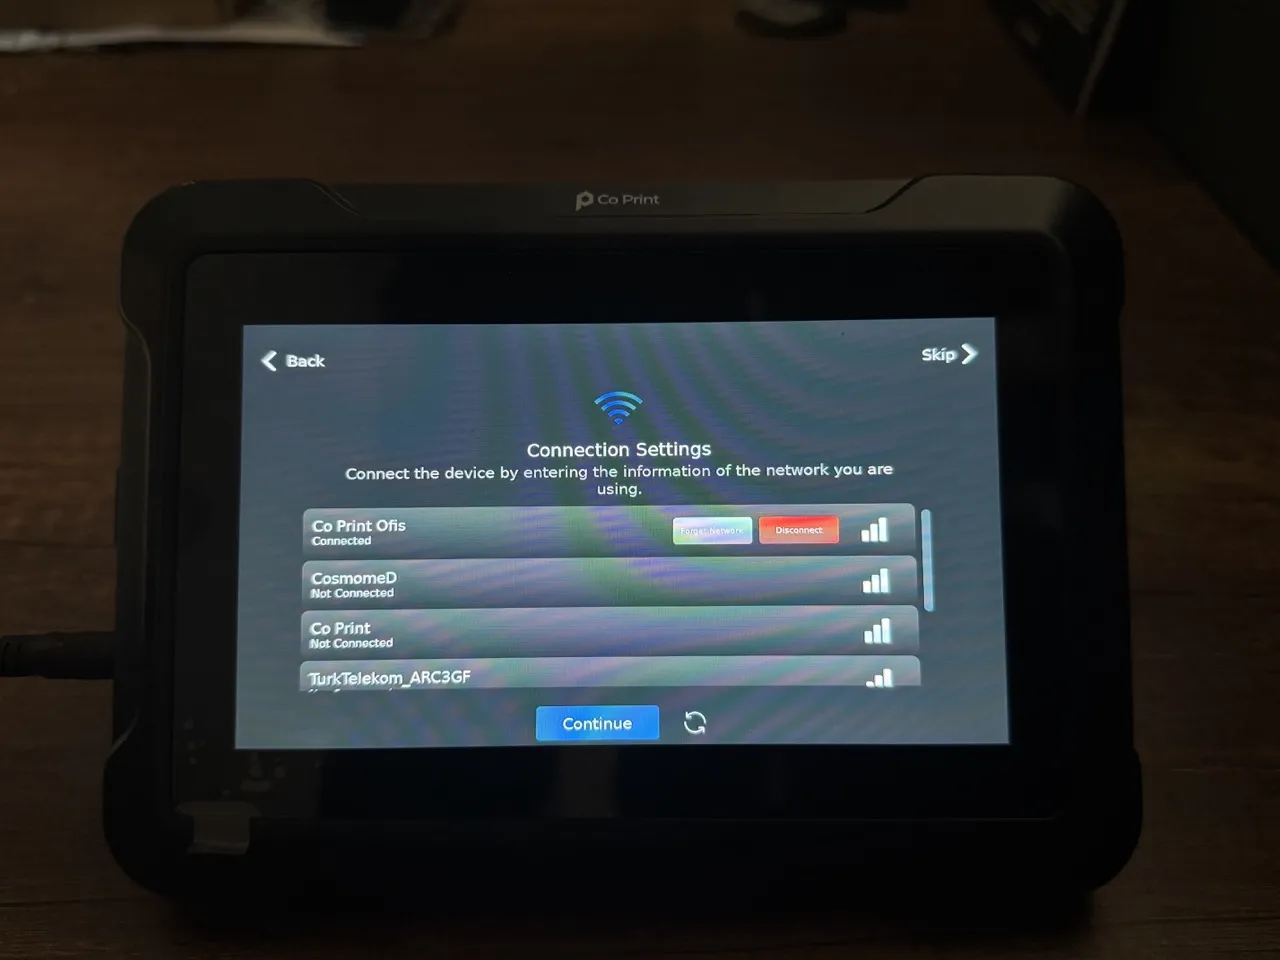
¶ 20- Connect to Wifi
If you're not already connected, select your Wifi network and enter the password to establish the connection.
¶ 21- Perform Updates if Available
If a new update is available, please complete the update before starting the installation.

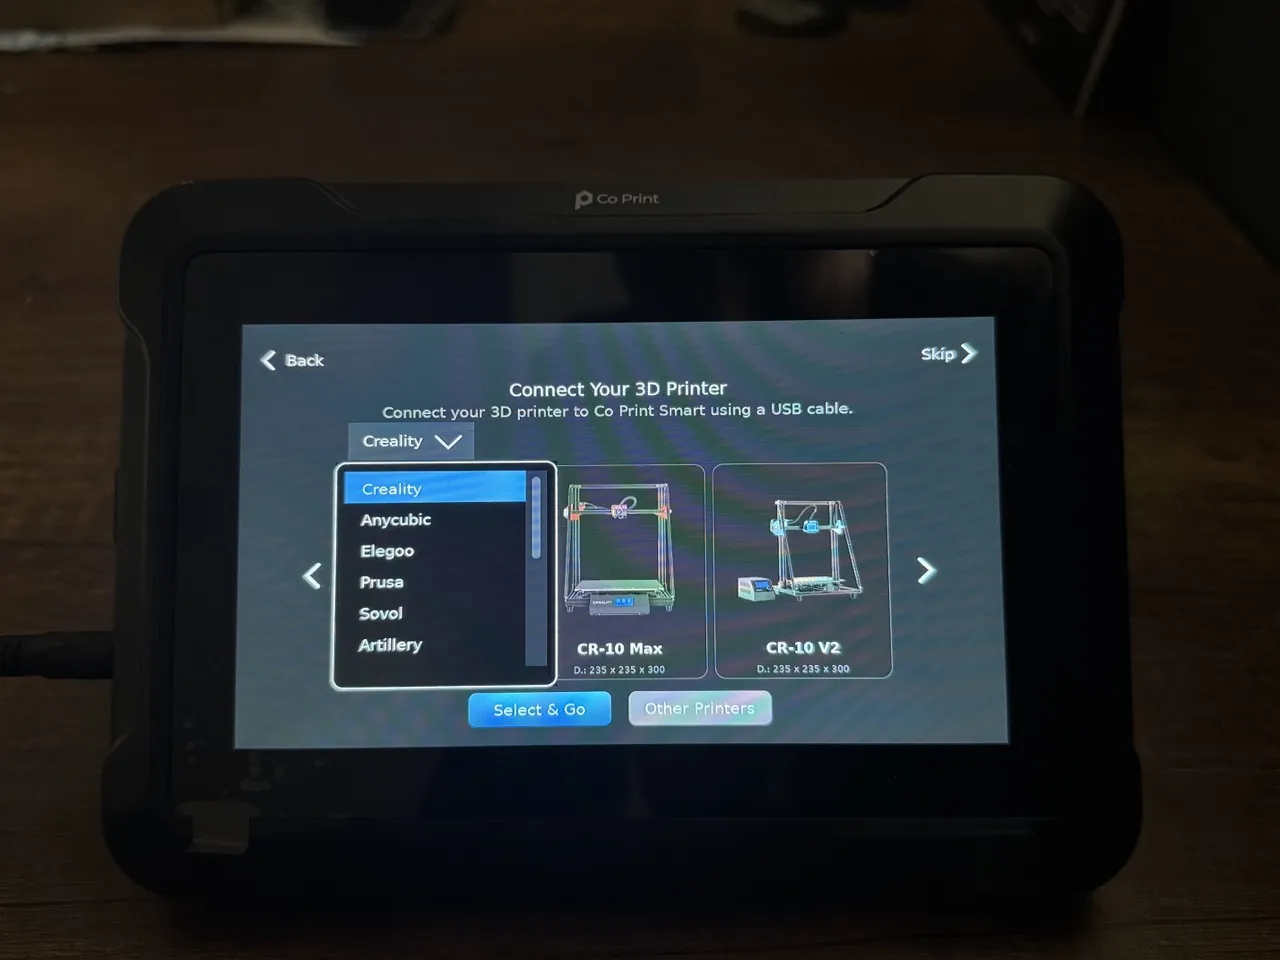
¶ 23- Select Sovol from the Selection Screen
We have reached the setup wizard. From here, select "Sovol" from the dropdown menu located at the top left.
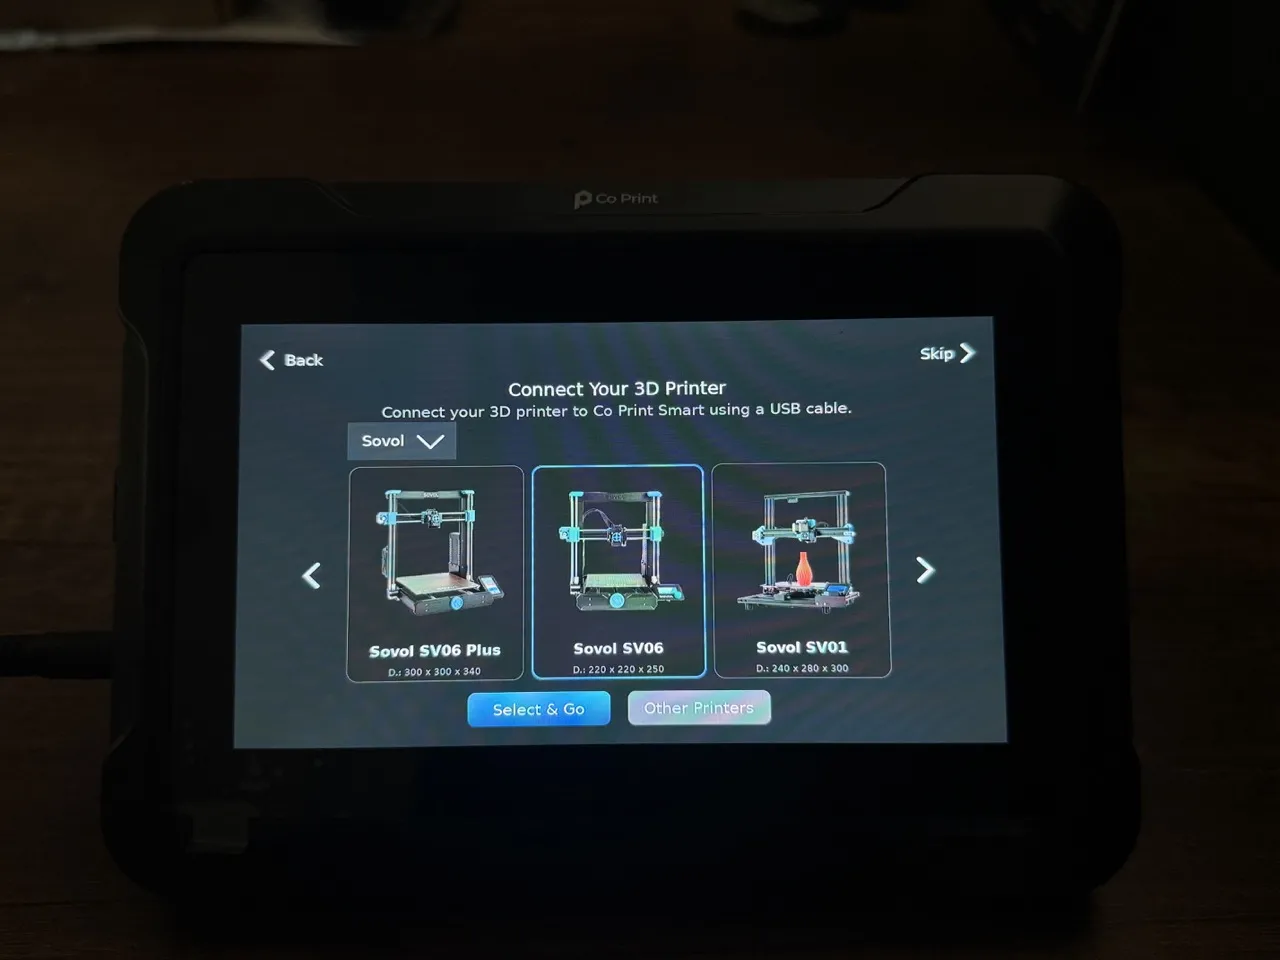
¶ 23- Select Sovol SV-06
Navigate to the selection screen, find the Sovol SV-06 printer, and click on it. Then, use the "Select & Go" option to proceed.
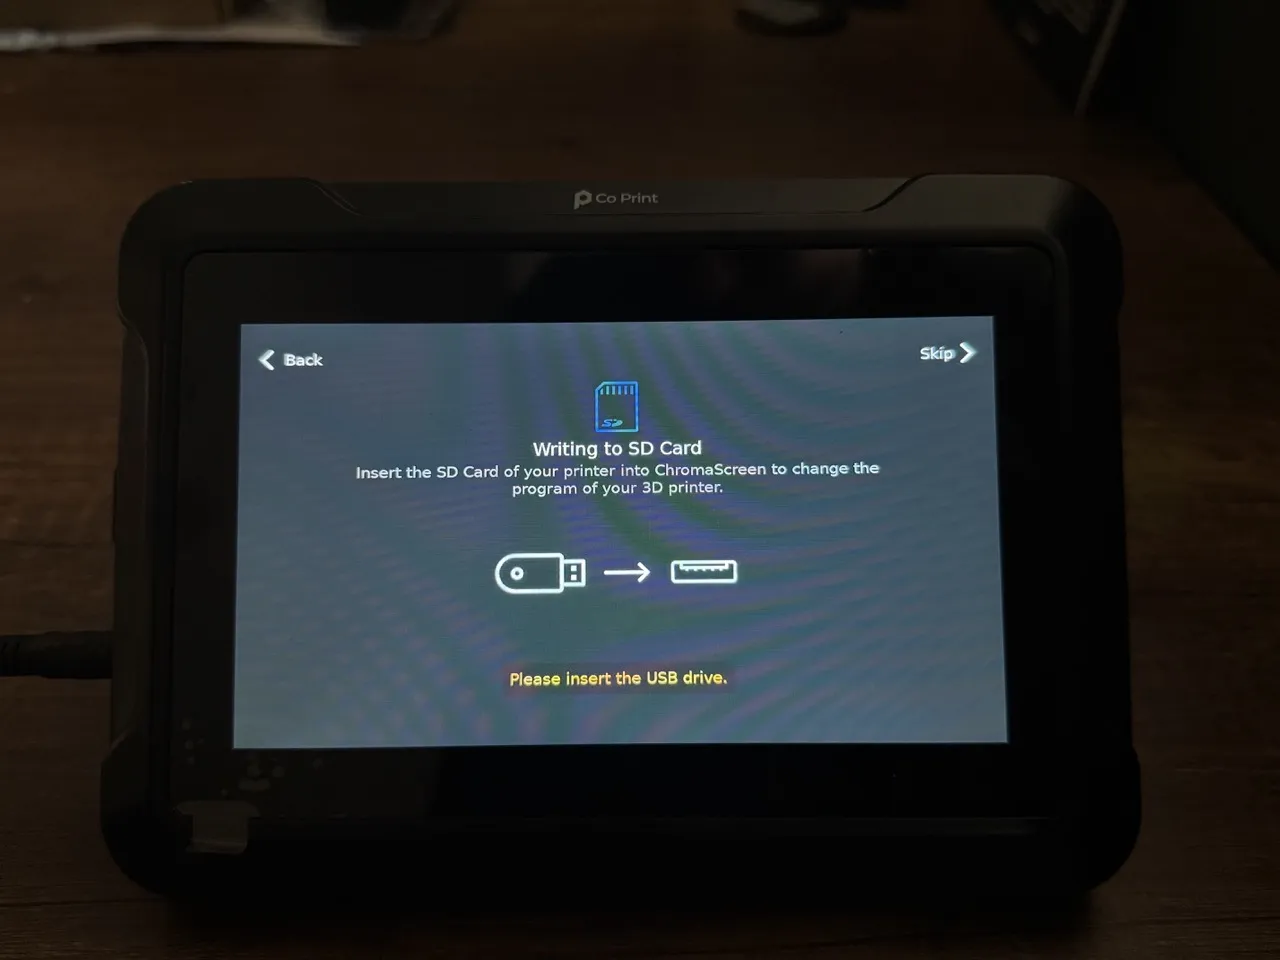
¶ 24- Insert the SD Card
We need to write the Klipper bin file onto the SD card. To do this, insert the USB SD card reader into the tablet.
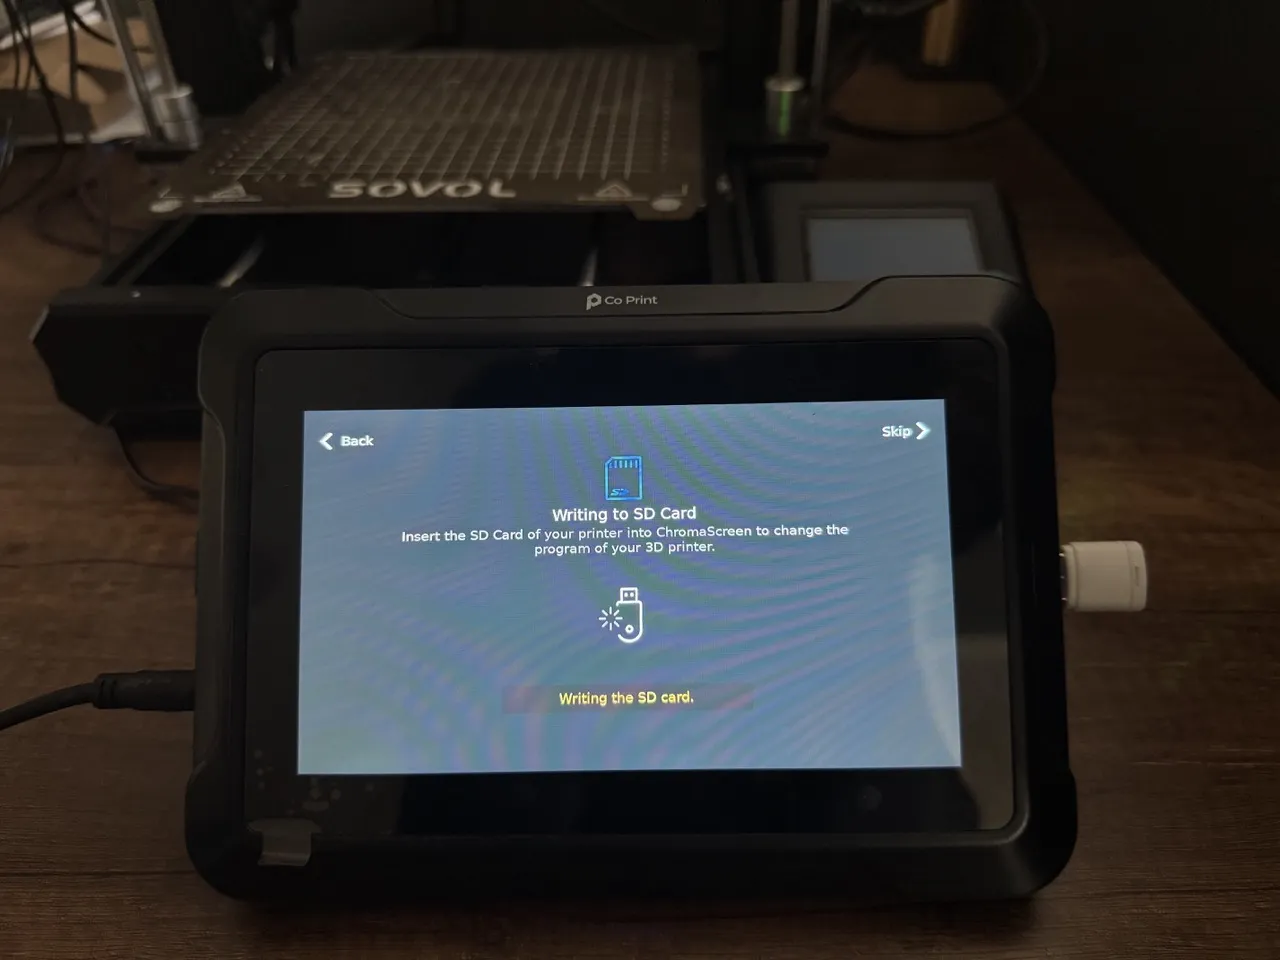
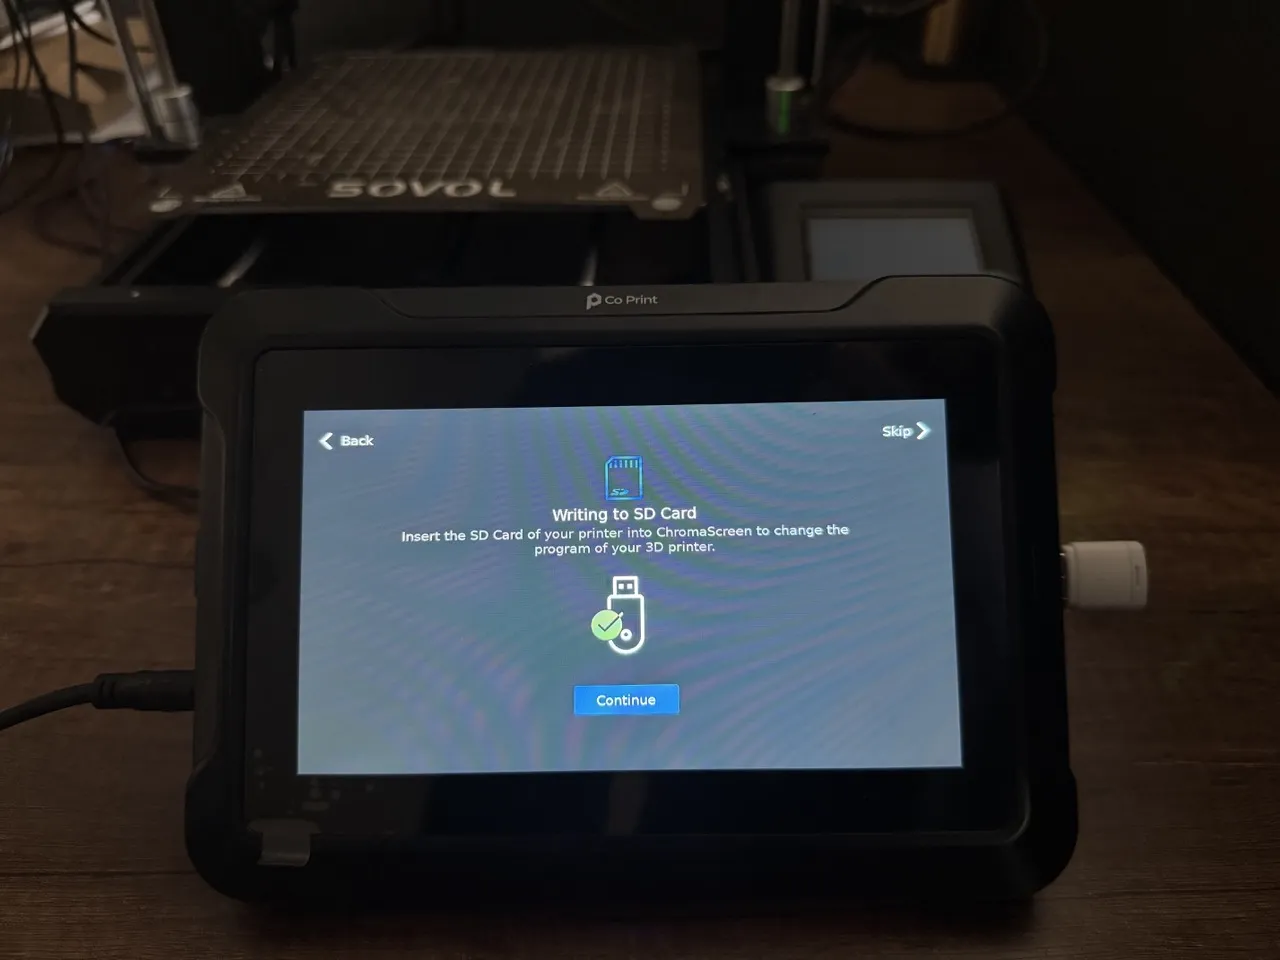
¶ 25- Wait for the Bin File to Be Written to the SD Card
Wait until the bin file is fully written to the SD card, and please do not remove the SD card during the process.
¶ 26- Remove the Reader from the Tablet
The SD card has been successfully written. Remove the reader from the tablet, then click "Continue" to proceed to the next screen.
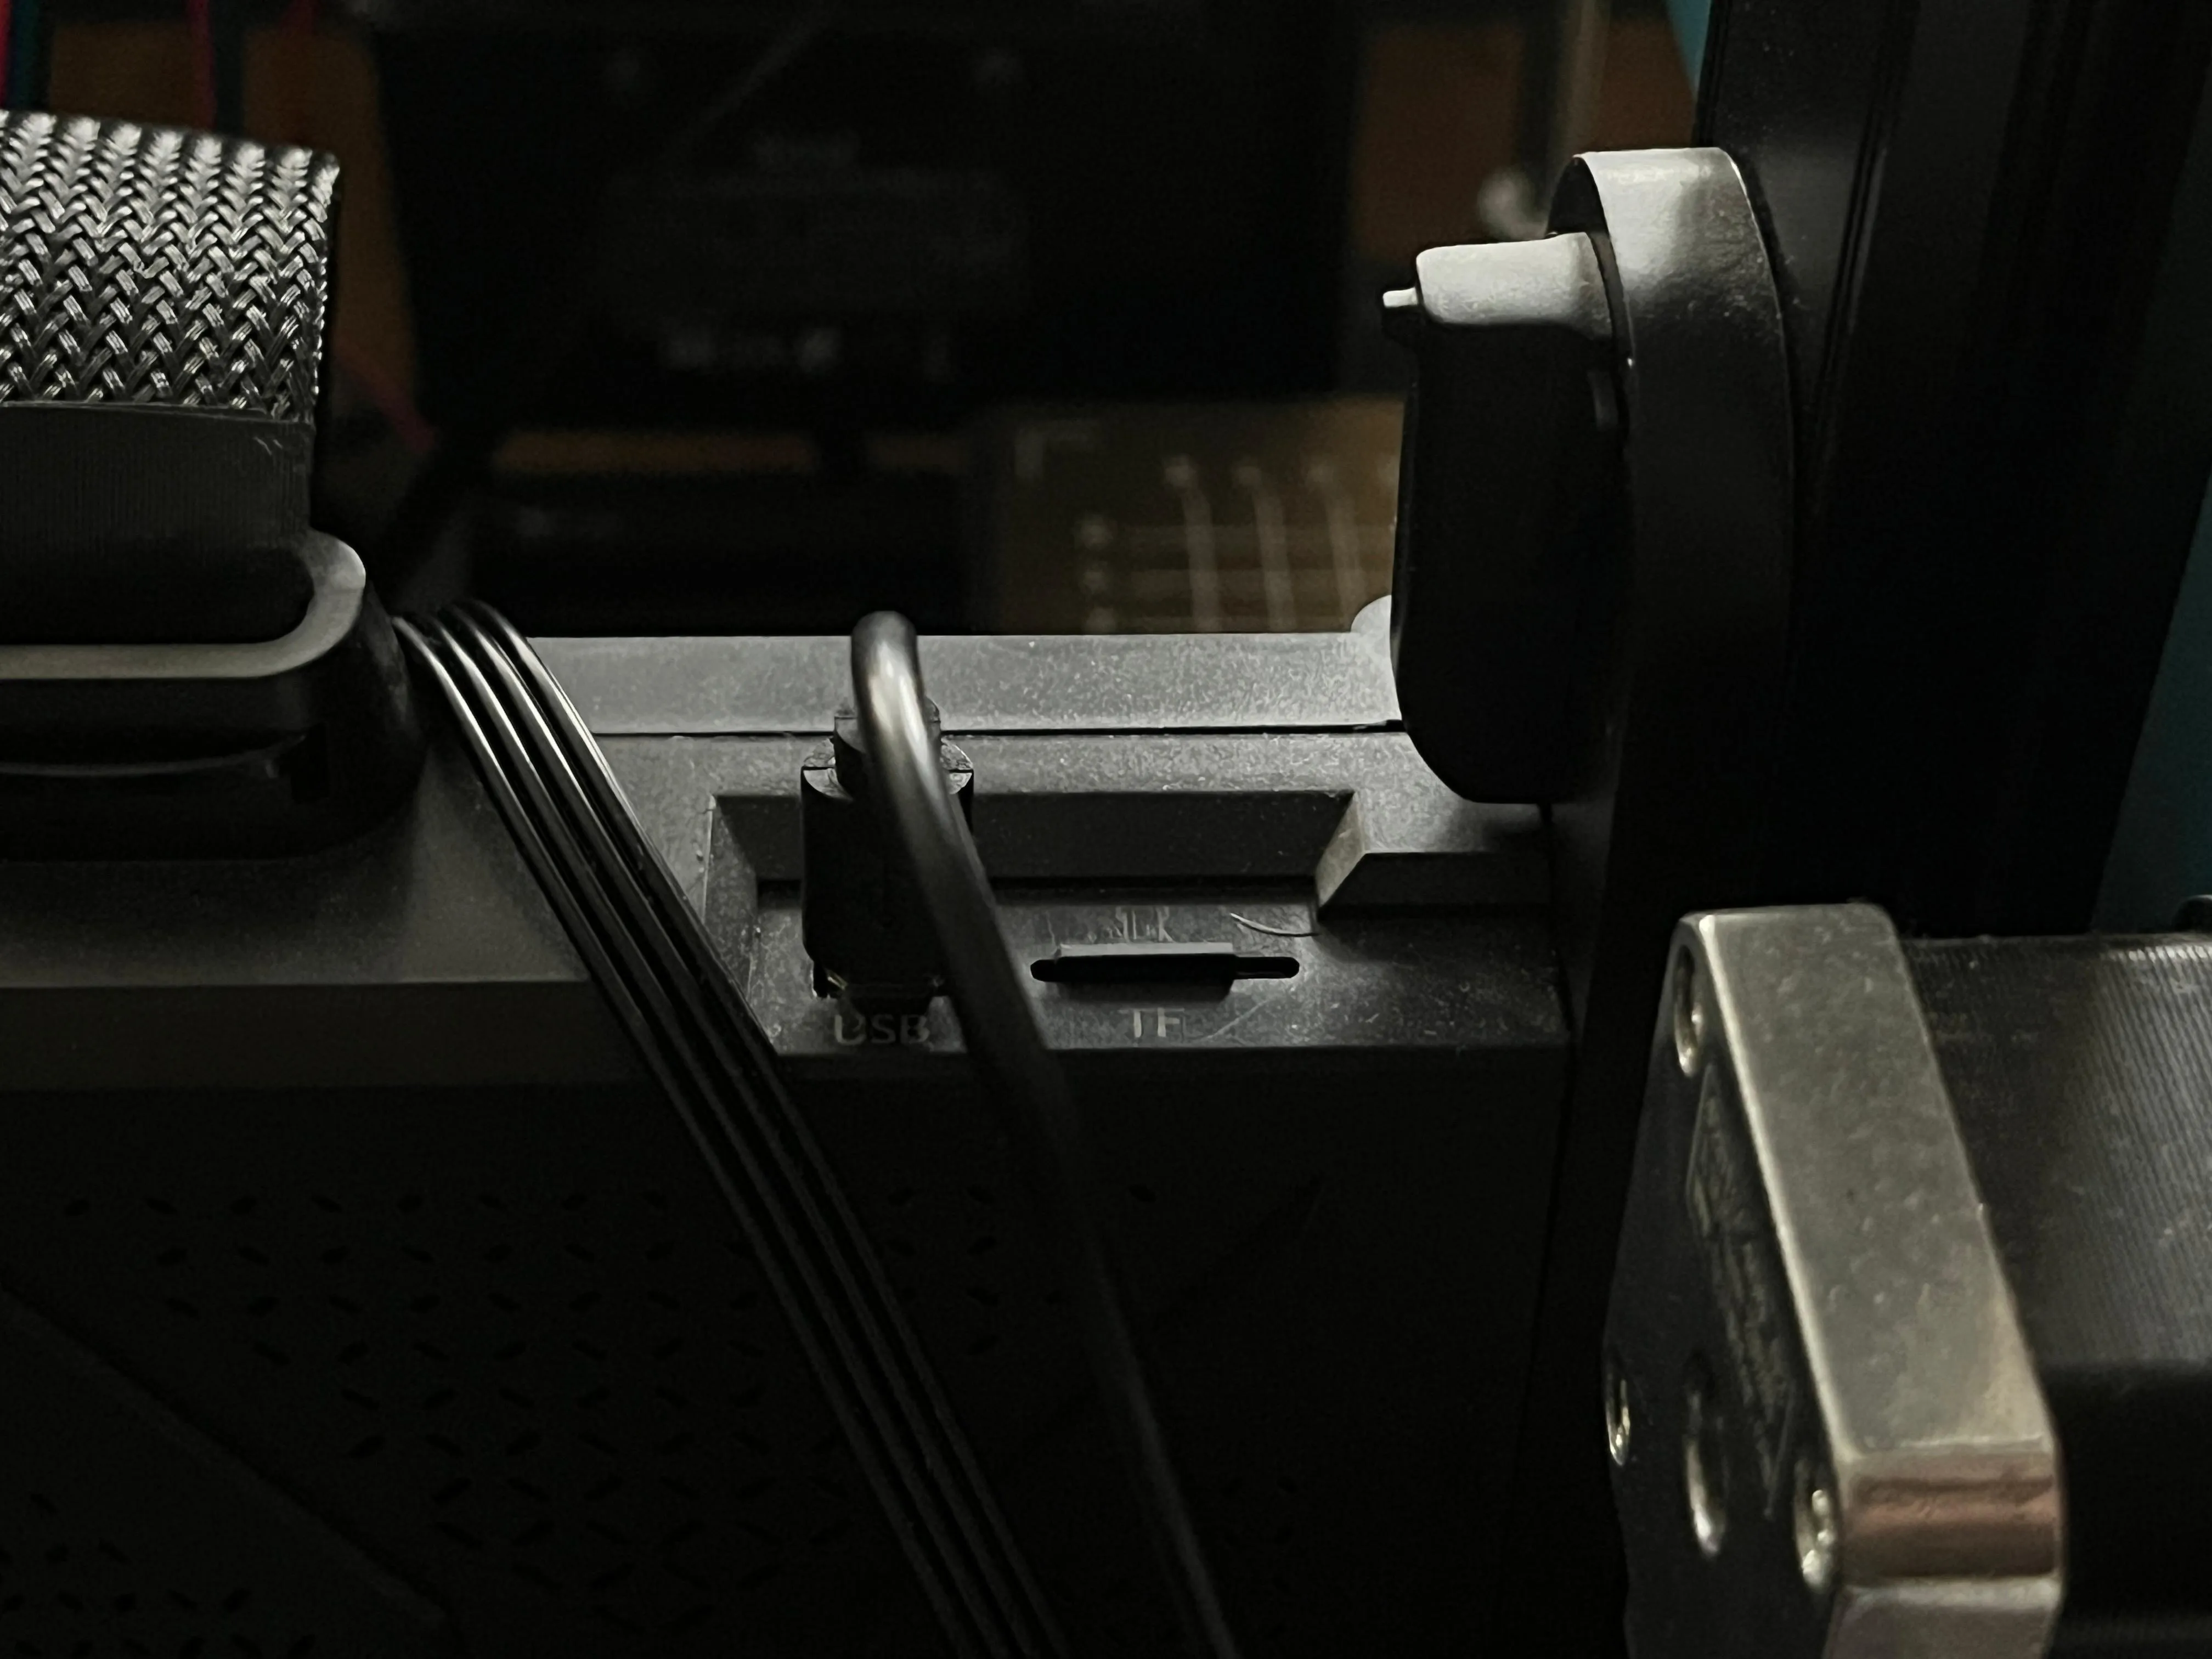
¶ 27- Flash the Klipper Bin File to the Printer
First, turn off the power to the 3D printer. Then, insert the SD card containing the bin file into the printer. While the SD card is inserted, turn on the printer to flash it with the Klipper bin file.
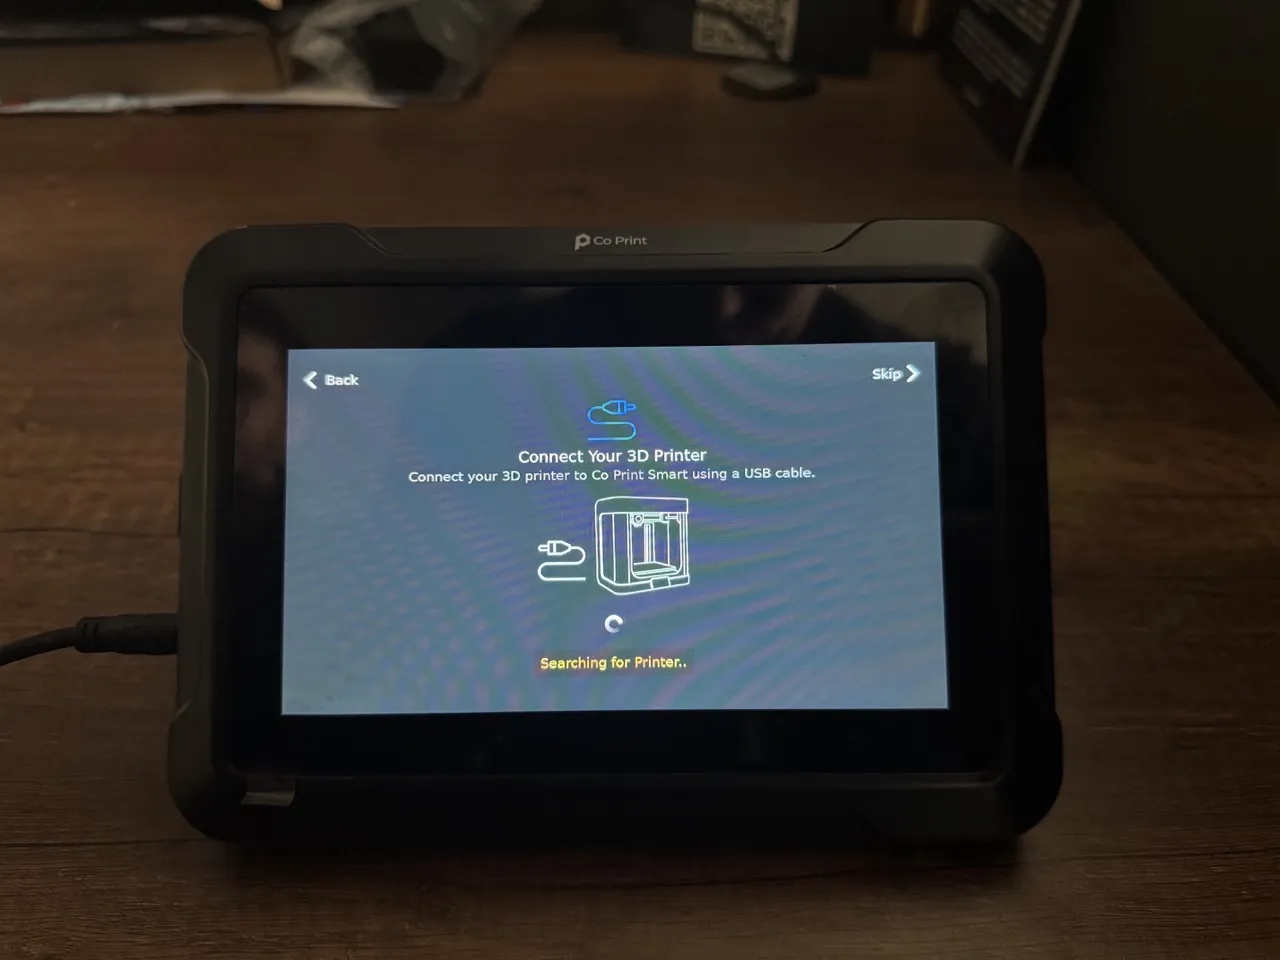
¶ 28- Connect the Printer
The bin file has been successfully written. Now, connect the 3D printer to the tablet using the USB cable provided in the box.
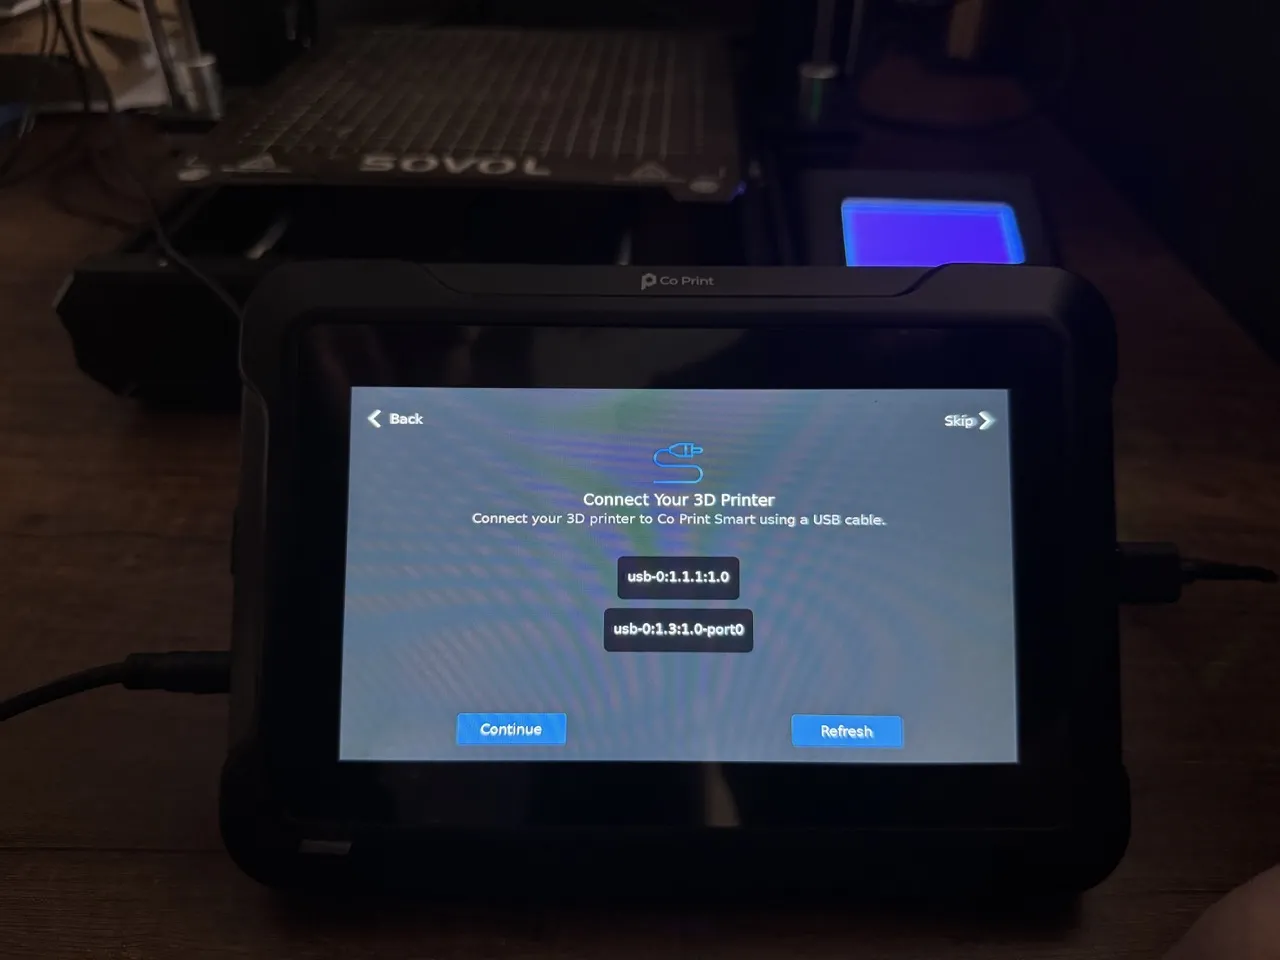
¶ 29- Identify the Printer Path
The first path displayed at the top is the ChromaPad's own path. The second one labeled as "Port0" is the USB path for the printer. (If the ChromaHead is connected, it will also appear, but it is not in this example.)
If you're unsure which path belongs to the printer, you can disconnect the USB cable, click "Refresh," and check which path disappears. This will help you identify the correct one. After confirming, reconnect the cable, select the correct path, and click "Continue."
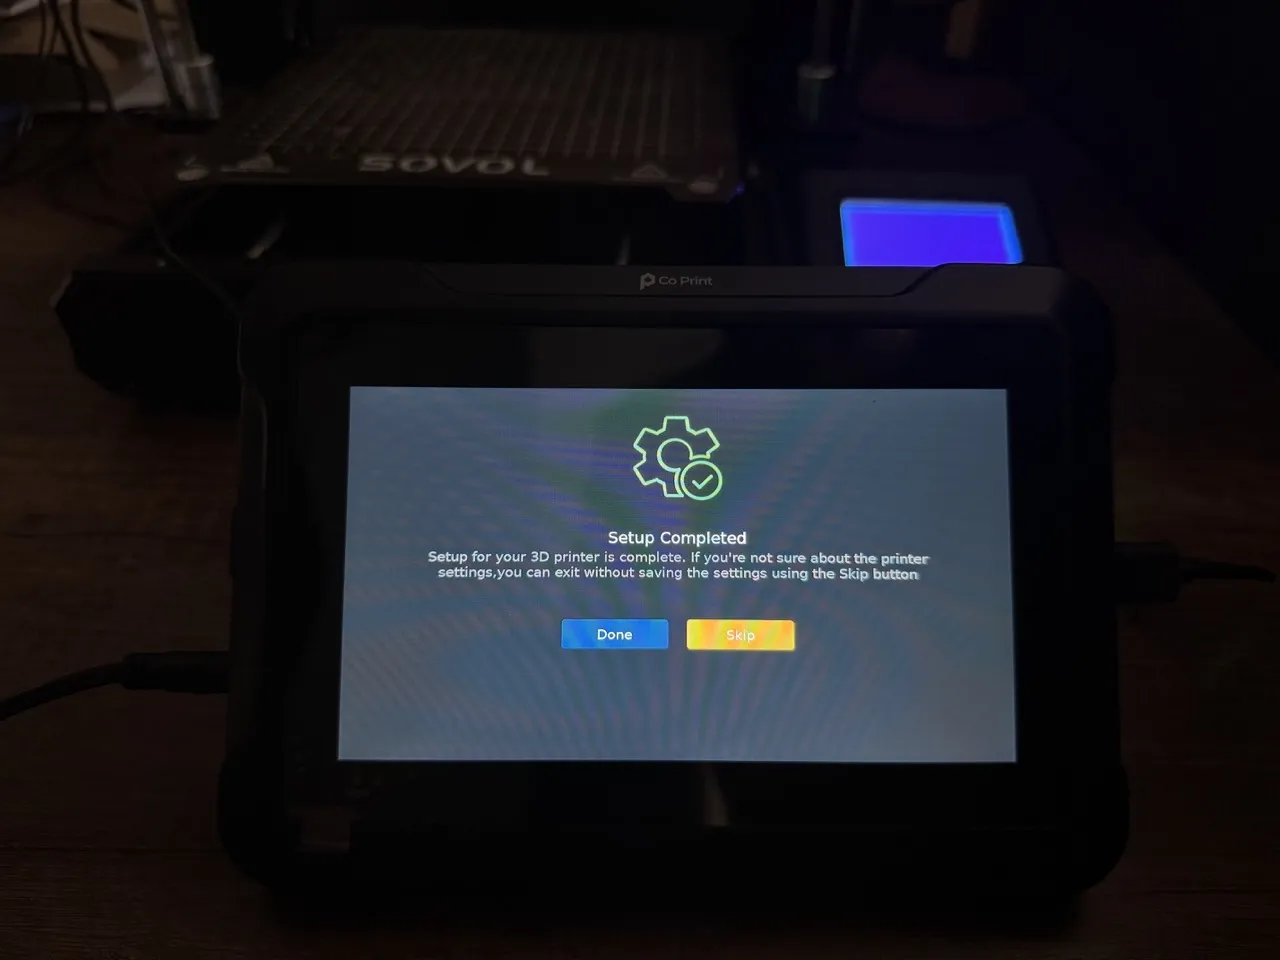
¶ 30- Setup Complete
The setup is now complete. If you want to return to the wizard without saving the settings, click "Skip." To save the settings, click "Done."
¶ 31- Tablet Will Restart
When you click the "Done" button, the tablet will restart. Once it powers back on, you will be greeted with the dashboard screen.
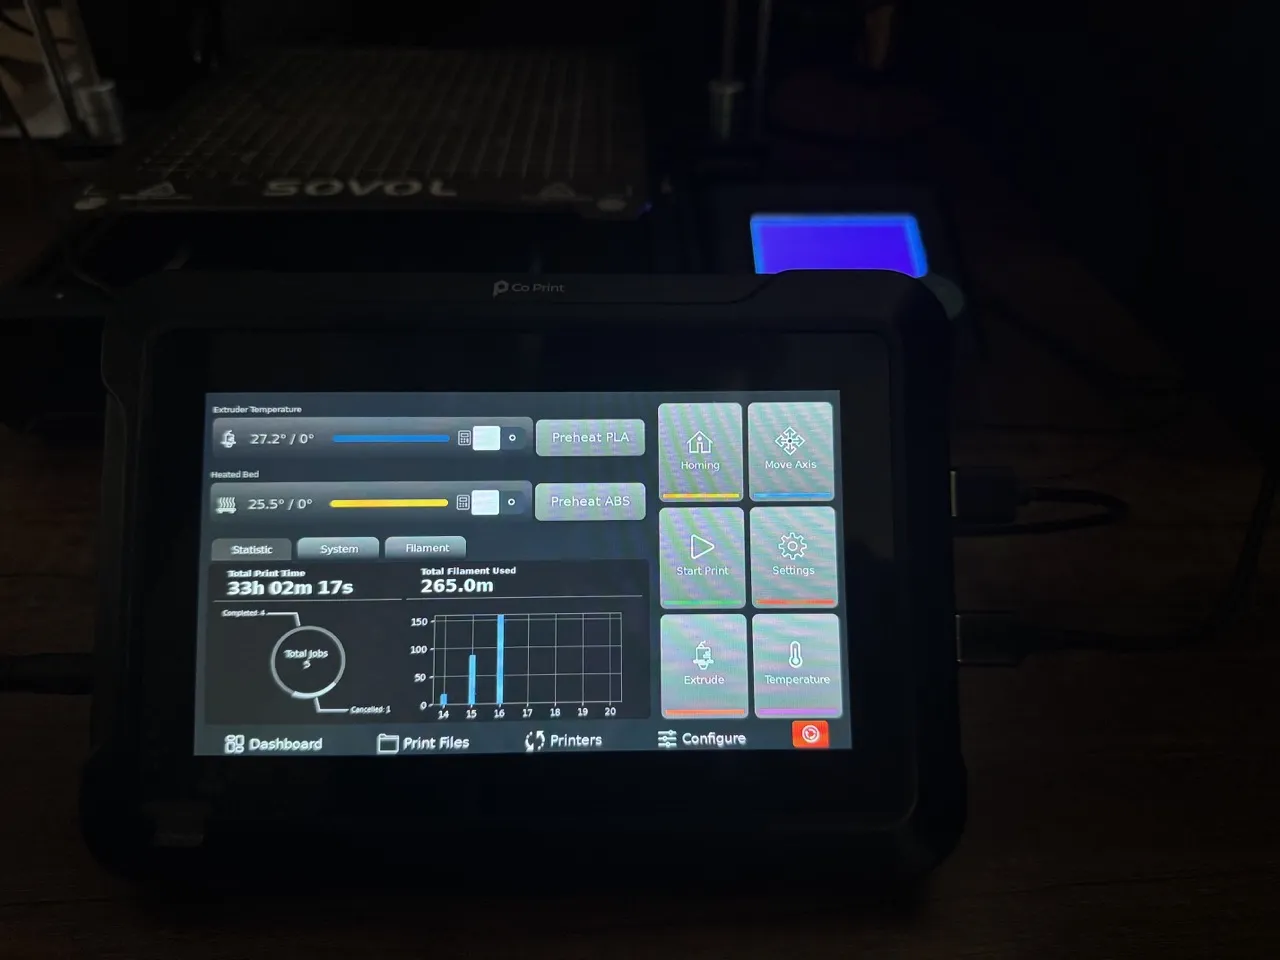
¶ 31- Dashboard
After the tablet restarts, the following screen will appear. The blue notification on this screen indicates that the ChromaPad is attempting to connect to the printer.
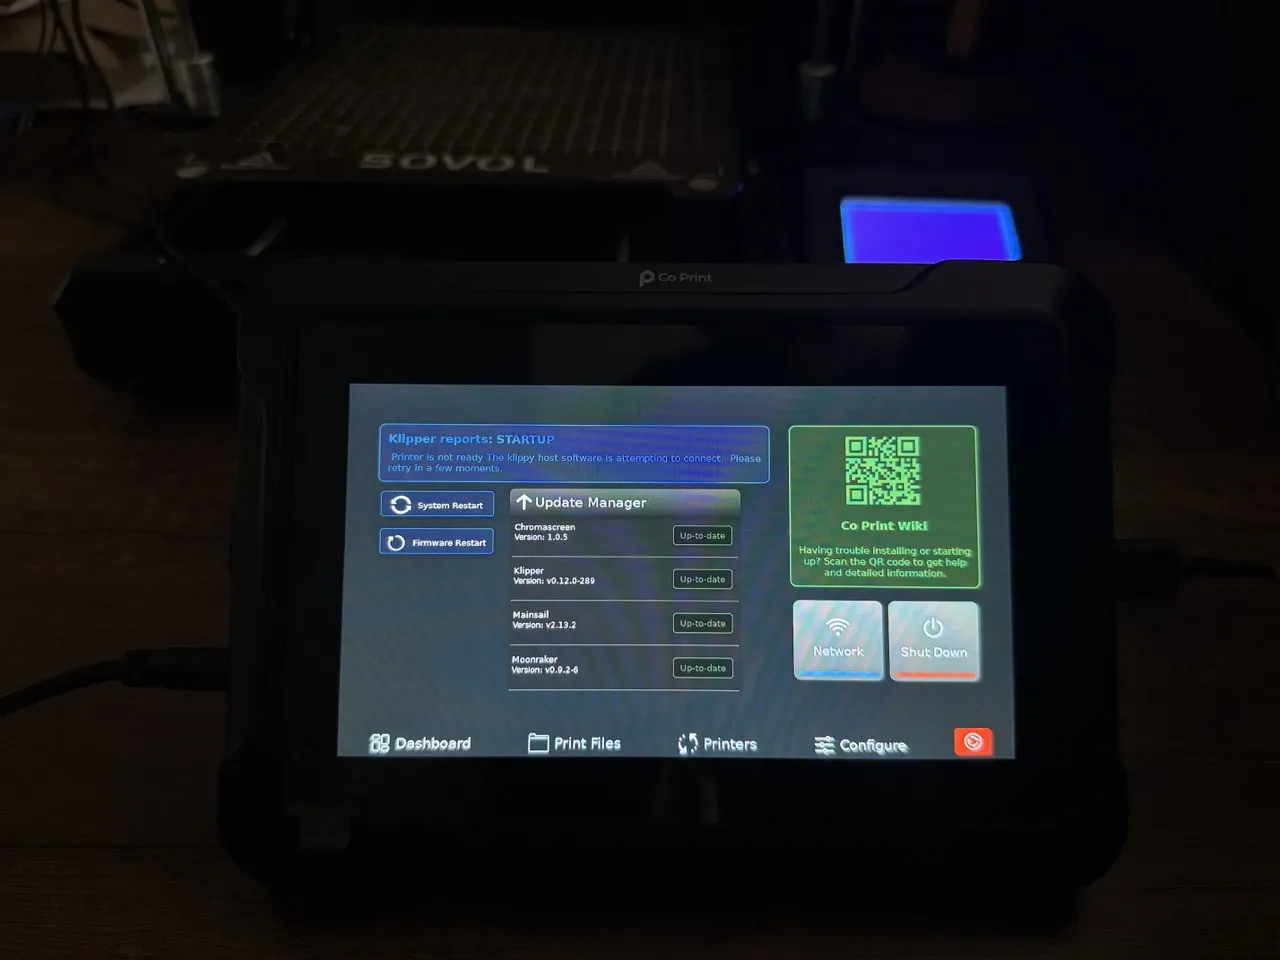
On the Klipper Reports Startup screen, after waiting for a while, if the paths in the configuration files are correct, the printer will connect, and the dashboard screen will automatically appear on the tablet.
If the connection fails, the notification will turn red, and the dashboard will not appear. In this case, proceed to the next step.
¶ # Troubleshooting: If the Printer Fails to Connect
-
Go to the Wifi Screen
- Access the Wifi screen on the ChromaPad and note down its IP address.
-
Enter the IP Address in a Browser
- Paste the IP address into your computer’s browser to access the Mainsail interface.
-
Access the Mainsail Interface
- Navigate to the Machine section in the Mainsail interface.
-
Download the Latest Config Files
- Click on the provided link in the Machine section to download the most recent configuration files.
-
Upload the Config Files
- Upload the downloaded files to the Machine section in Mainsail.
-
Edit the
printer.cfgFile- Open the
printer.cfgfile for editing.
- Open the
-
Locate the USB Path
- Click on the Device button.
- Identify the USB path. If the path ends with any of the following, it is the correct USB path for the printer:
auto-usb-0:1.2:1.0-port0 auto-usb-0:1.4:1.0-port0 auto-usb-0:1.2:1.0-port0 - Copy the identified USB path.
-
Update the
[mcu]Section inprinter.cfg- In the
printer.cfgfile, locate the[mcu]section. - Replace the
serial:value with the copied USB path.
- In the
-
Save and Restart
- Save the changes to the
printer.cfgfile. - Restart the system to apply the updates.
- Save the changes to the