¶ How to do Cylinder Calibration?
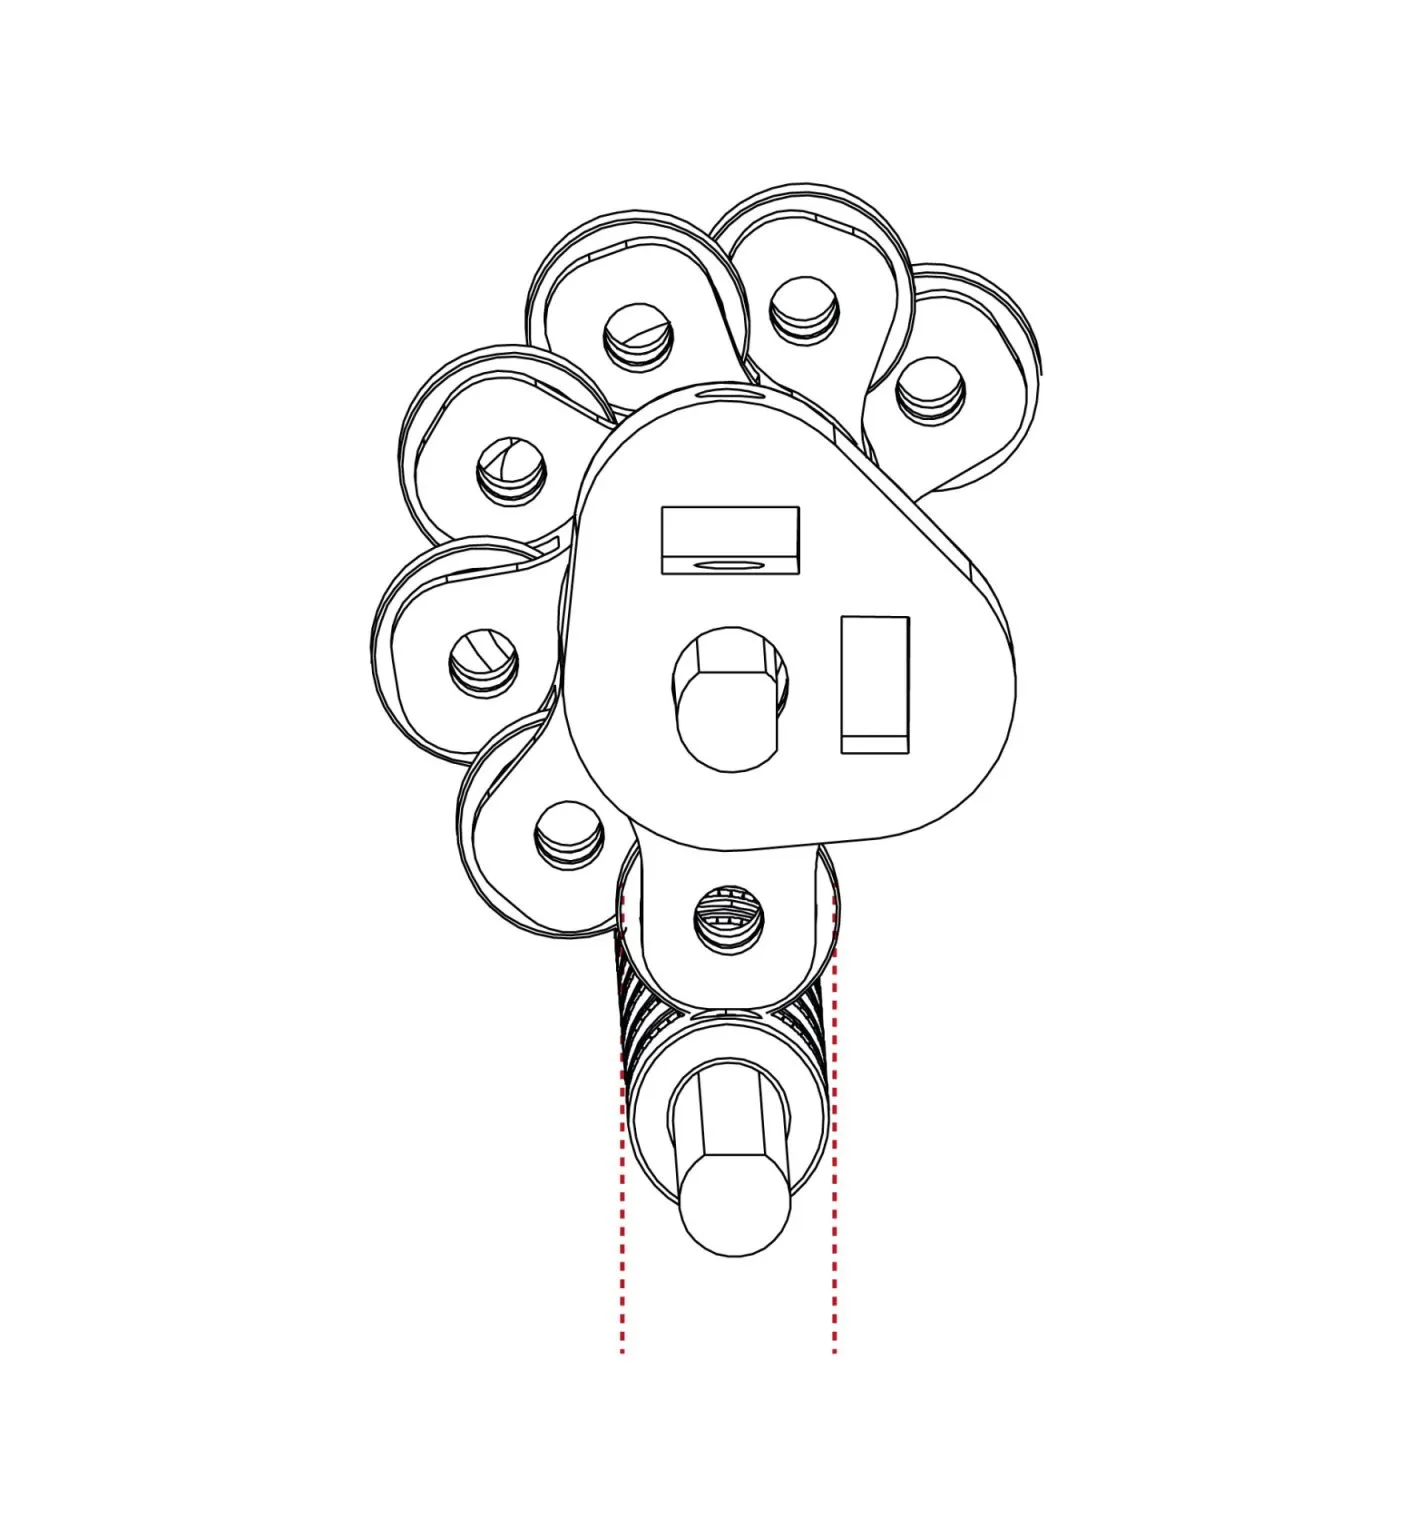
Roller calibration is a very important factor for Co Print to drive filaments properly. The filaments are selected and driven with the help of the selective roller. The bearing on the selector roller must be positioned directly above the mk 8 gear and in parallel.

Co Print is delivered to you as calibrated and standard values adjusted when leaving the factory. If you change these values, you can reset the values by using the factory reset in the settings section.
¶ How to calibrate the clyinder?

You can start operations by opening the protective cover of Co Print. Click here to learn how to remove the cover.
After removing the cover, remove the plastic holder that holds the circuit board by unscrewing it.
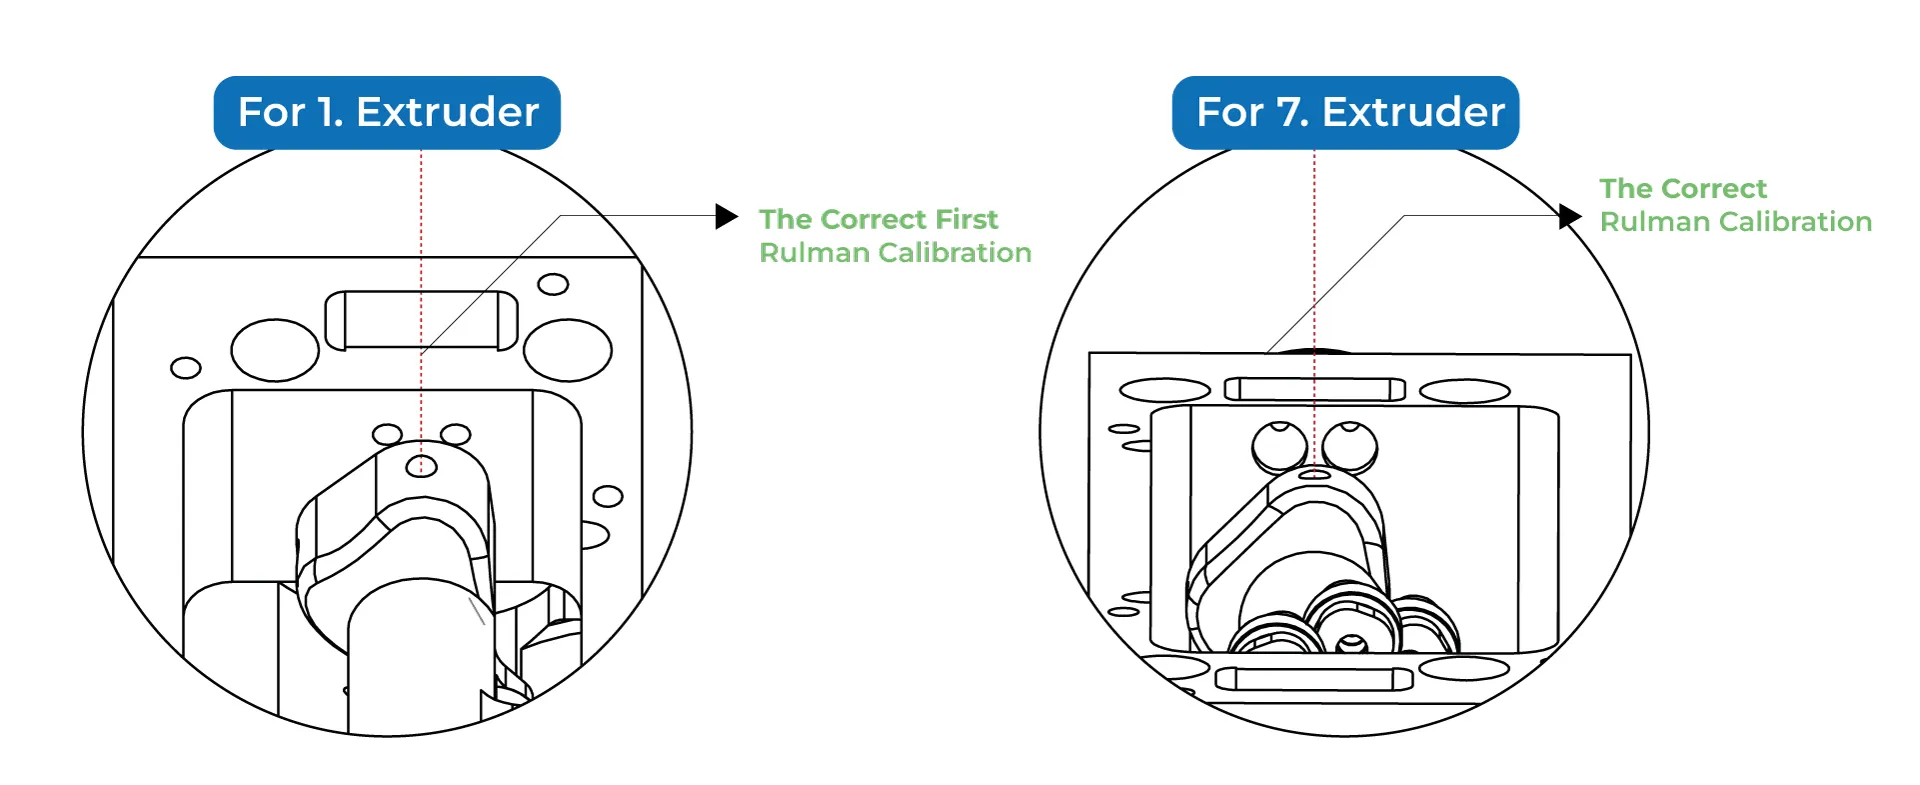
There are screw holes on the right and left sides of the cylinder. Calibration is done by aligning these holes with the bridge between the 2 holes on the body.
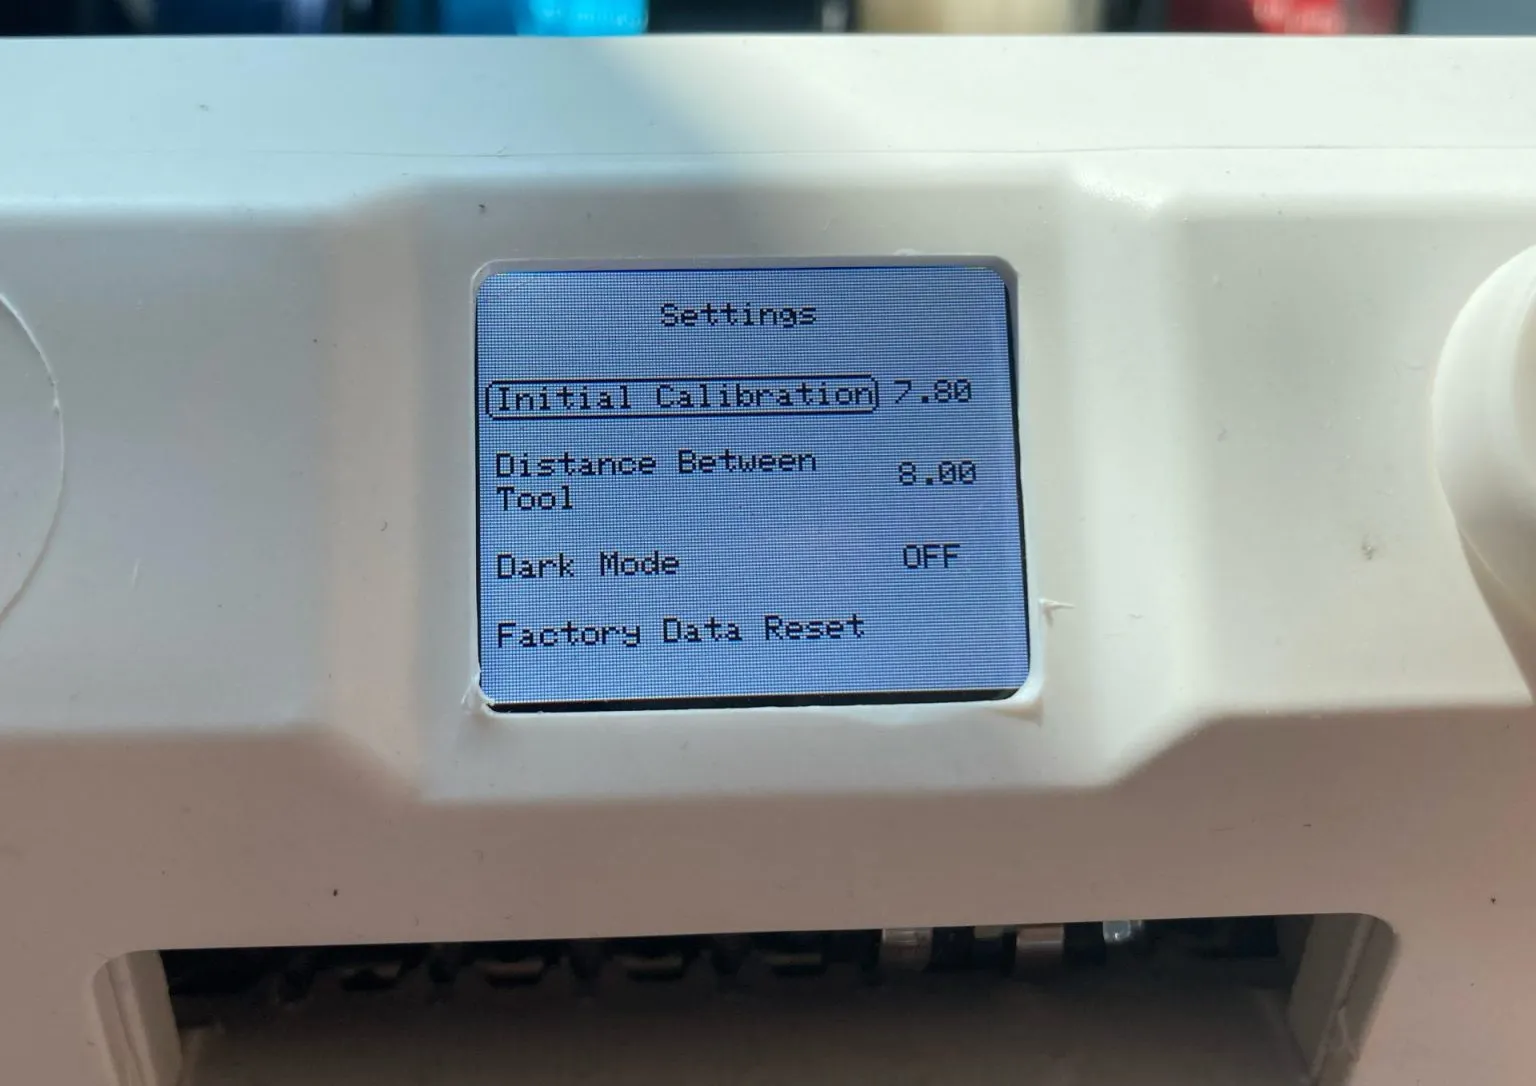
Alignment should be done by decreasing or increasing the value from the Calibration settings in Settings. The Selector roller must be placed on the 1st filament when entering the value for the "Distance Between Tool" calibration. Otherwise, the value will be calculated incorrectly.

Before entering the value in the "Initial Calibration" setting, the selector roller must be placed on the 1st filament. Then the value should be entered and the button should be clicked. After clicking the button, the roller will automatically rotate and stop between the holes in the 7th slot.