¶ How Does It Work?
¶ How to Assemble to the Printer
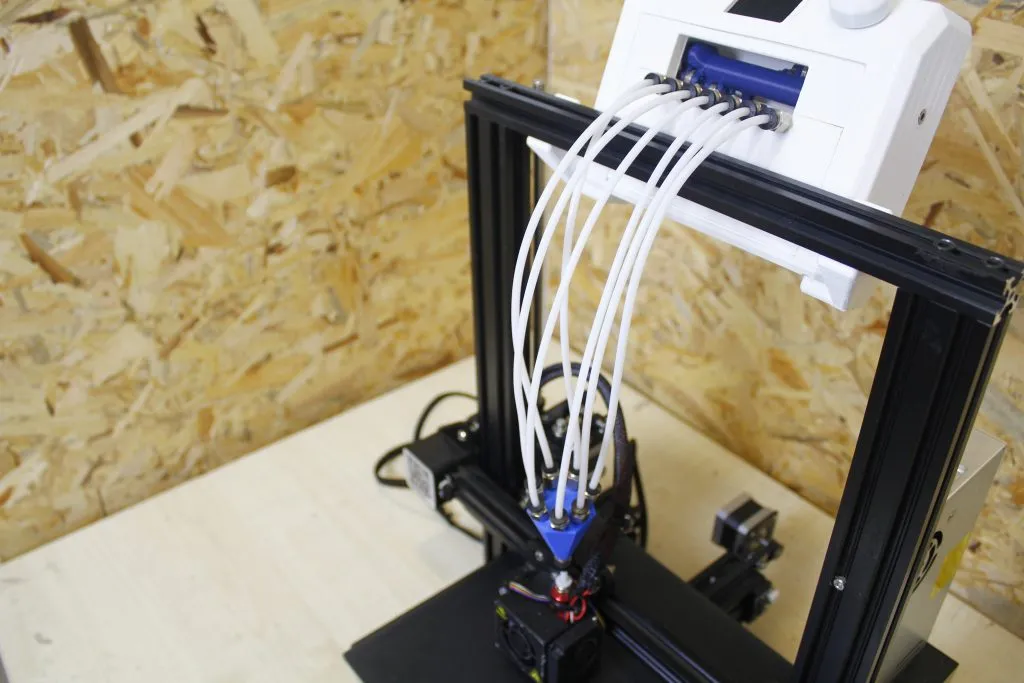
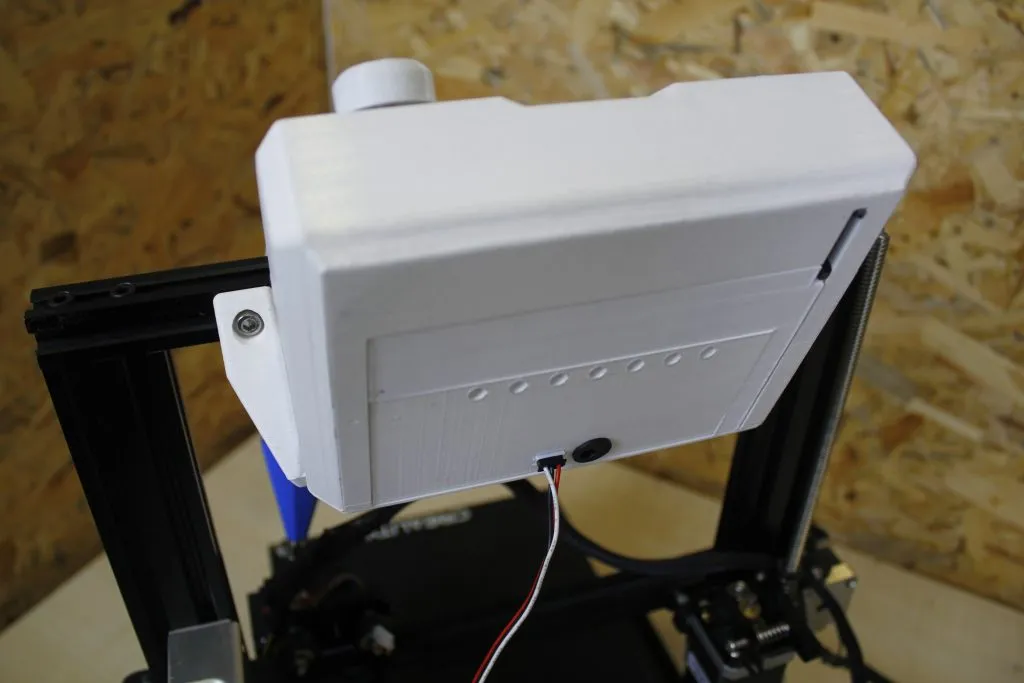
Co Print is suitable with all FDM printers, and it can be placed in a favourable location on your printer. Co Print does not require software or hardware modification on your printer. Communication between Co Print and your 3D printer is ensured with a limit switch placed on an X-axis.

¶ Powering
Co Print does not require your 3D printer for power. Co Print comes with a DC power adapter (12V-3A-36W) to work. Co Print has powering socket under itself and power input can be done with this input.

¶ HMI
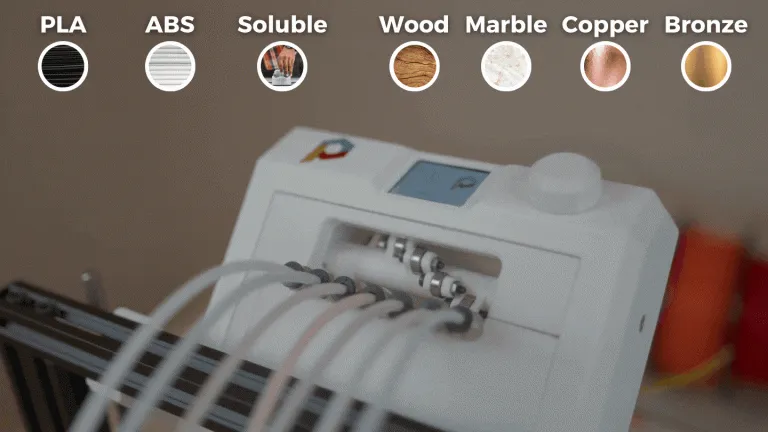
Co Print can be controlled with its 1.8” coloured TFT Screen and control knob. This screen interface of Co Print includes Calibration, Manuel Filament Change and Multicolour Printing functions. This screen is controlled with a knob that Co Print has. Explanation of these functions;

¶ Change Tool Function
Inside of Co Print interface, there is a “Change Tool” function. With this function, the user can select one of the materials that are desired. This function is vital for calibration, and it gives a chance to the user to take one colour material print.
¶ Calibration Function
2.1- Co Print calibrates itself when power input is connected. In this calibration, the selective drive first bearing is aligned with the first extruder gear.
2.2- The turning amount of selective drive is adjusted to maintain the same alignment between bearings and extruder gears. (Co Print will arrive with all calibrations are adjusted.)
¶ Multicolour Printing Function
Starting multicolour print requires this function. Firstly, the print should be selected from the 3D printer. After that, the same file should be selected from the Co Print via using the Multicolour Printing function.
¶ Control of 7 Filament
Co Print was developed to replace the extruder mechanism of your 3d printer and improve it to drive 7 different materials automatically. Driving 7 different materials requires 2 main actions.
These actions can be sorted as “Selecting Material” and “Driving Material”.
First of all, 7 materials should place into Co Print. 7 extruder gears are responsible for driving these materials. However, these gears depend on bearings placed on selective drive in order to squeeze materials. selective drive stops at a specified location, at that location bearing and extruder gear squeeze the material between them.
This created friction force that drives specified material into the nozzle. Other materials will not be driven since they are not squeezed between bearing and driving gear.
¶ How to do multimaterial and multicolor
Co Print has 7 extruder gears and selective drive for driving up to 7 different materials. selective drive has the ability to turn and locates itself on a specific point that matches with each extruder gear to squeeze and drive materials. Materials are automatically changed according to the painted and sliced models. In this content, Co Print gives you the ability to use 7 different materials simultaneously on your 3D printer.
When Co Print starts to work, initially it grips the first material in line. With that, the first material in the line should be pushed into the nozzle by hand before opening the Co Print. The other materials should be levelled at the entrance of 7-in-1. When the material change time has come, hotend presses the limit switch located at the end of the X-axis. With that, the 3D printer notifies the Co Print that it is time for material change. After that, Co Print retracts the existing material from the nozzle until the entrance of 7-in-1 and pushes the next material to the nozzle.
While material retracting, it leaves with a vestige. This vestige material cause colour mix when the new material is extruded from the nozzle. Therefore, the cleaning tower should be printed for cleaning the nozzle from the previous material’s vestige. When the nozzle was cleaned from the vestige, the printing of the model continued.
¶ Calibration
Calibration is a crucial aspect for Co Print as much as your 3D printer, and it requires immense attention. Calibration for Co Print is the first location and turning angle of selective drive. In the case of inaccurate calibration, selective drive cannot stop at the top of the extruder gear. This leads to slipping in the extruder mechanism and inconsistent flow of filament.
¶ How to Slice and Paint
(Open Source Prusa Slicer App) Prusa Slicer is advised by Co Print to use for painting and slicing your 3D models. Firstly, the extruder number should be increased to 7. This can be handled from the “Printer Settings” page in the Prusa Slicer. For each extruder, different colours can be assigned. In order to paint your model, the “Multi-material Painting” feature can be used with “Brush” and “Smart Fill” tools. G-code file created using Prusa Slicer should be modified in the Co Print app. The Co Print app export two different files, these are modified G-code for your 3D printer and text file for Co Print. These files must be added to the 3D printer and Co Print separately with the help of 2 SD cards.
¶ Cleaning Tower
In order to maintain high quality print, Co Print uses the Cleaning Tower system. This system is used to clean the nozzle from the vestige for preventing colour mixing in the model.
In contemplation of maintaining colour integrity, the cleaning tower is printed until the vestige of previous material will vanish.
Cleaning Tower settings can be adjusted from Prusa Slicer. The default amount of previous material that will be cleaned is 70 mm3 This amount can be changed according to users' wishes.
Cleaning Tower can be printed as a functional part or a model. Also, cleaning can be printed as an infill of your model.