¶ How to mount Co Print on your 3D printer?
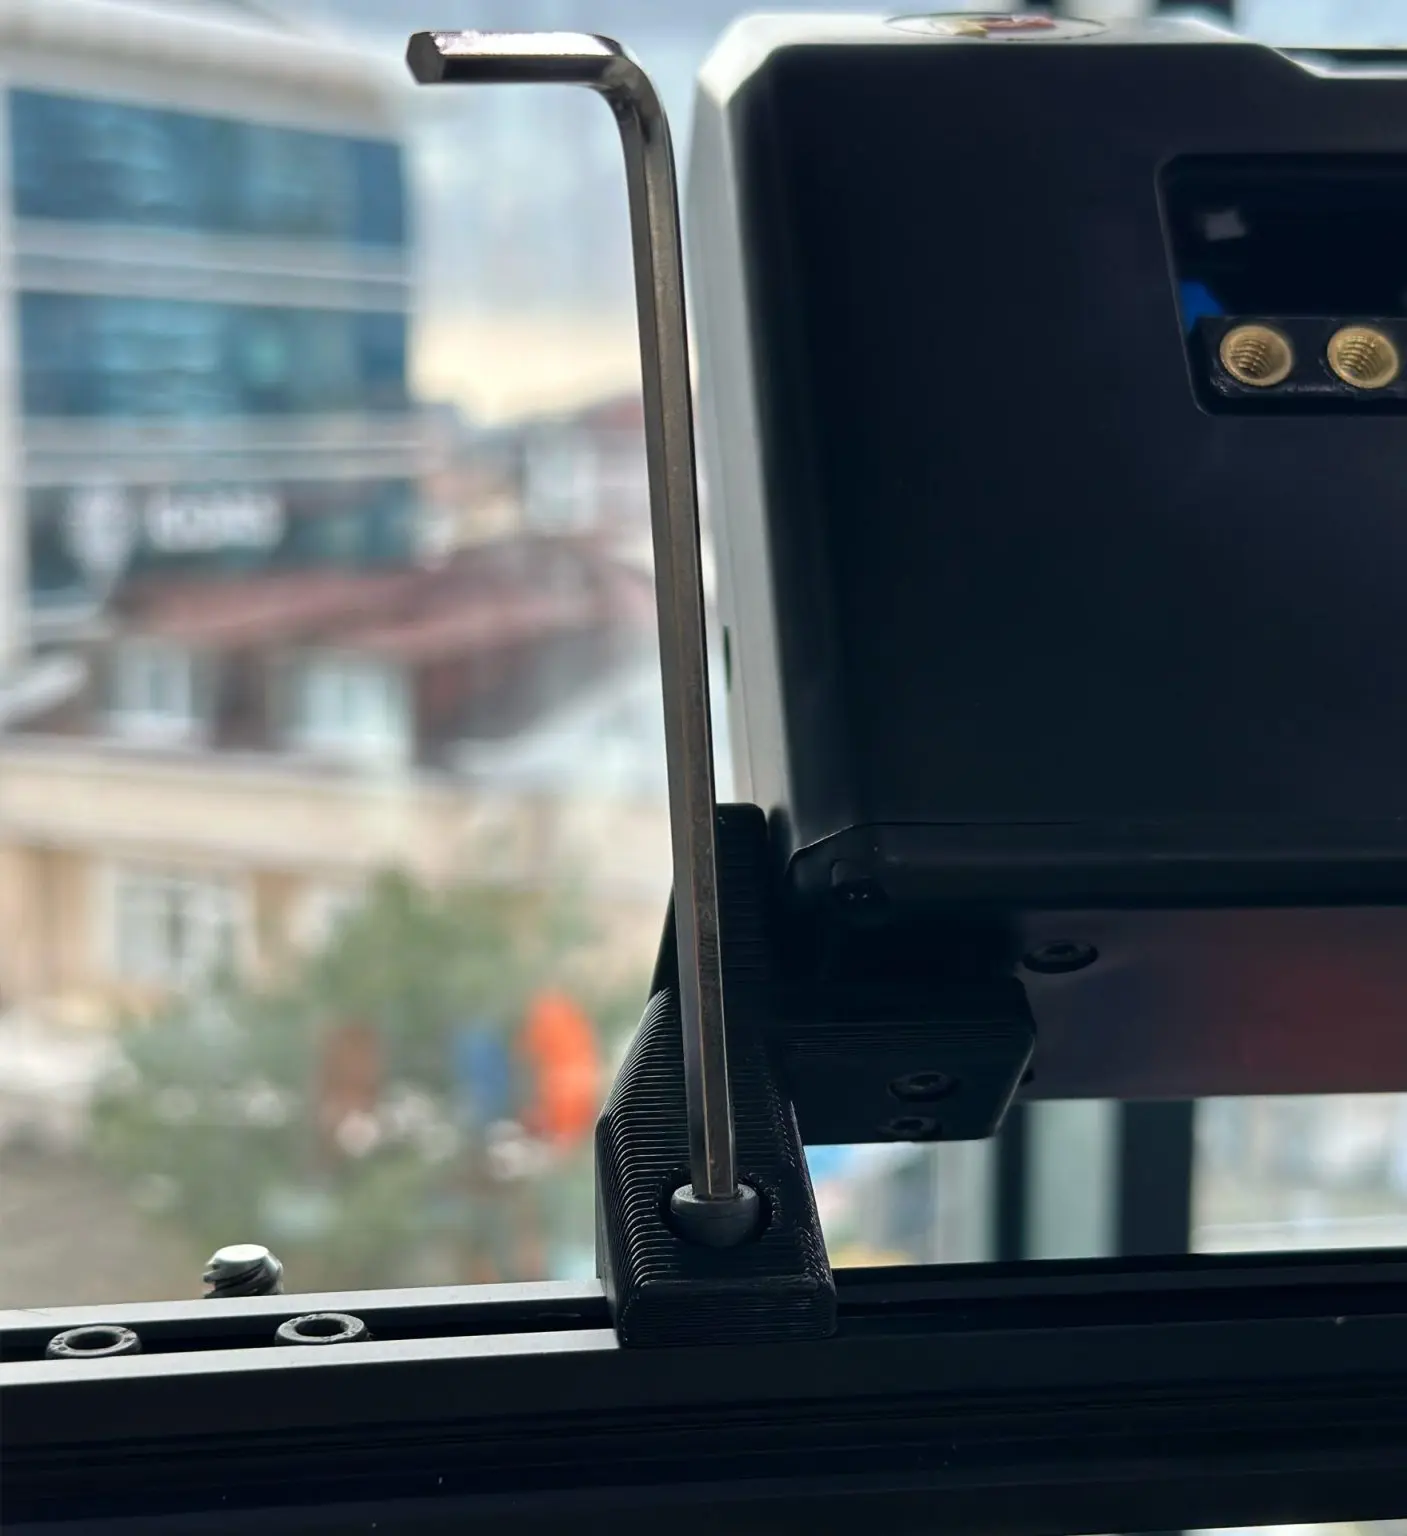
We need to pay attention to some details when printing with Co Print. Because these variables significantly affect our printing results. One of these variables is of course the location of the Co Print Module on the device. If we think of the Co Print module as an extruder, we all know how important the extruder is for printing in 3D printers. And positioning our extruder correctly is very important for the health of our prints. That's why we have prepared this content for you.
¶ Step 1
First, we need to attach 4X16 screws to the Co Print feet included in the box.
¶ Step 2
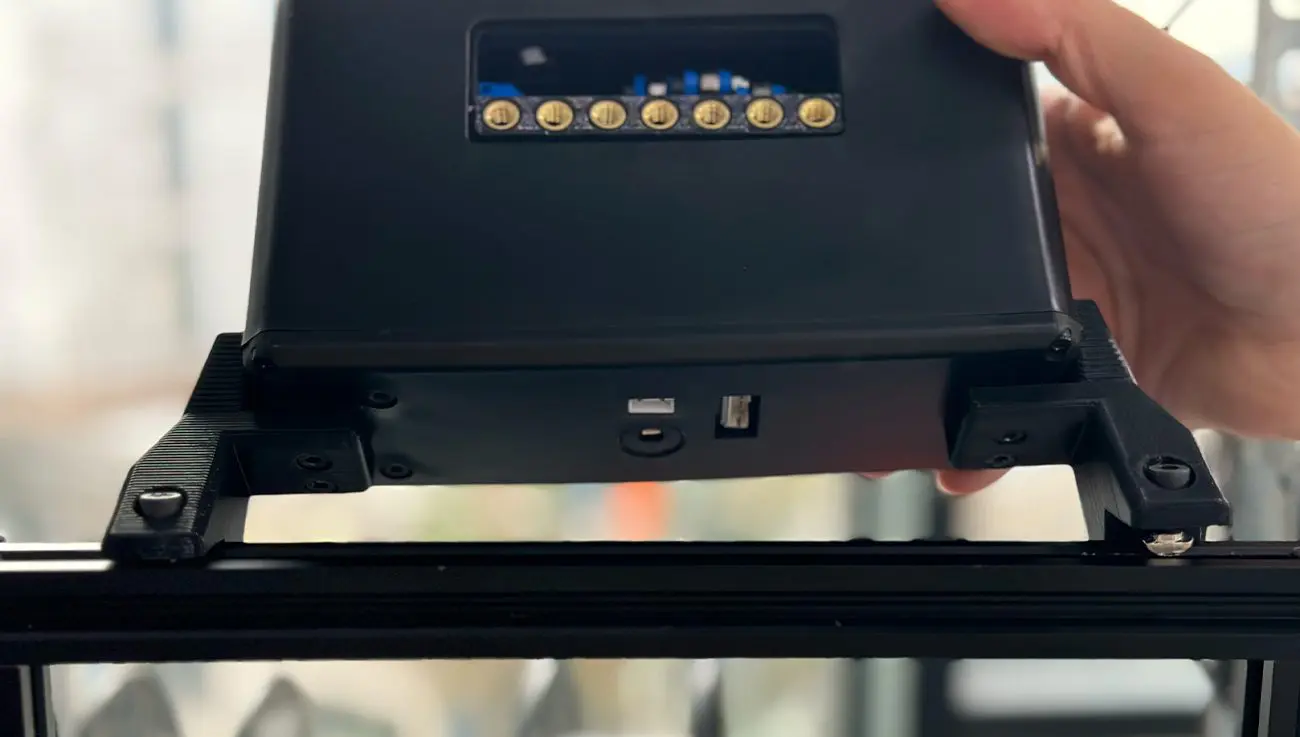
Then, in the second step, we must attach the Co Print feet to the Co Print module. But, there is one detail we need to pay attention to here. The holes on one side of the Co Print feet should face the front of the Co Print module. In this way, the module will stand as we want.
¶ Step 3
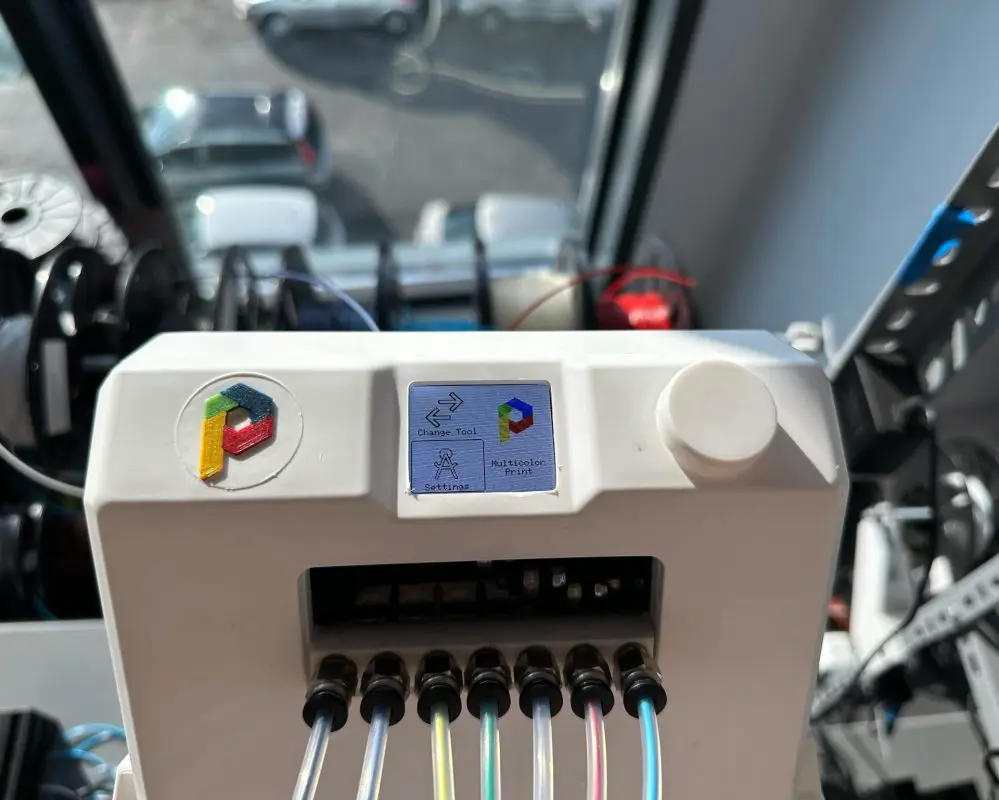
The third step is to insert the 5X10 screws into the holes in the Co Print feet. Then we will install T Nuts on 5X10 screws, but at this stage, we should not tighten the nuts all the way because the nuts must go inside the printer profiles. In this way, we will be able to fix the Co Print module on our 3D Printer.
¶ Step 4
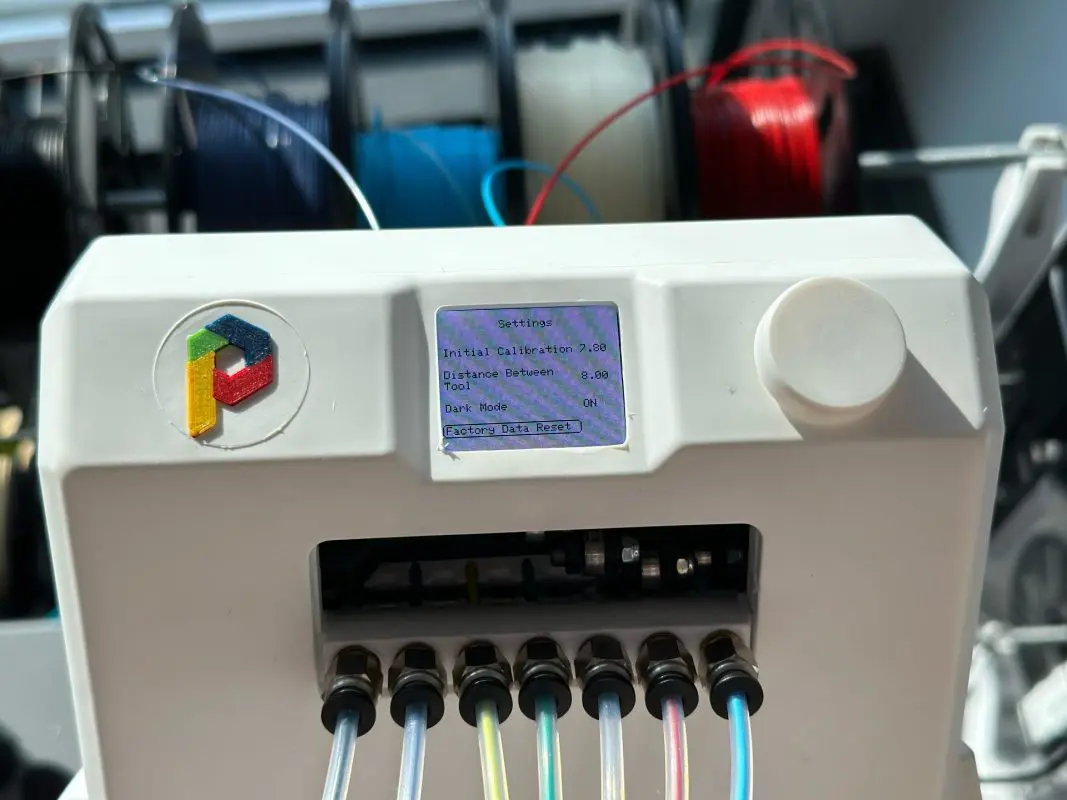
Finally, in the fourth step, we need to place the Co Print module on our 3D printer and tighten our 5X10 screws.
