¶ How to paint a model?
To color your prints, you need to use Prusa Slicer, one of the open source slicing programs.
On the Prusa slicer, open the .3mf file with the presets provided by Co Print, which you can download from here.
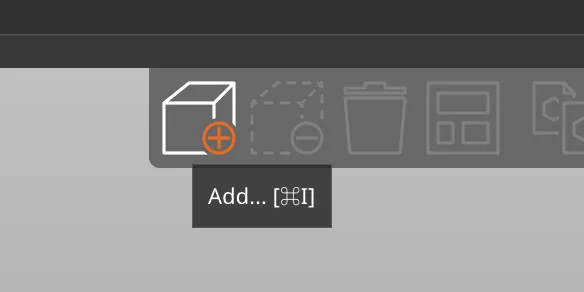
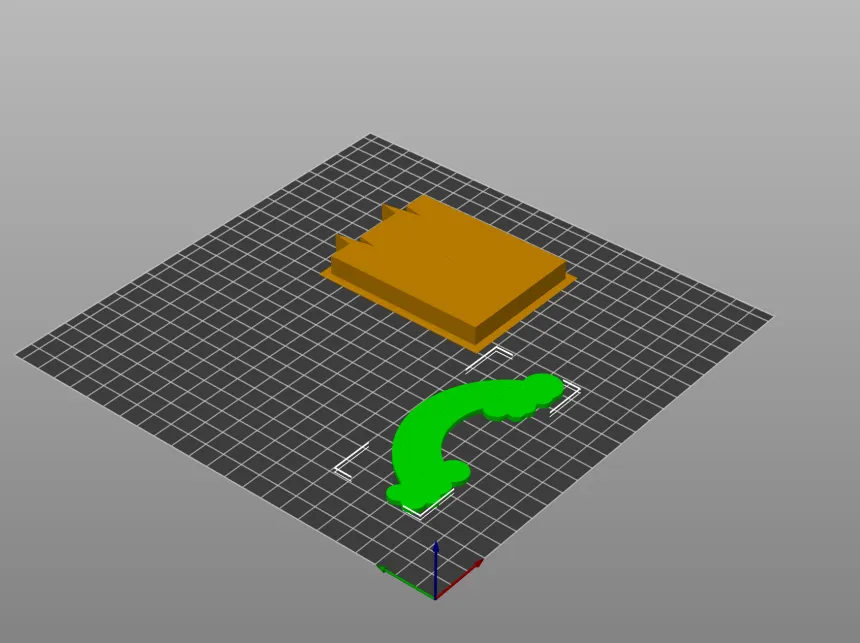
Then delete the model that came in .3mf. From the add model menu at the top left, select the model to be colored saved on your computer. The model you choose will appear on the table.
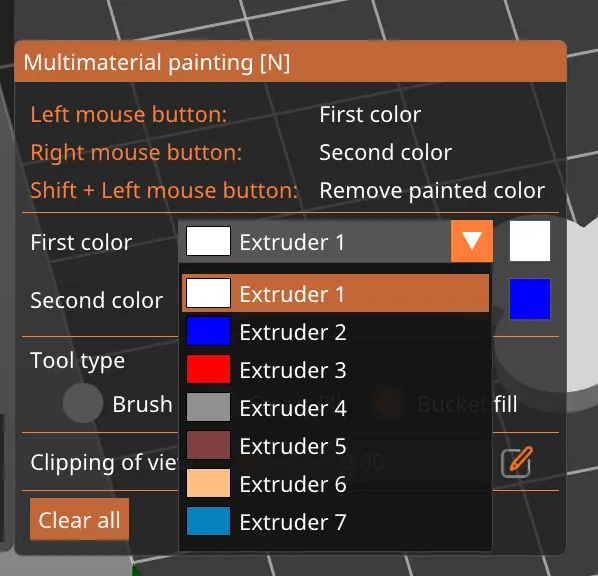
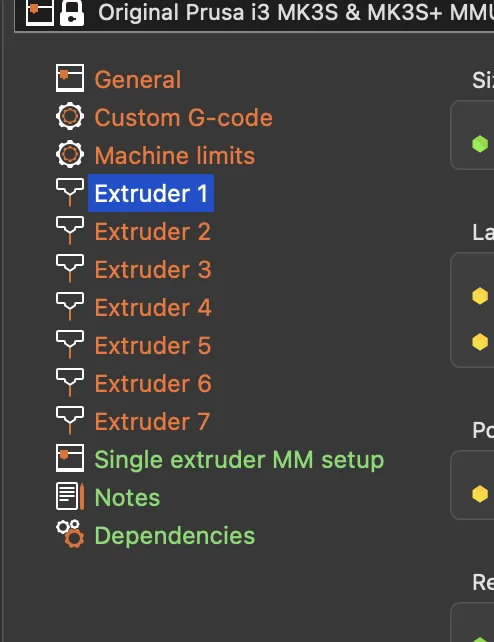
First of all, we must assign the colors that we will paint our model to the 7 different extruders that come with the .3mf file. In order to assign color to the extruders, you can select the extruder to which you will assign the color from the Printer Settings menu at the top and change the color from the Extruder Color section.


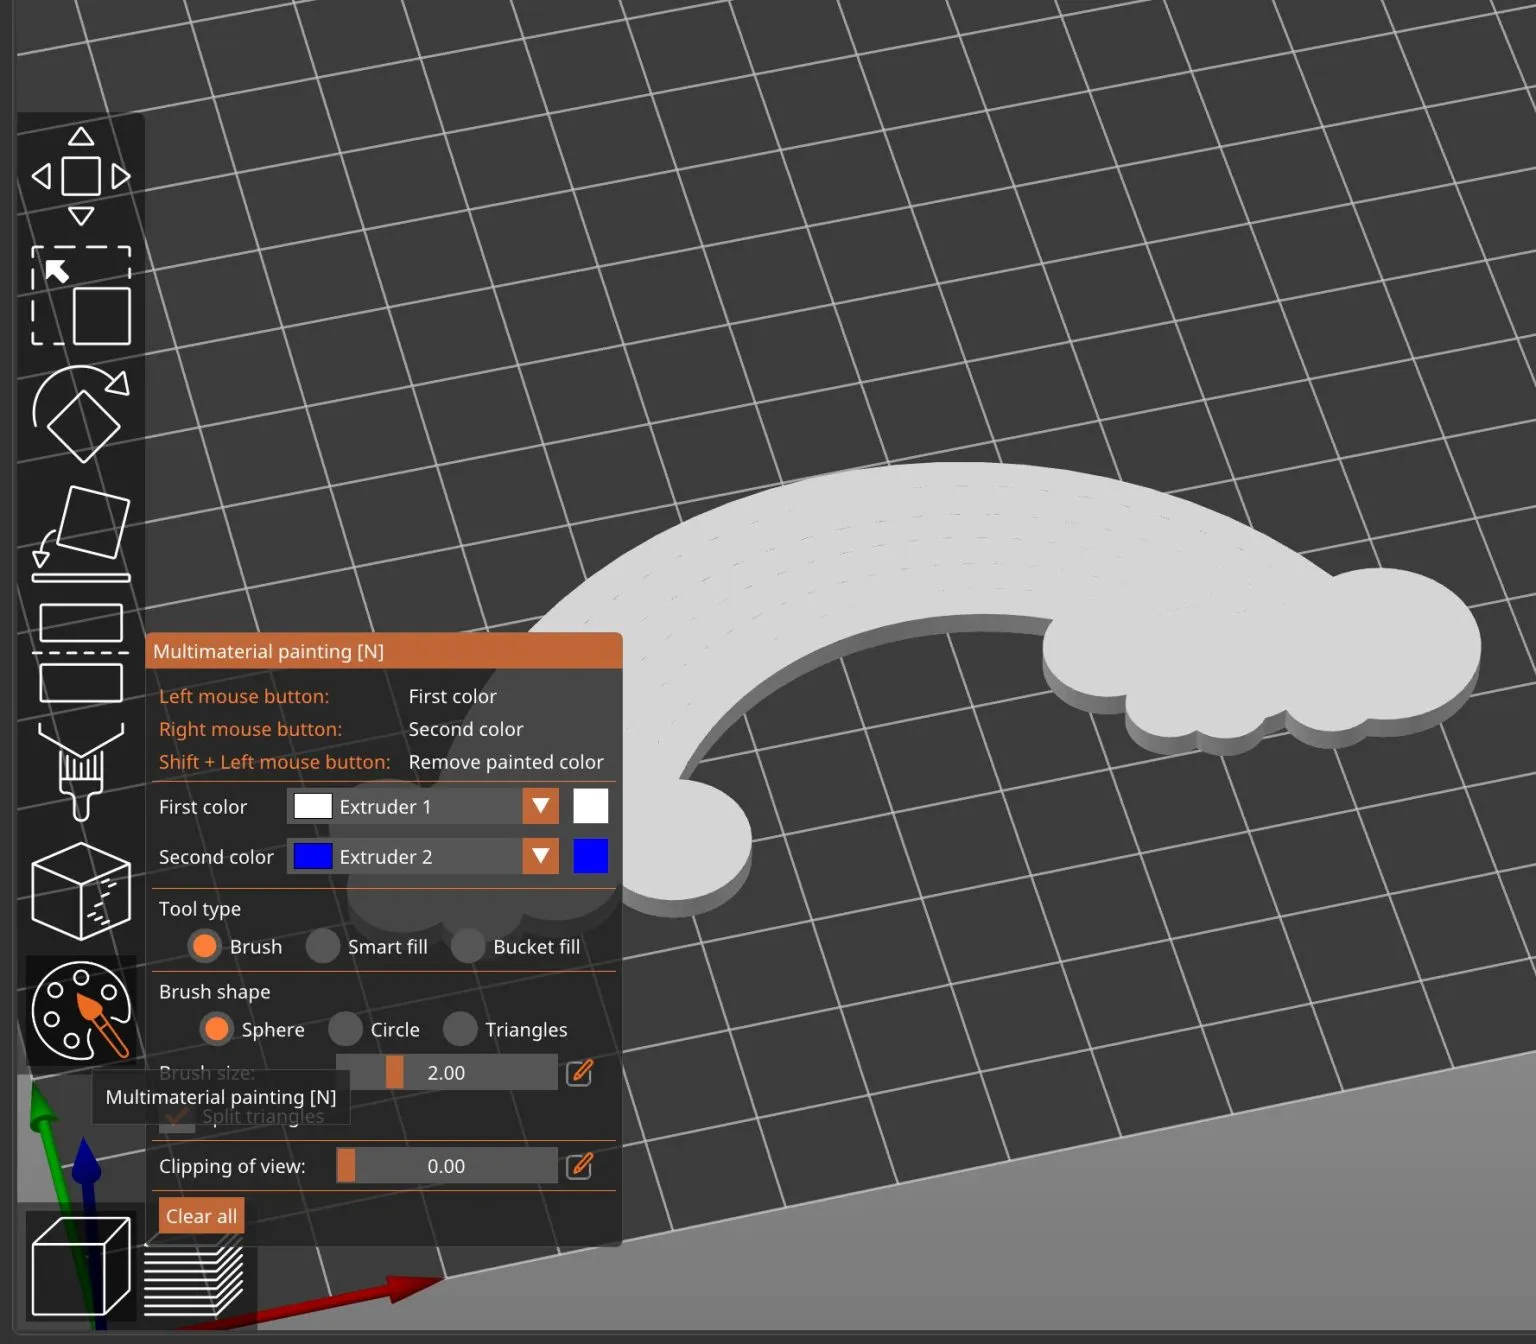
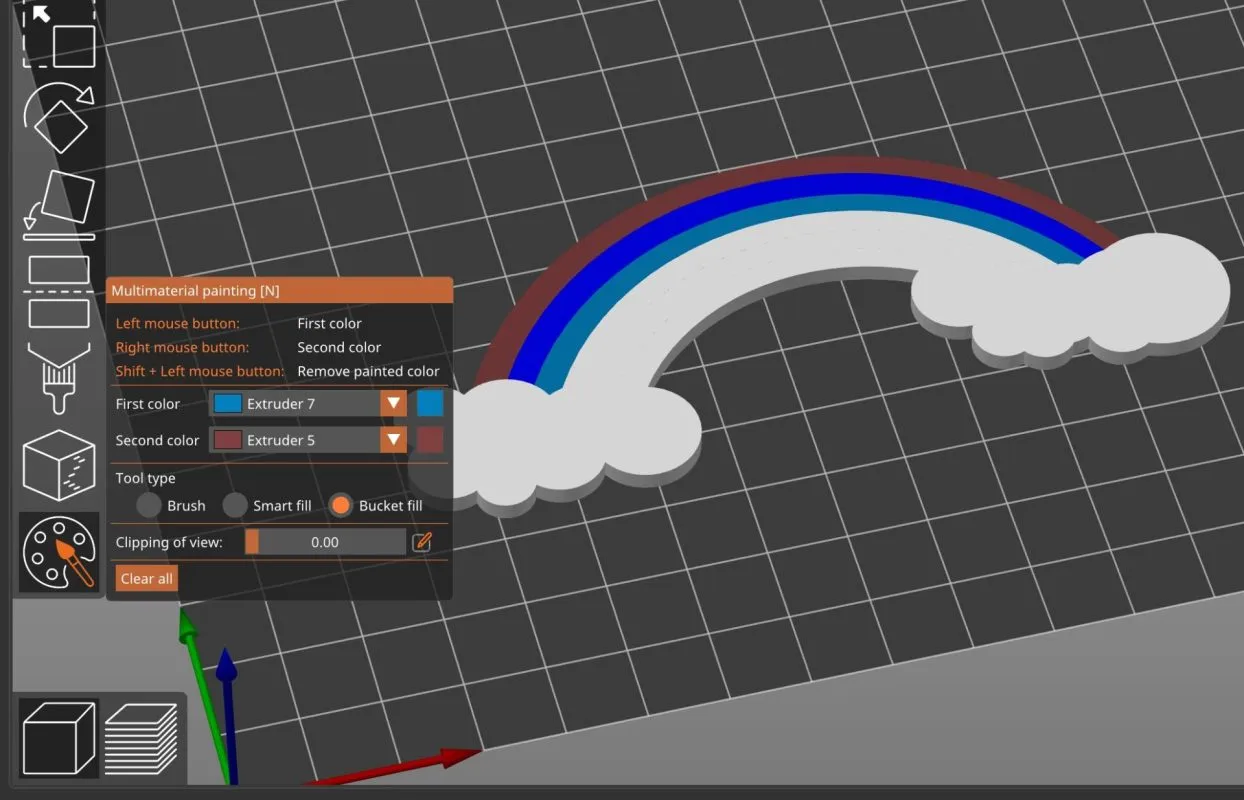
To start painting the model, select it and then open the Multimaterial Painting menu on the left. Its shortcut is N. There are 3 different painting methods in this menu. The first of these is the Brush method. You can freely paint your models using this method. First color and Second Color are defined for the right and left buttons of your mouse. Coloring is done according to your clicks on the model. You can select the defined colors from the Multi material painting menu. The Smart Fill painting method, on the other hand, allows you to paint with the selection method by detecting the surfaces in your 3D file. Bucket Fill is a feature that allows you to paint individually modeled areas of your 3D model by clicking in one go. How to paint a model
