¶ How to Prepare Your Design?
¶ Open Prusa Slicer

Slicing your 3D model requires a slicer program. Prusa Slicer is mandatory for Co Print, please open Prusa Slicer and put your STL file in it.
¶ Add 7 extruders, Assign Colour Each
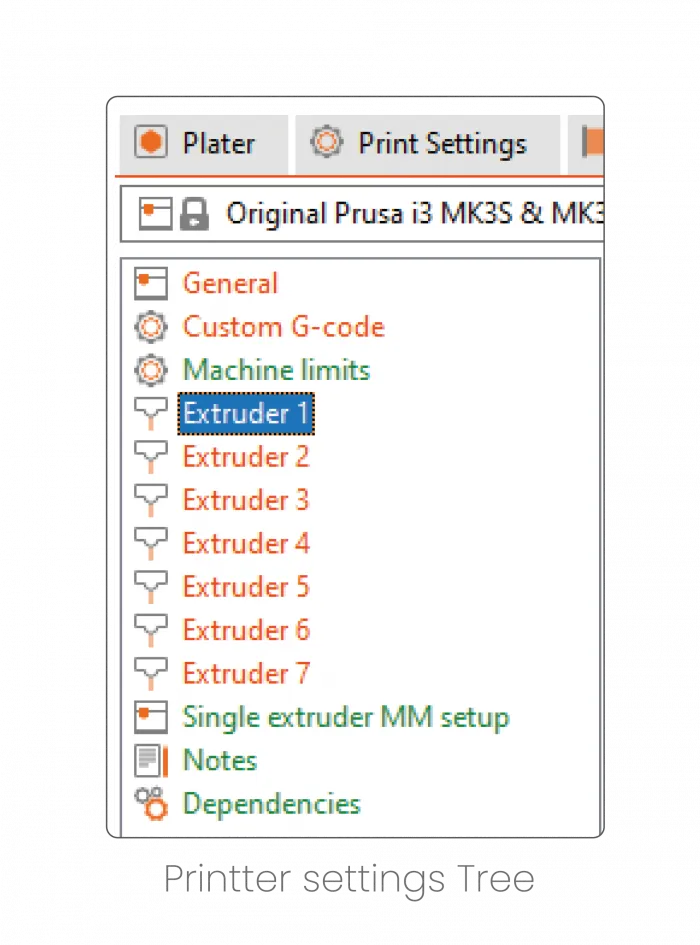
Firstly, the extruder number should be increased to 7, from Prusa Slicer in the head of the Printer Settings tab. For each extruder, different colours can be assigned at the bottom of the same page. In order to paint your model, “Multi-material Painting” must be selected on the “3D editor view” page.

¶ Paint
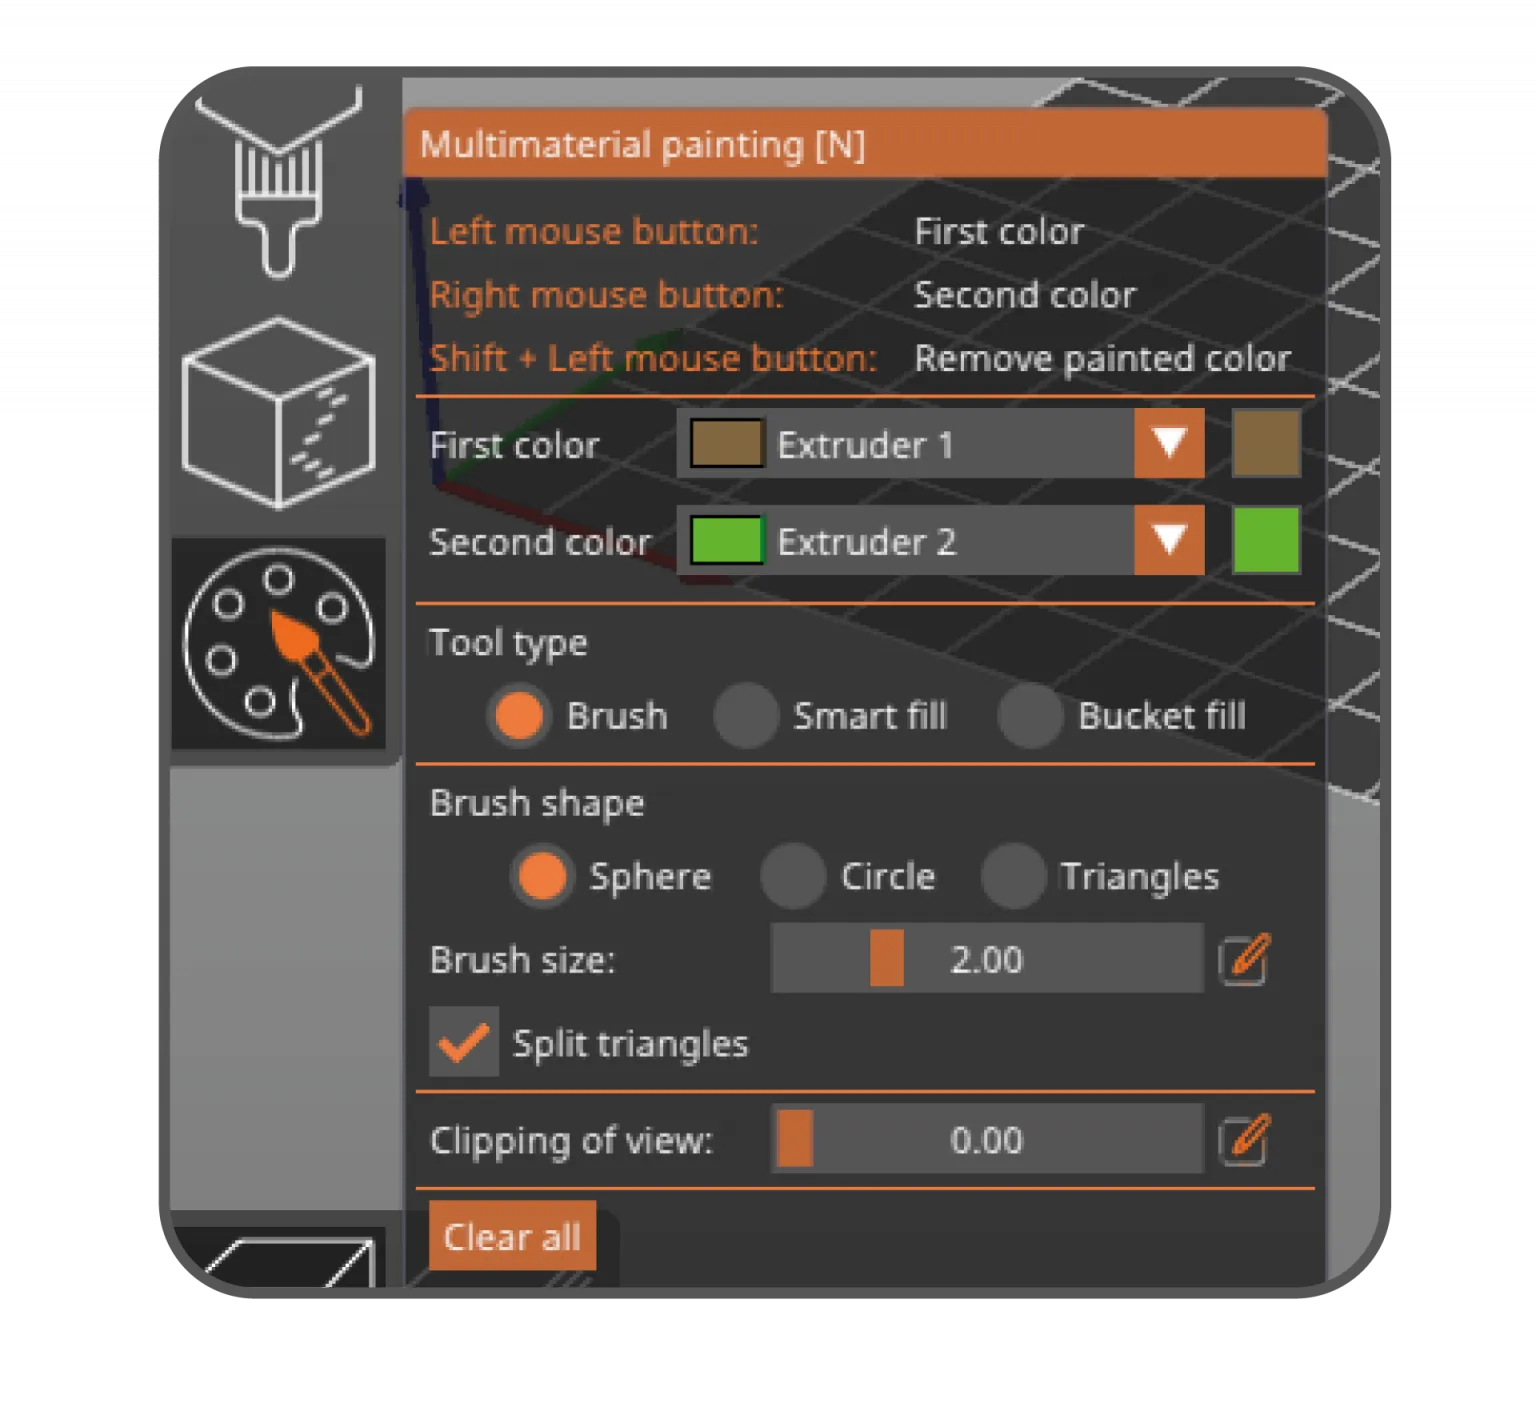
First, to paint your model you have to select the model from the “Plater” page on Prusa Slicer. After selecting the model, the tool tree will appear on the left side of the page. 'Multi-material Painting' tool must be selected to paint your model. Painting colour can be selected from this tool and can be assigned to the buttons of your mouse.
¶ Add Cleaning Tower or Add Infill Cleaning
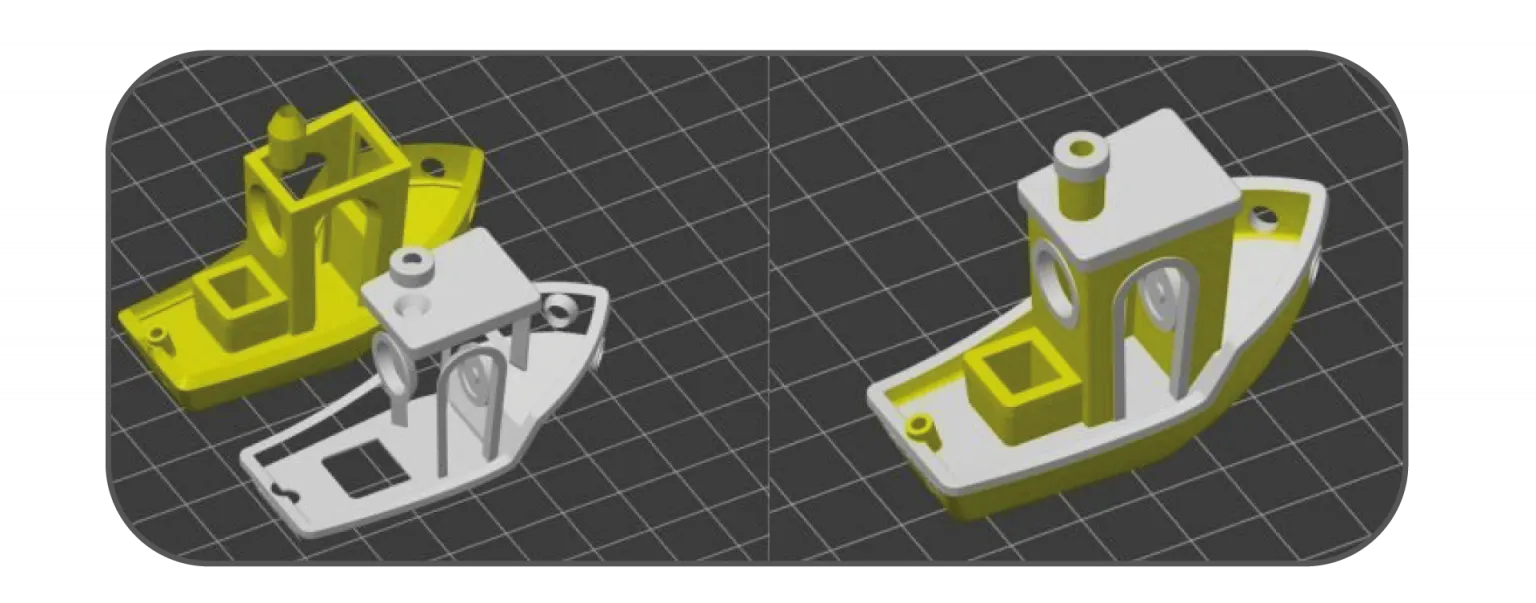
Adding a cleaning tower to your slicer is automatically done by Prusa Slicer. After painting the model in the Prusa Slicer, a cleaning tower will be added automatically.
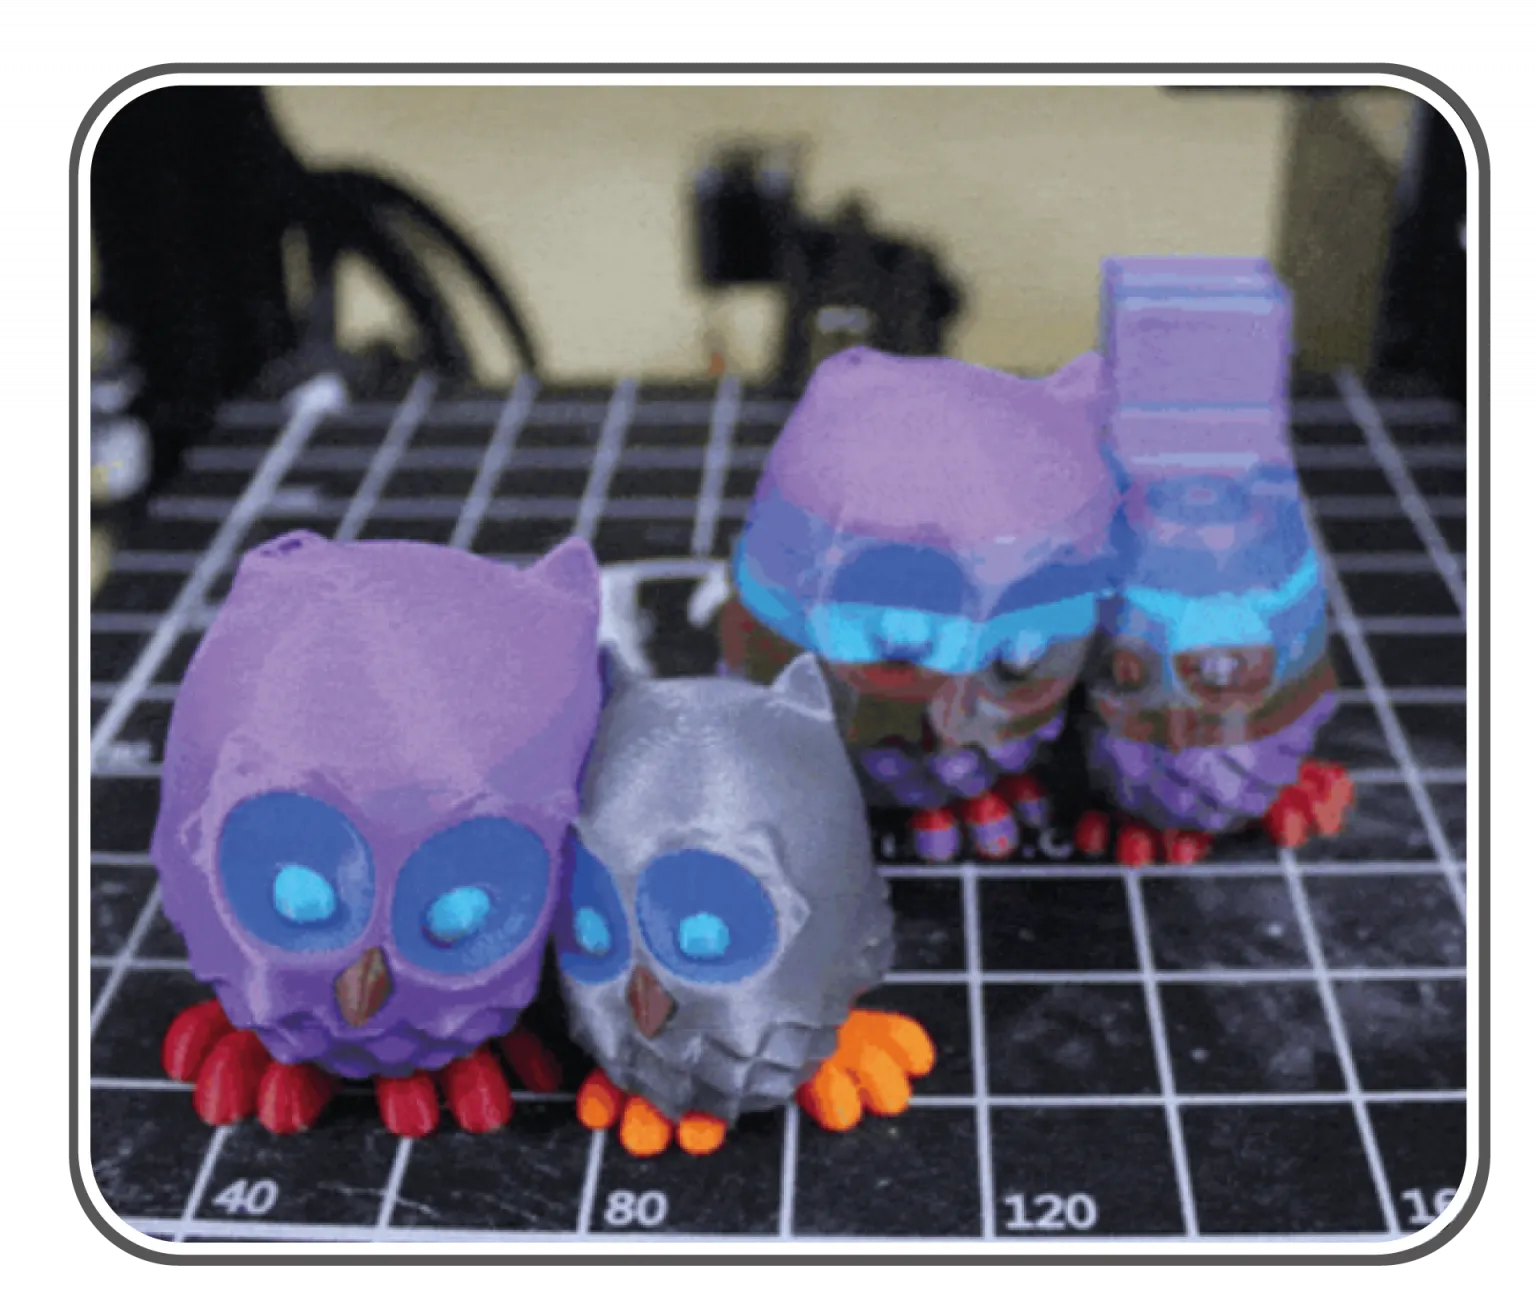
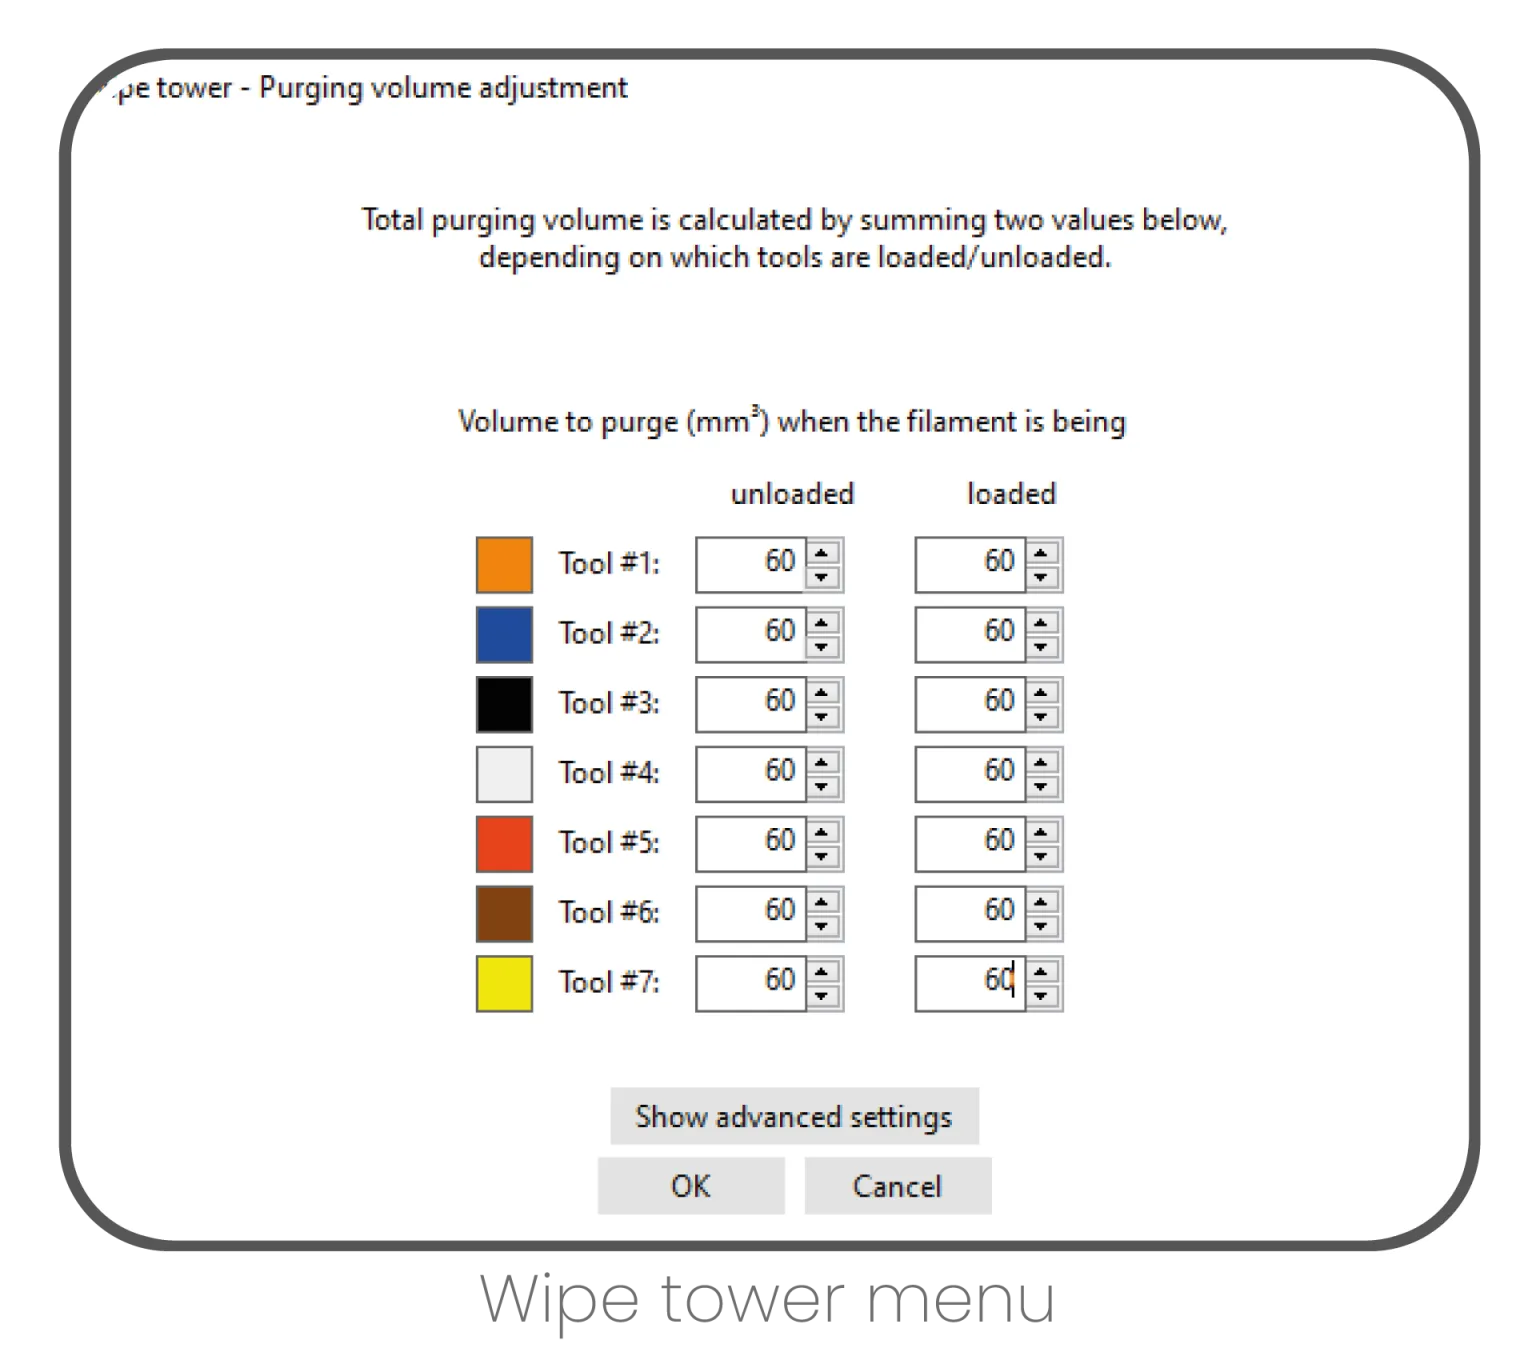
The size of the cleaning tower can be adjusted from the 'Purging Volume' setting. However, keep in mind that smaller cleaning towers can cause colour mixtures in your main model. That is why the size of the cleaning tower should be adjusted properly.
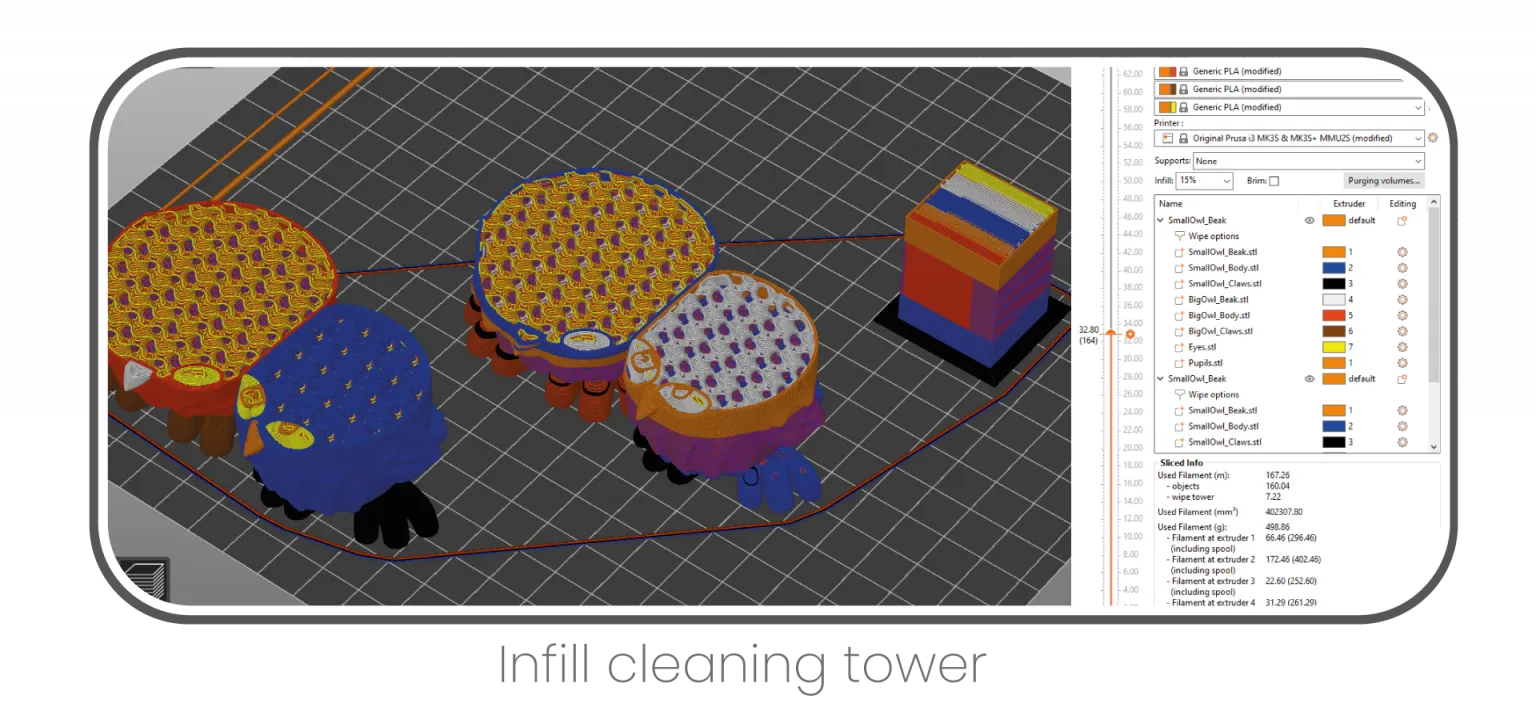
Instead of wasting material in the cleaning tower, the cleaning process can be done by using other models or infill of the main model. Unfortunately, these solutions are not solving the cleaning tower problem. In all cases, the cleaning tower must be printed.
¶ Slicing and Modifying G-code with Co Print App
After painting, the model in the Prusa Slicer G-code will be received. This G-code should be imported to the Co Print application. This file should be modified with the Co Print app by using the 'Save edited G-code file' button. Edited G-code file should be imported to the SD card of your printer. After that, a text file should be imported from the 'Save Co Print File' button in the application. This file will be imported to the SD card of the Co Print.